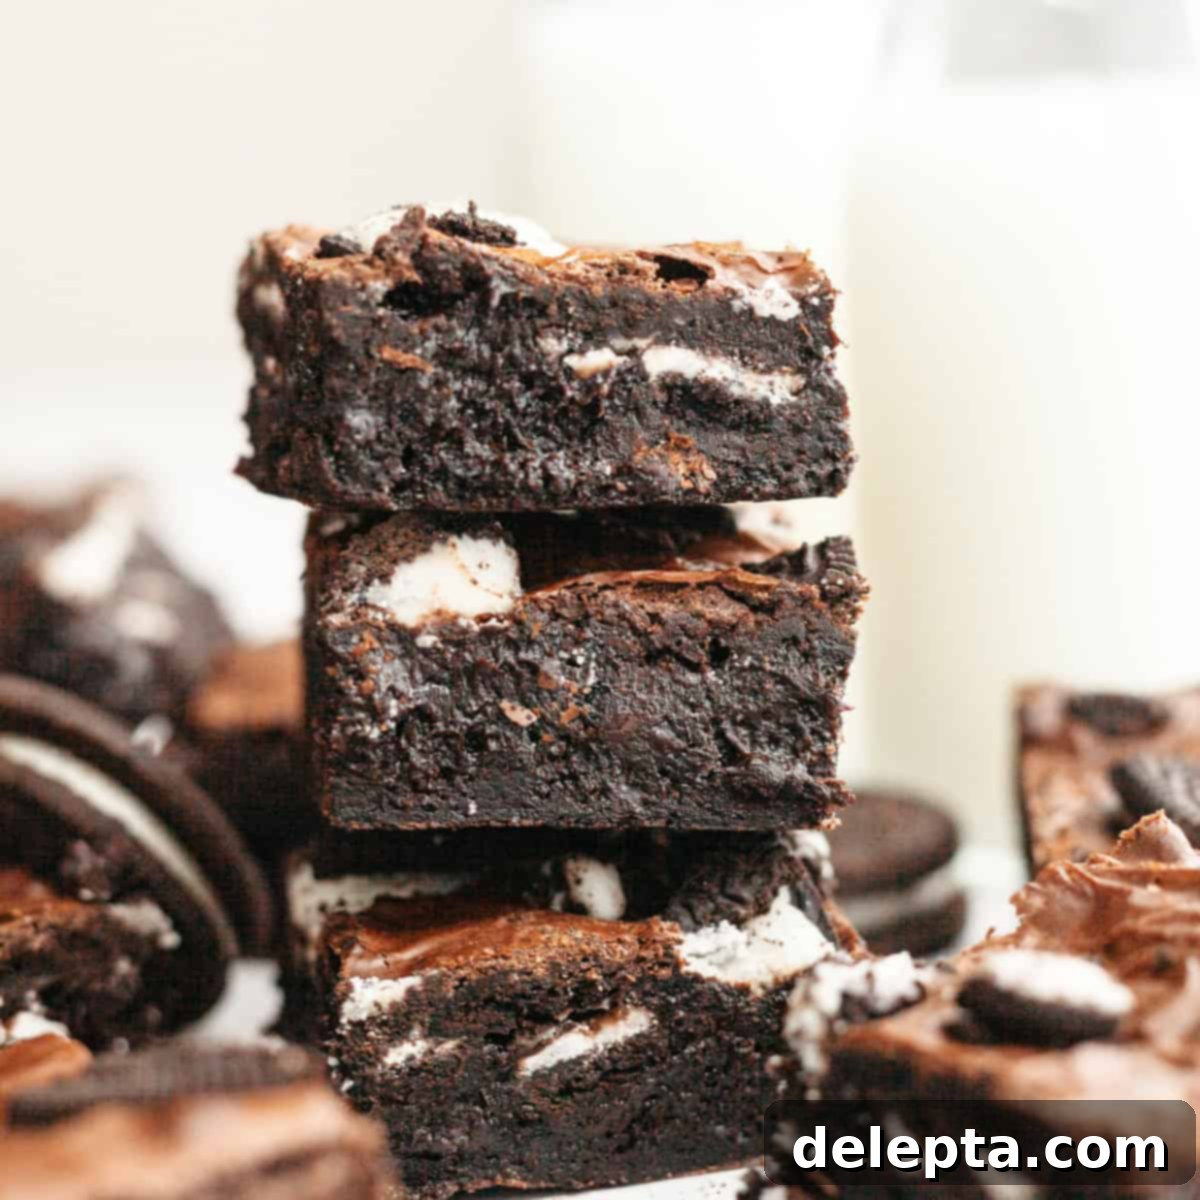
The Ultimate Fudgy Oreo Brownies: A One-Bowl, No-Mixer Recipe for Irresistible Dessert
Prepare to elevate your dessert game with the ultimate treat: these incredibly fudgy Oreo brownies! Far surpassing the humble regular brownie, this recipe promises a dense, rich, and intensely chocolatey experience, generously studded with everyone’s favorite cookie. Say goodbye to complicated baking processes, because these super fudgy, Oreo-loaded brownies are made effortlessly in just one bowl, with no mixer required. We’re talking maximum flavor, minimal fuss! To truly capture that iconic Oreo taste, we’ll be using Double Stuf Oreos and a touch of mysterious black cocoa powder, transforming your kitchen into an Oreo wonderland.
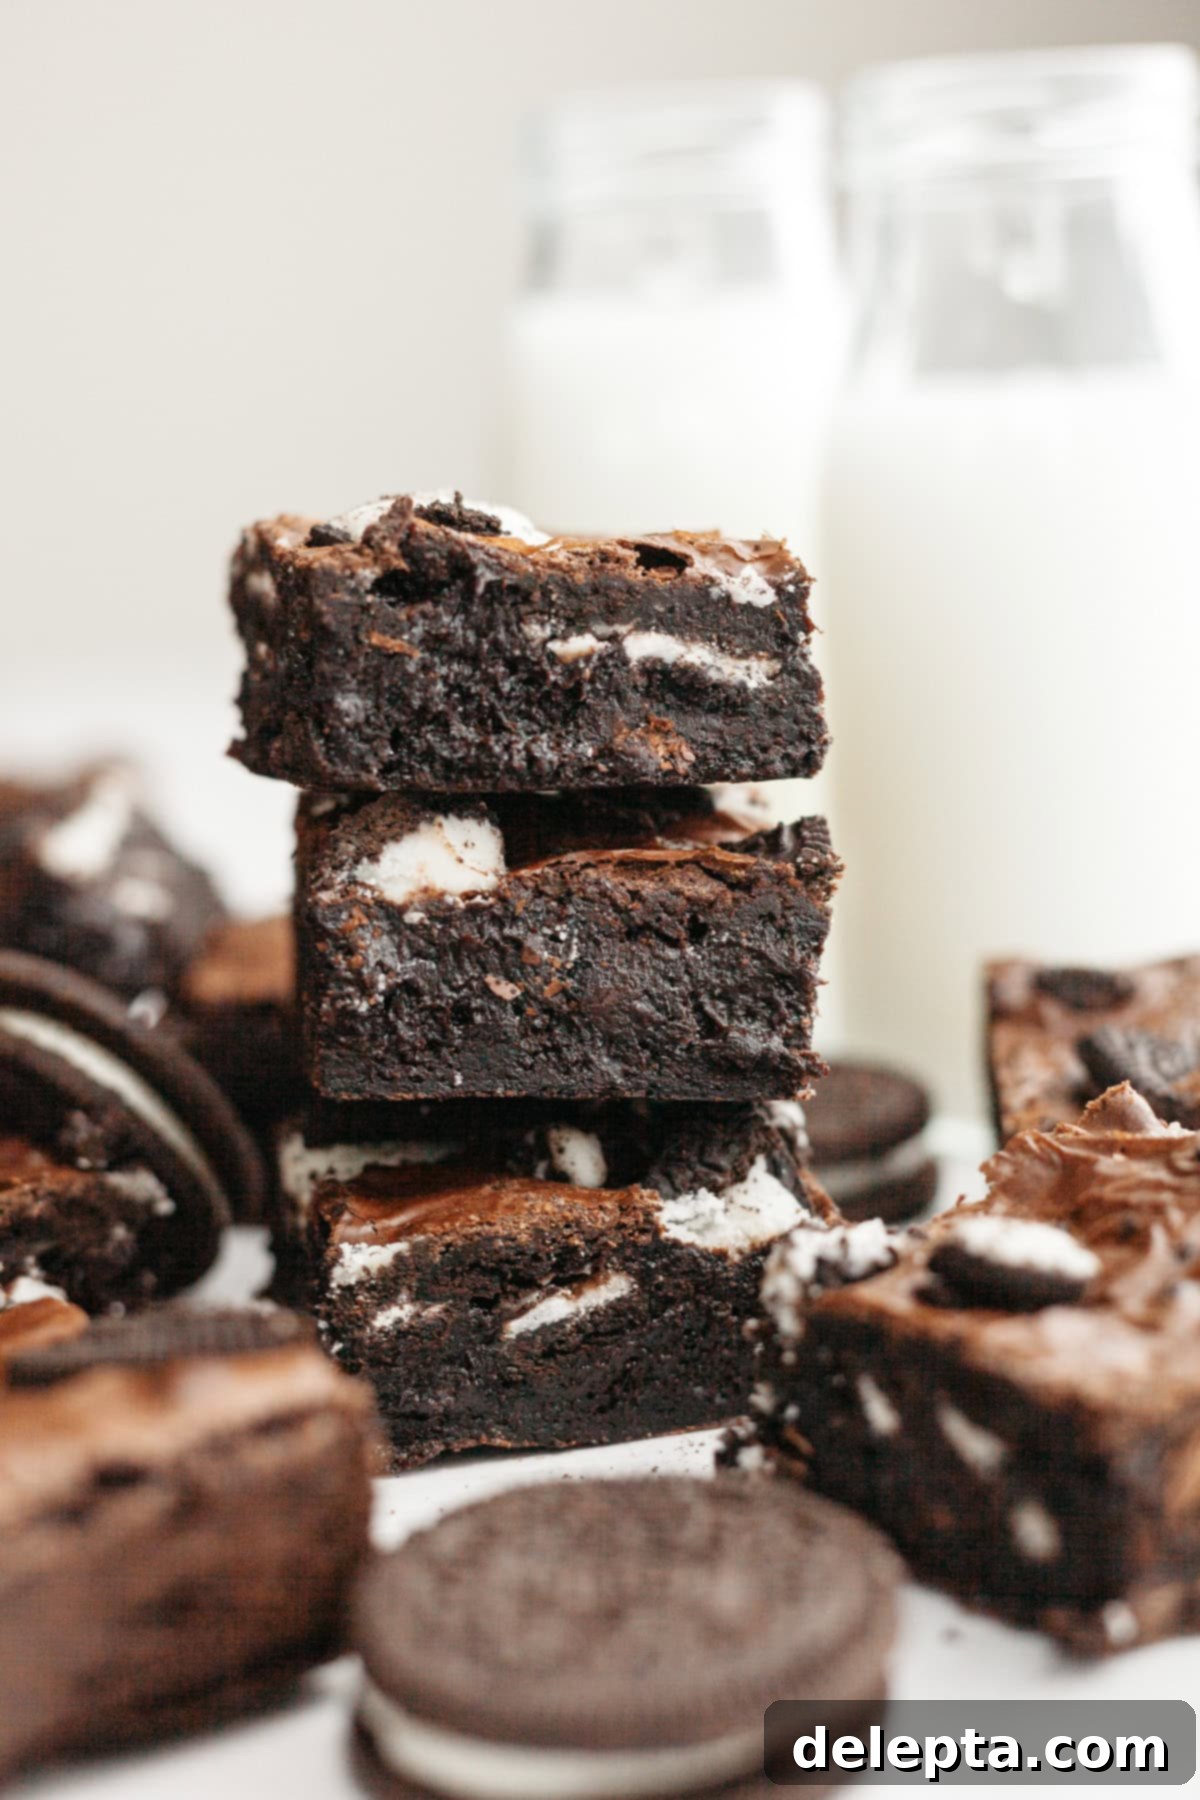
One staple ingredient you’ll almost always find in my pantry is a packet of Oreos. And if it happens to be the double-stuffed variety? Even better! When I embarked on perfecting my brownie recipes, I knew I had to create a version that prominently featured these beloved sandwich cookies. The idea of a brownie that tasted exactly like an Oreo, but with an even more luxurious, fudgy texture, was simply too good to pass up.
To truly achieve that deep, authentic Oreo flavor and characteristic dark color, I decided to incorporate a secret weapon: black cocoa powder. This unique ingredient, combined with standard Dutch-processed cocoa, forms the foundation of a brownie base that’s tried, tested, and loved. This base is also featured in my incredibly popular fudgy espresso brownies and delicious fudgy walnut brownies, both of which are surprisingly simple to whip up, even after a long day or on a busy weeknight.
The beauty of this recipe lies in its simplicity. The entire brownie batter comes together in a single bowl, utilizing the gentle heat of the microwave to help melt and fully dissolve the sugars. This process is followed by a period of vigorous whisking – apologies in advance to your arms, but it’s worth it! This crucial whisking, combined with the microwave steps, is what helps create that signature shiny, thin, and slightly crinkled brownie top that we all adore. Finally, finely chopped chocolate is folded into the batter just before baking, adding an extra layer of rich, melty goodness to every bite.
The Magic of Black Cocoa Powder: Achieving Authentic Oreo Flavor
There’s a reason I always keep a bag of black cocoa powder in my baking arsenal – it brings serious ✨drama✨ to desserts! It’s the very ingredient responsible for the striking color and unique flavor in my show-stopping black velvet layer cake and fun Halloween black velvet cupcakes. But its most famous role is undoubtedly in the iconic Oreo cookie.
Black cocoa powder is essentially an ultra-processed version of Dutch-process cocoa powder. This intense processing gives it a distinct, very dark color and a wonderfully mild, almost earthy chocolate flavor that is less bitter than natural cocoa. It’s this specific flavor profile and deep hue that gives Oreo cookies their signature look and taste, making it indispensable for our Oreo brownies.
You might wonder, why not use *only* black cocoa powder? While fantastic, black cocoa powder can be quite intense on its own, sometimes resulting in a flavor that’s *too* singular for a brownie. Through extensive testing, I found that combining it with regular Dutch-processed cocoa powder strikes the perfect balance. This blend gives us that unmistakable Oreo flavor while still ensuring our brownies taste like rich, decadent chocolate brownies that everyone knows and loves, rather than just pure cookie.
Don’t have black cocoa powder on hand or prefer not to make a special trip to the store? No worries, I completely understand! In a pinch, you can substitute the black cocoa powder with an equal amount of regular Dutch-processed cocoa powder. Just be aware that your brownies won’t have the same intense dark color or quite the same distinct Oreo flavor profile. They will still be delicious chocolate brownies, of course, but the unique “Oreo” essence will be less pronounced. For the true experience, however, black cocoa powder is highly recommended.
Gather Your Essential Ingredients for Fudgy Oreo Brownies!
Before diving into the baking process, let’s ensure you have all the necessary components for these incredible fudgy Oreo brownies. Each ingredient plays a vital role in achieving that perfect texture, deep flavor, and iconic look.
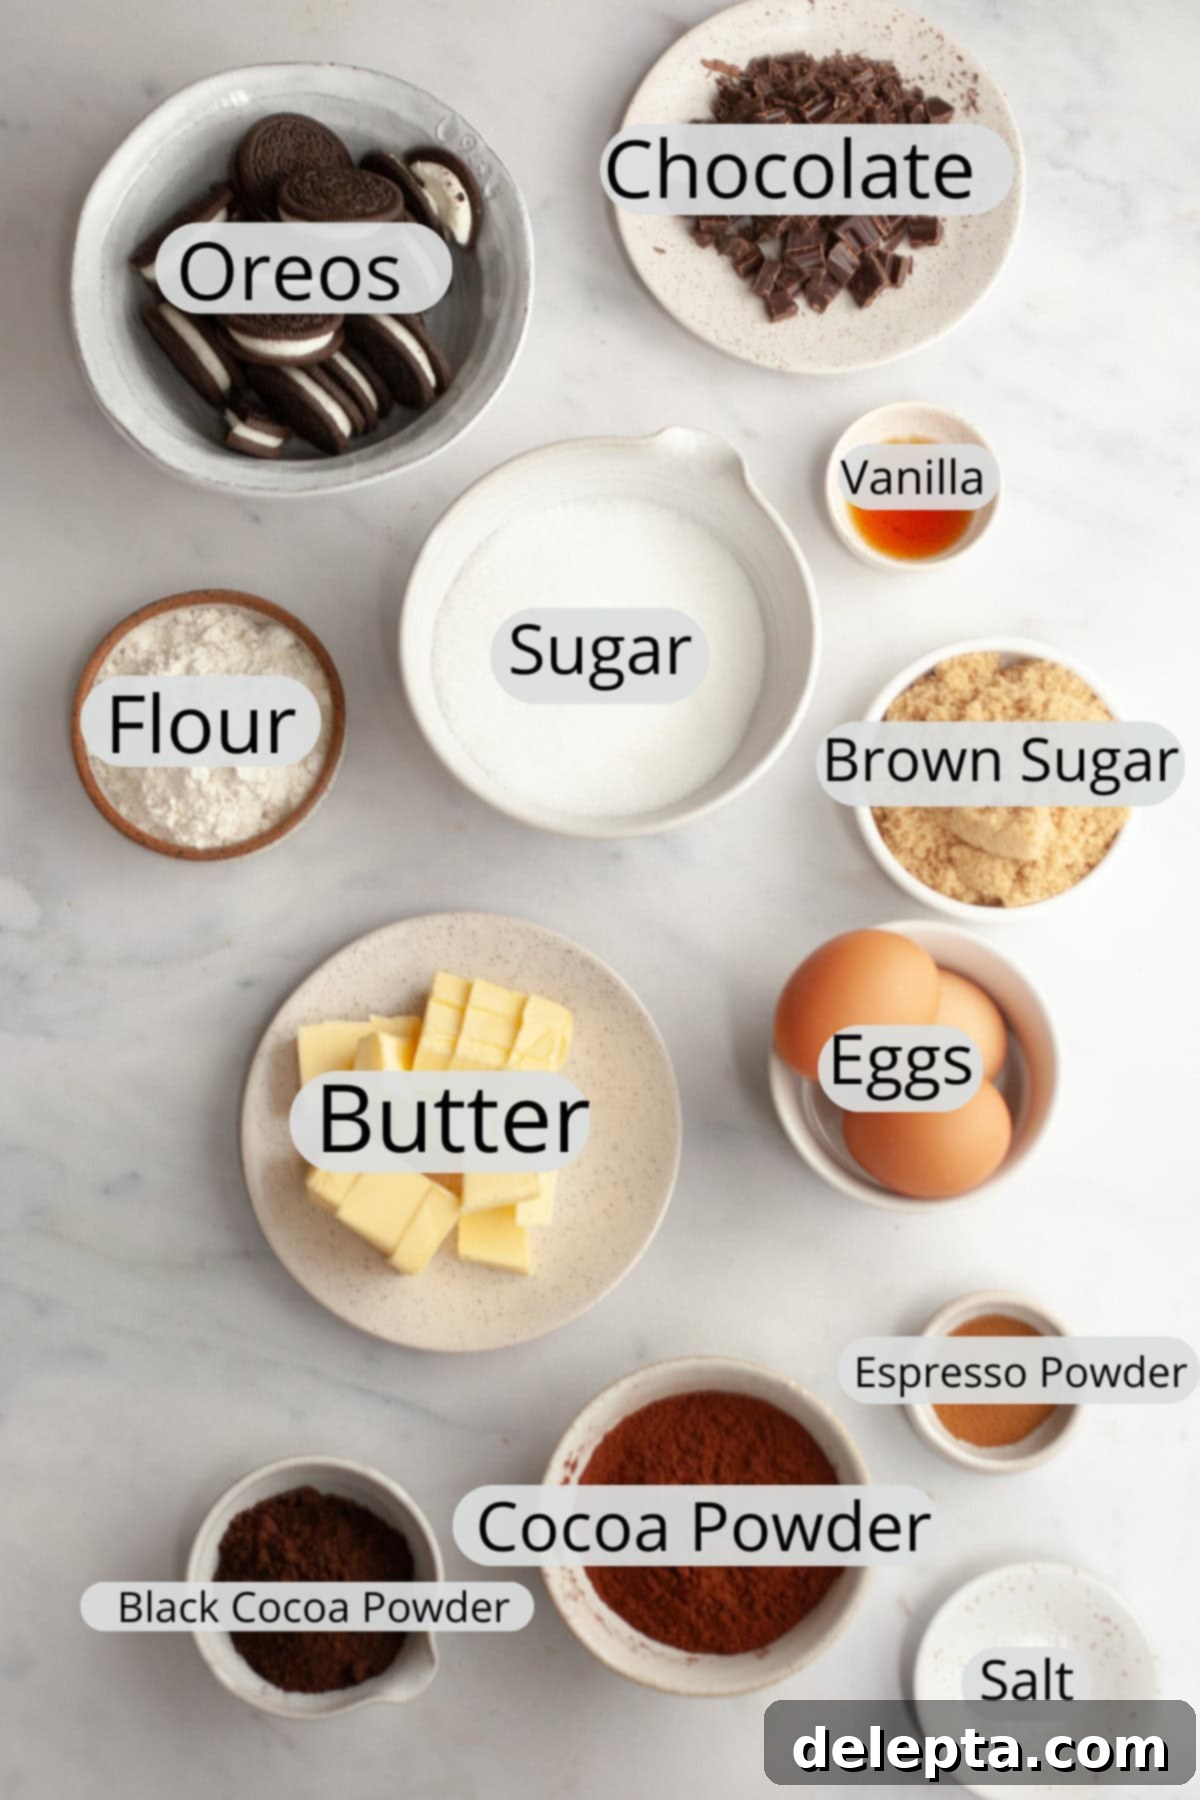
- Black Cocoa Powder: This is our star ingredient for achieving that quintessential Oreo flavor and dark color. I personally use the deZaan brand, but King Arthur Baking Company also offers an excellent version. This super dark and uniquely flavored cocoa is what truly differentiates these brownies.
- Dutch-Processed Cocoa Powder: We combine black cocoa powder with Dutch-processed cocoa powder to create a perfectly balanced, extra rich, and intensely chocolatey brownie. Dutch-processed cocoa has a milder, less acidic flavor than natural cocoa, which complements the black cocoa beautifully. I strongly advise against swapping it for natural cocoa powder, as this can affect the overall richness, color, and even the texture of the brownies due to differences in acidity.
- Oreos: The beloved cookies themselves! I’ve successfully tested this recipe with both regular Oreos and Double Stuf Oreos, and both yield fantastic results. Double Stuf Oreos will, naturally, provide a bit more creamy filling goodness in every bite, intensifying the Oreo experience.
- Espresso Powder: While entirely optional, adding finely ground espresso powder is a brilliant way to deepen and enhance the chocolate flavor without making the brownies taste like coffee. It simply amplifies the richness, making the chocolate notes sing.
- Unsalted Butter, Granulated Sugar, Light Brown Sugar, Vanilla Extract, Kosher Salt, Large Eggs, Egg Yolk, All-Purpose Flour: These are the foundational baking ingredients that provide structure, moisture, sweetness, and overall deliciousness to our fudgy brownies. Ensure your eggs are at room temperature for better emulsion with the butter and sugar, contributing to that desirable shiny top.
- Finely Chopped Chocolate: Using finely chopped chocolate instead of standard chocolate chips makes a significant difference. Chopped chocolate melts more smoothly and evenly, contributing to a truly fudgy texture and an irresistible gooeyness within the brownie.
Let’s Bake the Best Fudgy Oreo Brownies!
Get ready to create some magic in your kitchen. This one-bowl method simplifies the process, making these incredible fudgy Oreo brownies accessible to even beginner bakers. Follow these steps for perfect results!
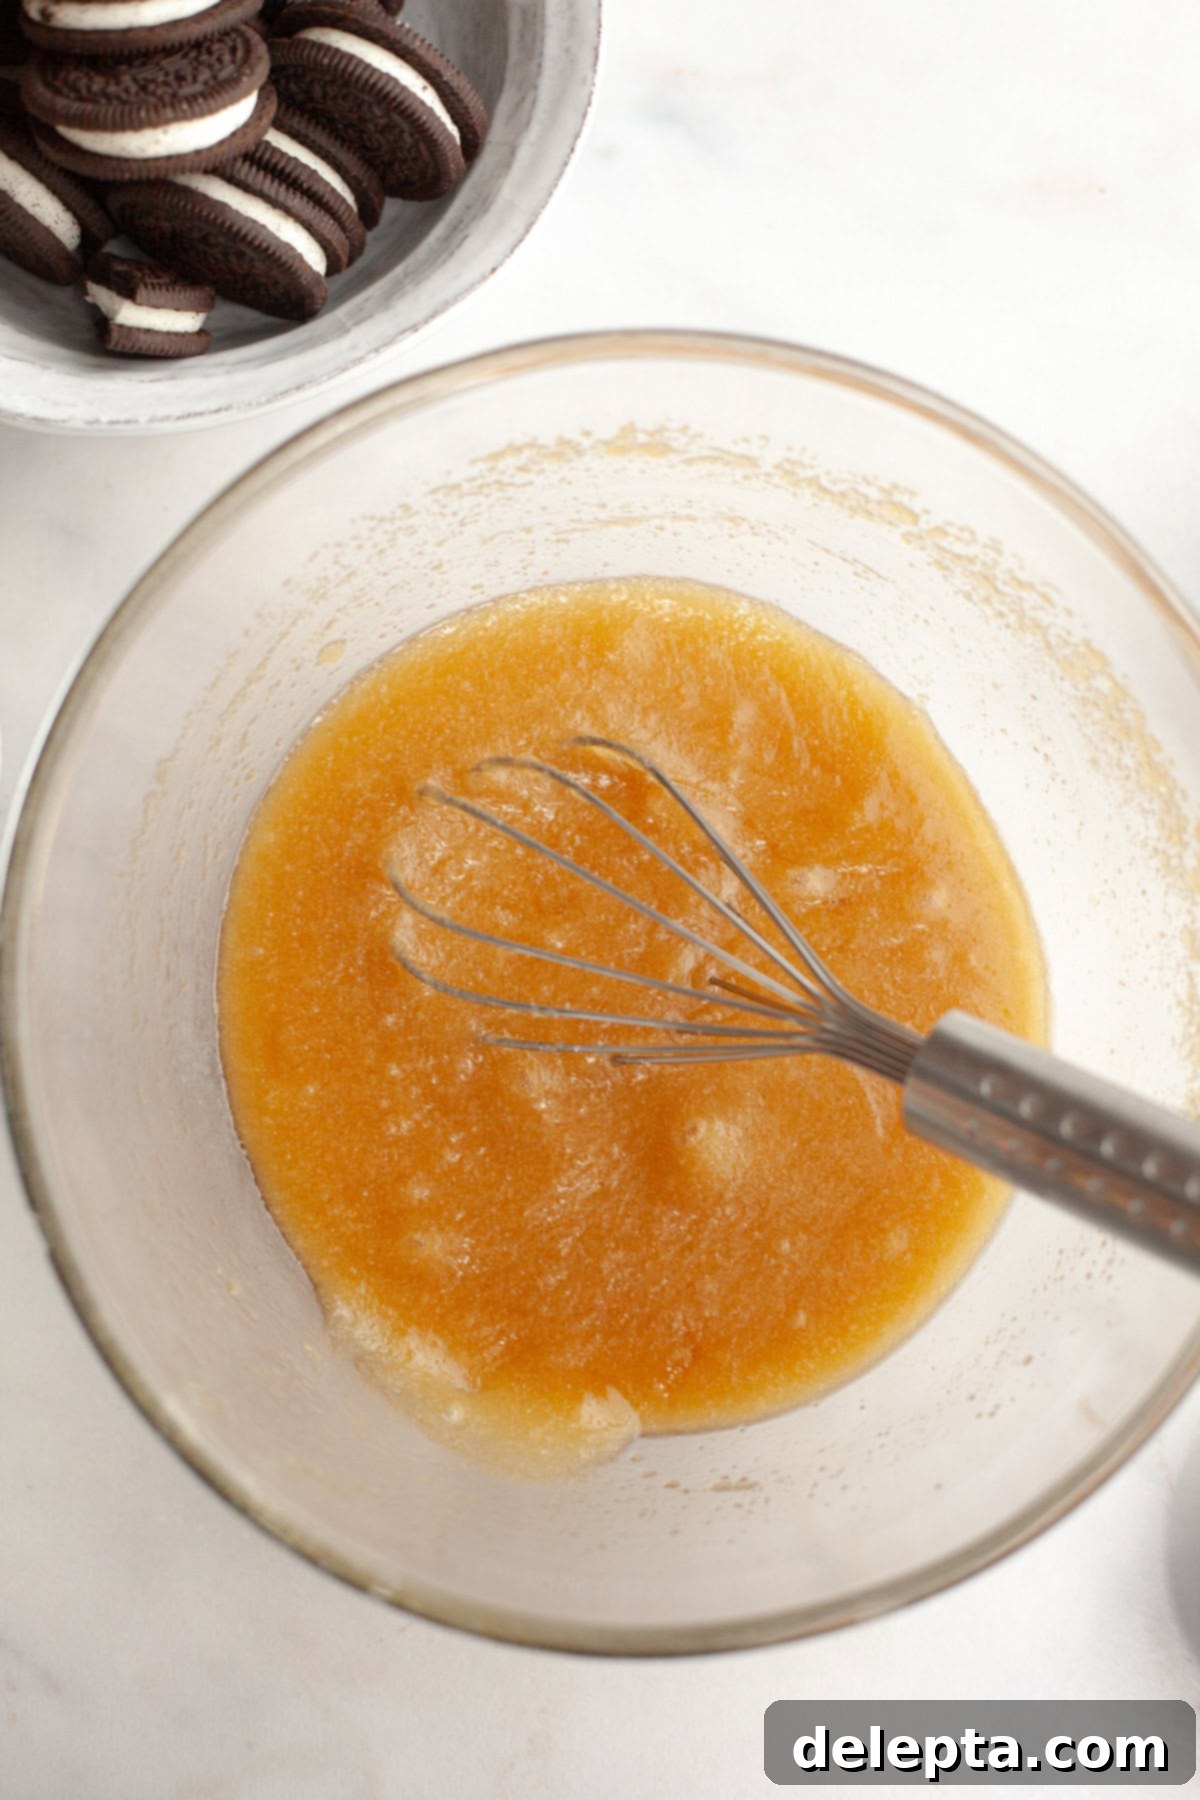
- Step 1: Melt Butter & Combine Sugars. Begin by melting the unsalted butter in a large, microwave-safe bowl until fully liquid and hot. For quicker melting, slice the butter into smaller pieces. Once melted, add both granulated sugar and light brown sugar to the hot butter. Whisk vigorously until the sugars are well combined and the mixture is smooth. Return the bowl to the microwave for another 20-30 seconds to further heat the mixture, then whisk intensely for 1-2 minutes. This crucial step helps to dissolve the sugar, which is essential for achieving that coveted shiny, crinkly top on your brownies.
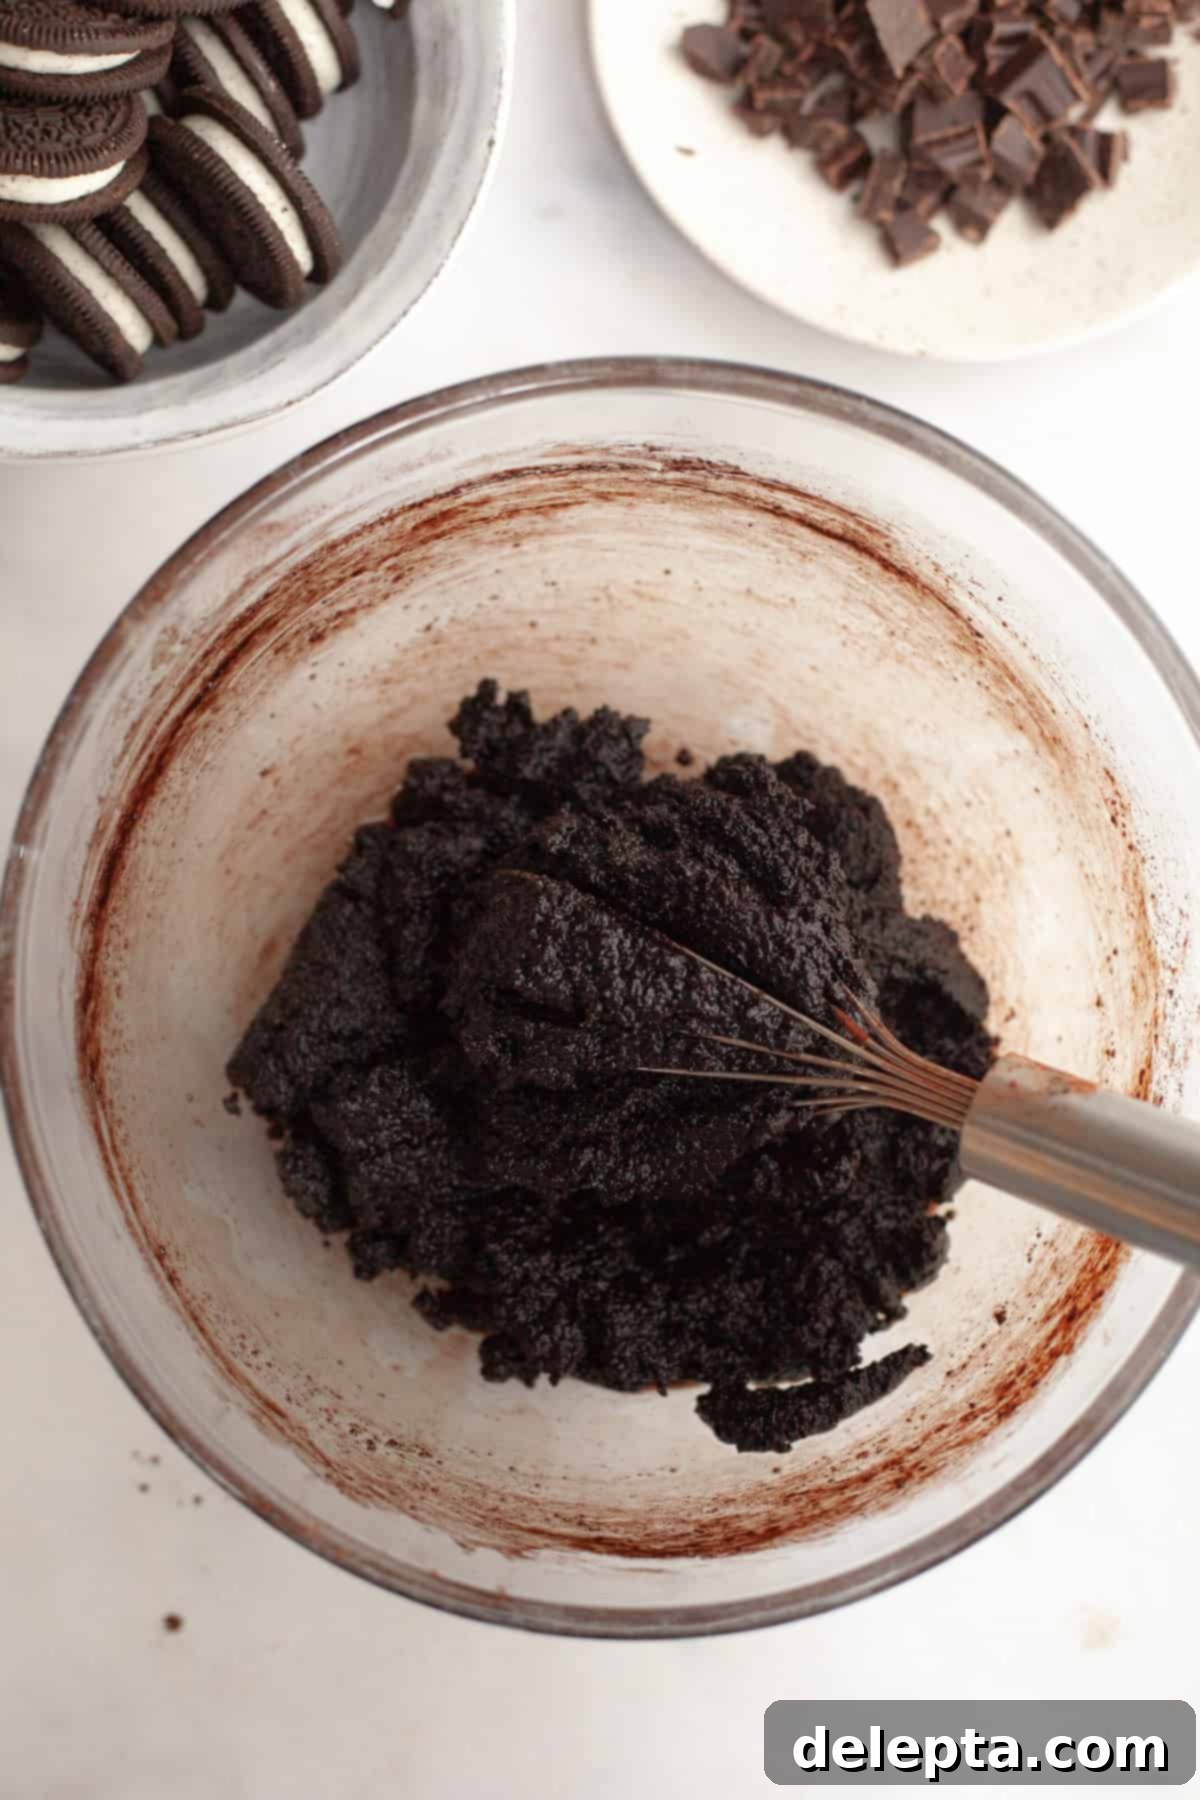
- Step 2: Incorporate Cocoa & Seasonings. Whisk in the vanilla extract, kosher salt, black cocoa powder, and Dutch-processed cocoa powder. At this stage, the mixture will appear quite grainy and perhaps a bit unusual, but don’t worry, this is completely normal! Place the bowl back in the microwave for another 20-30 seconds, then whisk again for a full minute. This second round of heating and whisking further helps to dissolve the sugar and cocoa, contributing to the smooth texture and shiny surface of the baked brownies.
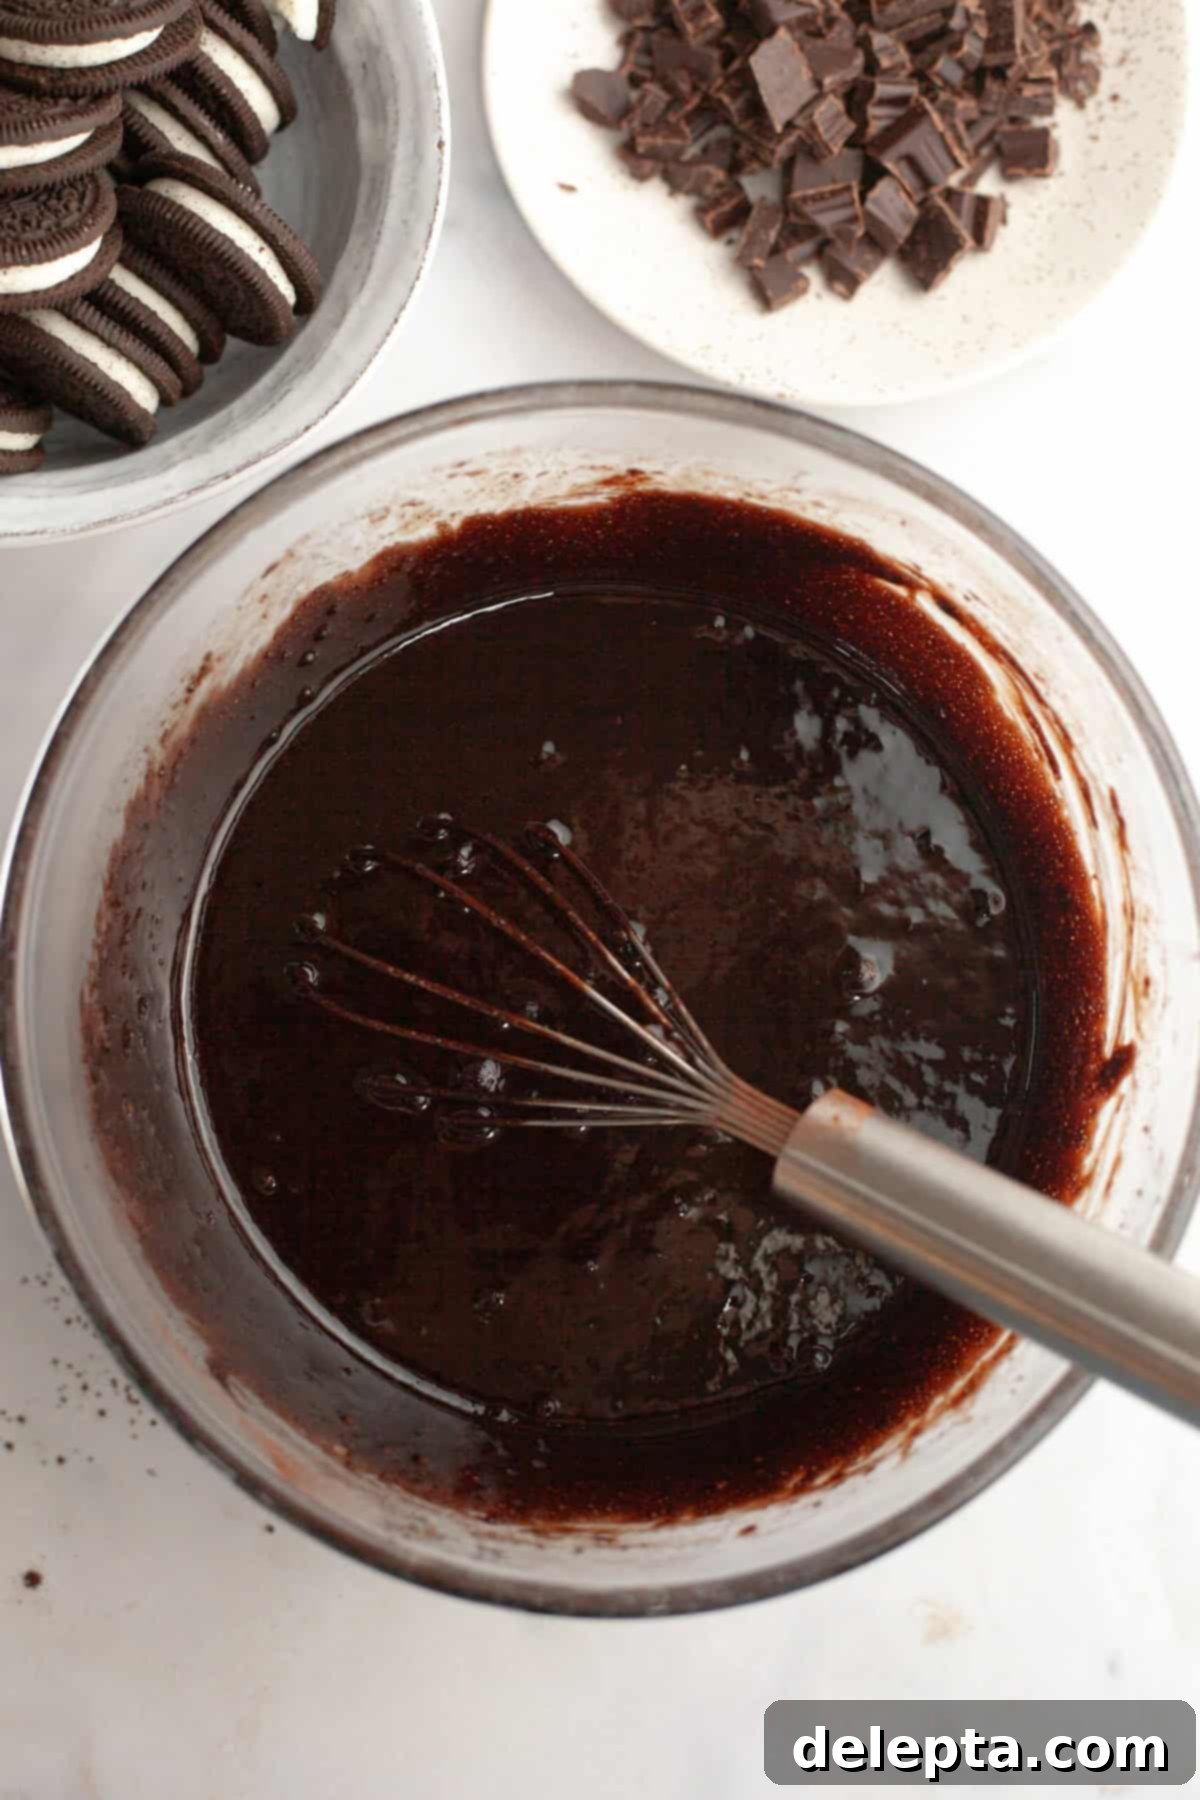
- Step 3: Add Eggs & Whisk Vigorously. Now, add the room temperature large eggs and the additional egg yolk to the mixture. Whisk continuously and vigorously for 2-3 minutes. This step is crucial for emulsifying the eggs into the batter, which is key to achieving that desirable thin, crackly, and shiny top layer on your brownies. Yes, your arm might get a bit tired, but the results are absolutely worth the effort! The batter should become noticeably smoother and glossier.
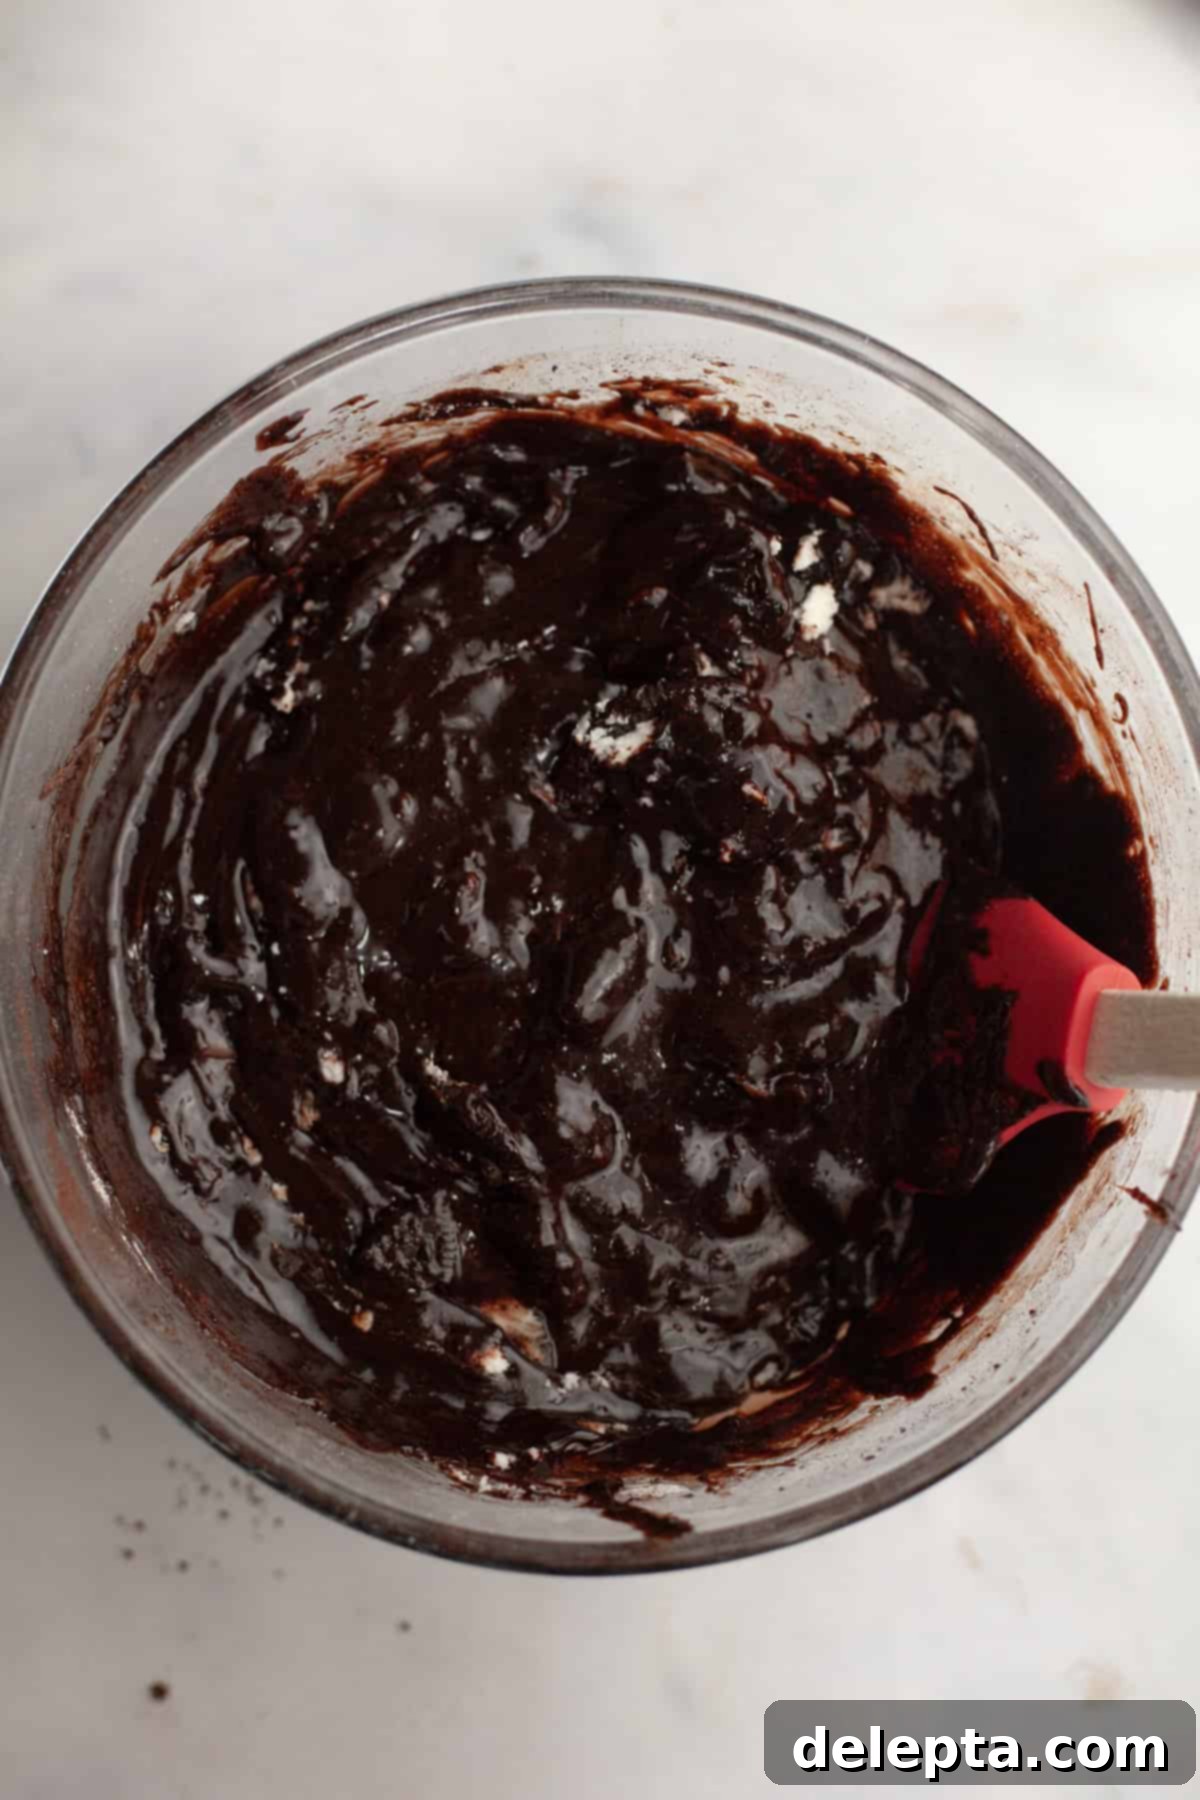
- Step 4: Fold in Dry Ingredients & Mix-Ins. Gently fold in the all-purpose flour and espresso powder (if using) until just combined. Be careful not to overmix the batter at this stage, as overmixing can lead to tough brownies. Then, with a rubber spatula, carefully stir in the finely chopped chocolate and the chopped Oreo pieces. Ensure they are evenly distributed throughout the rich, glossy batter.
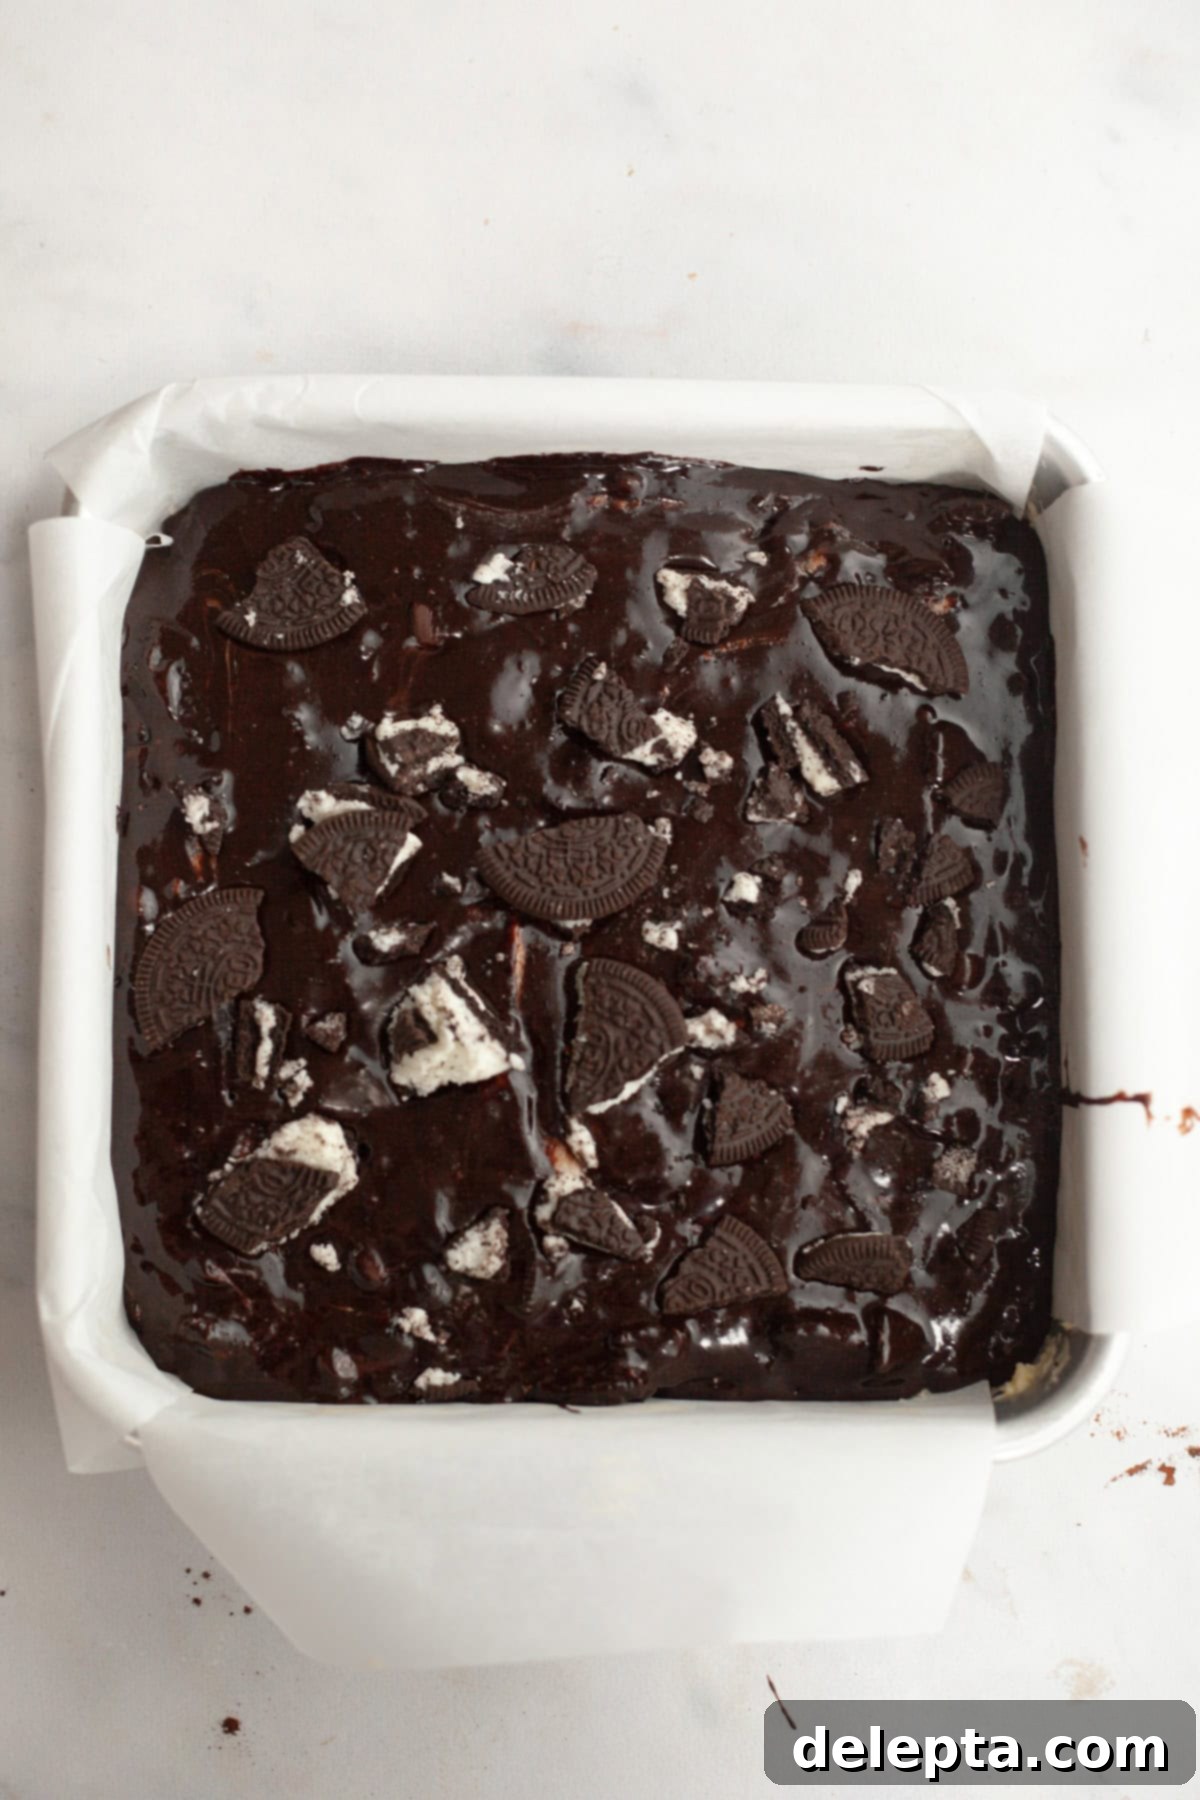
- Step 5: Prepare for Baking. Pour the decadent brownie batter into a greased and parchment-lined 8×8 inch baking pan. For easy removal after baking, I recommend leaving some parchment paper overhanging on the sides. Smooth the top evenly. For an extra visual and textural treat, sprinkle a few more chopped Oreos on top of the batter just before it goes into the oven.
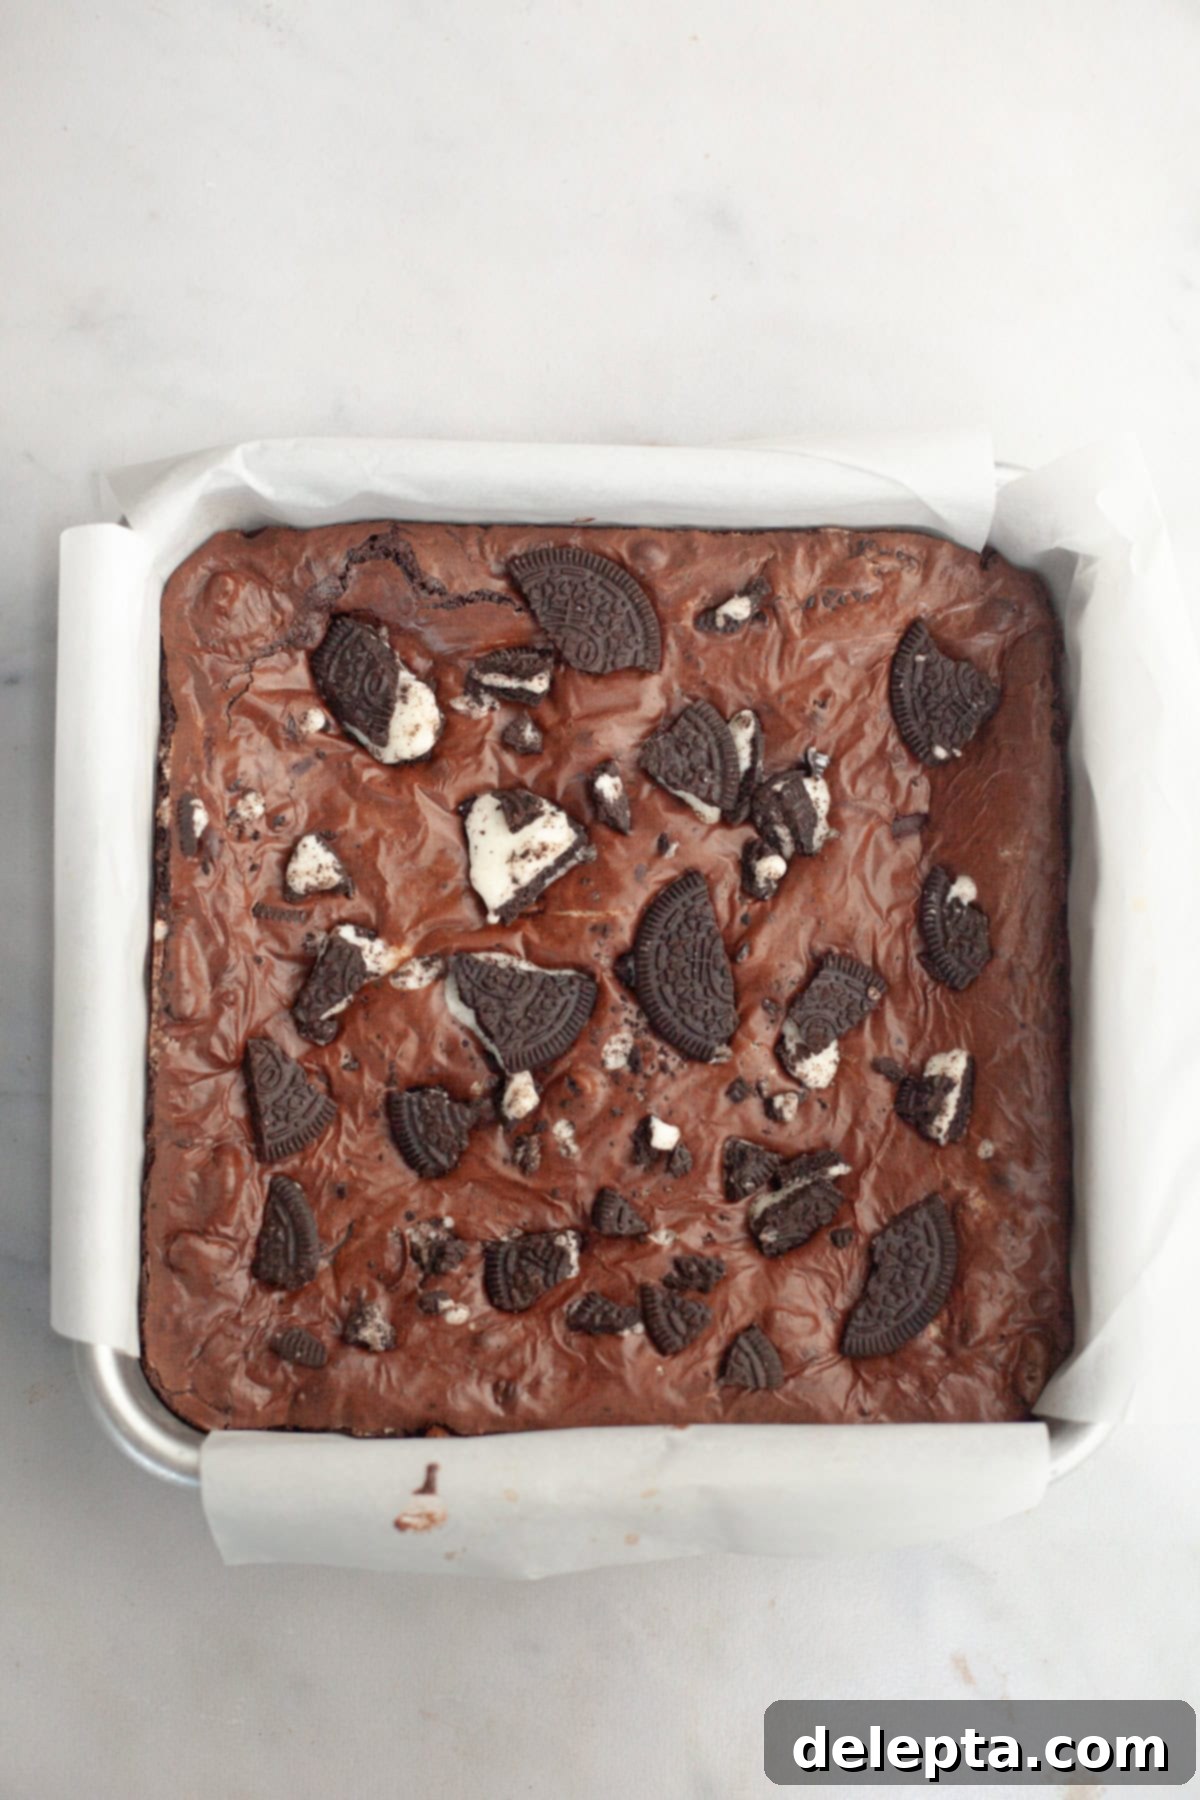
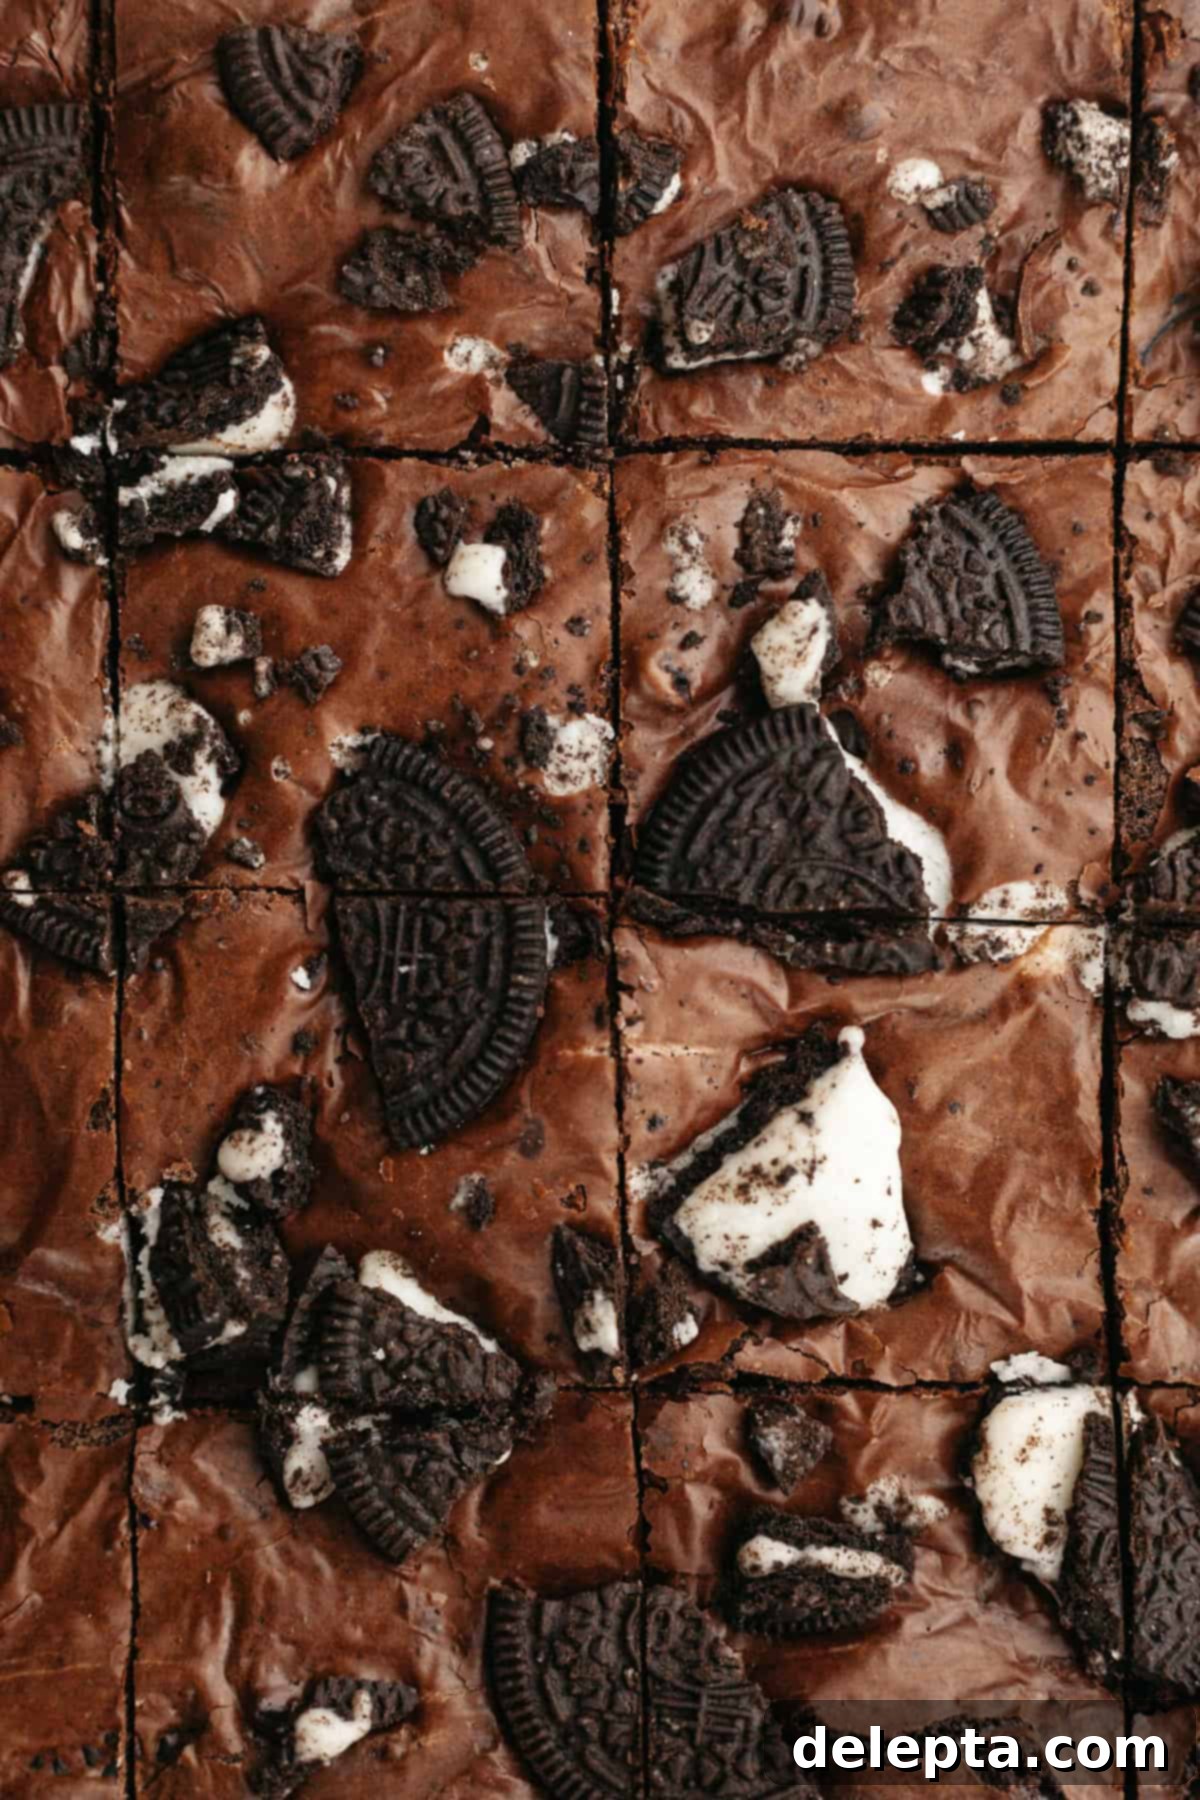
- Step 6: Bake & Cool. Bake the brownies in your preheated oven at 350°F (175°C) for 24-28 minutes. Keep an eye on them; the exact baking time can vary depending on your oven. The brownies are done when a toothpick inserted into the center comes out with moist crumbs, but not wet batter. Crucially, let the brownies cool completely in the pan on a wire rack before attempting to slice them. This allows them to set properly and ensures maximum fudginess and clean cuts.
Expert Brownie Baking Tips from My Kitchen to Yours!
Achieving truly perfect brownies often comes down to a few key techniques. Here are my top tips to ensure your fudgy Oreo brownies turn out absolutely irresistible every time:
- Don’t Skip Out on the Whisking: That extensive microwaving and whisking isn’t just for show! It’s absolutely vital for dissolving the granulated sugar into the butter mixture. This sugar dissolution is the secret weapon behind that gorgeous, shiny, and delicately crinkly top that everyone loves on a well-made brownie. It also helps to create a smoother, more homogeneous batter, which translates to a more consistent and fudgy texture.
- Choose a Light Metal Pan: The type of baking pan you use significantly impacts the final texture of your brownies. For the best results, always opt for a light-colored metal baking pan. Glass pans, while common, don’t conduct heat as efficiently or evenly as metal. Using a glass pan can lead to brownies with overly hard, almost burnt edges and an undercooked, gooey center. Metal pans ensure even heat distribution, resulting in perfectly baked brownies throughout.
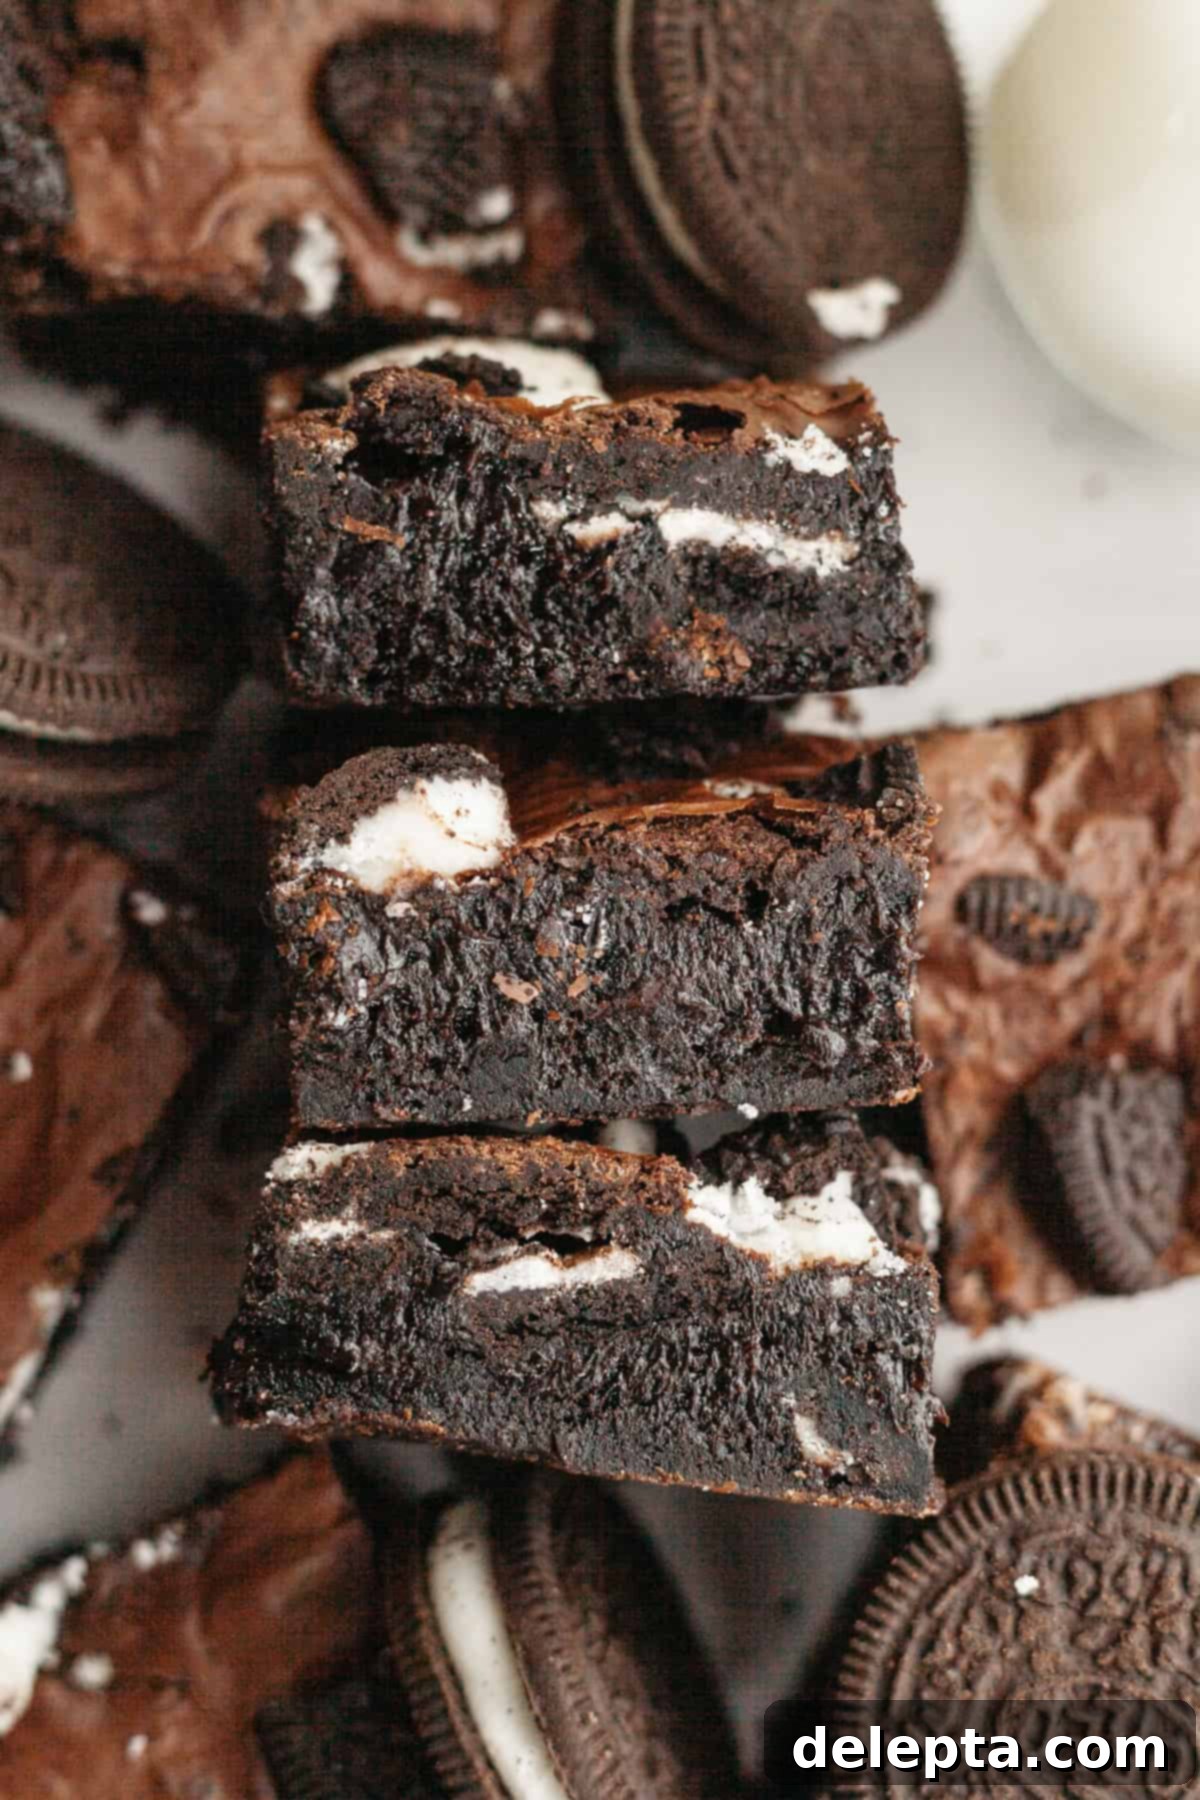
- Extra Fudgy Tip: For the ultimate fudgy experience, patience is a virtue! After baking and allowing your brownies to cool completely at room temperature, I highly recommend placing them in the fridge for a few hours, or even better, overnight. This chilling process solidifies the fats and further develops that dense, ultra-fudgy texture that makes these brownies so addictive.
- Swapping Out Chocolate Chips: I know, chopping chocolate can sometimes feel like a chore, but trust me, it’s worth the extra effort for these brownies! I’ve tested this recipe with regular chocolate chips, and due to the emulsifiers and stabilizers added to many baking chips (designed to help them hold their shape in cookies), I often didn’t achieve that beautiful, shiny brownie top. Finely chopped baking chocolate (from a bar) melts more smoothly and integrates better into the batter, contributing to both the fudgy texture and the glossy crust.
- Do Not Overbake: This is perhaps the most crucial rule for fudgy brownies. Brownies continue to cook slightly after being removed from the oven due to residual heat. Pull them out when a toothpick inserted into the center comes out with moist crumbs clinging to it, not completely clean. If it comes out with wet batter, they need more time. Overbaking will result in dry, cakey brownies, which is precisely what we want to avoid for this recipe!
Storage & Freezing: Keeping Your Fudgy Oreo Brownies Fresh
Once your fudgy Oreo brownies have completely cooled – a crucial step for achieving maximum fudginess and clean slices – you’ll want to store them properly to maintain their deliciousness. For short-term storage, place the cooled brownies in an airtight container. You can keep them at room temperature for up to 3 days, or in the fridge for up to 5 days. I personally prefer storing them in the fridge, as it enhances their fudgy texture even further, making them an extra-dense, chewy delight.
If you’re looking to enjoy these delightful brownies over a longer period, they freeze beautifully! Simply cut the cooled brownies into individual squares, then place them in a single layer on a baking sheet to flash freeze for about 30 minutes. Once firm, transfer the frozen brownies to a freezer-safe bag or an airtight container, separating layers with parchment paper to prevent sticking. They can be frozen for up to 2 months. When you’re ready to enjoy them, simply let them thaw at room temperature. For an extra special treat, warm a thawed brownie slightly in the microwave and serve it with a generous scoop of vanilla ice cream. Just a suggestion, of course – but highly recommended for an unforgettable dessert experience!
Expand Your Oreo Obsession: Try These Other Delicious Oreo Recipes!
If you’ve fallen head over heels for these fudgy Oreo brownies, then you’re undoubtedly an Oreo enthusiast! Good news: there are plenty more delightful Oreo-infused treats to explore. Once you’ve mastered these brownies, consider trying one of these equally fantastic Oreo recipes from my collection:
- One Bowl Peanut Butter Oreo Cookies (with brown butter)Experience a delightful combination of nutty peanut butter and crunchy Oreos in these easy one-bowl cookies, elevated with the rich flavor of brown butter.
- Easy Funfetti Oreo Cake with Oreo FrostingCelebrate any occasion with this joyous funfetti cake, made even more special with chunks of Oreos and a creamy Oreo frosting.
- Rice Krispie Treats with OreosA fun and easy no-bake dessert, these classic rice krispie treats are upgraded with crushed Oreos for an extra layer of crunch and flavor.
- Homemade Oreo Chocolate Chip Cookies (1-Bowl)Combine two classic treats in one with these irresistible one-bowl cookies, packed with both chocolate chips and crunchy Oreo bits.
If you’ve made this incredibly fudgy Oreo brownie recipe, don’t keep it a secret! Make sure to leave a ⭐️ rating and a thoughtful review below. Your feedback is invaluable, and I absolutely love seeing your culinary creations. Please tag me on Instagram @alpineella so I can admire what you’ve baked! You can also stay connected and discover more delicious recipes by following along on Pinterest, Facebook, and TikTok!
Recipe Card: Easy One-Bowl Fudge Oreo Brownies

One Bowl Fudge Oreo Brownies
Ella Gilbert
Pin Recipe
Save RecipeSaved!
Equipment
-
8×8 baking pan
-
Mixing Bowl
-
Whisk
-
Rubber Spatula
-
Measuring Spoons
-
Kitchen Scale
-
Microwave
Ingredients
- 1 ¼ stick unsalted butter
- ½ cup light brown sugar
- 1 cup granulated sugar
- ½ cup dutch process cocoa powder
- ¼ cup black cocoa powder
- 1 teaspoon vanilla extract
- 1 teaspoon kosher salt
- 2 large eggs room temperature
-
1
large egg yolk room temperature
- ½ cup all purpose flour
- 1 tablespoon espresso powder
- ⅓ cup finely chopped chocolate
- 16 Oreos chopped up
Instructions
-
Preheat your oven to 350℉ (175℃). Prepare an 8×8 inch baking pan by lining it with parchment paper or foil. For easier removal of the cooled brownies, it’s a good idea to leave a slight overhang of parchment paper on the sides.
-
Place the unsalted butter in a large, microwave-safe mixing bowl. Melt the butter in the microwave until it is completely liquid and hot. To speed up the melting process, I recommend cutting the butter into smaller pieces before microwaving.1 ¼ stick unsalted butter
-
Add both the granulated sugar and light brown sugar to the melted butter. Whisk thoroughly until the mixture is smooth and all sugars are well incorporated. Return the bowl to the microwave for 20-30 seconds, then immediately whisk again for 1-2 minutes. This heating and whisking process is crucial for dissolving the sugar, which helps create that signature shiny, crinkly top on your brownies.1 cup granulated sugar, ½ cup light brown sugar
-
Next, whisk in the kosher salt, vanilla extract, Dutch-process cocoa powder, and black cocoa powder. The mixture will appear grainy and might look a little unusual, but this is perfectly normal for this stage. Microwave the bowl again for 20-30 seconds, then whisk vigorously for about a minute. This further aids in dissolving the cocoa and sugar, ensuring a smooth, rich batter.½ cup dutch process cocoa powder, 1 teaspoon vanilla extract, 1 teaspoon kosher salt, ¼ cup black cocoa powder
-
Add the room temperature large eggs and the additional large egg yolk to the mixture. Whisk continuously and vigorously for 2-3 minutes. This prolonged whisking emulsifies the eggs into the batter, which is key to achieving that desirable crackly, shiny top on your baked brownies. It will also help the batter become incredibly smooth and glossy.2 large eggs, 1 large egg yolk
-
Gently stir in the all-purpose flour and espresso powder (if using) until they are just combined and no streaks of dry flour remain. Be careful not to overmix at this stage to keep the brownies tender and fudgy. The batter should look wonderfully shiny and fairly thick.½ cup all purpose flour, 1 tablespoon espresso powder
-
Using a rubber spatula, gently fold in the finely chopped chocolate shards along with the chopped Oreo pieces. Ensure they are evenly distributed throughout the rich brownie batter, adding pockets of gooey chocolate and crunchy cookie texture to every bite.⅓ cup finely chopped chocolate, 16 Oreos
-
Pour the prepared brownie batter into your lined 8×8 inch baking pan, spreading it evenly. For an even more enticing presentation and an extra burst of Oreo flavor, I like to scatter a few additional chopped Oreos on top of the batter just before placing it in the oven. Bake for 24-28 minutes.
-
Once baked, remove the brownies from the oven and let them cool completely in the pan on a wire rack before attempting to remove and slice them. This step is crucial for allowing the brownies to set properly, ensuring a dense, fudgy texture and clean, neat squares. For truly extra fudgy brownies, I highly recommend chilling them in the fridge for a few hours, or ideally, overnight, before cutting.
Video Tutorial
Chef’s Notes & Substitutions
All my recipes, including these fudge Oreo brownies, have been meticulously developed and tested using metric grams for precision. I highly recommend using a kitchen scale to measure your ingredients the metric way for the most consistent and accurate results. While I have provided a conversion to US cups for convenience, please be aware that I haven’t rigorously tested the recipe using this method, so results may vary slightly. To access the precise metric measurements, simply click on the ‘Metric’ button located above the ingredients list.
Don’t have a microwave? No problem! You can still achieve the desired results using the double boiler method. Fill a large saucepan with about an inch or two of water and bring it to a gentle simmer over medium heat. Place your large mixing bowl (ensure it’s heat-safe) directly on top of the saucepan, making sure the bottom of the bowl does not touch the simmering water. Continue to follow the recipe steps for melting butter and incorporating sugars and cocoa powder, whisking over the gentle heat. Once you’ve added the cocoa powder and completed the whisking steps, remove the bowl from the saucepan before adding the eggs.
Kosher Salt: The type of salt can make a difference. This recipe specifically calls for Diamond Crystal Kosher Salt. If you’re using a finer salt, such as table salt, or Morton brand kosher salt (which is denser than Diamond Crystal), you should halve the amount of salt listed in the ingredient list (e.g., 1 teaspoon kosher salt = ½ teaspoon fine salt). This adjustment prevents your brownies from becoming too salty.
Cocoa Powder: This recipe specifies Dutch-processed cocoa powder, which contributes to the brownies’ deep color and less bitter chocolate flavor. While you can substitute it with natural cocoa powder in a pinch, please note that the brownies may not be as rich in flavor or as dark in color due to the difference in acidity and processing. The overall texture might also be slightly altered.
Black Cocoa Powder: For the most authentic Oreo flavor and color, black cocoa powder is highly recommended. However, if you don’t have it, you can simply swap it out for an equal amount of additional Dutch-processed cocoa powder. Your brownies will still be delicious and fudgy, but they won’t have the distinctive ultra-dark hue or the pronounced “Oreo” flavor profile.
Oreos: Feel free to use either regular Oreos or Double Stuf Oreos for this recipe; both varieties work wonderfully. Double Stuf Oreos will, of course, add a little extra creamy filling goodness to your brownies, intensifying the overall Oreo experience.
Espresso Powder: When using espresso powder, it’s important to use a finely ground powder, not instant espresso granules. The fine powder dissolves easily and seamlessly into the batter, enhancing the chocolate flavor without leaving a gritty texture.
Baking Pan: For optimal results, I strongly advise using a light-colored metal baking pan over a glass pan. As mentioned in the baking tips, glass does not conduct heat as effectively or evenly as metal. Using a glass pan can lead to brownies that have overcooked, tougher sides and bottom, while the center remains undercooked and overly gooey. A metal pan ensures even baking and a consistent fudgy texture throughout.
Storage: To maintain their optimal freshness and fudgy texture, store the cooled brownies in an airtight container. They will remain delicious at room temperature for up to 3 days, or significantly fudgier in the fridge for up to 5 days. For longer storage, see the freezing instructions above.
Nutrition Information
