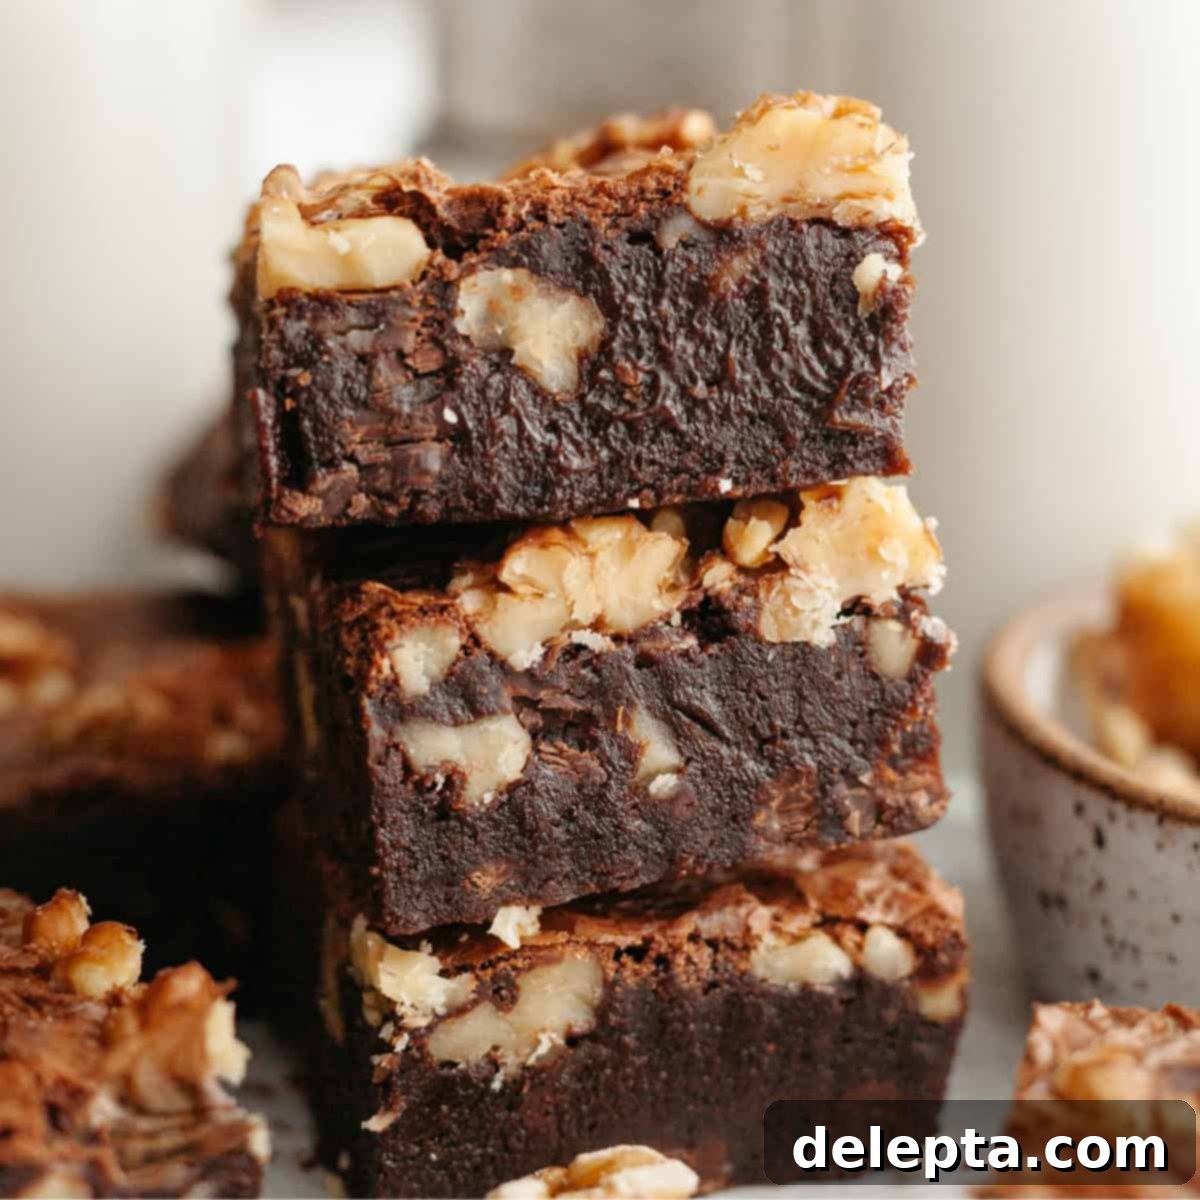
Irresistibly Fudgy Walnut Brownies: The Ultimate One-Bowl Recipe for a Crinkly, Chewy Treat
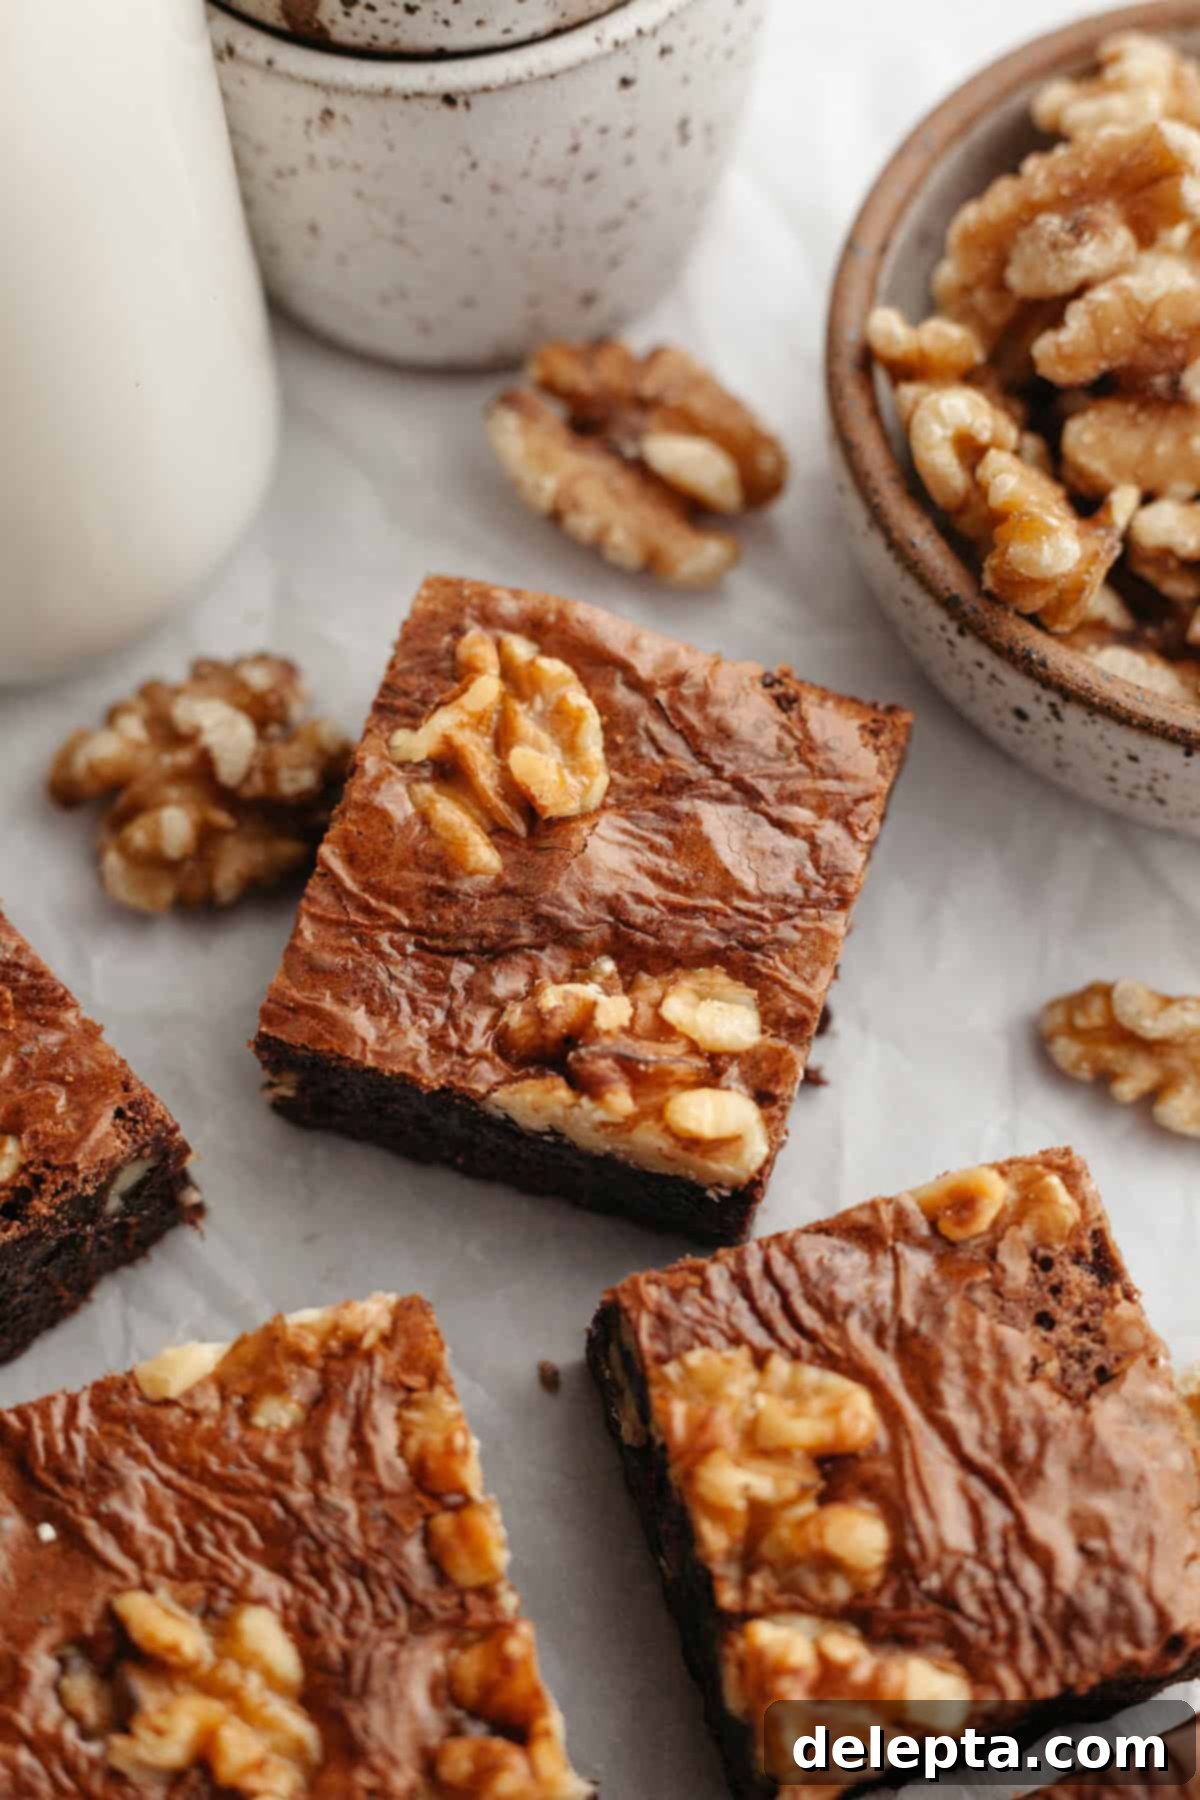
When that intense craving for something rich, deeply chocolatey, and utterly satisfying strikes, these **fudgy walnut brownies** are your perfect, stress-free solution! This recipe delivers on all fronts: incredible flavor, a wonderfully chewy and gooey texture, and the added crunch of toasted walnuts. Best of all, they come together effortlessly in just one bowl, requiring no fancy equipment like a stand mixer, making them the ideal treat for any occasion, from a busy weeknight indulgence to a casual weekend gathering. Prepare to fall in love with these easy, homemade fudgy brownies that boast that coveted shiny, crinkly top!
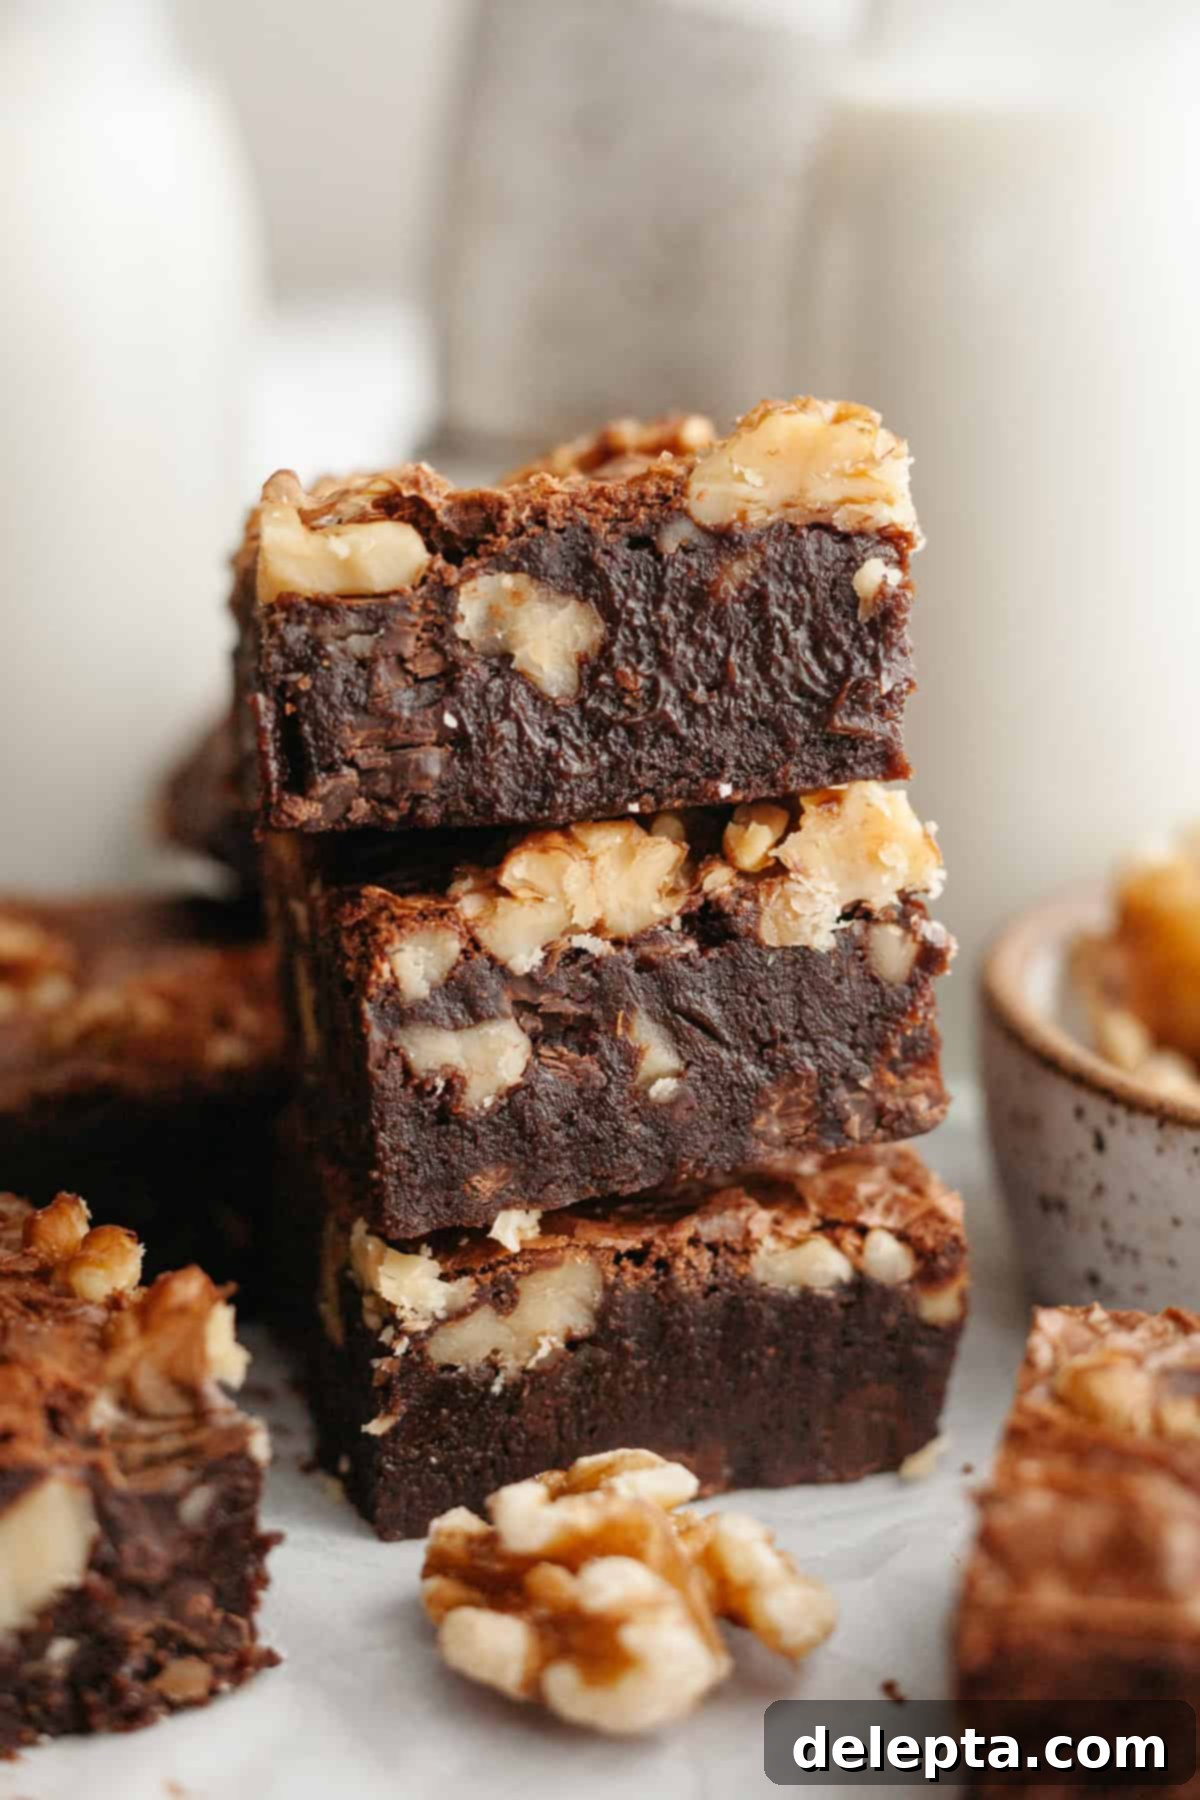
There’s a reason why brownies are a timeless classic, and for me, it’s always “team fudgy.” The richer, the gooier, the better! And if crunchy walnuts are involved? Even more delightful. I vividly remember growing up, it seemed like every brownie had walnuts baked into it. Back then, my younger self might not have fully appreciated the sophisticated texture and flavor they added, but now, I truly believe a generous scattering of nuts elevates a good brownie to an extraordinary one. These aren’t just any brownies; they’re the kind of decadent, chewy squares that taste like they came straight from a gourmet bakery, yet are surprisingly simple to make in your own kitchen.
This **one-bowl fudgy walnut brownie recipe** is truly a game-changer for anyone who craves homemade chocolate treats but wants to avoid a mountain of dishes. The beauty of this recipe lies in its simplicity. Everything is mixed in a single bowl, eliminating the need to haul out and clean a bulky stand mixer. This streamlined process means less cleanup and more time to enjoy your incredibly delicious results. It’s the perfect solution when you desire that deep, satisfying chocolate fix without the usual baking hassle.
If you’re a fellow brownie enthusiast constantly searching for new variations to satisfy your sweet tooth, you’re in luck! After mastering these fudgy walnut delights, why not explore other exciting flavors? You absolutely have to try our equally irresistible fudgy Oreo brownies for a cookie-crumble twist, our rich and tangy peanut butter cream cheese brownies, or the delightful sweetness of our white chocolate chip brownies! Each recipe offers a unique spin on the classic brownie, ensuring there’s a perfect treat for every craving.
Choosing the Right Brownie Pan: A Key to Perfect Fudginess!
While often overlooked, the baking pan you choose plays a surprisingly significant role in the final texture of your brownies. It’s not just about size; the material and color of your pan can dramatically impact how your brownies bake. For truly fudgy, evenly cooked brownies, put down that glass pan! Glass is a poor conductor of heat compared to metal, meaning it heats up slowly and retains heat for a longer time. This often leads to inconsistent baking: you might end up with overly crispy, even burnt edges, while the center remains underbaked and gooey in an undesirable way. We’re aiming for uniformly fudgy, not raw!
Instead, opt for metal pans. But even within metal pans, there are differences. It’s generally best to use a light-colored aluminum baking pan. Dark nonstick metal pans, while convenient for easy release, absorb more heat than lighter pans. This can cause the edges and bottom of your brownies to bake faster and potentially dry out, resulting in a less fudgy, more cake-like texture. A light-colored aluminum pan ensures more even heat distribution, allowing your brownies to bake through consistently, achieving that perfect balance of chewy edges and a super fudgy interior. For effortless removal and cleanup, always line your chosen pan with parchment paper, leaving an overhang on the sides to create “handles.”
Gather Your Essential Ingredients for Unforgettable Brownies!
Making truly exceptional brownies starts with understanding the role each ingredient plays. This recipe relies on a few key components that work in harmony to create that rich flavor and perfect fudgy texture. Here’s a closer look at what you’ll need and why these choices matter:
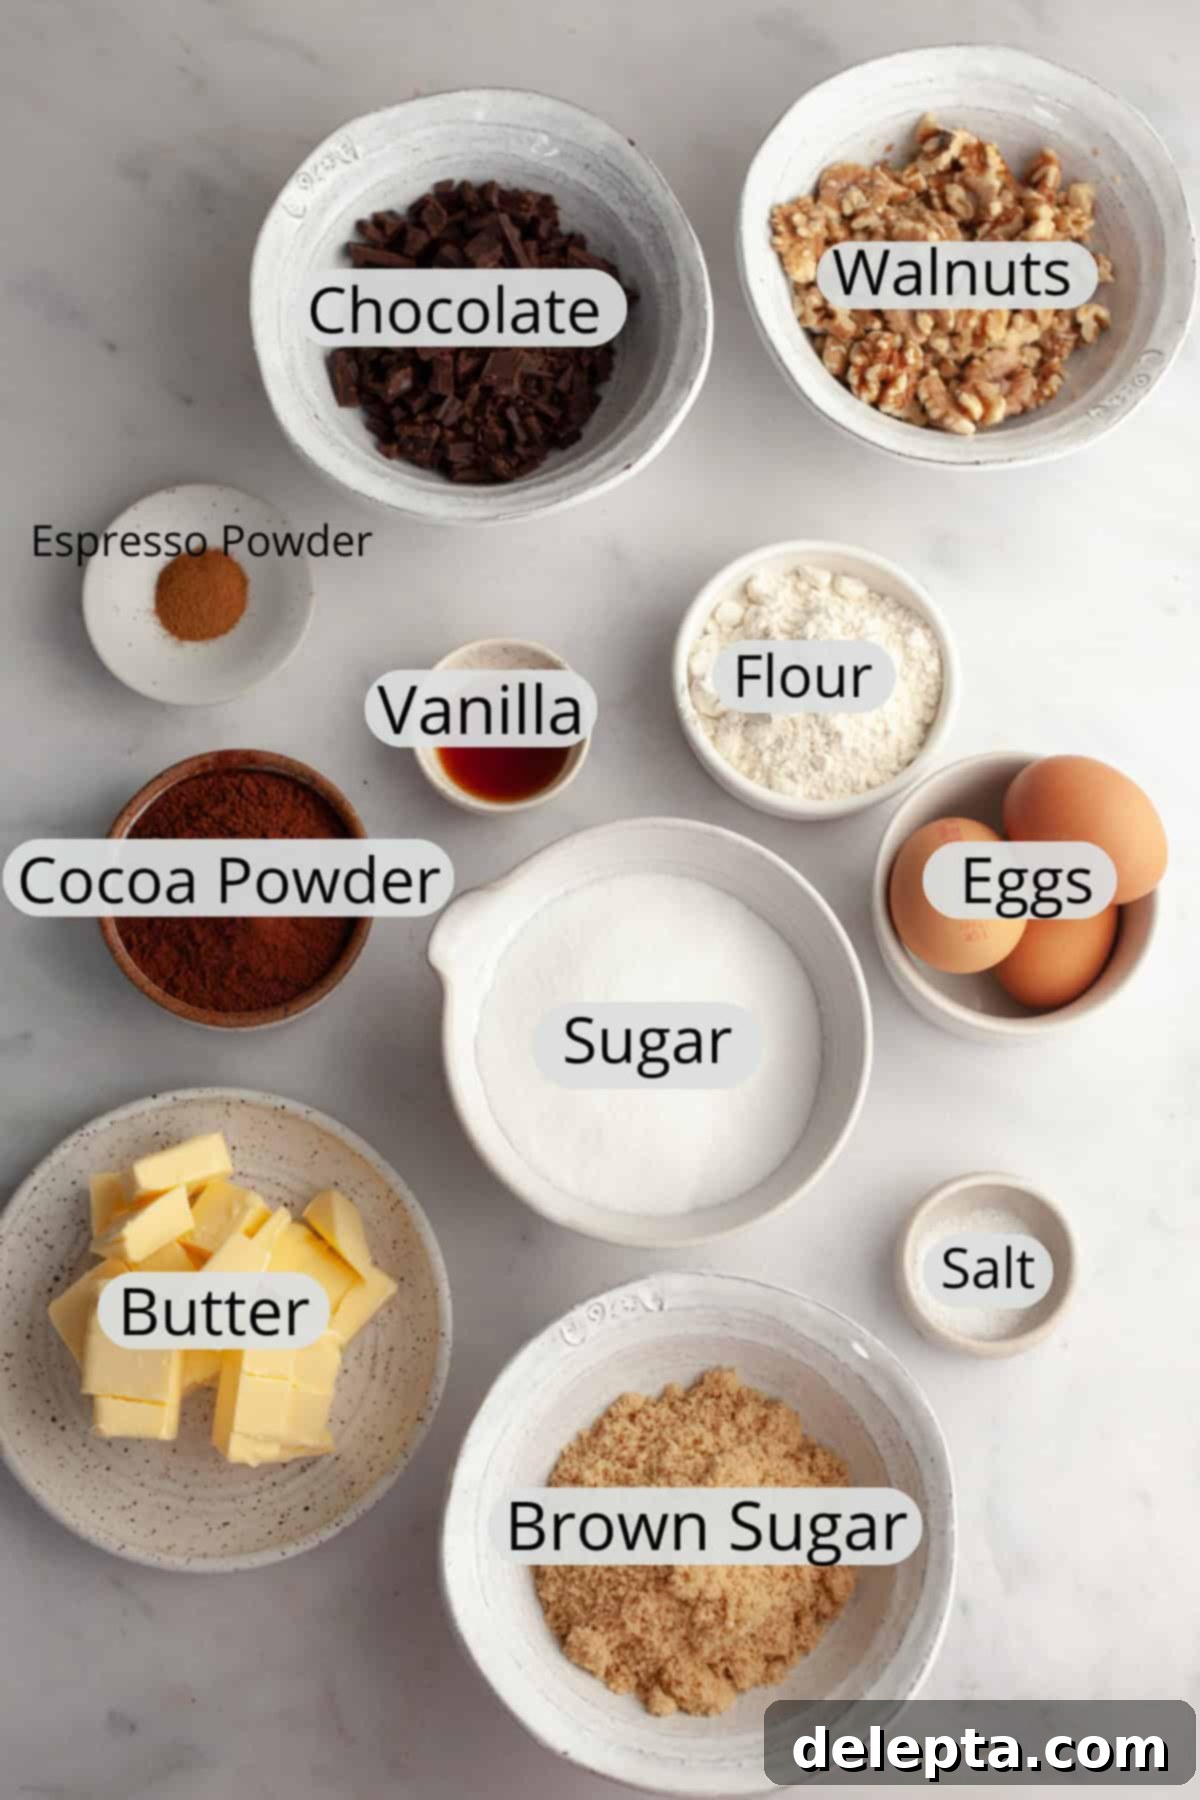
- Chocolate: For the deepest, richest chocolate flavor, I highly recommend using high-quality semisweet or dark chocolate. You’ll use some in the batter, and chopped pieces will melt into pockets of deliciousness. The higher cocoa content provides a more intense chocolate experience, elevating your brownies from good to gourmet.
- Cocoa Powder: While not strictly a “must” for all brownie recipes, incorporating Dutch-processed cocoa powder into this recipe is a game-changer. Dutch-processed cocoa powder has been treated with an alkali to neutralize its acidity, resulting in a darker color and a smoother, less bitter, and richer chocolate flavor. This process also prevents it from reacting with baking soda (which we don’t use much of here), contributing to a dense, fudgy texture rather than a cakey one.
- Fine Espresso Powder: This is an optional but highly recommended secret weapon! Adding just a pinch of fine espresso powder (not granules) won’t make your brownies taste like coffee. Instead, it subtly deepens and intensifies the chocolate flavor, making it taste even more robust and luxurious. It’s like a flavor amplifier for chocolate – truly a “yuuuum” moment!
- Unsalted Butter: Essential for richness and moisture. Using unsalted butter allows you to control the salt content in the recipe precisely. Melted butter is key to achieving a fudgy, dense brownie texture, as opposed to creamed butter which tends to produce a more cake-like result.
- Granulated Sugar & Light Brown Sugar: The combination of these two sugars is crucial. Granulated sugar provides crispness and contributes to that desirable shiny, crinkly top. Light brown sugar, with its molasses content, adds moisture, chewiness, and a subtle caramel note, making the brownies extra decadent. Dissolving these sugars properly in the melted butter is a secret to success.
- Large Eggs & Egg Yolk: Eggs provide structure and richness. Adding an extra egg yolk boosts the fat content, which is vital for achieving that incredibly fudgy and chewy texture we’re after. Make sure they are at room temperature for better emulsification.
- All-Purpose Flour: You’ll notice a relatively small amount of flour in this recipe. This minimal flour content is intentional, as it helps maintain the dense, fudgy consistency rather than creating a cake-like crumb.
- Kosher Salt: Salt is not just for seasoning; it’s a flavor enhancer. In baking, especially with rich chocolate desserts, salt balances the sweetness and brings out the depth of the chocolate.
- Vanilla Extract: A staple in most baked goods, vanilla extract adds another layer of aromatic depth and complexity, complementing the rich chocolate flavor.
- Walnuts: The star addition! Toasted and chopped walnuts provide a delightful crunch and a slightly earthy, nutty flavor that pairs beautifully with the chocolate. Toasting them beforehand is crucial, as it intensifies their flavor and aroma significantly. If you’re not a fan of walnuts, you can omit them or substitute with pecans.
Let’s Bake Some Brownies: Your Step-by-Step Guide to Perfection!
Get ready to whip up a batch of the most delicious fudgy walnut brownies you’ve ever tasted! This process is straightforward, designed for minimal fuss and maximum flavor. Follow these simple steps for a truly rewarding baking experience.
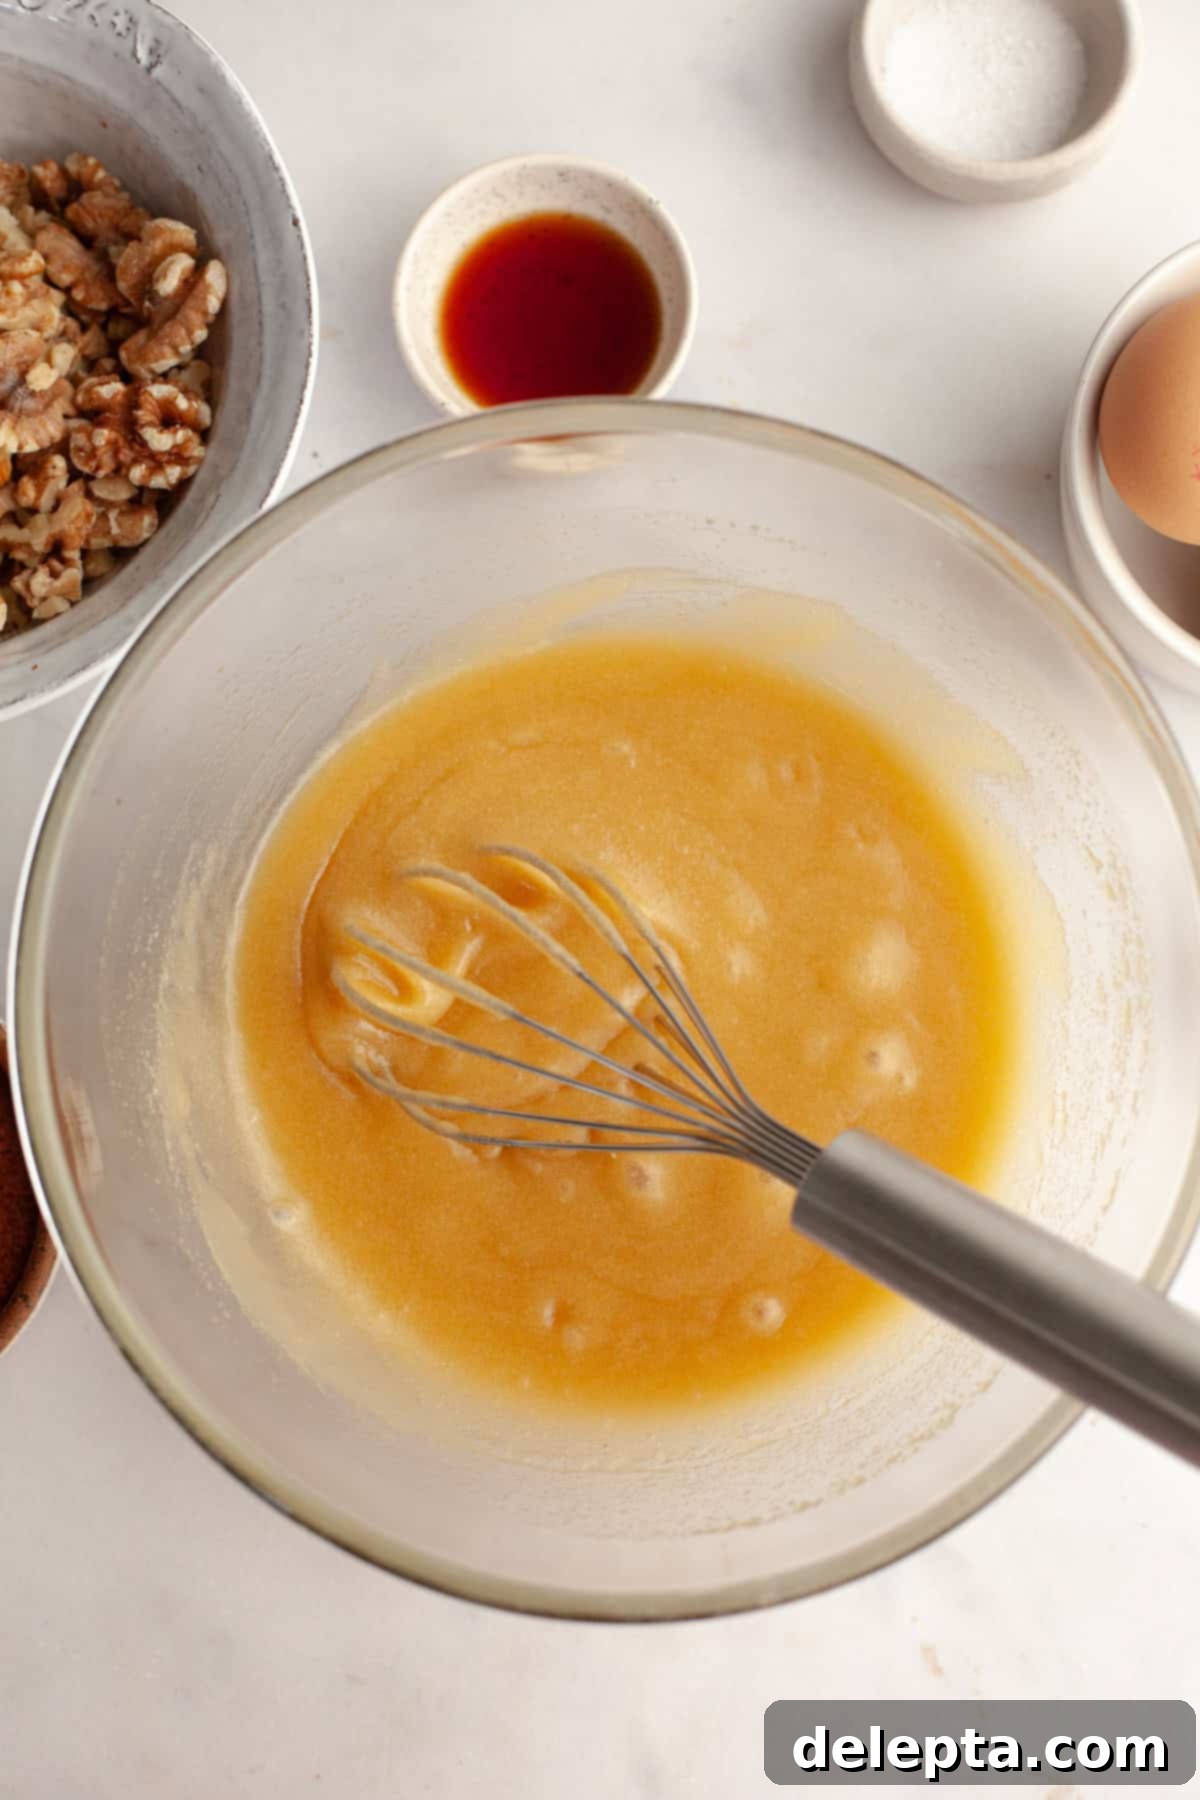
- Step 1: Begin by melting the unsalted butter until it’s fully liquid and hot. This warmth is essential for dissolving the sugars. Once melted, immediately whisk in both the granulated sugar and light brown sugar until the mixture is smooth and well combined. This initial step is critical for developing that signature shiny crust.
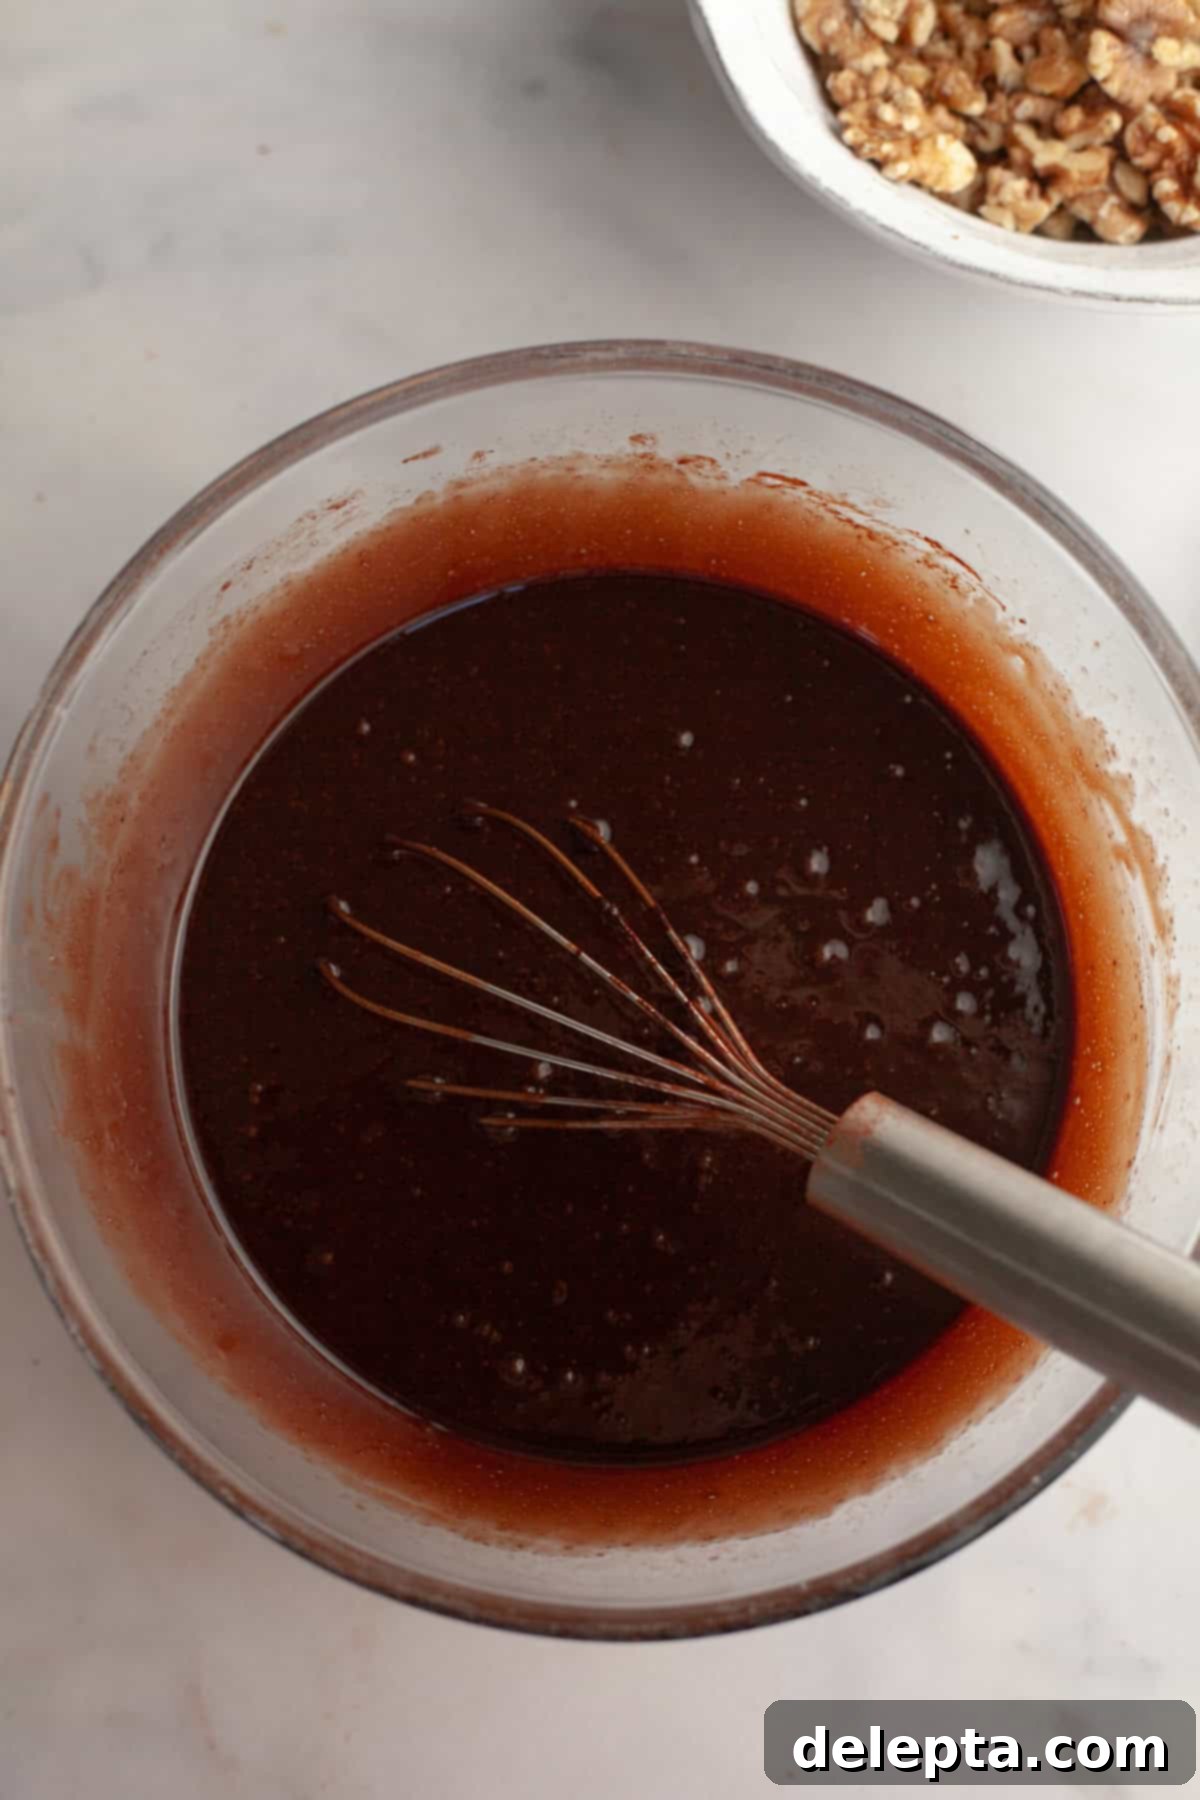
- Step 2: Next, incorporate the cocoa powder, vanilla extract, and kosher salt into the butter-sugar mixture, whisking until evenly blended. Then, add the large eggs and the extra egg yolk. Whisk vigorously for a good 2-3 minutes. Don’t be shy with your whisking – this helps create the shiny top and a light, airy texture within the fudginess.
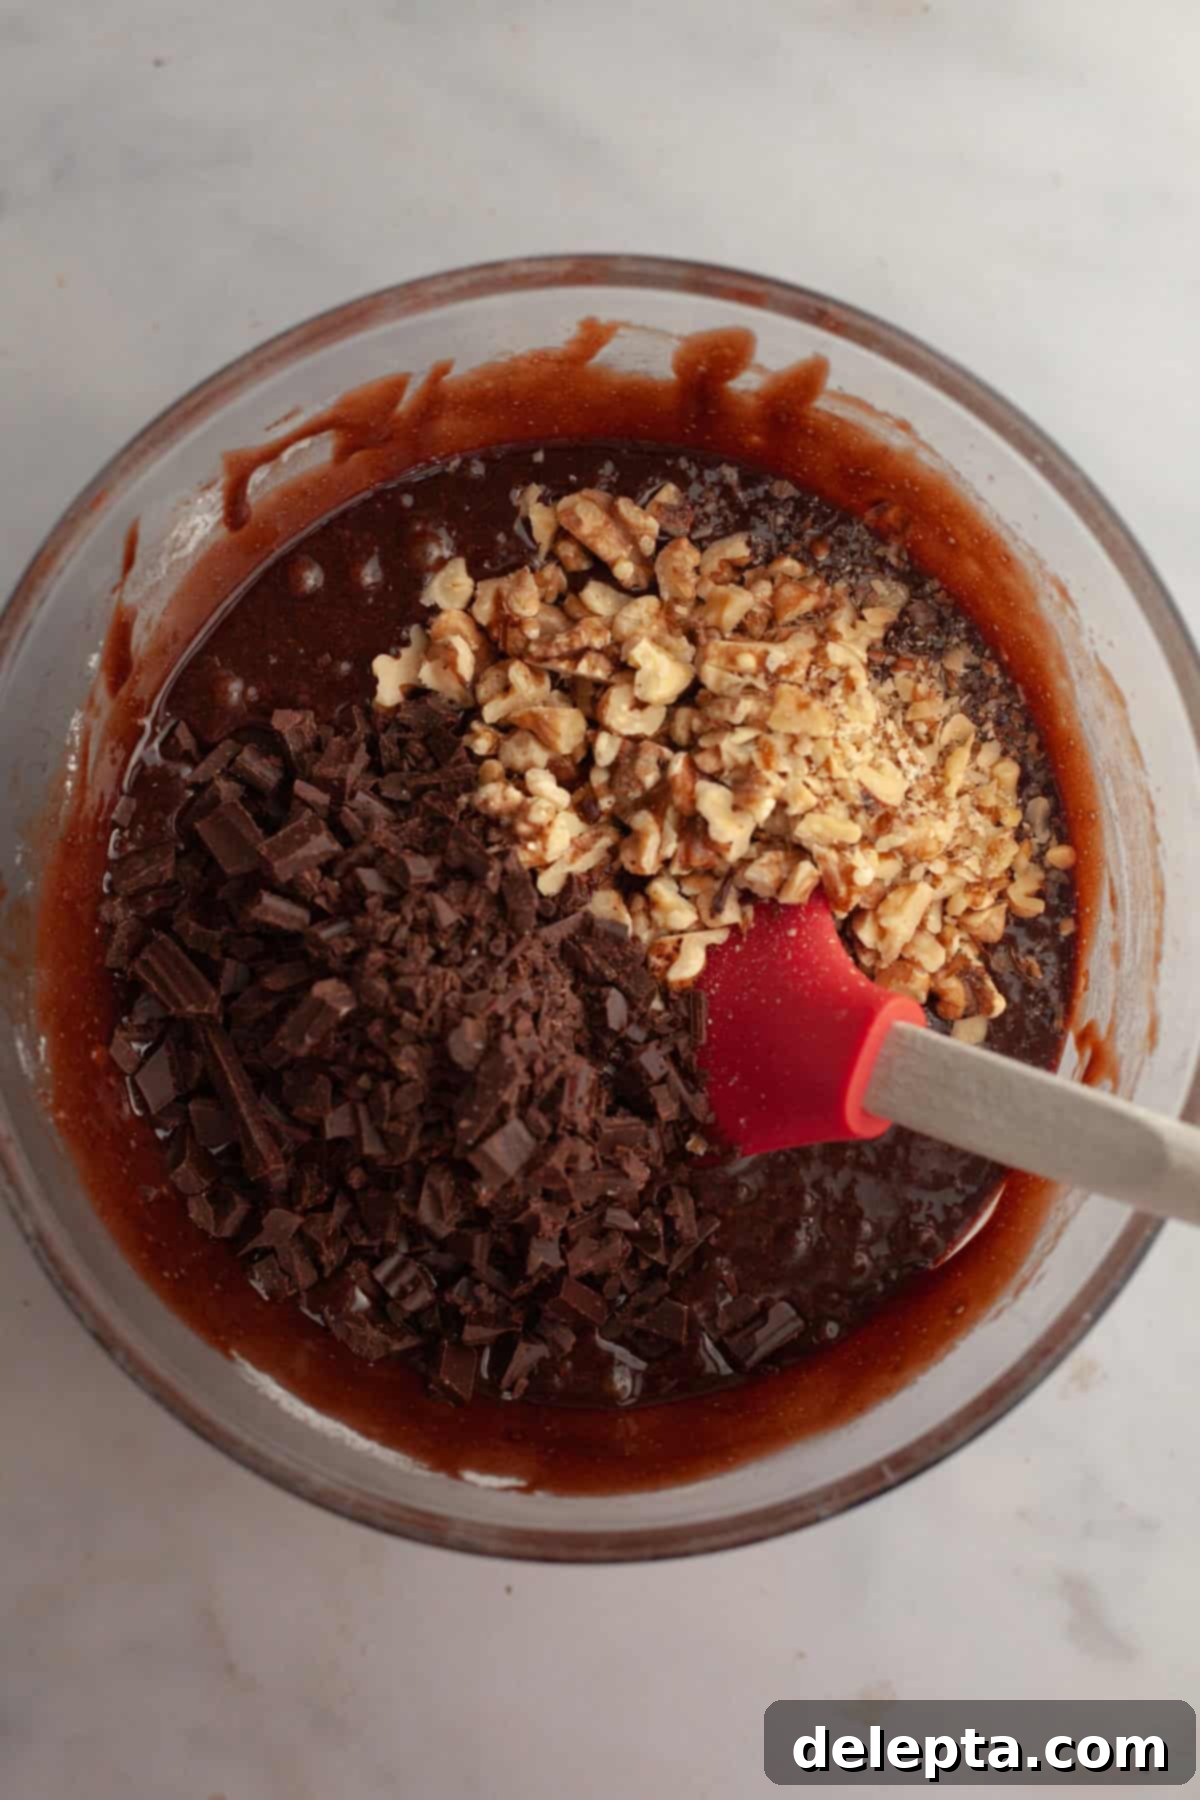
- Step 3: Gently fold in the all-purpose flour and fine espresso powder using a rubber spatula. Mix just until no dry streaks remain, being careful not to overmix. Overmixing can develop the gluten in the flour, leading to tougher brownies. Finally, stir in the finely chopped semisweet chocolate and the toasted, chopped walnuts. Ensure they are evenly distributed throughout the thick, shiny batter.
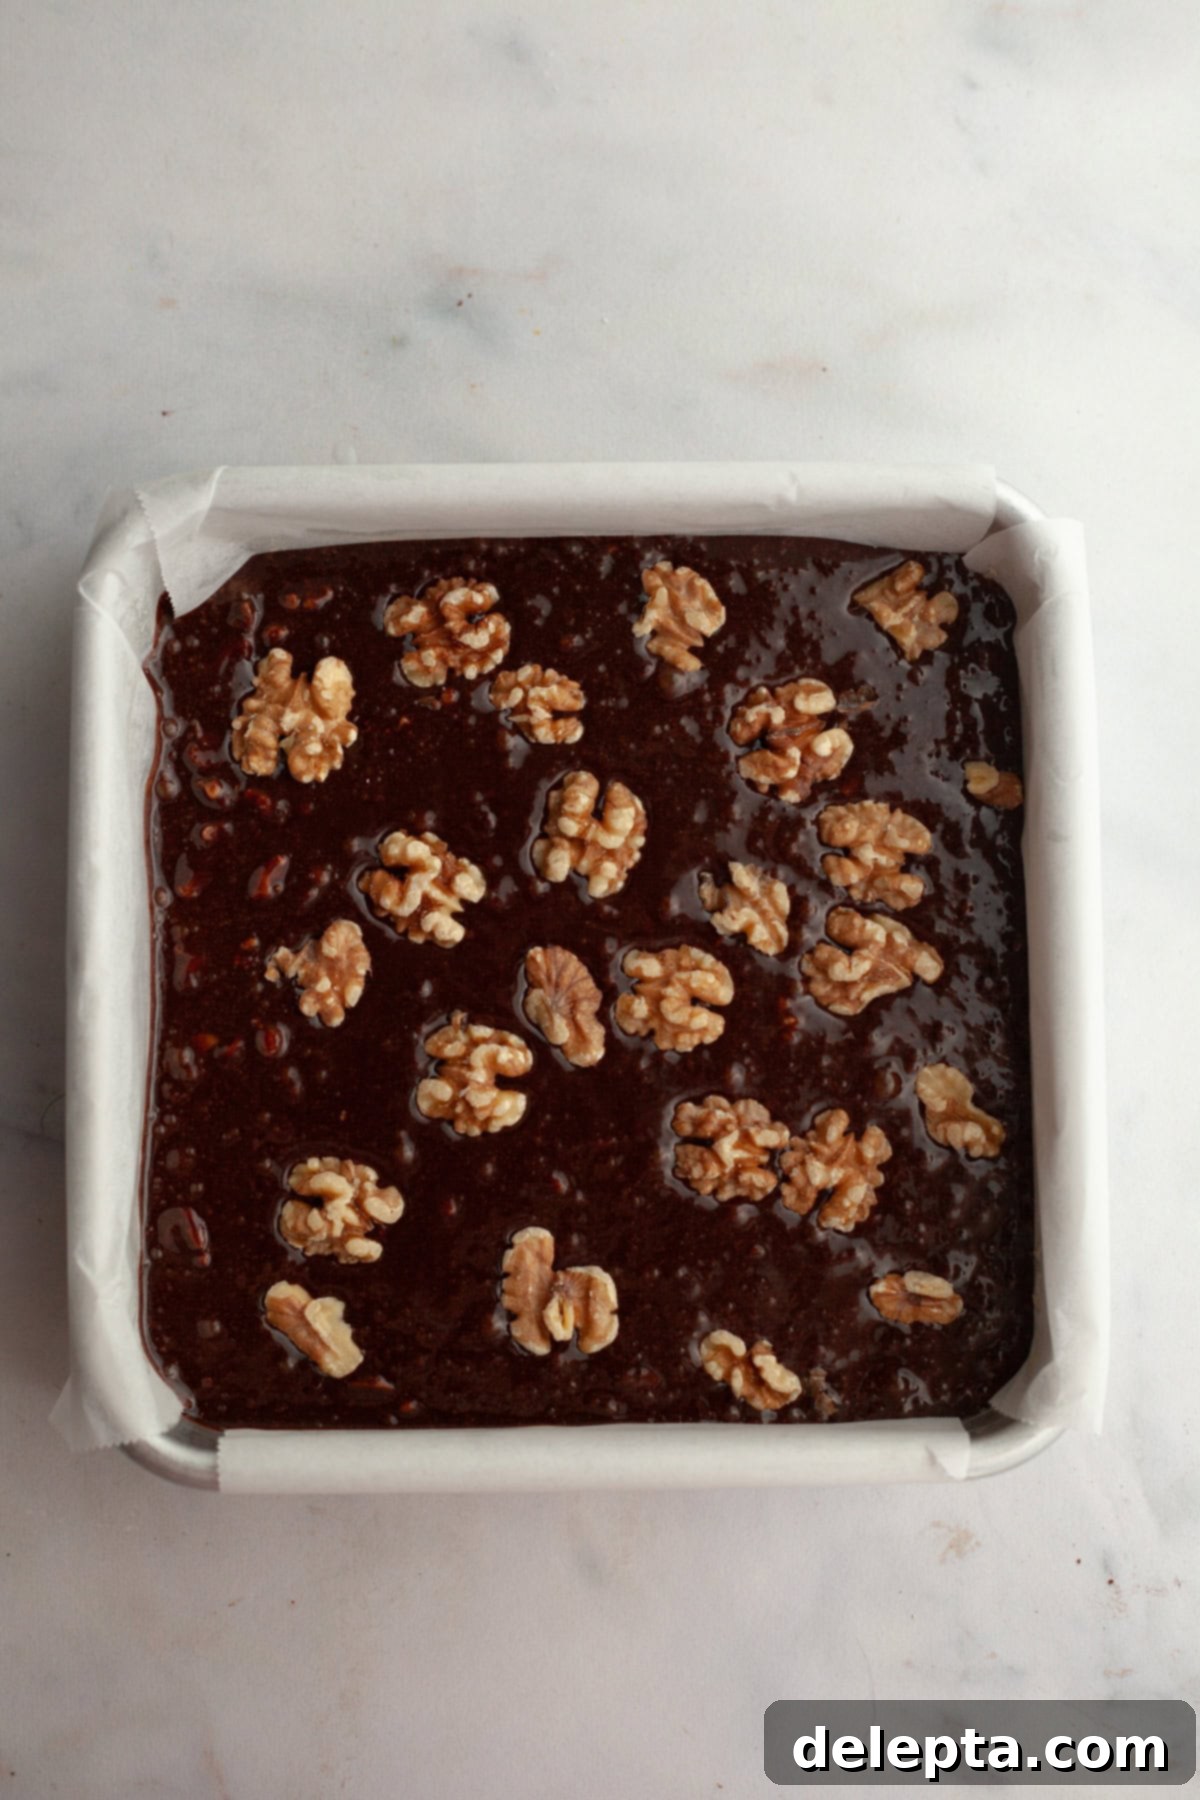
- Step 4: Pour the rich brownie batter into your prepared 8×8-inch baking pan, spreading it evenly. For an extra touch of visual appeal, you can sprinkle a few additional walnut halves on top before baking. Transfer to your preheated oven and bake until that beautiful crinkly top forms and a toothpick inserted comes out with moist crumbs, not raw batter.
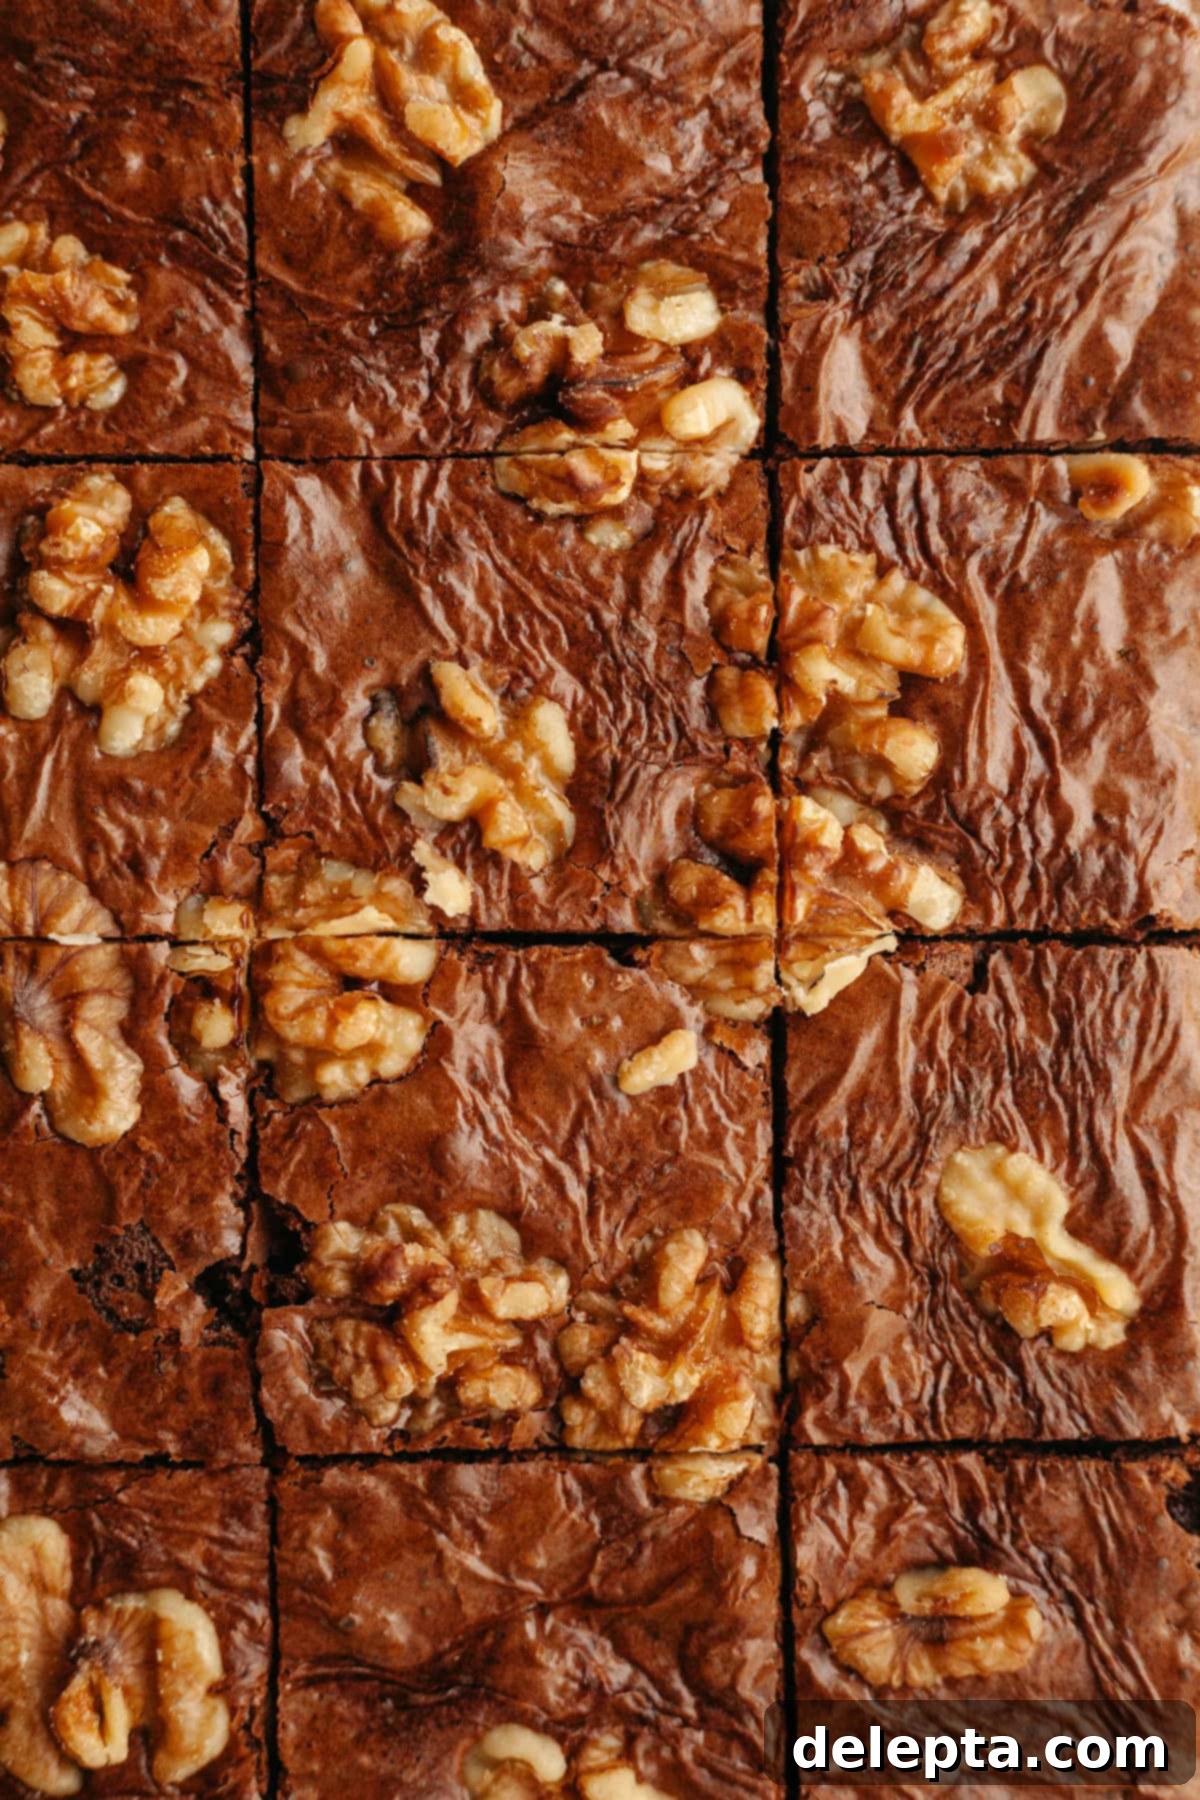
Mastering the Art of the Shiny, Crinkly Brownie Top
Achieving that beautiful, paper-thin, crinkly, and undeniably shiny top on your brownies is often considered the hallmark of a truly excellent batch. After countless rounds of testing (and yes, some moments of “I’m losing my mind,” as my recipe development notes might indicate!), I’ve refined this process to consistently deliver those perfect gooey, fudgy, bakery-style brownies. Here are the key techniques that make all the difference:
First and foremost, the secret lies in successfully dissolving the sugar. This isn’t just about mixing; it’s about creating a sugary solution that, when baked, forms that delicate, brittle crust. We achieve this dissolution through a combination of vigorous whisking and gentle heat. By heating the melted butter and sugar mixture (sometimes with a few quick stints in the microwave, as learned from the brilliant insights at Buttermilk by Sam), the sugar crystals fully dissolve into the butter, creating an emulsified, syrupy base. When the eggs are then whisked in, they whip air into this stable sugar-butter emulsion, which sets during baking to form that signature shiny, crinkly surface.
Secondly, we strategically add some finely chopped chocolate to the batter just before it goes into the pan. This isn’t just for extra chocolatey pockets (though that’s a bonus!). The additional sugar and cocoa butter present in these chopped chocolate pieces contribute to the overall sugar content and richness of the batter. As the brownies bake, these sugars and fats migrate towards the surface, further enhancing the formation of that beautiful, shiny, and crackled crust. The melting chocolate also adds to the irresistible fudginess of the interior, creating a delightful contrast with the crisp top.
Another subtle factor is the balance of fat and sugar. A higher ratio of fat and sugar to flour (as seen in this recipe) naturally promotes a fudgier texture and helps in the creation of that delicate, shiny crust. Baking at the correct temperature and not overbaking also plays a critical role. Overbaking can dry out the edges and prevent the shiny top from setting properly. By combining these techniques, you’re guaranteed to achieve brownies that are not only incredibly fudgy and rich but also visually stunning with their perfectly crinkled crowns.
Indulge in More Brownie Creations!
If you’re anything like us, the love for brownies knows no bounds! Once you’ve mastered these incredible Fudgy Walnut Brownies, you might find yourself eager to explore other delightful variations. We’ve curated a collection of our absolute favorite brownie recipes, each offering a unique twist on this beloved classic. Whether you’re in the mood for something creamy, crunchy, or celebratory, there’s a brownie here waiting to become your next obsession. Dive into these tempting treats and discover your new go-to brownie recipe!
- Chocolate Brownies with Cream Cheese Frosting
- One Bowl Fudge Oreo Brownies
- Birthday Cake Brownies (Easy & Fudgy)
- Easy Fudgy Peanut Butter Cream Cheese Brownies
If you’ve made these incredible **Fudgy Walnut Brownies**, we’d absolutely love to hear from you! Please make sure to leave a ⭐️ rating and a thoughtful review below to let us know how they turned out. Your feedback means the world to us and helps other bakers discover these delightful recipes. We also adore seeing your creations, so don’t hesitate to tag us on Instagram @alpineella so we can admire your baking triumphs! You can also stay connected and follow along for more delicious recipes and baking tips on Pinterest, Facebook, and TikTok!
Recipe
Fudgy Walnut Brownies (One Bowl Recipe)
Ella Gilbert
Pin Recipe
Save RecipeSaved!
Equipment
-
8×8 baking pan
-
Small Saucepan
-
Large Microwave Safe Bowl
-
Kitchen Scale
-
Whisk
-
Rubber Spatula
Ingredients
- ¾ cup unsalted butter
- 1 cup granulated sugar
- ½ cup light brown sugar
- ½ cup dutch process cocoa powder
- 1 teaspoon vanilla extract
- 1 teaspoon kosher salt
- 2 large eggs
- 1 large egg yolk
- ½ cup all purpose flour
- ½ tablespoon espresso powder
- 4 oz semisweet chocolate finely chopped
- 1 cup walnuts toasted and chopped
Instructions
-
Prepare Walnuts: First, you’ll want to toast your walnuts to bring out their incredible flavor and aroma. Preheat your oven to 350℉ (175℃). Spread the walnuts evenly on a small baking sheet. Toast in the oven for about 7-9 minutes, keeping a close eye on them to prevent burning. Once lightly golden and fragrant, remove them from the oven and let them cool completely on the pan. Once cool, roughly chop them; finer chops allow for better distribution and a smoother texture in the brownies.1 cup walnuts
-
Preheat Oven & Prepare Pan: While your walnuts are toasting, preheat your oven to 350℉ (175℃). Line an 8×8-inch baking pan with parchment paper or aluminum foil. I highly recommend leaving a generous overhang on the sides – these “handles” will make it significantly easier to lift the cooled brownies out of the pan for clean slicing.
-
Melt Butter: Place the unsalted butter in a large, microwave-safe bowl. Melt it in the microwave until it’s completely liquid and quite hot. To speed up the melting process and ensure even heating, you can slice your butter into smaller pieces before microwaving. Be careful not to let it boil or splatter.¾ cup unsalted butter
-
Whisk in Sugars: Add the granulated sugar and light brown sugar directly into the melted butter. Whisk thoroughly until the mixture is smooth and well combined, ensuring the sugars start to dissolve. Return the bowl to the microwave for another 20-30 seconds to gently reheat the mixture, then whisk vigorously again for 1-2 minutes. This step is crucial for achieving that desirable shiny, crinkly brownie top.1 cup granulated sugar, ½ cup light brown sugar
-
Add Chocolate & Flavorings: Whisk in the kosher salt, vanilla extract, and Dutch-processed cocoa powder. The mixture will likely look a bit grainy or separated at this stage – don’t worry, that’s completely normal and expected! Microwave for another 20-30 seconds, then whisk again for about a minute. The heat and whisking continue to dissolve the sugars and combine the fats, setting the stage for a smooth, shiny batter.1 teaspoon vanilla extract, 1 teaspoon kosher salt, ½ cup dutch process cocoa powder
-
Incorporate Eggs: Now, add the two large eggs and the single large egg yolk to the mixture. This is where your arm might get a little workout! Whisk vigorously for another 2-3 minutes. This extensive whisking helps to incorporate air and further emulsify the ingredients, contributing to both the fudgy texture and the shiny crust. Don’t skimp on this step!2 large eggs, 1 large egg yolk
-
Fold in Dry Ingredients: Gently stir in the all-purpose flour and fine espresso powder using a rubber spatula. Mix until just combined and no dry pockets of flour remain. The batter should be fairly thick and retain its beautiful shine. Remember, less is more when it comes to mixing flour to keep your brownies tender and fudgy.½ cup all purpose flour, ½ tablespoon espresso powder
-
Add Chocolate & Walnuts: Finally, fold in the finely chopped semisweet chocolate (these are the “shards” mentioned in the image caption) along with your toasted and chopped walnuts using a rubber spatula. It’s important for the chocolate to be finely chopped so it melts easily into the brownies during baking, creating delicious pockets of molten chocolate.4 oz semisweet chocolate, 1 cup walnuts
-
Bake to Perfection: Pour the rich brownie batter into your prepared 8×8-inch pan, spreading it evenly with your spatula. For an extra aesthetic touch, you can press a few extra walnut halves onto the top of the batter before baking. Bake for 22-30 minutes. You’ll know they’re ready when a beautiful, crinkled top has formed, and a toothpick inserted into the center comes out with moist crumbs attached, but no wet batter. This indicates a perfectly fudgy interior without being underbaked.
-
Cool & Serve: This is arguably the hardest step – resisting! Allow the brownies to cool completely in the pan on a wire rack before attempting to remove and slice them. Patience is key here, as warm brownies are much more fragile and prone to crumbling. For an even more intensely fudgy experience, I highly recommend chilling the brownies in the fridge for a few hours (or even overnight) before slicing. This allows them to set completely, resulting in super dense and chewy squares.
Notes
Measuring Ingredients: My recipes, including this one, have been meticulously developed and tested using metric grams for precision. For the most accurate and consistent results, I highly recommend using a kitchen scale to measure out your ingredients in grams. While I have provided a conversion to US cups for convenience, please be aware that I haven’t specifically tested the recipe using cup measurements. Baking with weight is generally more accurate than with volume. To view the metric measurements, simply click on the ‘Metric’ button located above the ingredients list.
Microwave Alternative (Double Boiler Method): If you don’t have a microwave, or simply prefer not to use one, you can easily adapt the melting and heating steps using a double boiler method. To do this, fill a large saucepan with about an inch or two of water and bring the water to a gentle simmer over medium heat. Place your large, microwave-safe bowl (or any heat-proof bowl) on top of the saucepan, ensuring that the bottom of the bowl does not touch the simmering water. Stir the butter and sugars frequently over the indirect heat, following the steps as outlined in the instructions until you’ve added the cocoa powder. Once the mixture is hot and smooth, remove the bowl from the saucepan and proceed with whisking in the eggs. This method provides controlled, gentle heat to dissolve the sugars perfectly.
Kosher Salt vs. Fine Salt: The recipe specifically calls for kosher salt. If you don’t have kosher salt on hand, you can substitute it with fine salt (like table salt), but it’s crucial to halve the amount. For example, 1 teaspoon of kosher salt should be replaced with ½ teaspoon of fine salt. Please note that I use Diamond Crystal Kosher Salt in my testing; Morton Salt is a different type of kosher salt with a denser crystal structure and is significantly saltier, so adjust accordingly if using Morton.
Cocoa Powder Choices: This recipe utilizes Dutch-processed cocoa powder for its rich, dark color and smooth, less bitter flavor. While you can swap it out for natural cocoa powder, please note that the resulting brownies may have a slightly lighter color and a tangier, less intense chocolate flavor. The acidity of natural cocoa also reacts differently with leavening agents, which could subtly alter the texture.
Espresso Powder vs. Granules: For the best results and to ensure the espresso dissolves seamlessly into the batter, use a fine espresso powder. Avoid using coarse espresso granules, as these may not fully dissolve and could leave a gritty texture or noticeable coffee bits in your brownies. The goal is to enhance the chocolate, not introduce a distinct coffee flavor.
Baking Pan Recommendation: As emphasized earlier, I strongly recommend using a light-colored metal baking pan over a glass pan. Metal is a superior heat conductor, distributing heat evenly for consistent baking. A glass pan, on the other hand, conducts heat poorly, leading to unevenly baked brownies with potentially overcooked or dry edges and an undercooked, gummy center. For perfect fudginess and even baking, metal is the way to go.
Storage: To maintain their optimal fudgy texture and freshness, store your cooled fudgy walnut brownies in an airtight container. They will keep beautifully in the fridge for up to 5 days. For longer storage, you can freeze individual slices in an airtight container for up to 2-3 months; simply thaw at room temperature or gently warm before enjoying.
Nutrition
