The Best Chocolate Peanut Butter Layer Cake: Fudgy, Creamy & Irresistible
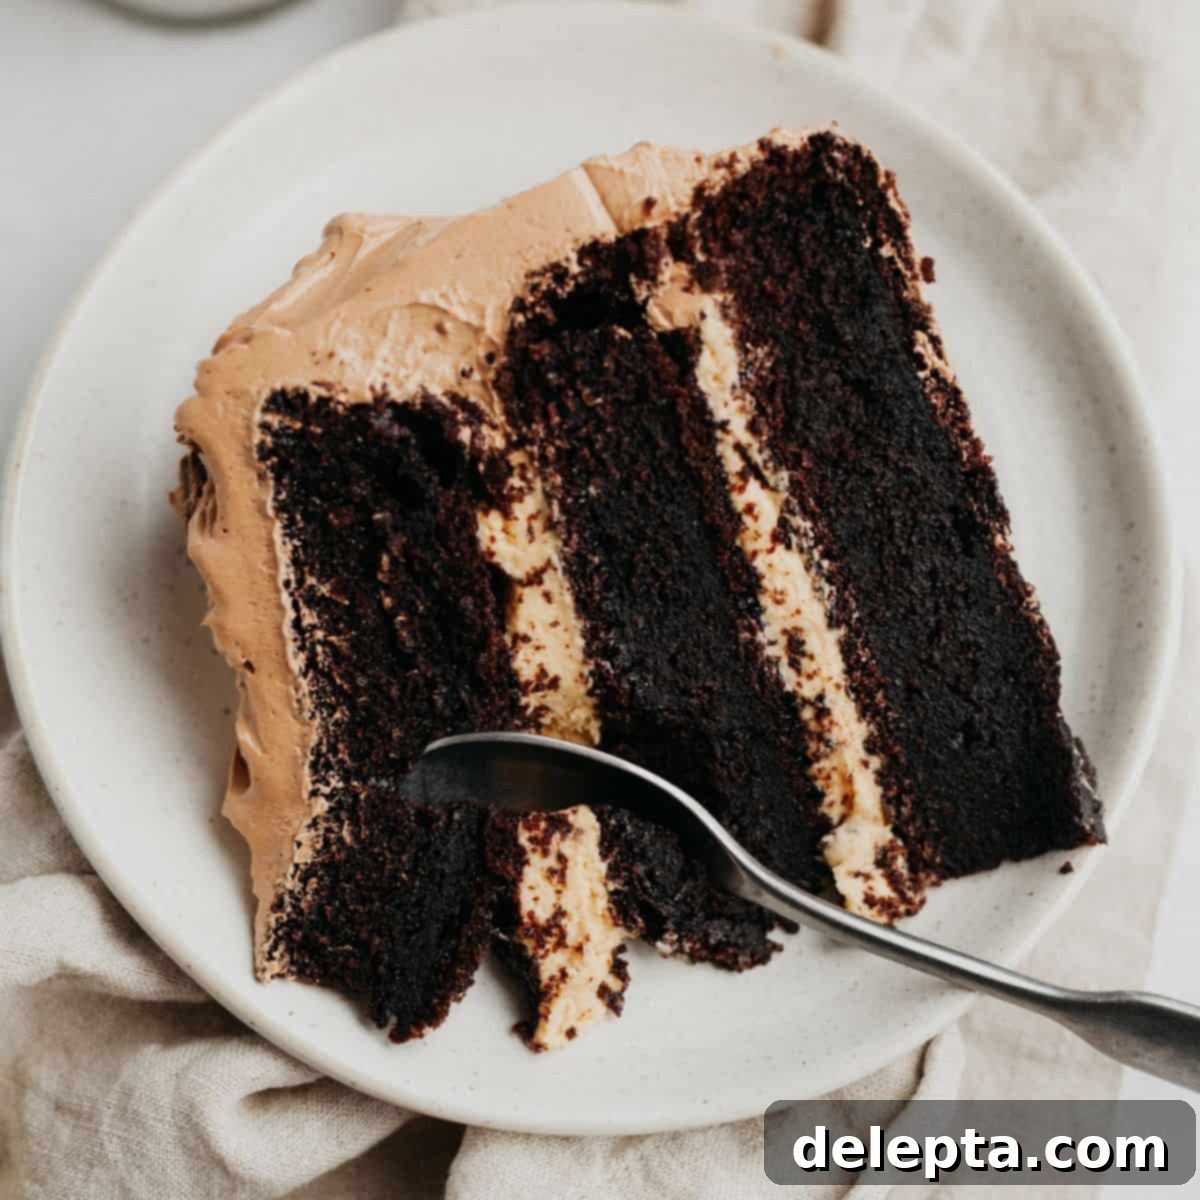
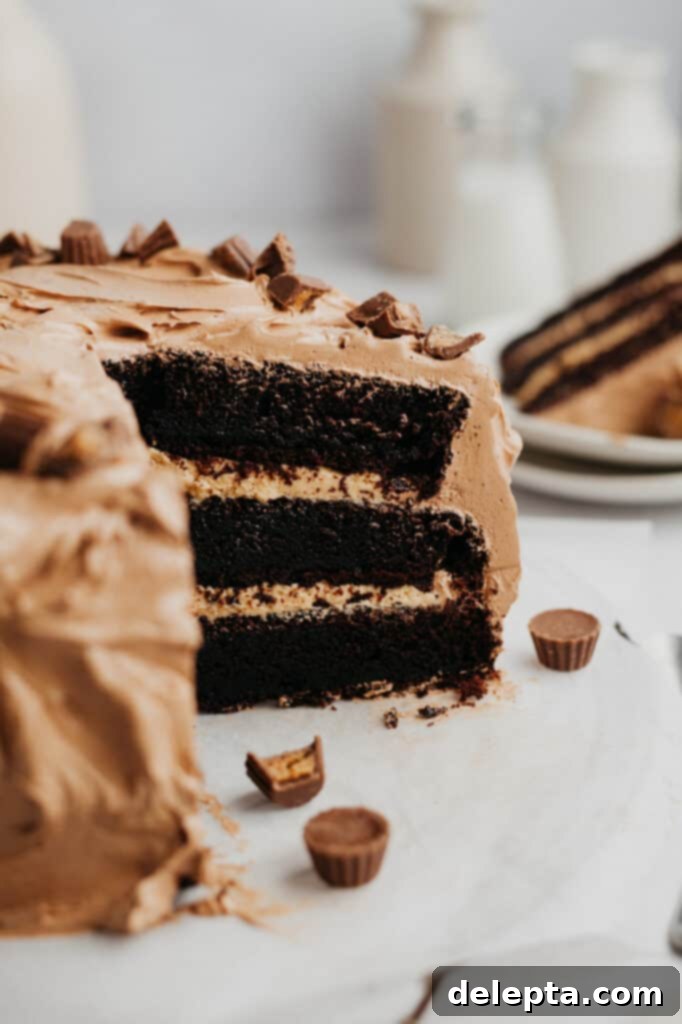
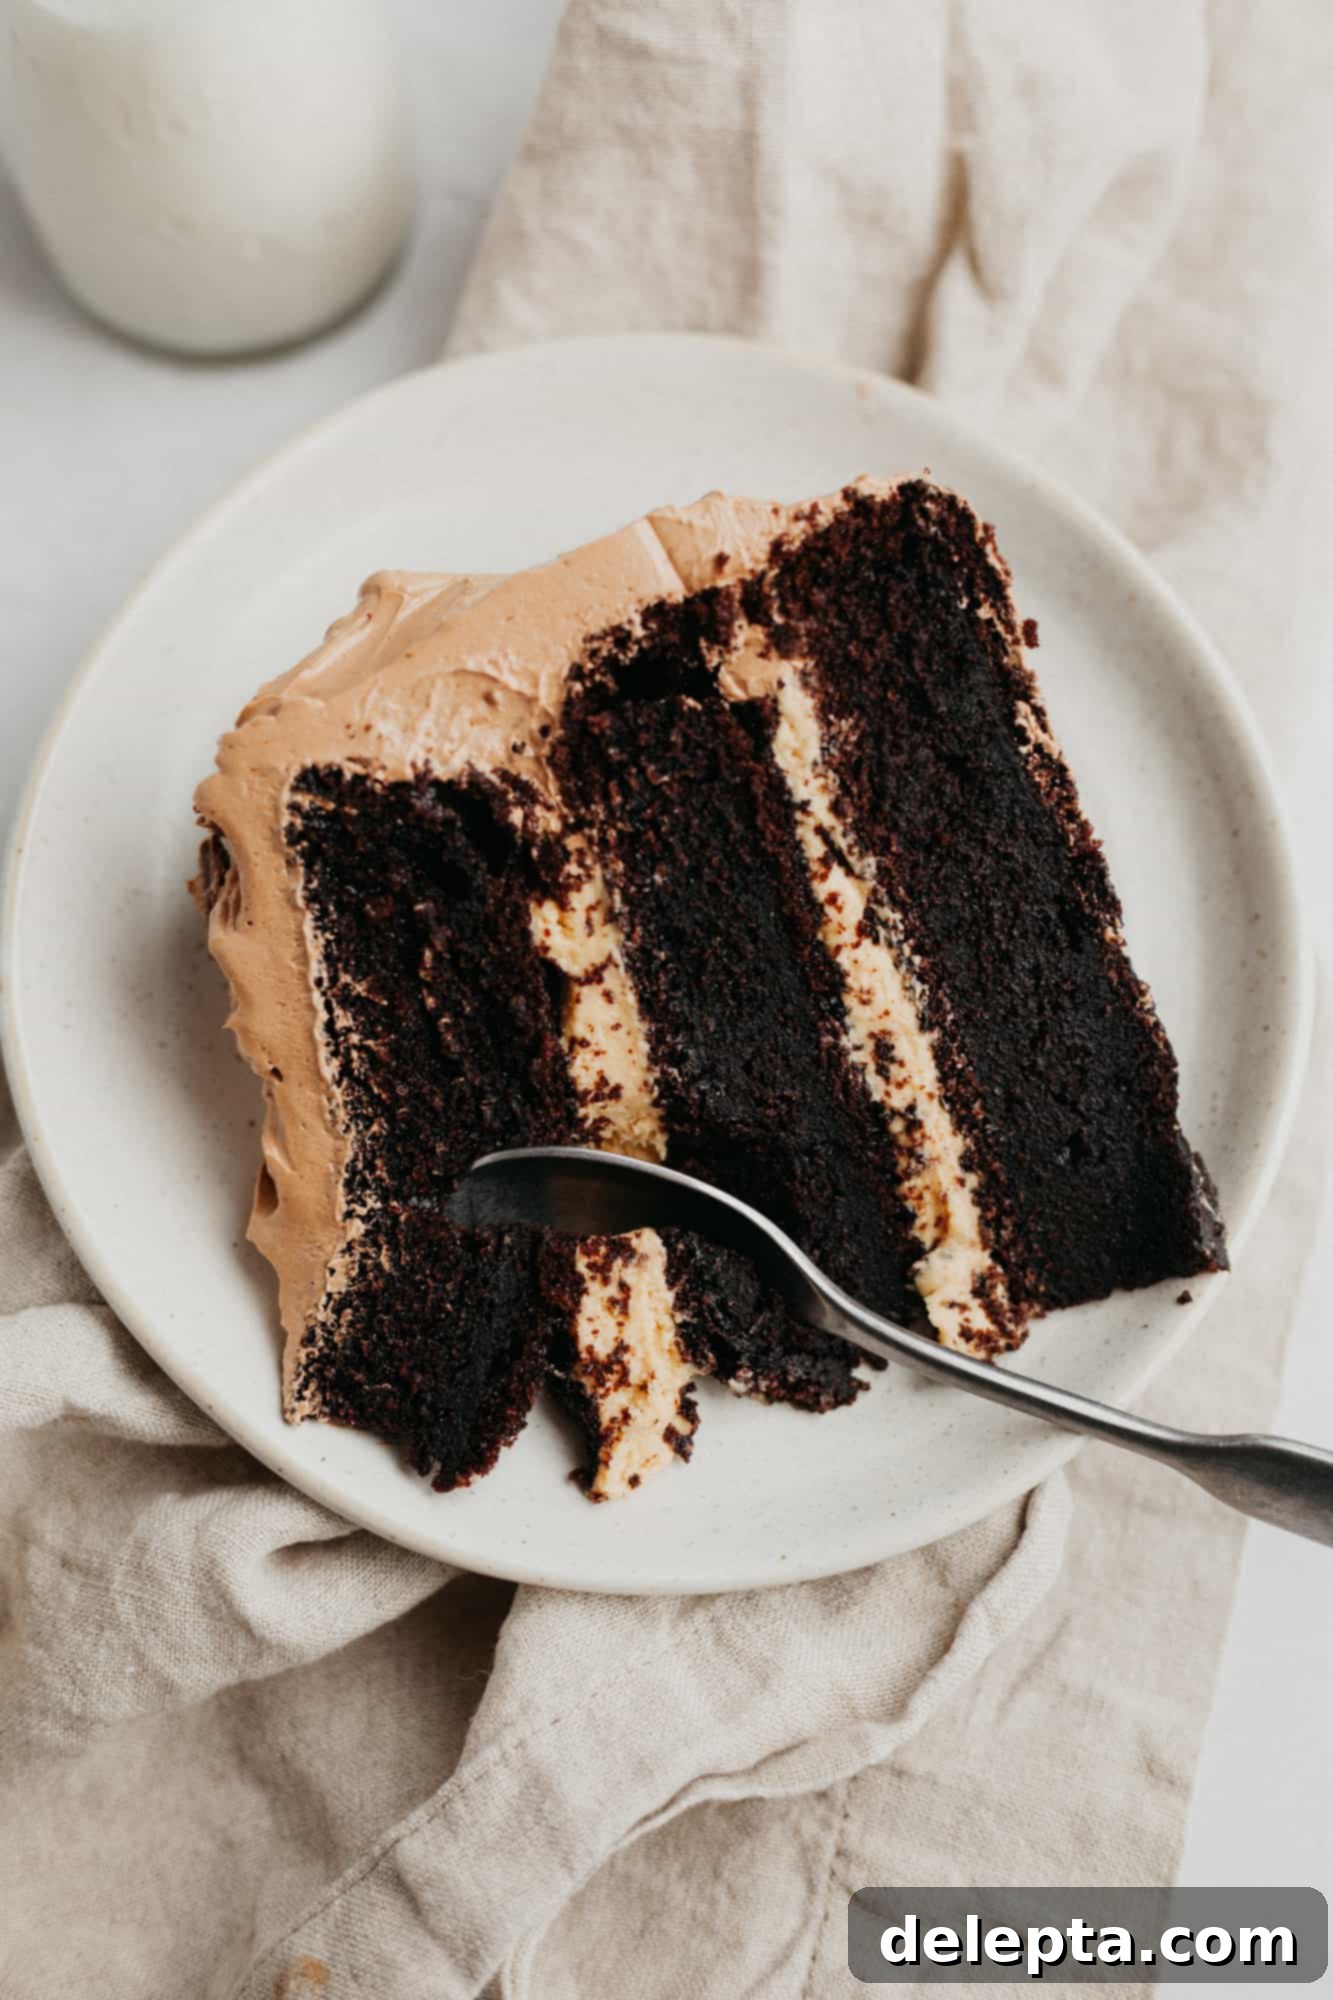
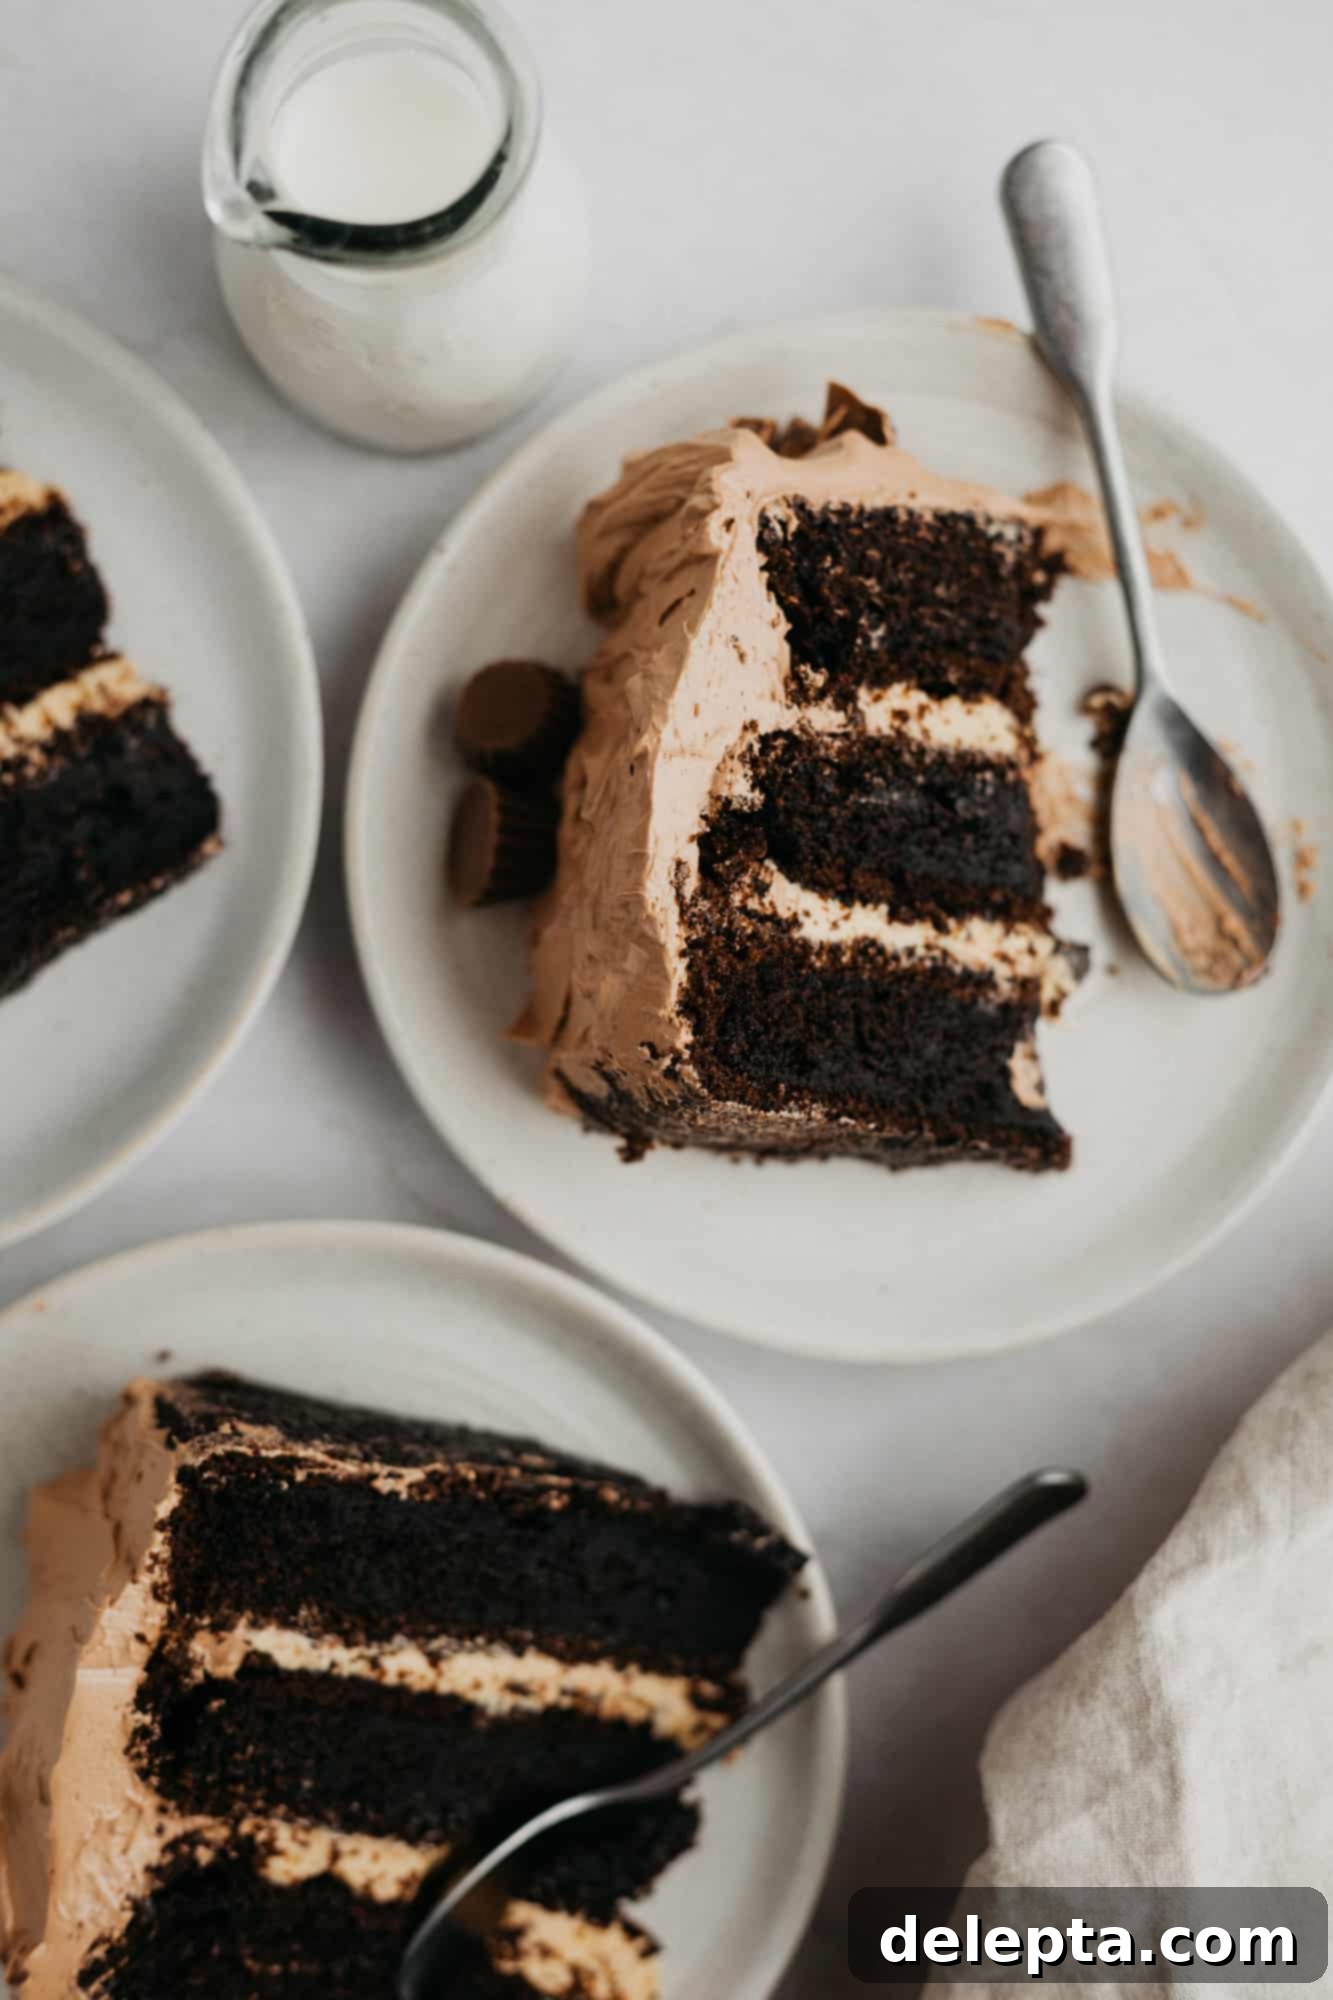
Prepare yourself for an extraordinary dessert experience with this incredible Chocolate Peanut Butter Layer Cake. Imagine your favorite peanut butter cup, transformed into a magnificent, multi-layered cake! This recipe features an incredibly rich and fudgy dark chocolate cake base, complemented by a luxuriously smooth and sweet peanut butter filling, all enveloped in a light and airy chocolate Swiss meringue buttercream. It’s truly the ultimate celebration cake, designed to impress and delight with every single bite. Perfect for birthdays, holidays, or any special occasion that calls for something truly spectacular, this cake masterfully balances intense chocolate flavor with creamy, dreamy peanut butter. Each component is crafted to perfection, ensuring a harmonious symphony of flavors and textures that will leave everyone craving more.
Why You’ll Love This Decadent Chocolate Peanut Butter Cake
This isn’t just any cake; it’s a meticulously crafted dessert designed to deliver maximum flavor and enjoyment. Here’s what makes this chocolate peanut butter cake recipe truly special and why it will quickly become your go-to:
- Super Fudgy and Rich Chocolate Cake Layers: Our chocolate cake is incredibly moist and dense, reminiscent of a brownie, yet still tender. The secret to its deep, dark color and intensely rich chocolate flavor lies in the addition of hot coffee to the batter. This magical ingredient ‘blooms’ the cocoa powder, enhancing its natural bitterness and creating an unparalleled depth that regular water simply cannot achieve. Each bite offers a satisfyingly rich and comforting chocolate experience.
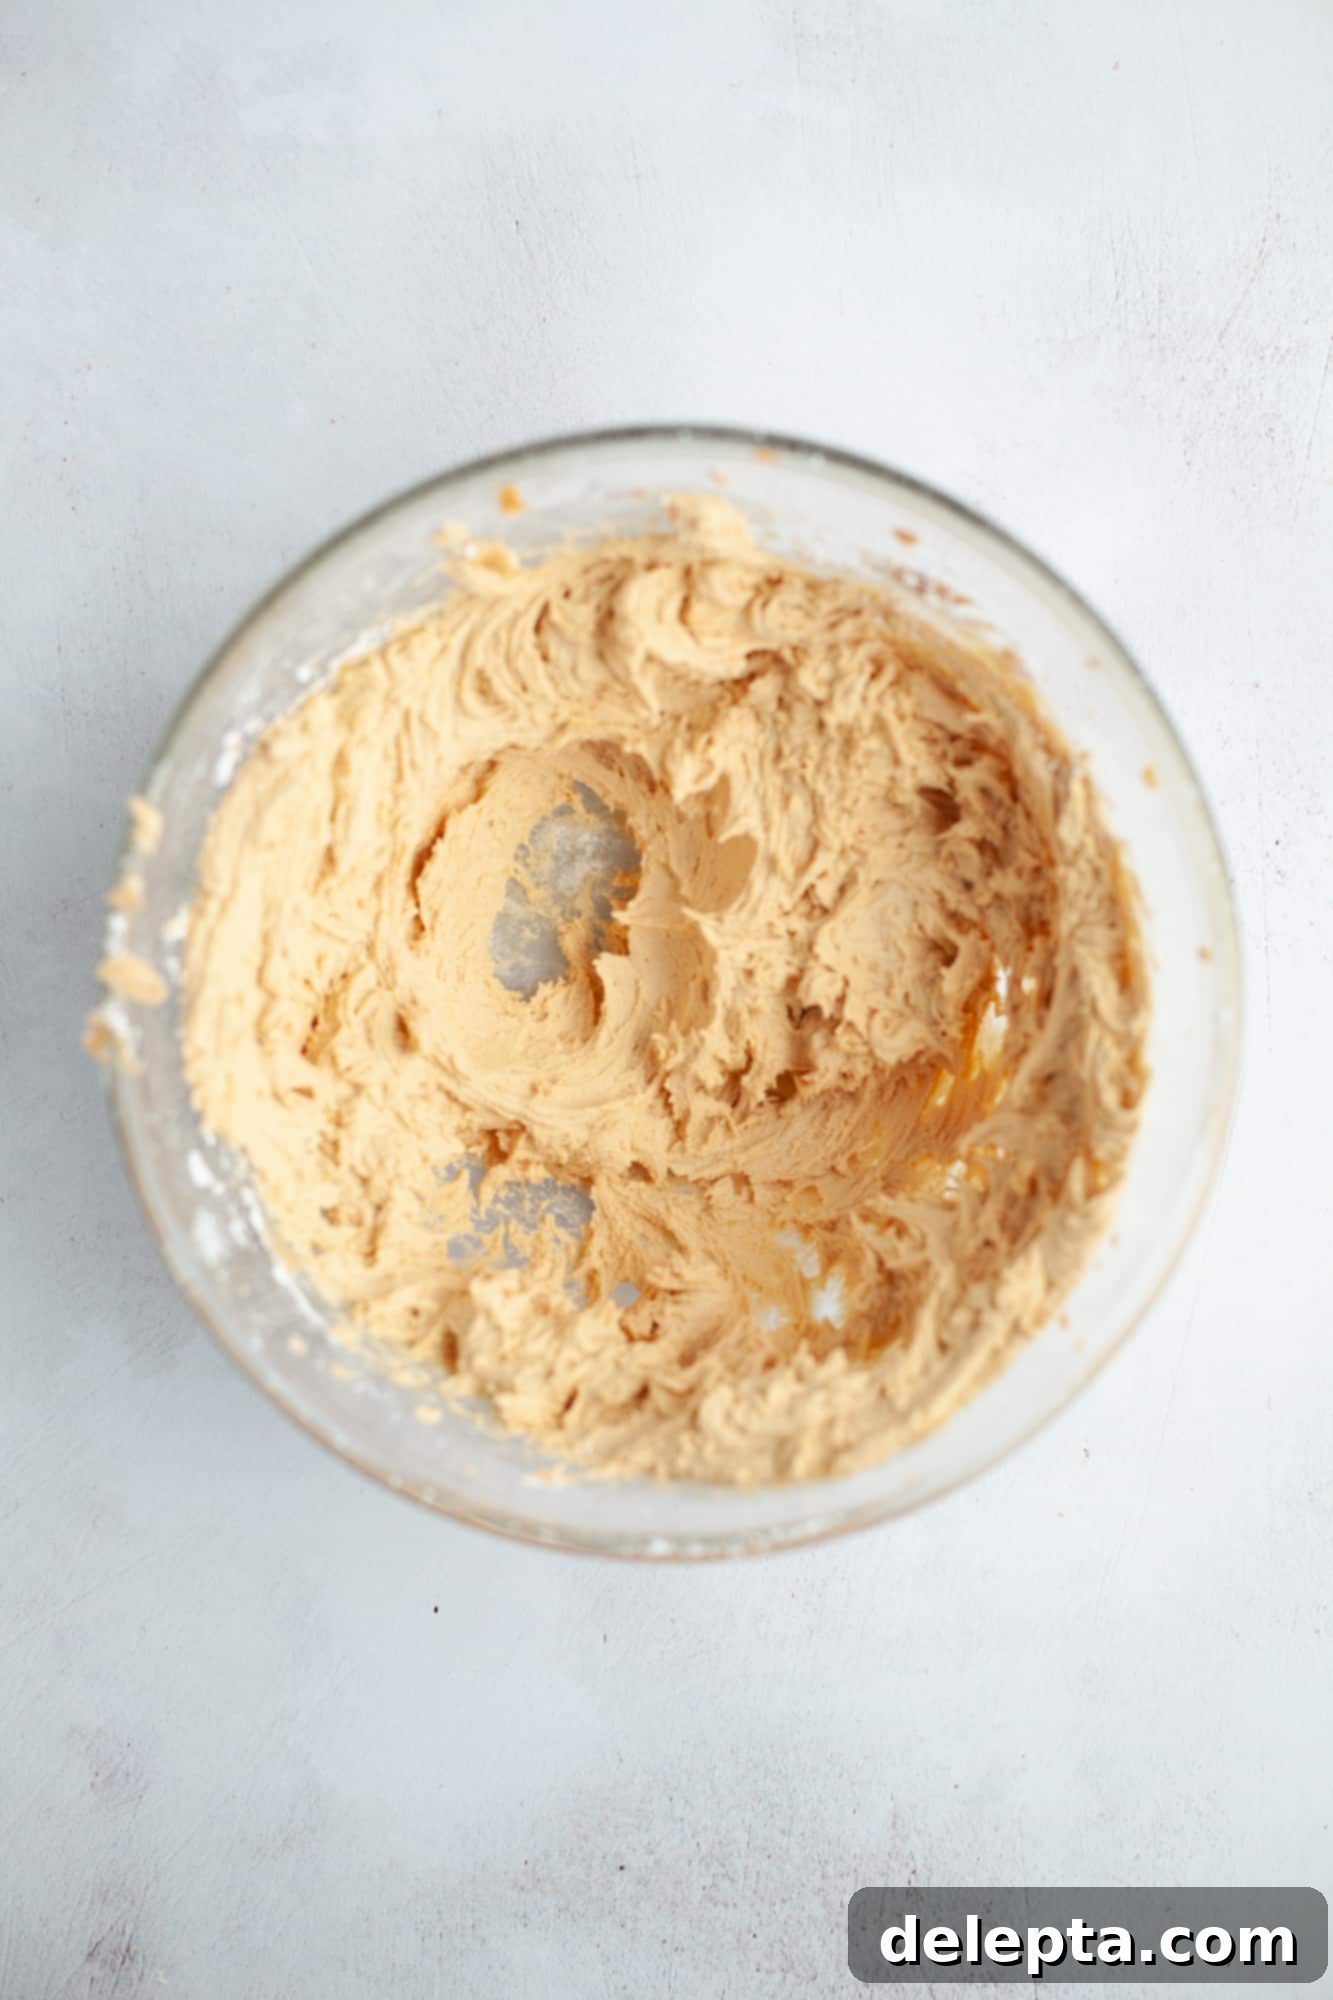
- Creamy Peanut Butter Filling: The heart of this layer cake is its delightful peanut butter filling. Made with a blend of smooth peanut butter, butter, golden syrup, and powdered sugar, this filling strikes the perfect balance between sweet and salty. It’s wonderfully creamy and holds its shape beautifully between the cake layers, providing a delightful textural contrast to the fudgy chocolate cake. Unlike runny fillings, ours is robust enough to stand up to the cake, ensuring clean slices and a truly satisfying bite.
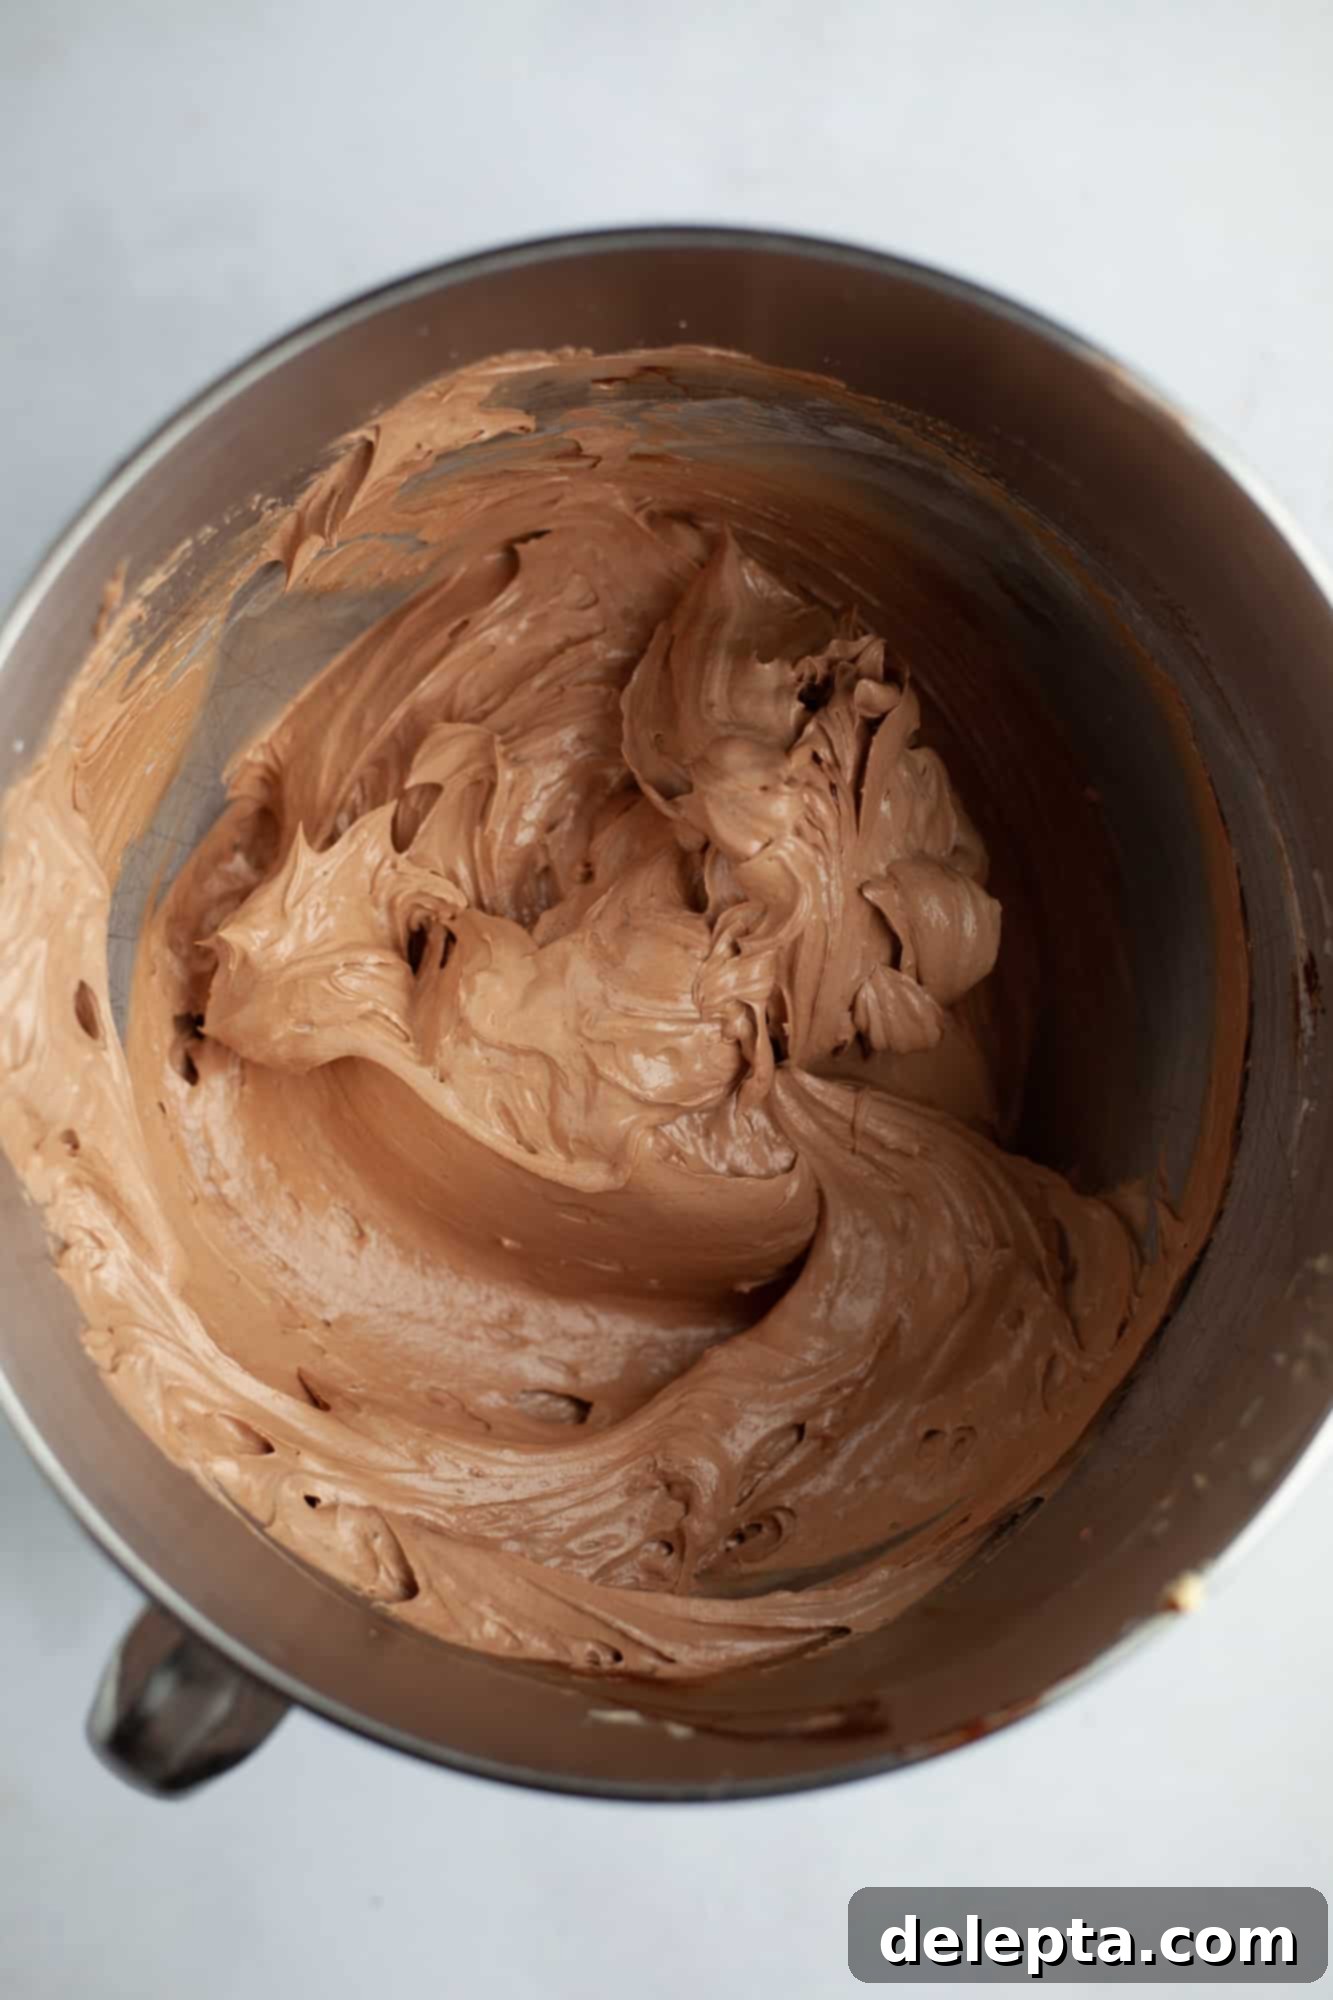
- Light and Silky Chocolate Swiss Meringue Buttercream: To crown this masterpiece, we use a silky smooth chocolate Swiss meringue buttercream. This frosting is renowned for its stability, incredibly light texture, and rich, yet not overly sweet, flavor. It’s less sugary than traditional American buttercream, allowing the deep chocolate and creamy peanut butter flavors to shine through. Its velvety consistency makes it a dream to work with, creating a stunning finish for your magnificent layer cake.
Together, these three components create a harmonious and utterly irresistible chocolate peanut butter experience. It’s a cake that’s both elegant and comforting, making it perfect for any special occasion or simply to treat yourself!
Essential Ingredients for Your Homemade Chocolate Peanut Butter Cake
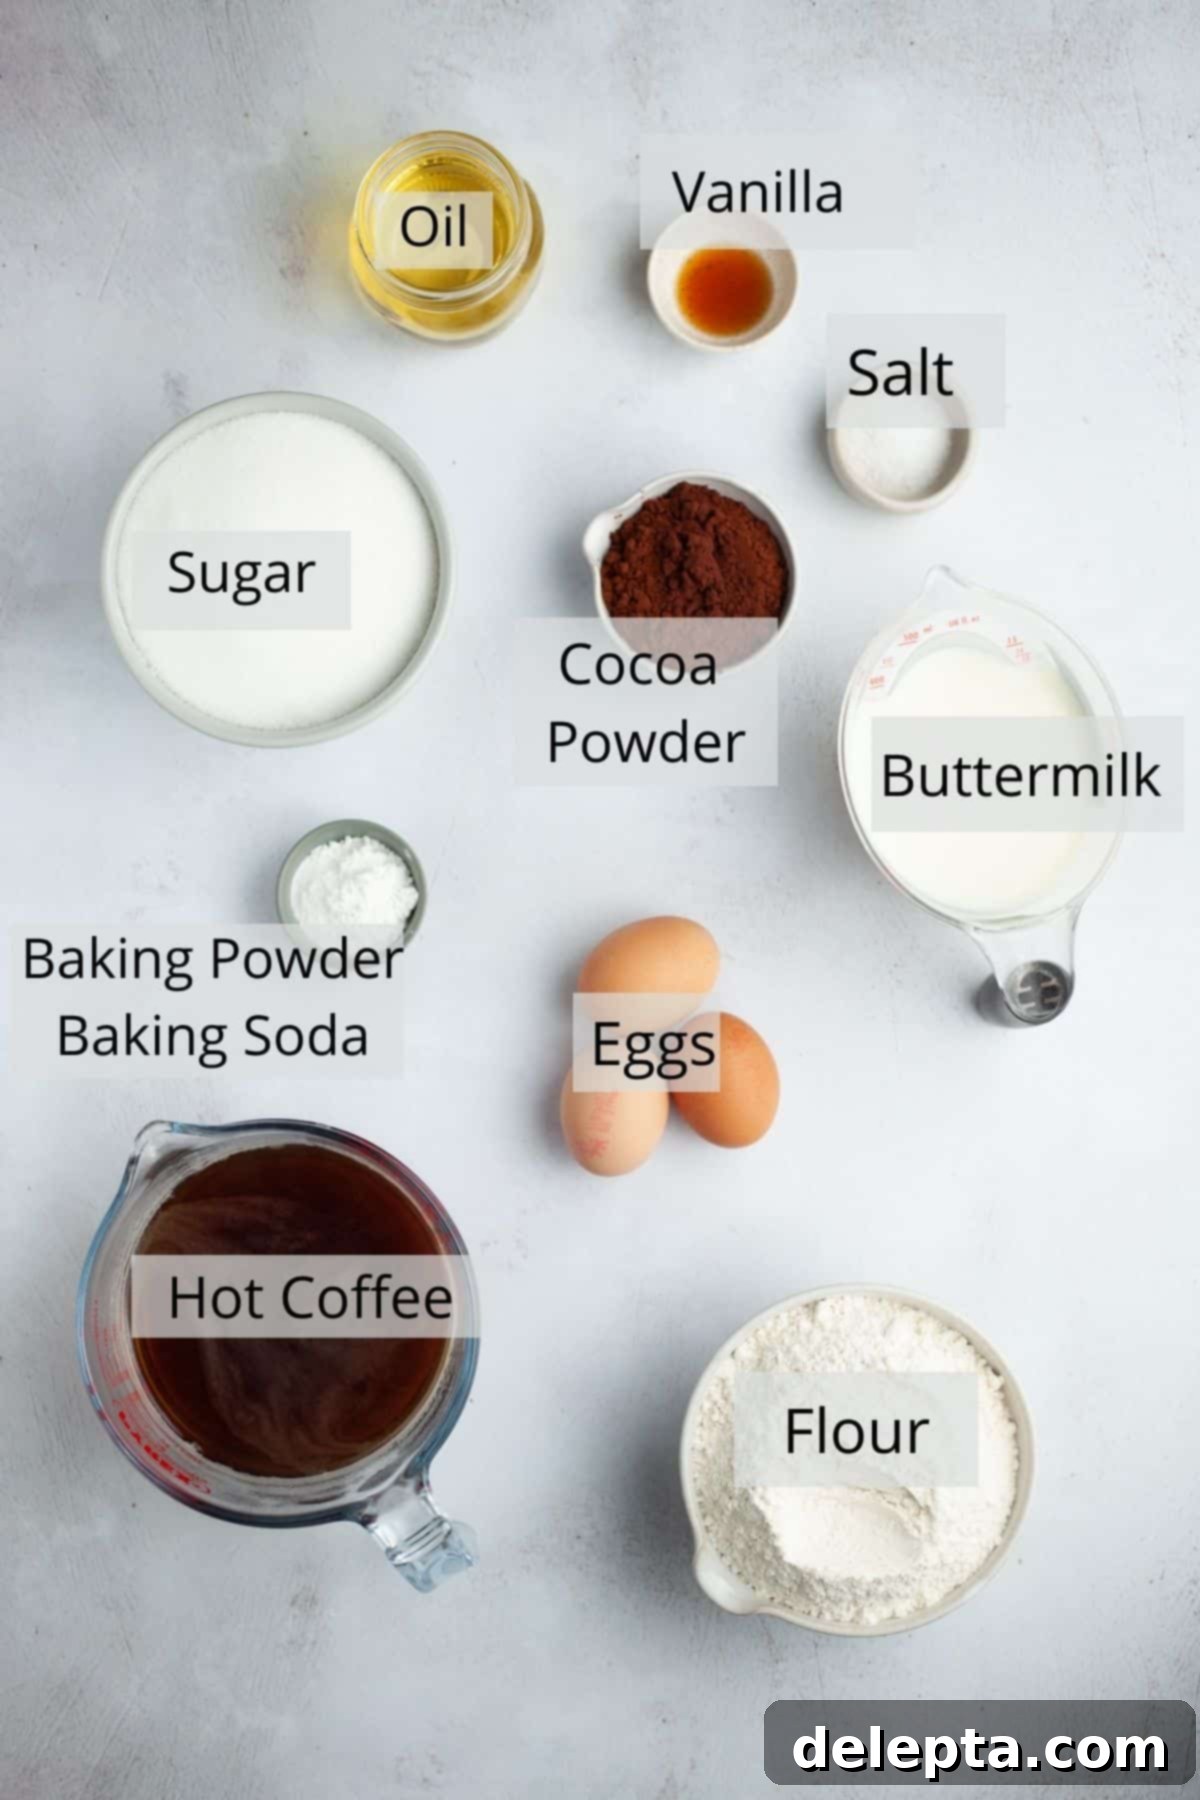
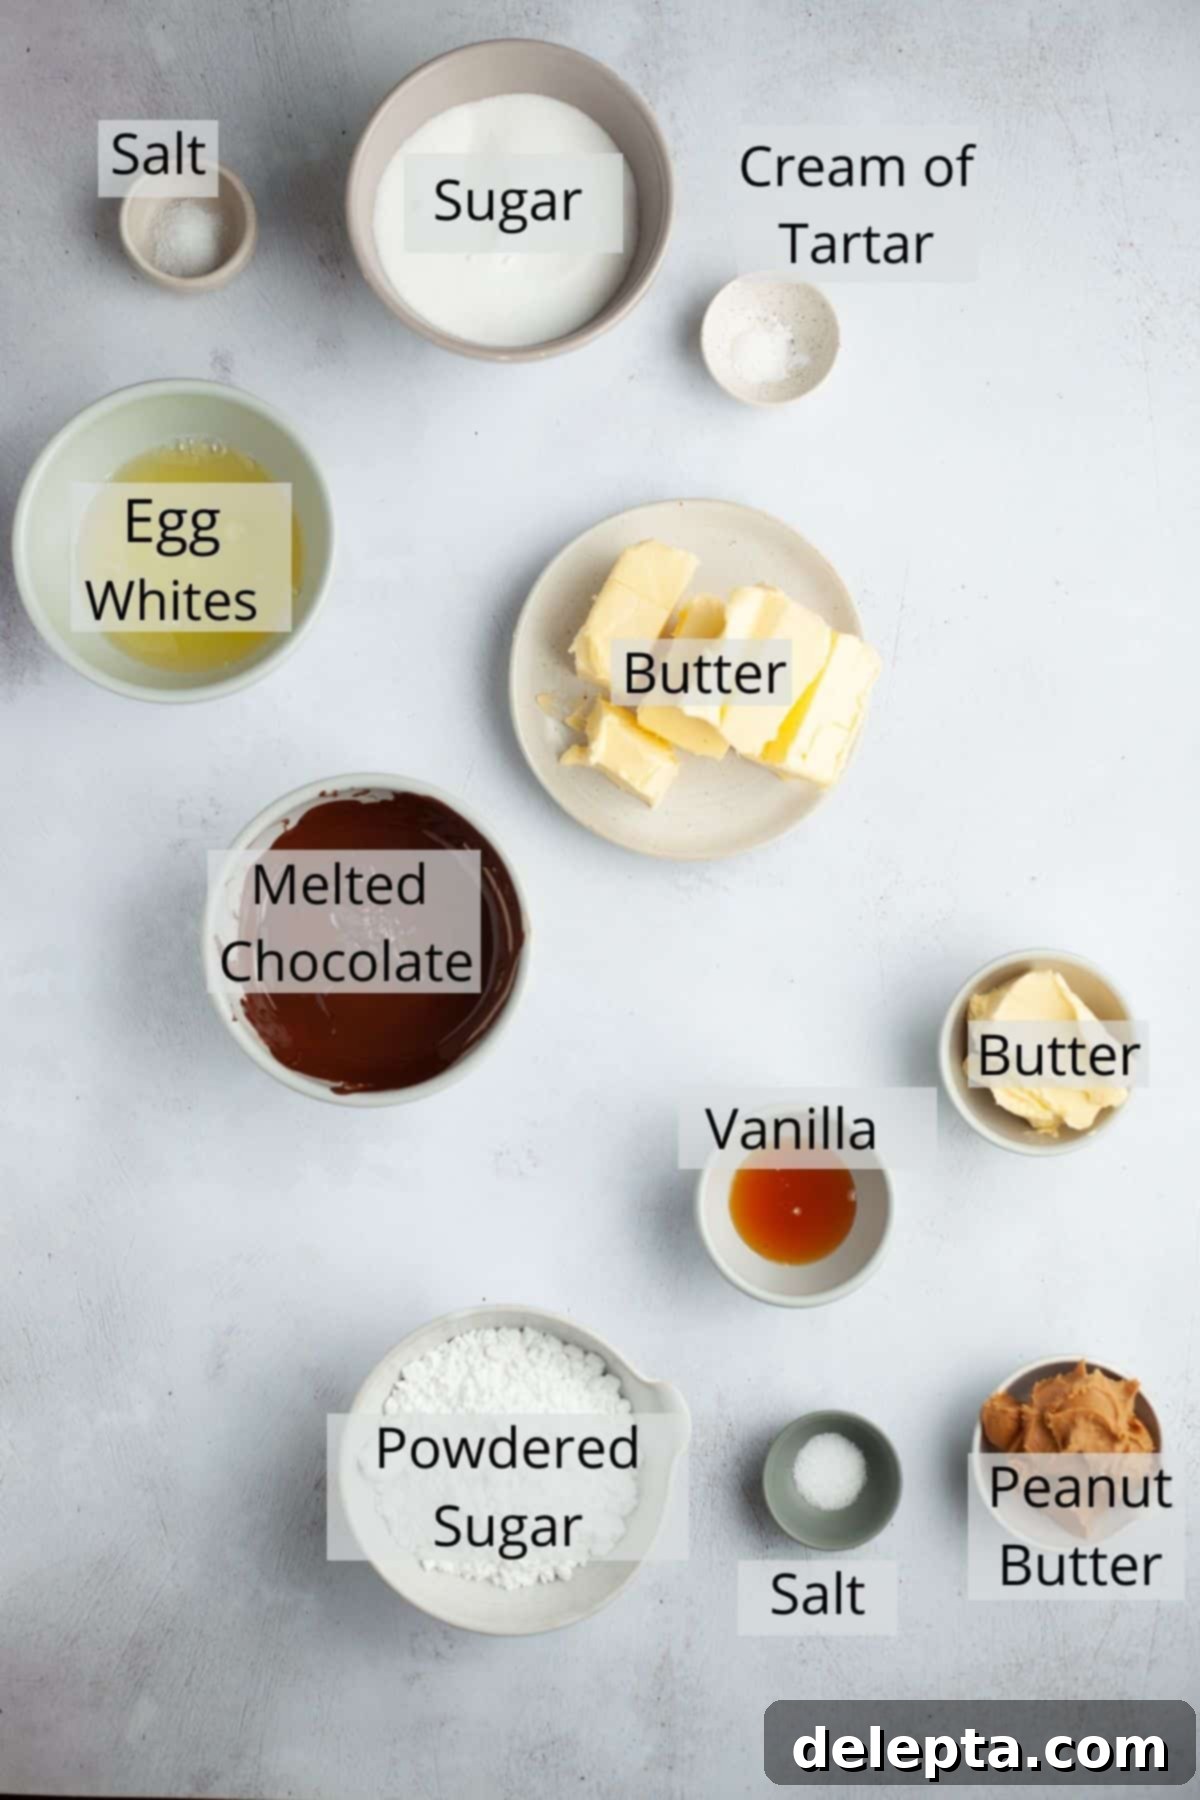
Crafting this incredible chocolate peanut butter layer cake requires a thoughtful selection of high-quality ingredients, divided into three main components: the fudgy chocolate cake, the luscious peanut butter filling, and the silky chocolate Swiss meringue buttercream. Each ingredient plays a crucial role in achieving the perfect flavor and texture. Gathering everything beforehand ensures a smooth and enjoyable baking process.
-

Cake Ingredients -

Frosting & Filling Ingredients
The printable recipe card with the full list of ingredients and detailed instructions for this chocolate peanut butter cake can be found at the very bottom of this post.
Key Ingredient Notes for Success
Understanding the role of each ingredient and choosing the right type can significantly impact the final outcome of your chocolate peanut butter cake. Here are some detailed notes to ensure your baking success:
- Cocoa Powder: For this particular recipe, we rely on the depth of cocoa powder rather than melted chocolate in the cake batter. To achieve the richest chocolate flavor and a truly dark color, opt for a high-quality unsweetened cocoa powder. Dutch-processed cocoa powder, which has been treated to reduce acidity, is often preferred for its smoother, darker color and less bitter taste, contributing to that fudgy dark chocolate cake profile.
- Buttermilk: Buttermilk is a fantastic ingredient for cakes, imparting a subtle tang and contributing to an incredibly moist and tender crumb. Its acidity reacts with the baking soda, aiding in leavening. If you don’t have buttermilk on hand, don’t fret! You can easily make a homemade substitute: for every cup of regular milk, simply add 1 tablespoon of white vinegar or lemon juice. Stir it gently and let it sit for 5-10 minutes until it slightly curdles. Voila, you have a perfect buttermilk substitute!
- Peanut Butter: The type of peanut butter you use is crucial for the filling’s texture. Avoid using natural peanut butter varieties that separate with a layer of oil on top. These often have a runnier consistency and can make your filling too thin and oily, preventing it from holding its shape properly. Instead, opt for a commercial creamy peanut butter (like Jif or Skippy) that is consistently smooth and firm at room temperature.
- Hot Coffee: This is a secret weapon for intensifying chocolate flavor! The hot coffee doesn’t make your cake taste like coffee; instead, it ‘blooms’ the cocoa powder, unlocking its full aromatic potential and deepening the chocolate notes. It also contributes to the cake’s beautifully dark hue. If you prefer to avoid coffee, you can substitute it with an equal amount of hot water without significantly compromising the outcome, though the chocolate flavor might be slightly less pronounced.
- Unsalted Butter (Room Temperature): Both the peanut butter filling and the Swiss meringue buttercream rely heavily on butter. Ensure your butter is truly at room temperature (soft enough to indent with a finger, but not greasy or melted). This is vital for achieving proper emulsion in the buttercream and a smooth, creamy texture in the filling. Cold butter will result in lumpy mixtures, while overly soft or melted butter can lead to a greasy, unstable frosting.
- Eggs (Room Temperature): Similar to butter, eggs should be at room temperature for the best results. This helps them incorporate more evenly into the batter and allows the egg whites to whip up into a more voluminous and stable meringue for the buttercream. Take them out of the fridge at least 30 minutes to an hour before you plan to start baking.
Paying attention to these details will ensure your chocolate peanut butter cake turns out perfectly, with the ideal balance of flavor and texture.
Crafting Your Decadent Chocolate Peanut Butter Layer Cake: Step-by-Step
Creating this magnificent chocolate peanut butter cake is a rewarding process. Follow these detailed steps to ensure each component comes together beautifully, resulting in a show-stopping dessert that’s rich in flavor and flawless in execution.
-

One: Dry ingredients -

Two: Wet ingredients
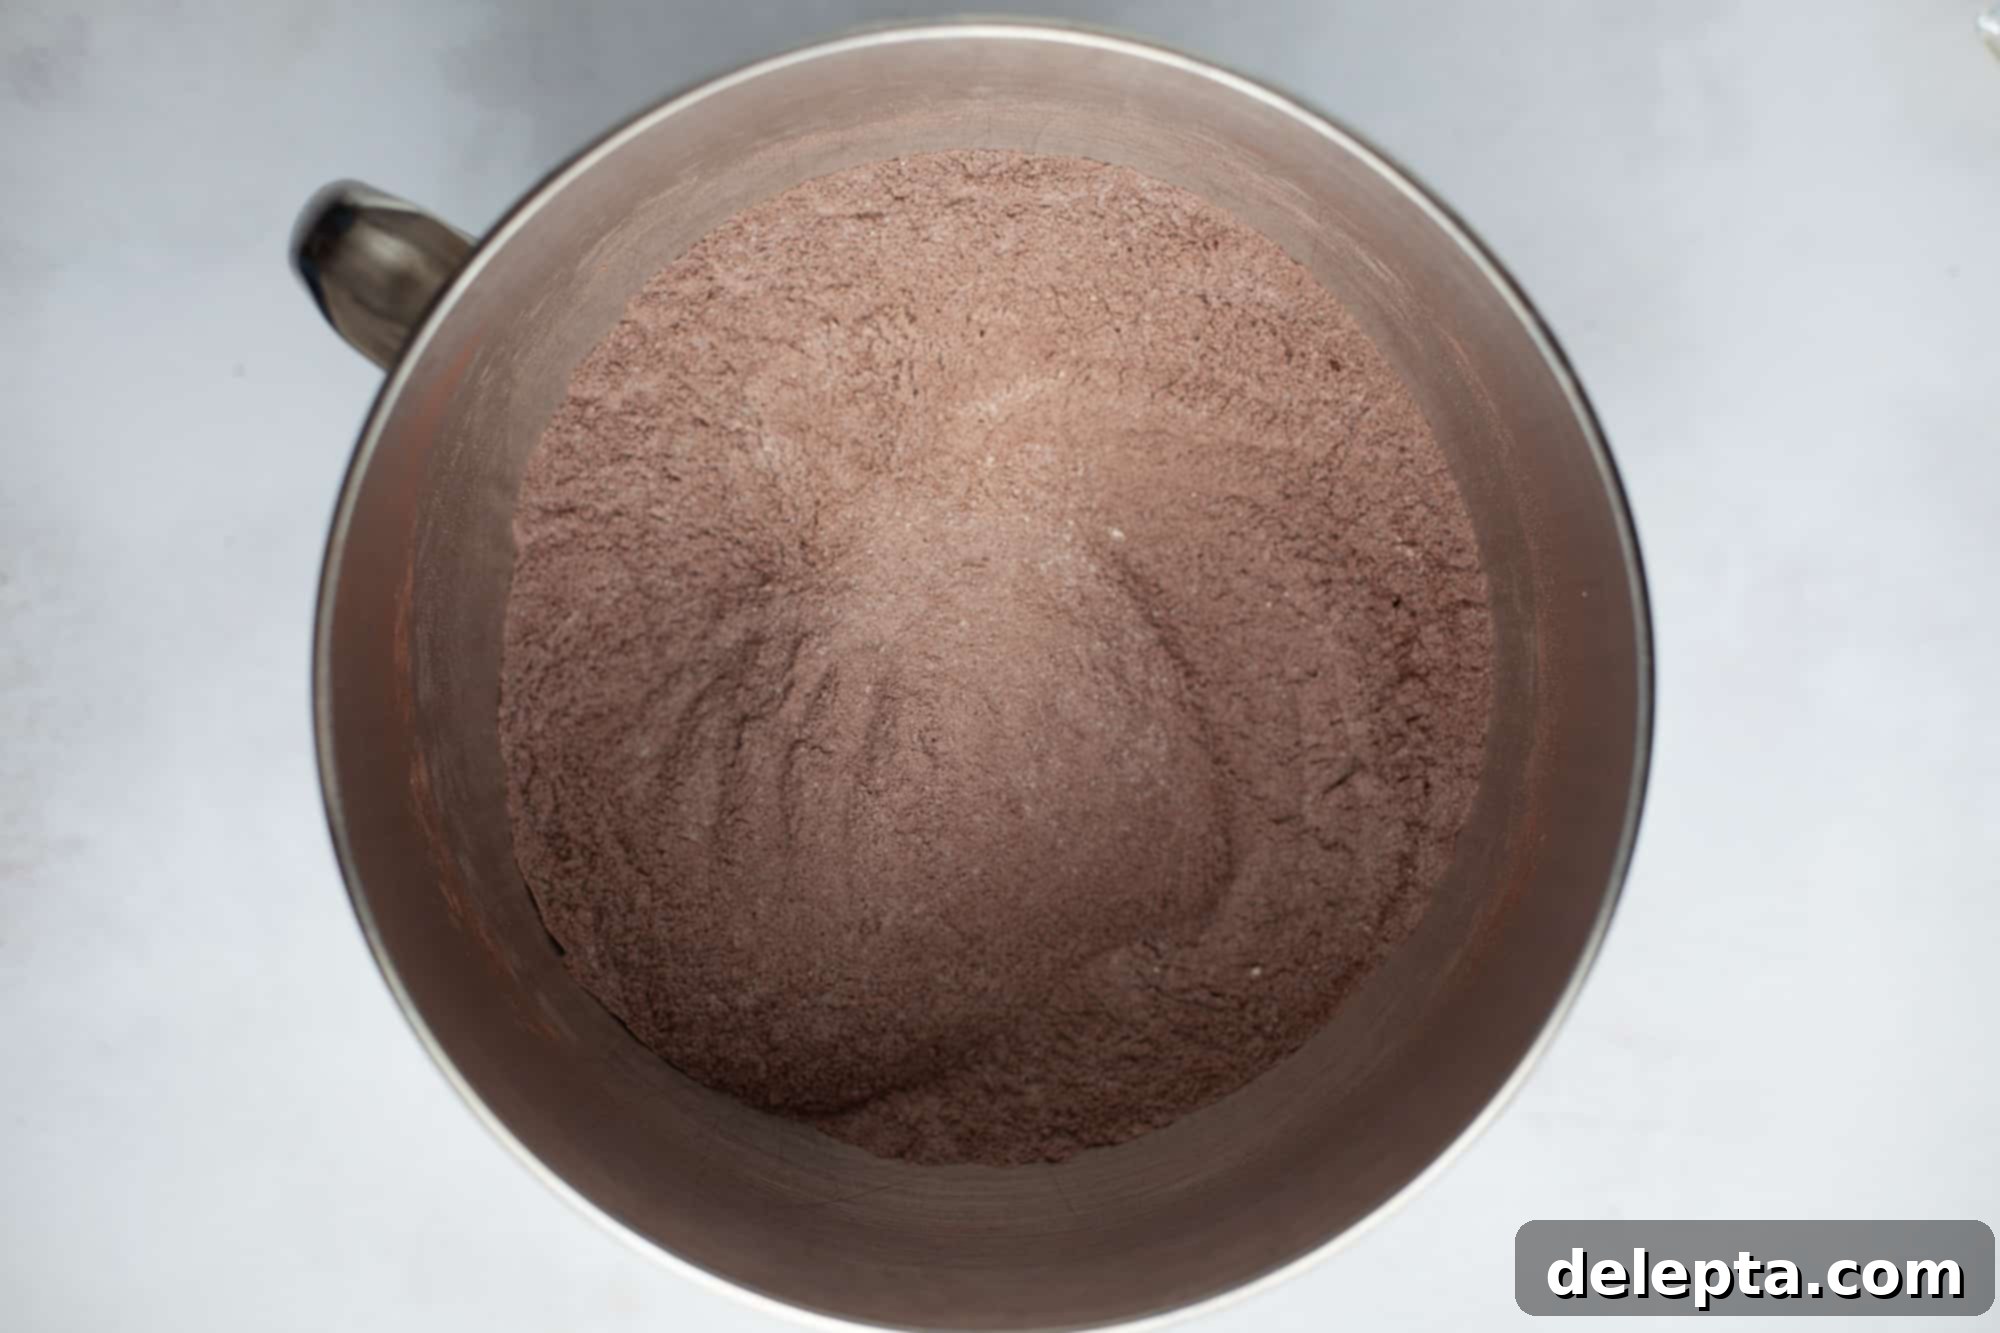
One: Prepare the Dry Ingredients. In the bowl of a stand mixer fitted with the paddle attachment, thoroughly whisk together all of your dry ingredients: flour, high-quality cocoa powder, granulated sugar, baking soda, baking powder, and kosher salt. Ensure they are fully combined and there are no lumps, creating a uniform mixture that will prevent pockets of unmixed ingredients in your cake.
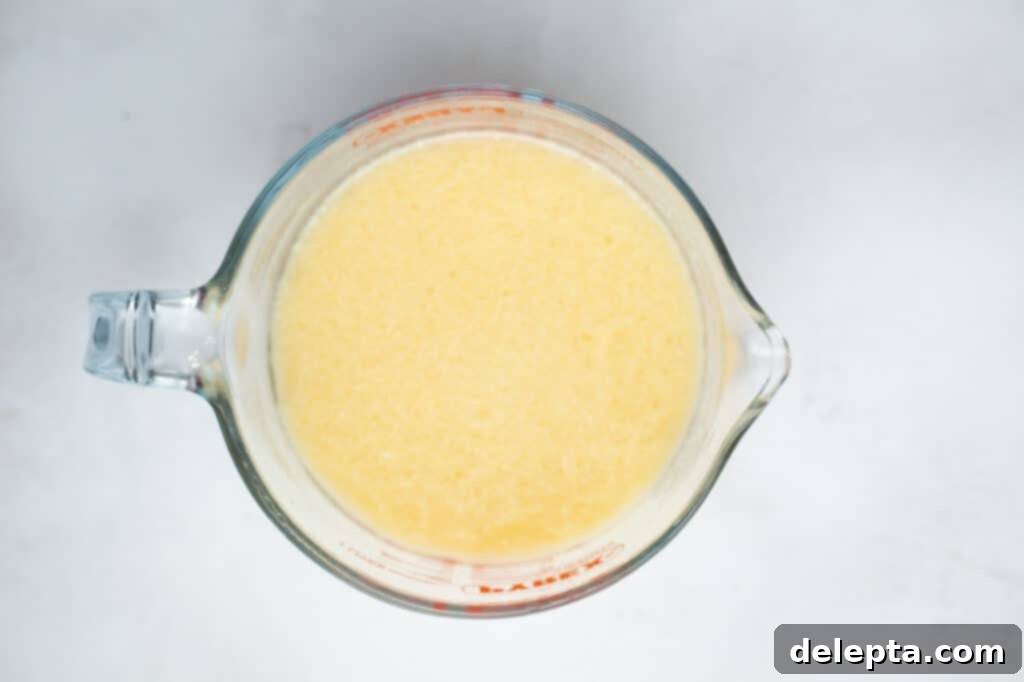
Two: Combine the Wet Ingredients. In a separate large jug or bowl, whisk together the buttermilk, vegetable oil, room temperature eggs, and vanilla extract until they are fully incorporated and smooth. This ensures that the wet components are ready to be gradually added to your dry mixture.
-

Three: Combine Wet & Dry -

Four: Pour & Bake
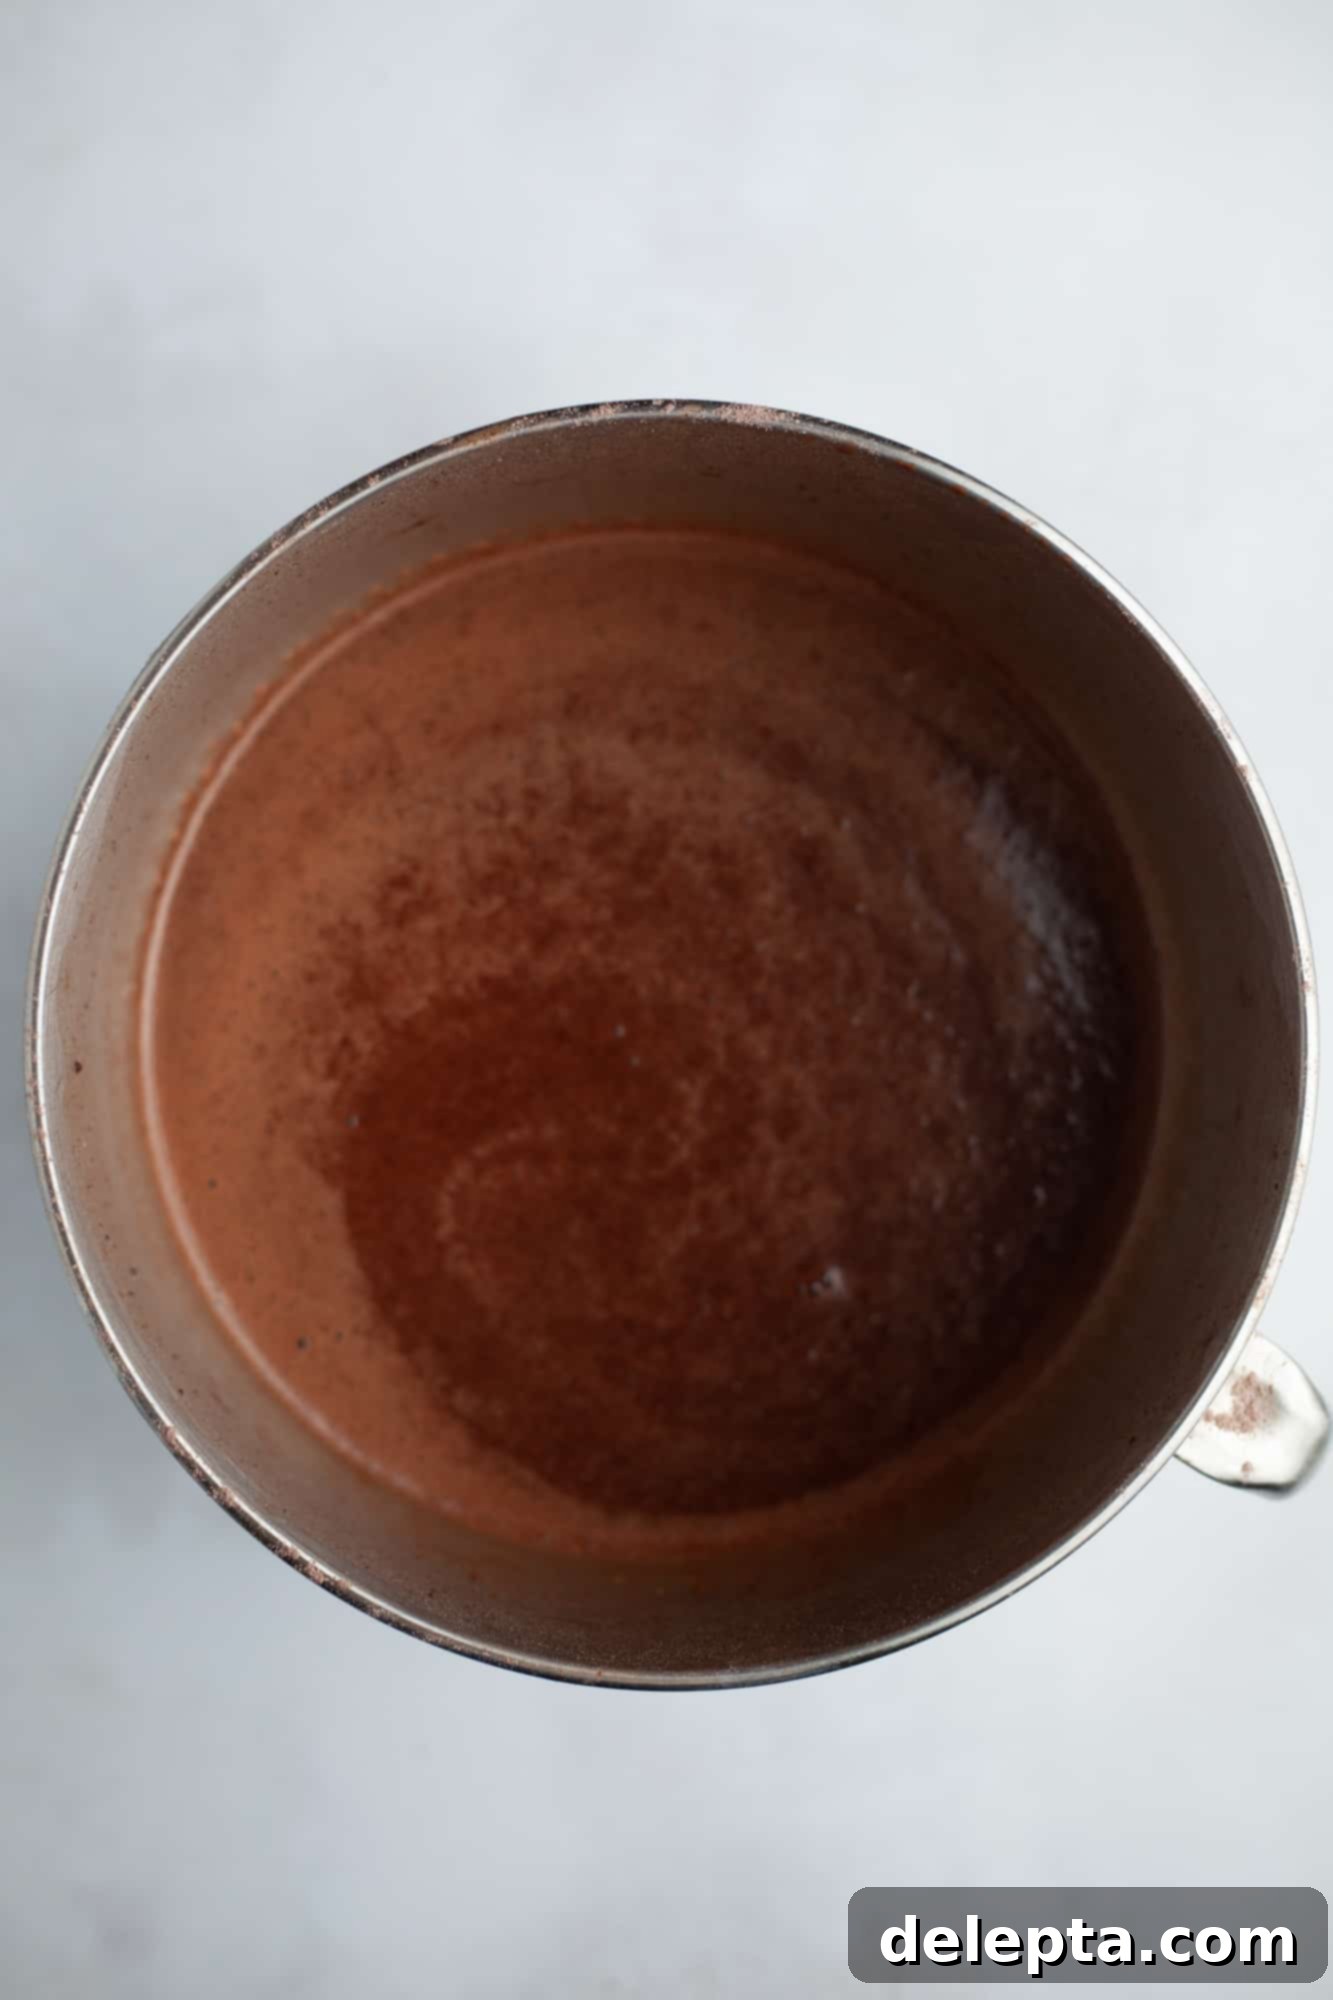
Three: Mix the Cake Batter. With your stand mixer running on low speed, slowly and steadily pour the combined wet ingredients into the dry mixture. Continue mixing on low until just combined, then gradually add your hot coffee. The batter will be quite thin, which is perfectly normal for this fudgy chocolate cake, so keep the mixer speed low throughout this process to prevent any splashing and ensure a smooth, homogeneous batter without overmixing.
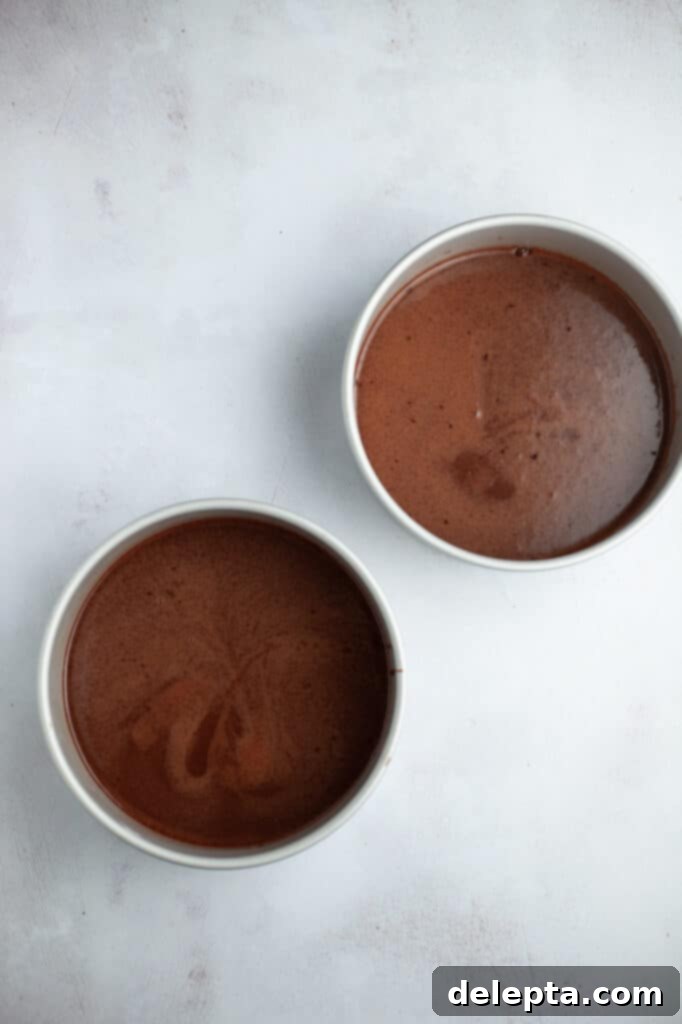
Four: Bake the Cake Layers. Divide your thin batter evenly among three prepared 8-inch cake pans. If you only have two pans, use a kitchen scale to measure the batter (approximately 22 ounces or 600 grams per pan) and bake two layers first. Once those have cooled slightly, remove them, re-grease and line the pan, then bake the final layer. Bake the cake layers at 350°F (175°C) for 35-40 minutes, or until a wooden skewer inserted into the center comes out clean. Allow the cakes to cool completely on a wire rack before attempting to frost them; warm cakes will melt your buttercream.
-

Five: Whip the Meringue -

Six: Add Butter
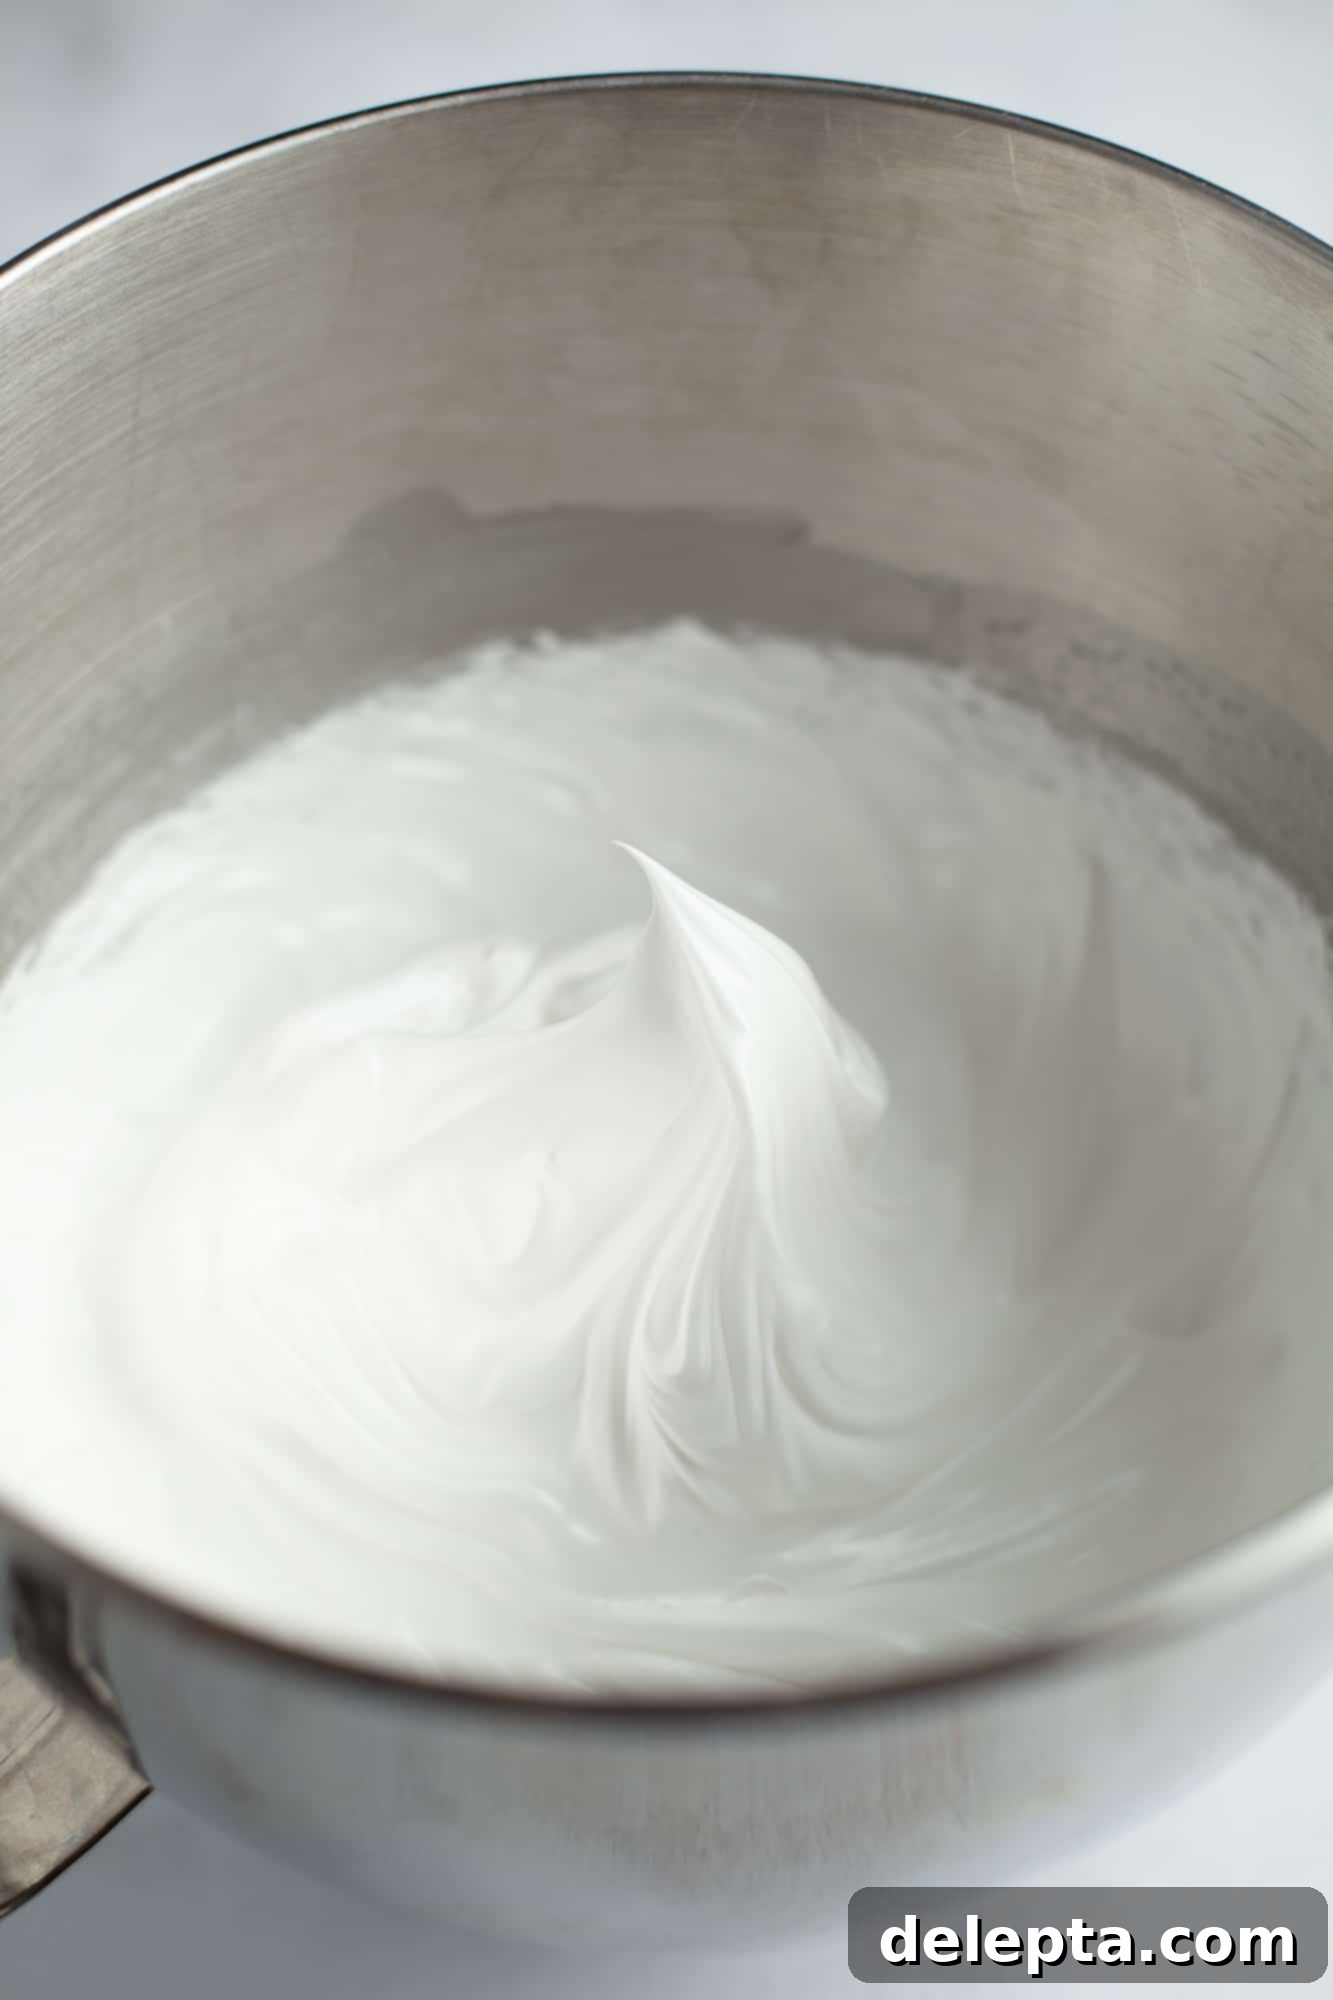
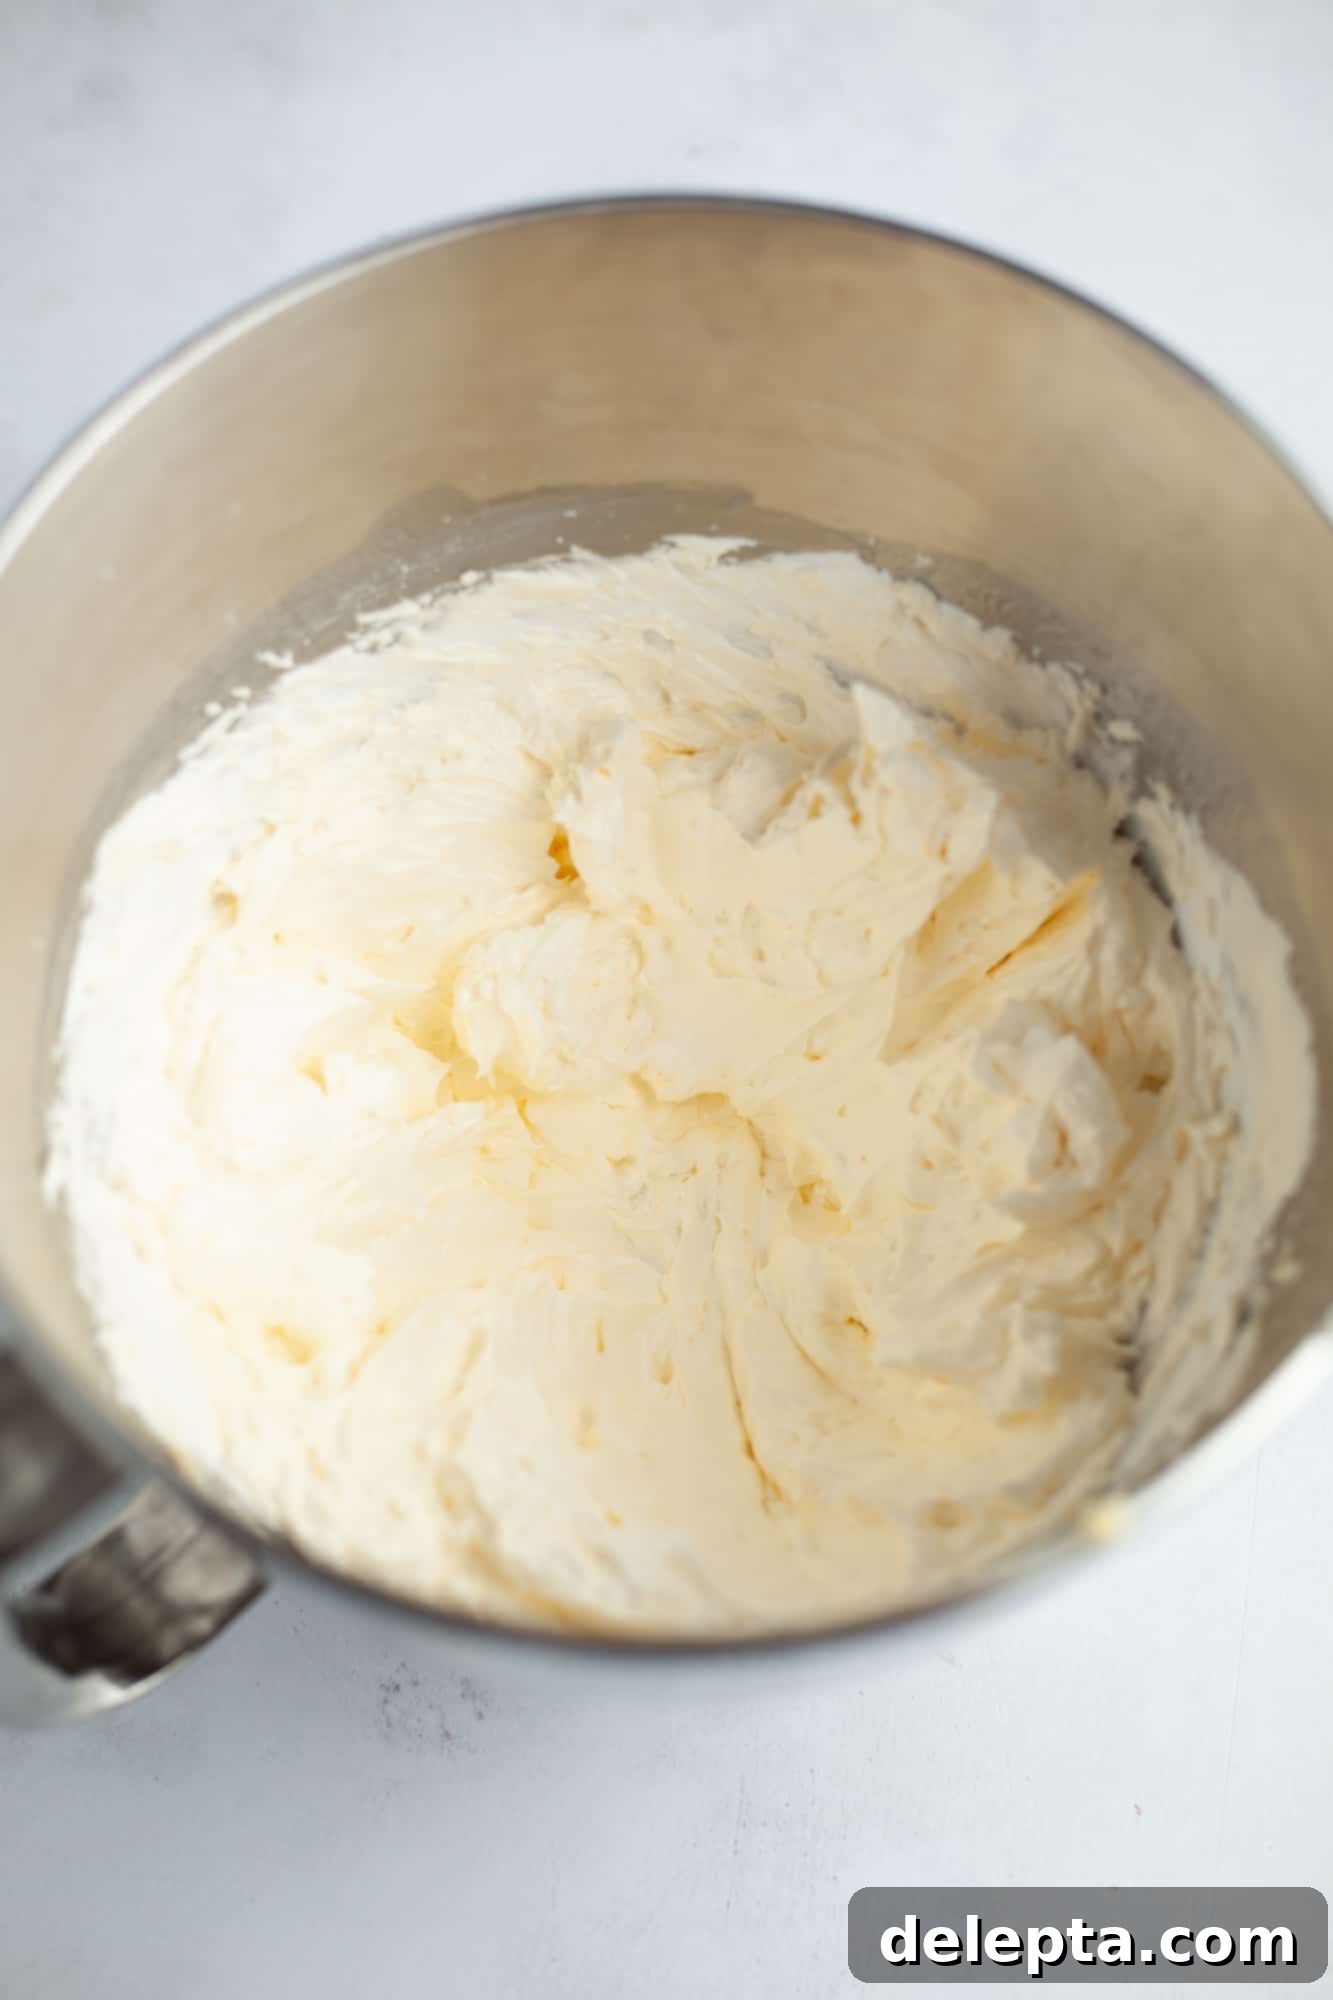
Five: Prepare the Swiss Meringue. Fill a medium saucepan with about an inch of water and bring it to a gentle simmer. In the clean bowl of your stand mixer (preferably metal), combine the egg whites, granulated sugar, salt, and cream of tartar. Place this bowl over the simmering water, ensuring the bottom of the bowl does not touch the water. Whisk continuously until the sugar granules have completely dissolved and the mixture reaches 160°F (71°C) on a thermometer, or feels smooth when rubbed between your fingers. Transfer the bowl to your stand mixer fitted with the whisk attachment. Whip the egg white mixture on medium-high speed until it forms a stiff, glossy meringue, typically taking 8-10 minutes. The bowl should feel cool to the touch.
Six: Create the Buttercream Base. Once your meringue is stiff, glossy, and the bowl is cool, reduce the mixer speed to medium-low. Begin adding the room temperature unsalted butter, one cube at a time, allowing each piece to fully incorporate before adding the next. This process can take another 8-12 minutes, and the mixture may appear curdled or soupy before it comes together into a smooth, creamy buttercream. Don’t worry, just keep mixing!
-

Seven: Add Chocolate to Buttercream -

Eight: Mix Peanut Butter Filling Base
Seven: Finish the Chocolate Swiss Meringue Buttercream. Once the buttercream is smooth, creamy, and all the butter has been incorporated, slowly pour in the melted and cooled dark chocolate with the mixer running on low speed. Mix until the chocolate is fully blended and the buttercream is uniformly chocolatey and luscious. Your exquisite chocolate Swiss meringue buttercream is now ready for frosting your cake.
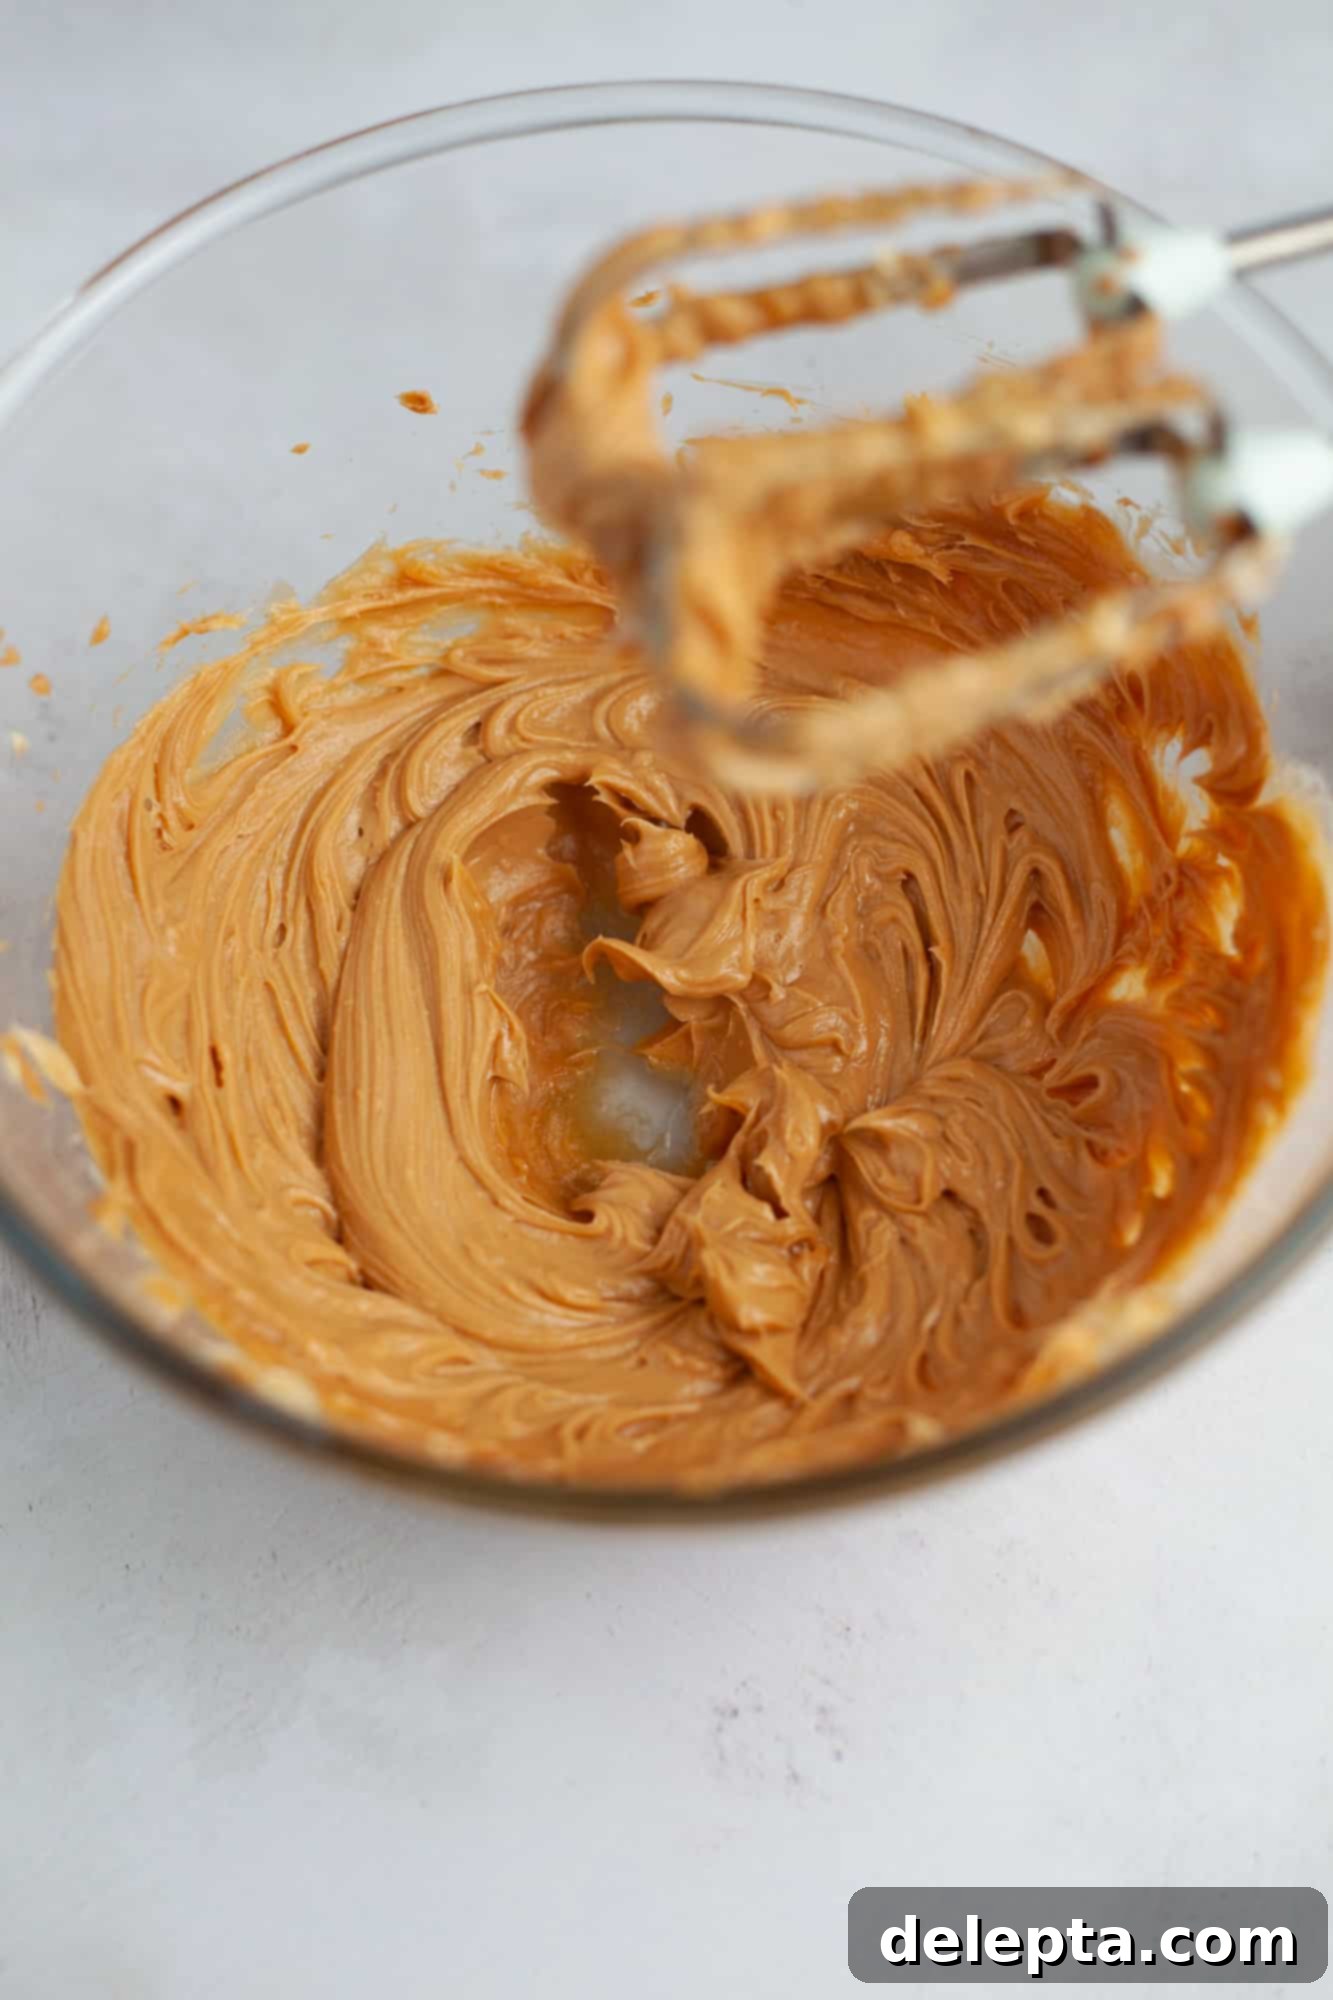
Eight: Prepare the Peanut Butter Filling Base. In a separate stand mixer bowl with the paddle attachment, or in a large bowl with a hand-held mixer, combine the room temperature unsalted butter, creamy peanut butter (non-natural type), golden syrup, and kosher salt. Whip these ingredients together until the mixture is light, fluffy, and creamy, typically 2-3 minutes. Scrape down the sides of the bowl as needed to ensure even mixing.
-

Nine: Achieve Filling Consistency -

Ten: Layering the Cake
Nine: Thicken the Peanut Butter Filling. Gradually add the sifted powdered sugar to the peanut butter mixture, beating well after each addition, until you achieve a thick, pipeable, and spreadable consistency. This ensures the filling will stay neatly between your cake layers and provide a stable structure. Make sure to scrape down the bowl frequently to incorporate all ingredients.
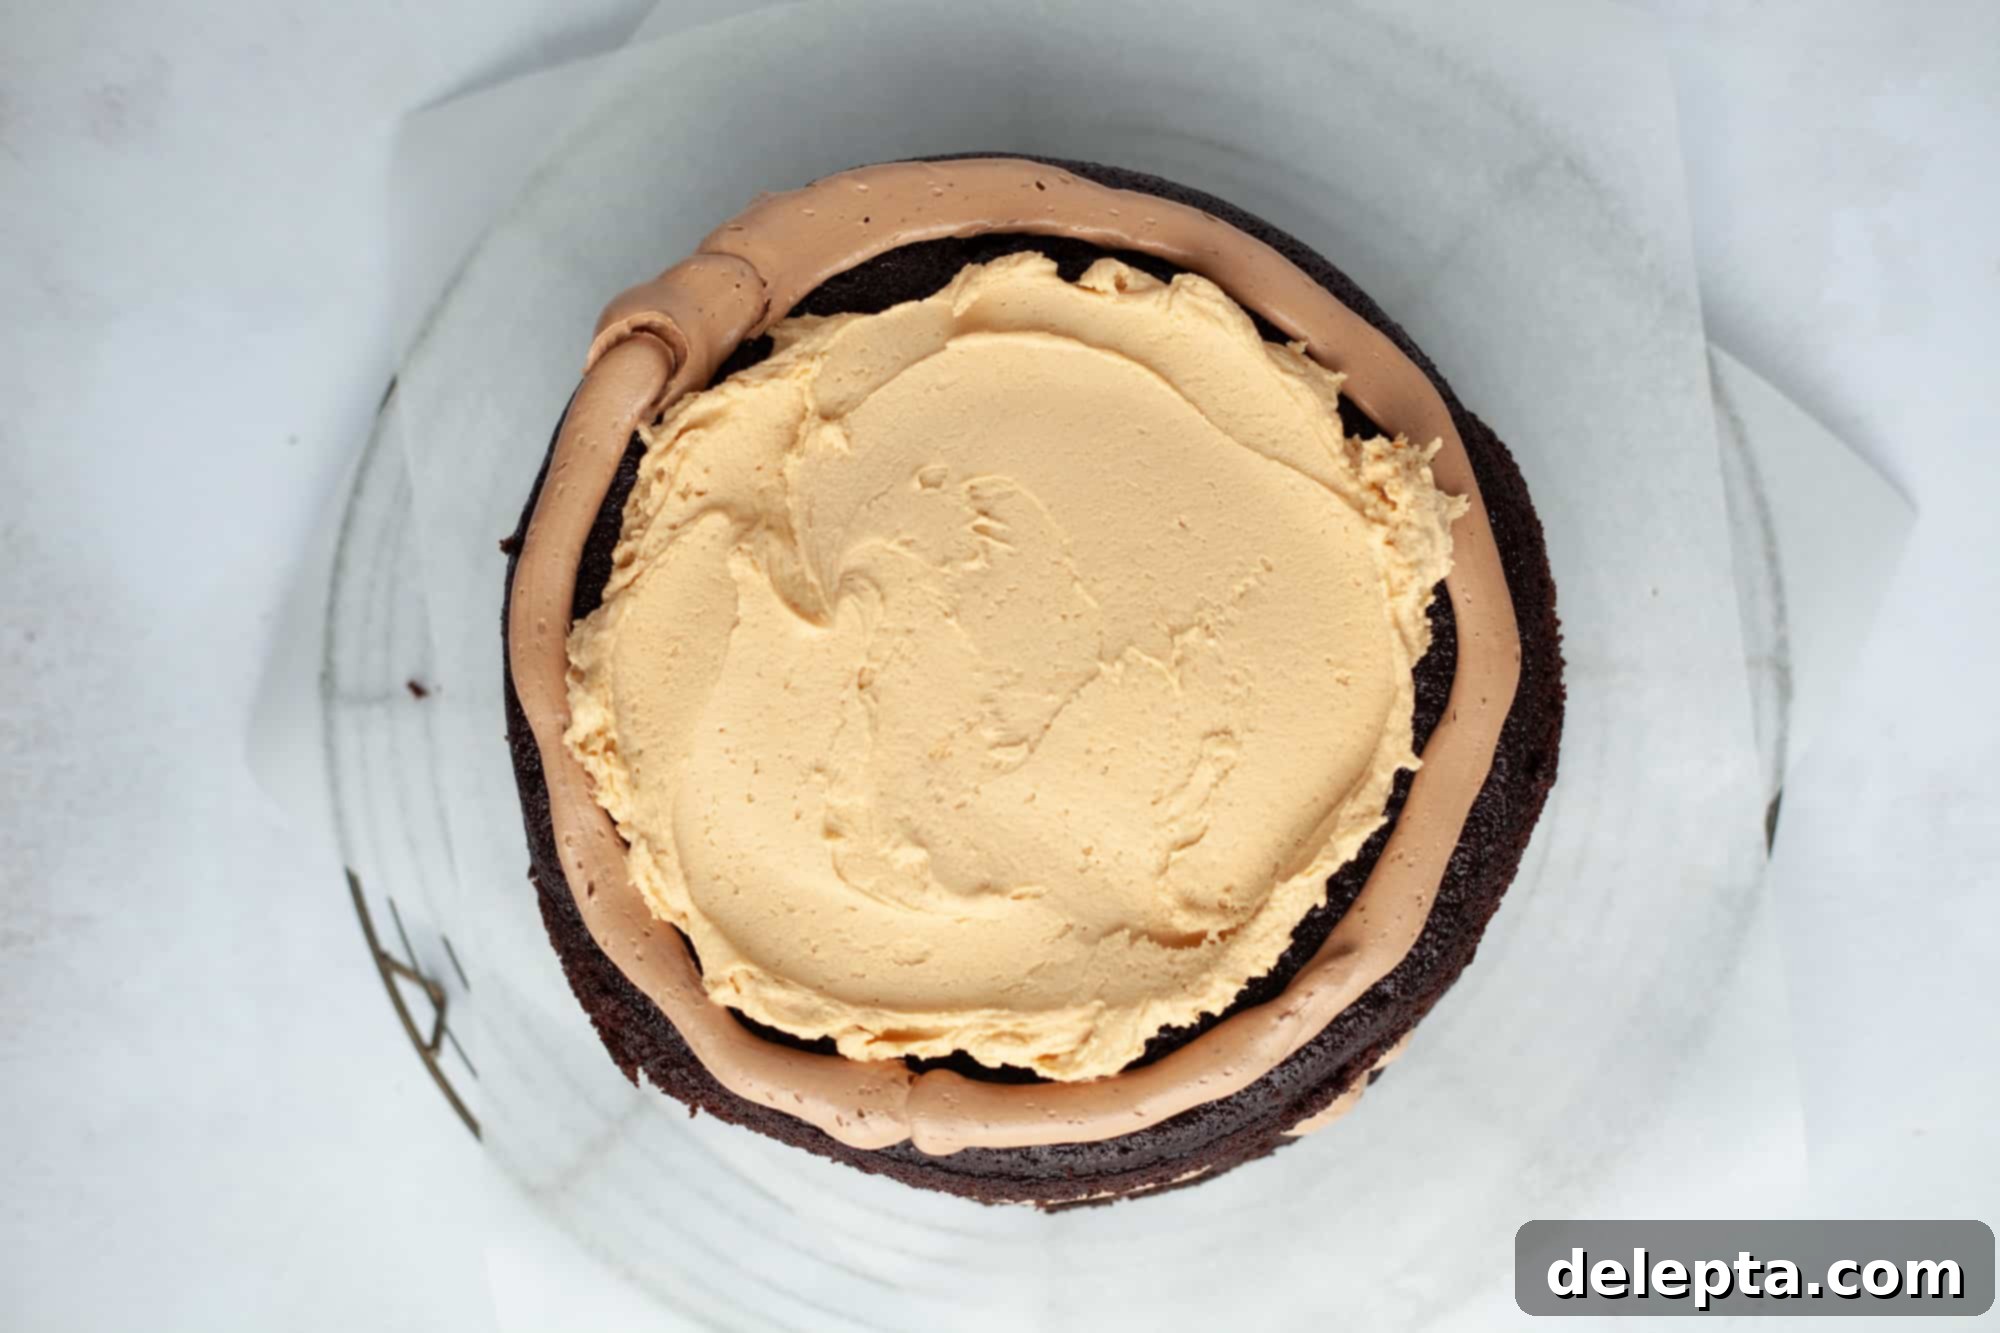
Ten: Assemble the Layers. Begin assembling your stunning chocolate peanut butter cake. Place the first cooled cake layer on your serving plate or cake stand. Using a piping bag fitted with a round tip (or simply snipping the corner of a Ziploc bag), pipe a sturdy dam or ring of chocolate Swiss meringue buttercream along the outer edge of the cake layer. This “buttercream dam” is essential for preventing the softer peanut butter filling from oozing out. Then, spoon half of the prepared peanut butter filling into the center and use a small offset spatula to spread it evenly within the buttercream ring. Carefully place the second cake layer on top and repeat the piping and spreading process with the remaining peanut butter filling. Finally, place the third cake layer on top.
-

Eleven: Crumb Coat & Chill -

Twelve: Decorate & Serve
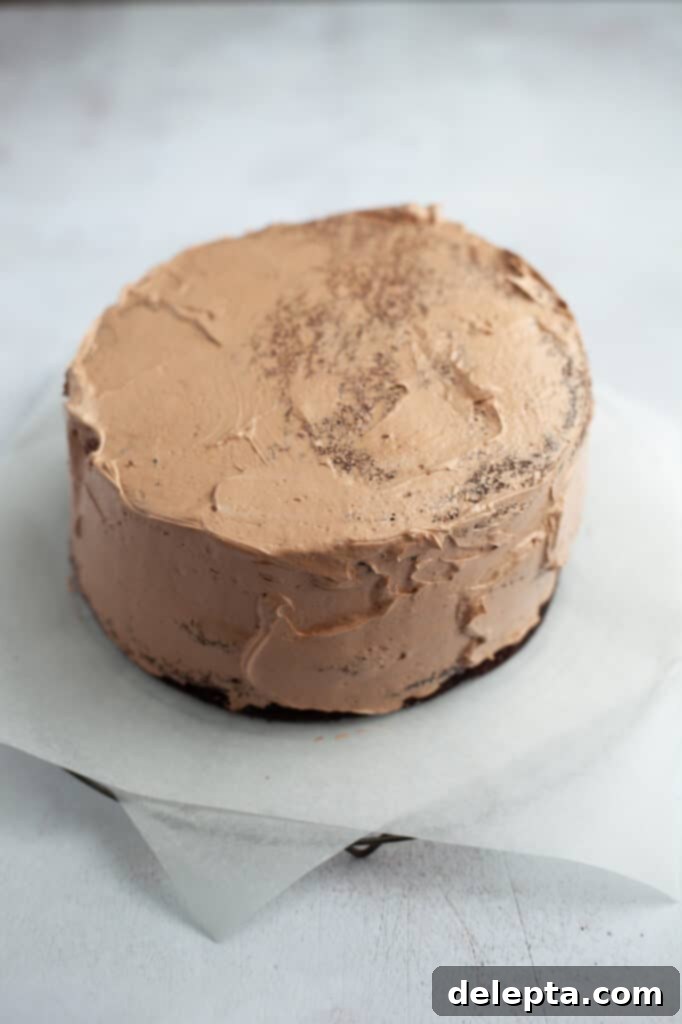
Eleven: Crumb Coat and Final Frosting. Apply a very thin, even layer of the chocolate Swiss meringue buttercream all over the assembled cake. This is called a “crumb coat” and its purpose is to trap any loose cake crumbs, ensuring your final frosting layer is smooth and crumb-free. Chill the cake in the refrigerator for about 20-30 minutes until the crumb coat is firm. Once chilled, apply the remaining buttercream to frost the entire cake, using an offset spatula or bench scraper to achieve a smooth finish on the sides and top.
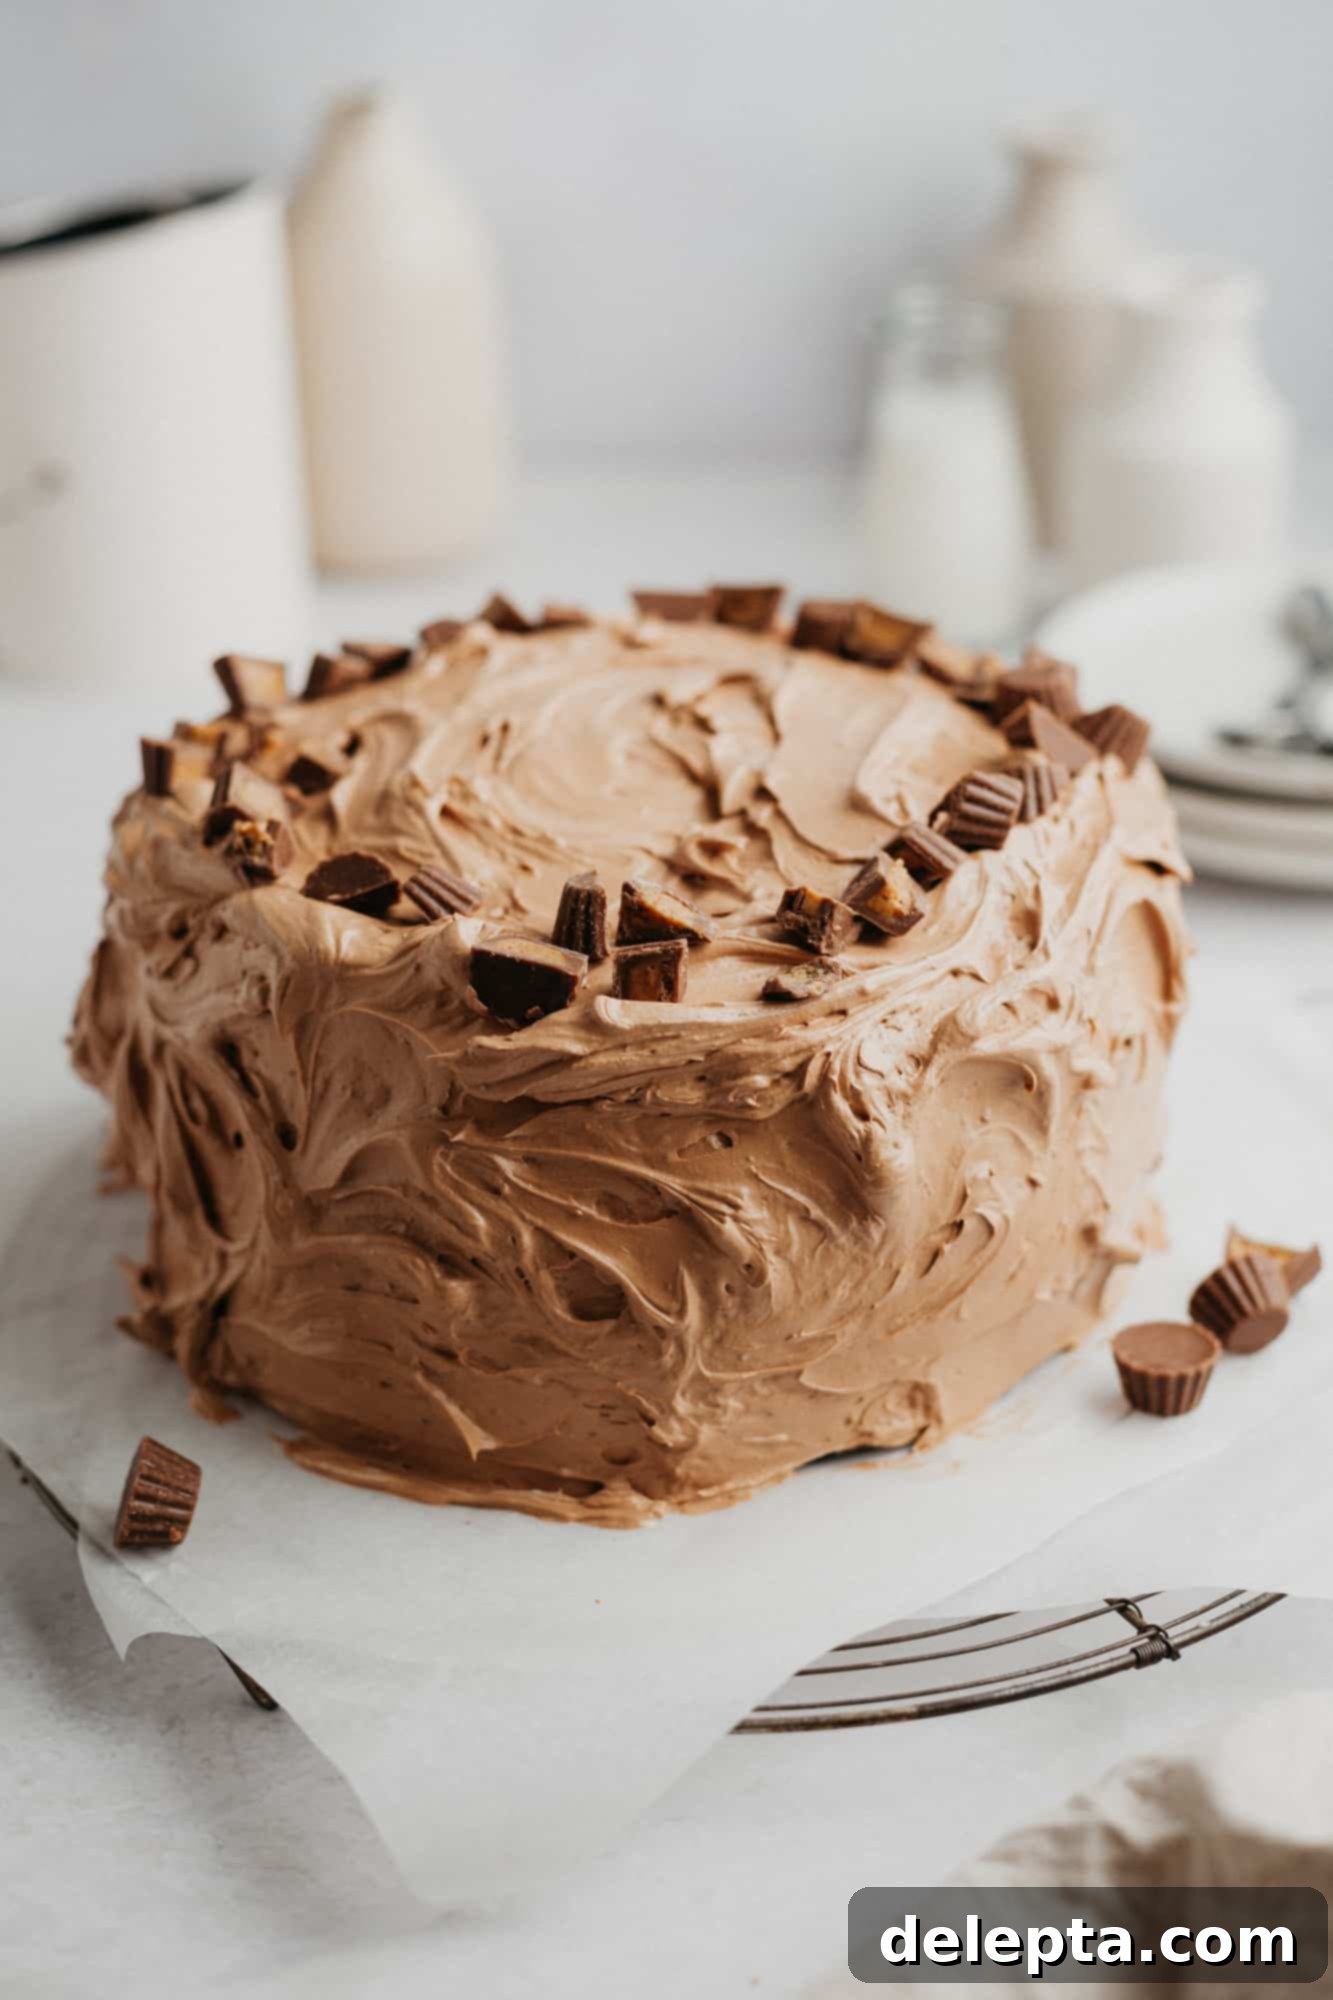
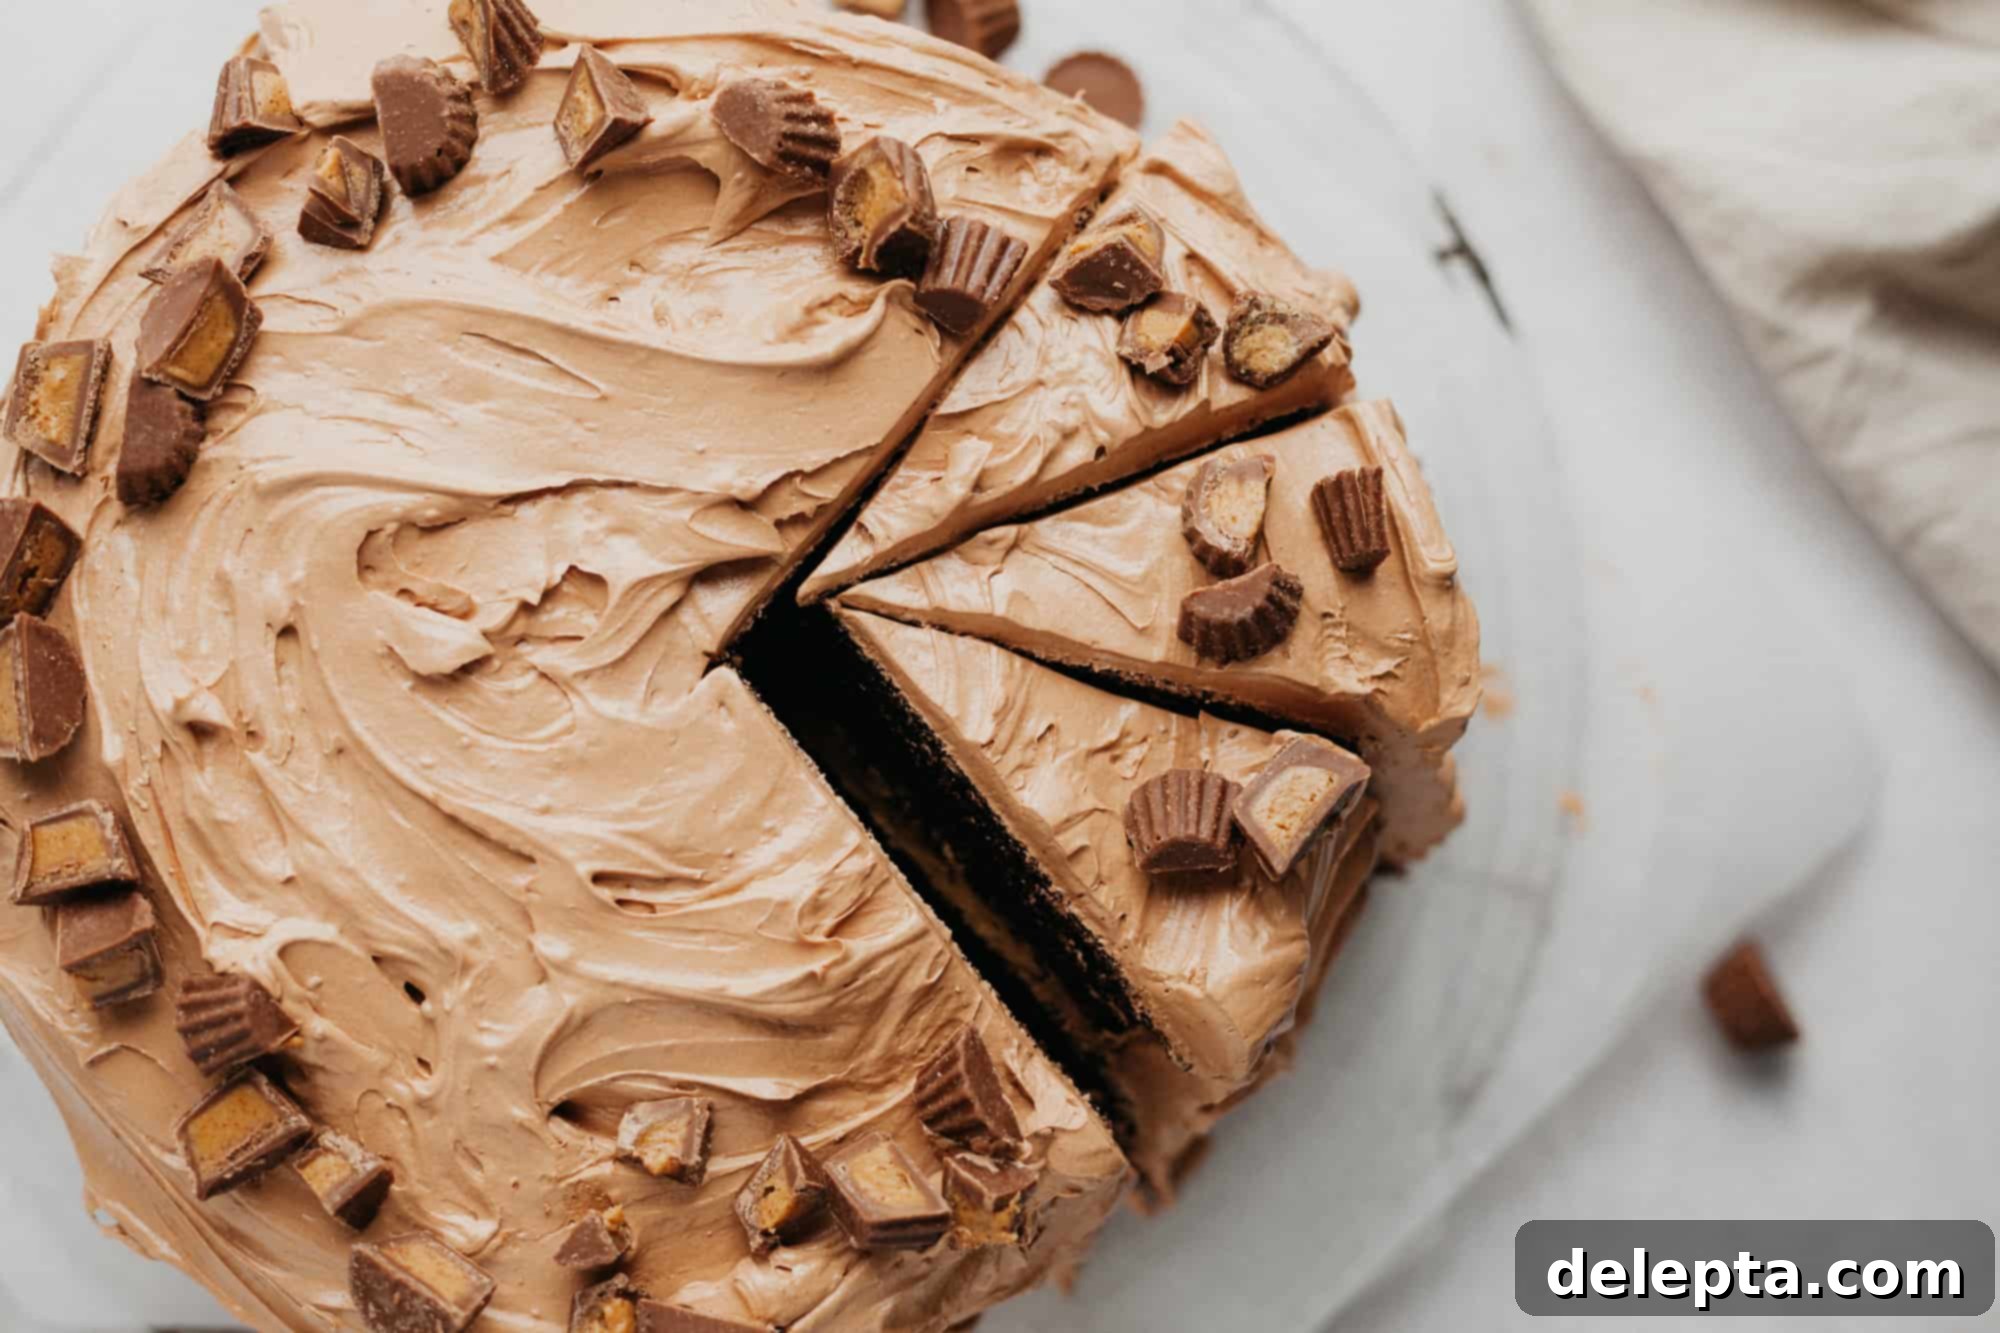
Twelve: Decorate and Present. For a rustic yet elegant touch, use a small spoon or the back of an offset spatula to create beautiful swoops and swirls on the top and sides of the chocolate frosting. This adds wonderful texture and visual interest. To complete the peanut butter cup cake theme, generously sprinkle chopped miniature peanut butter cups around the top edge or across the entire surface of the cake. This not only adds a festive look but also an extra burst of peanut butter and chocolate flavor. Slice and serve this magnificent cake proudly!
Expert Tips for the Perfect Chocolate Peanut Butter Layer Cake
Achieving bakery-quality results with your homemade chocolate peanut butter cake is easier with a few professional tips. These insights will help you navigate common baking challenges and ensure your cake turns out flawlessly every time.
- Embrace a Weighing Scale for Precision: While cup measurements are common, using a digital kitchen scale to weigh your ingredients, especially flour and sugar, is the most accurate method in baking. Metric measurements offer superior precision, significantly reducing the chances of a dense or dry cake due to incorrect ingredient ratios. This small investment makes a huge difference to your baking consistency and success.
- Strategic Order of Operations: I recommend preparing your chocolate Swiss meringue buttercream first. Swiss meringue buttercream is sensitive to temperature, so allowing it to chill slightly in the refrigerator after preparation can firm it up if your kitchen is warm, making it easier to work with. While your buttercream is chilling, move on to preparing the peanut butter filling. This filling is best used immediately after it’s made, ensuring optimal spreadability and texture. By the time your filling is ready, your buttercream will be at the perfect consistency for assembly.
- The Golden Rule: Room Temperature Ingredients: This tip cannot be stressed enough for successful baking. Ensure all your perishable ingredients like butter, eggs, and buttermilk are at room temperature. This means pulling them out of the refrigerator at least 2 hours before you plan to start baking. Room temperature ingredients emulsify better, creating a smoother, more uniform batter and a lighter, fluffier cake texture, as well as a stable and silky buttercream.
- Cool Cakes Completely: Patience is a virtue when it comes to frosting. Attempting to frost a warm or even slightly warm cake will lead to melted frosting and a messy situation. Ensure your cake layers are completely cooled – ideally, baked the day before and allowed to cool overnight – before you begin assembly and frosting.
- Don’t Overmix Your Cake Batter: Overmixing develops the gluten in the flour too much, leading to a tough and chewy cake rather than a tender and moist one. Mix your dry and wet ingredients only until they are just combined and no streaks of flour remain. The batter for this fudgy chocolate cake is intentionally thin, so a light hand is key.
- Proper Pan Preparation: To prevent your cake layers from sticking, always grease your cake pans thoroughly with butter or baking spray and line the bottoms with parchment paper circles. This ensures easy removal and perfectly shaped layers.
Frequently Asked Questions About This Chocolate Peanut Butter Cake
Here are answers to some common questions about baking and storing this delicious chocolate peanut butter layer cake, designed to help you achieve the best results.
For best results and reduced stress on baking day, I highly recommend baking your cake layers the night before you plan to assemble and frost the cake. Once completely cooled, wrap the individual layers tightly in plastic wrap and store them at room temperature. This also ensures they are perfectly cool and firm, which is essential for easy handling and preventing the buttercream from melting during frosting.
This recipe is designed for three 8-inch round cake pans, which yield beautifully even and substantial layers. If you only have two 8-inch pans, you can bake the cake in batches: simply weigh out the batter to ensure each pan receives an equal amount (approximately 22 ounces or 600 grams per layer). Be aware that if you opt to use 9-inch pans, your cake layers will be thinner, and you may need to slightly reduce the baking time. Always ensure to weigh the batter across all pans for consistency in layer thickness.
The secret to achieving those picture-perfect, clean slices is surprisingly simple: a hot knife! Boil some water and pour it into a tall glass or pitcher. Dip a long, sharp knife into the hot water for a few seconds, then wipe it completely dry with a tea towel. Make your slice, then repeat the process (reheating and wiping dry) for each subsequent slice. The hot blade glides through the cake and frosting effortlessly, preventing sticking and smudging.
Once frosted, this chocolate peanut butter layer cake should be stored in an airtight container in the refrigerator for up to 5 days. For the best flavor and texture, I recommend bringing individual slices to room temperature for about 30-60 minutes before serving. This allows the cake and frosting to soften slightly and their flavors to fully develop.
Yes, this cake freezes beautifully! You can freeze individual unfrosted cake layers (wrapped tightly in plastic wrap, then foil) for up to 2-3 months. Thaw them in the refrigerator overnight before frosting. A fully assembled and frosted cake can also be frozen, ideally on a tray until solid, then wrapped tightly in several layers of plastic wrap and foil. Thaw in the refrigerator, then bring to room temperature before serving.
The chocolate Swiss meringue buttercream can be made up to 3 days in advance and stored in an airtight container in the refrigerator. Before using, let it come to room temperature and re-whip it on low speed until smooth and creamy again. The peanut butter filling is best made just before assembly, as its texture is ideal when fresh.
More Irresistible Cake Recipes to Explore:
If you loved this chocolate peanut butter layer cake, you might enjoy trying some of our other delectable cake creations. Expand your baking repertoire with these fan favorites:
- Blueberry Jam Cake: A delightful cake bursting with fresh blueberry flavor and sweet jam filling.
- Strawberry Filled Cake: A light and airy cake complemented by a vibrant, fruity strawberry filling.
- White Chocolate and Raspberry Loaf Cake: A simpler yet elegant loaf cake, perfect for a sophisticated tea time treat.
We hope you adore this ultimate Chocolate Peanut Butter Layer Cake as much as we do! Make sure to tag me on Instagram @alpineellaand leave a review below if you’ve made this cake – I love seeing your creations! If you’re always on the lookout for more inspiring baking ideas and recipes, you can follow me on Pinterest for daily sweet treats and baking adventures.
Recipe
Chocolate and Peanut Butter Layer Cake
Ella Gilbert
Pin Recipe
Save RecipeSaved!
Equipment
-
3 x 8″ pans
Ingredients
Cake
- 1 ½ cups hot coffee
- 1 cup cocoa powder
- 2 ½ cups granulated sugar
- 1 teaspoon vanilla extract
- 1 teaspoon kosher salt
- 3 eggs
- 2 ¾ cups flour
- 3 teaspoon baking soda
- 1 ½ teaspoon baking powder
- 1 ½ cups buttermilk
- 1 cup vegetable oil
Peanut Butter Filling
- ½ cup unsalted butter room temperature
- ½ cup peanut butter
- 1 ½ tablespoon golden syrup
- ¼ teaspoon kosher salt
- ¾ cup powdered sugar sifted
Swiss Meringue Buttercream
- 8 ounces dark chocolate melted and room temperature
- 1 cup granulated sugar
- 5 egg whites
- 1 ⅓ cups unsalted butter room temperature
- ½ teaspoon kosher salt
- ¼ teaspoon cream of tartar
Instructions
Cake
-
Preheat your oven to 350°F (175°C). Prepare three 8-inch round cake pans by generously greasing them with butter or baking spray. Then, line the bottoms of each pan with parchment paper circles to prevent sticking.
-
In the bowl of a stand mixer fitted with the paddle attachment, combine the flour, cocoa powder, granulated sugar, baking powder, baking soda, and kosher salt. Whisk them thoroughly until well combined. In a separate large jug, whisk together the buttermilk, vegetable oil, eggs, and vanilla extract until smooth.
-
With the mixer running on low speed, slowly and gradually pour the wet ingredients into the dry mixture. Continue mixing on low until just combined. While the mixer is still running, slowly add the hot coffee. The batter will be quite thin, so maintain a low speed to avoid splashing and ensure smooth incorporation.
-
Divide the batter evenly among the three prepared pans. Bake for 35-40 minutes, or until a wooden skewer or toothpick inserted into the center of a cake comes out clean.
-
Once baked, allow the cake layers to cool completely in their pans on a wire rack before attempting to remove them. Ensure they are fully cool before unwrapping and frosting.
Swiss Meringue Frosting
-
To make the Swiss meringue, fill a medium saucepan with about an inch of water and bring it to a gentle simmer. In a large mixing bowl (preferably the clean bowl of your stand mixer), combine the granulated sugar, kosher salt, cream of tartar, and egg whites. Place this bowl directly over the simmering water, making sure the bottom of the bowl does not touch the water.
-
Heat the mixture, whisking constantly, until all the sugar has completely dissolved. The mixture will transition from a granular, yellowish consistency to a smooth, opaque white. This typically takes about 5 minutes. If you have a candy thermometer, it should read 115°F (46°C). If not, carefully rub a small amount between your fingers; if it’s no longer grainy, it’s ready for the next step.
-
Transfer the bowl to your stand mixer and fit it with the whisk attachment. Beat the egg white mixture on medium-high speed until it forms a stiff, glossy meringue. This process usually takes 8-10 minutes. It’s crucial that you continue beating until the outside of the mixing bowl feels completely cool to the touch.
-
Once the meringue is cool and stiff, reduce the mixer speed to medium-low. Add the room temperature butter, one piece at a time, allowing each addition to fully incorporate before adding the next. This step can take 8-12 minutes; the mixture may appear curdled or soupy initially, but keep mixing, and it will eventually transform into a smooth, creamy buttercream. Once all the butter is in and the mixture is smooth, slowly pour in the melted and cooled dark chocolate with the mixer on low speed. Give it one final mix using a rubber spatula to ensure all the chocolate is thoroughly incorporated.
Peanut Butter Filling
-
In a large bowl, using a hand-held mixer (or a stand mixer with the paddle attachment), combine all the peanut butter filling ingredients except for the powdered sugar: unsalted butter, creamy peanut butter, golden syrup, and kosher salt. Mix until the mixture is pale and creamy, about 2-3 minutes, scraping down the sides as needed.
-
Gradually add the sifted powdered sugar to the peanut butter mixture, a little at a time, beating well between each addition until you achieve a thick, smooth, and spreadable consistency that holds its shape.
Notes
Butter: I personally prefer using European-style butter, such as Kerry Gold, in my recipes. It has a higher butterfat content, which results in a noticeably creamier, richer flavor and superior texture in both cakes and buttercreams.
Scale: For unparalleled accuracy in baking, I cannot stress enough the importance of using a digital kitchen scale. Measuring ingredients by weight rather than volume (cups) eliminates inconsistencies and ensures your recipes turn out perfectly every single time.
The peanut butter frosting is adapted from Serious Eats, a fantastic resource for culinary insights.
The fudgy chocolate cake recipe is adapted from the reliable Ina Garten, known for her foolproof and delicious recipes.
Nutrition
Other Recipes To Try:
- Chocolate & Salted Caramel Tahini Cupcakes: A unique twist on classic cupcakes with a rich, nutty flavor.
- Chocolate & Raspberry Drip Cake: An elegant and fruit-infused chocolate cake that’s as beautiful as it is delicious.
- Chocolate Fudge Sheet Cake: A crowd-pleasing, easy-to-make sheet cake with intense chocolate flavor, perfect for gatherings.
