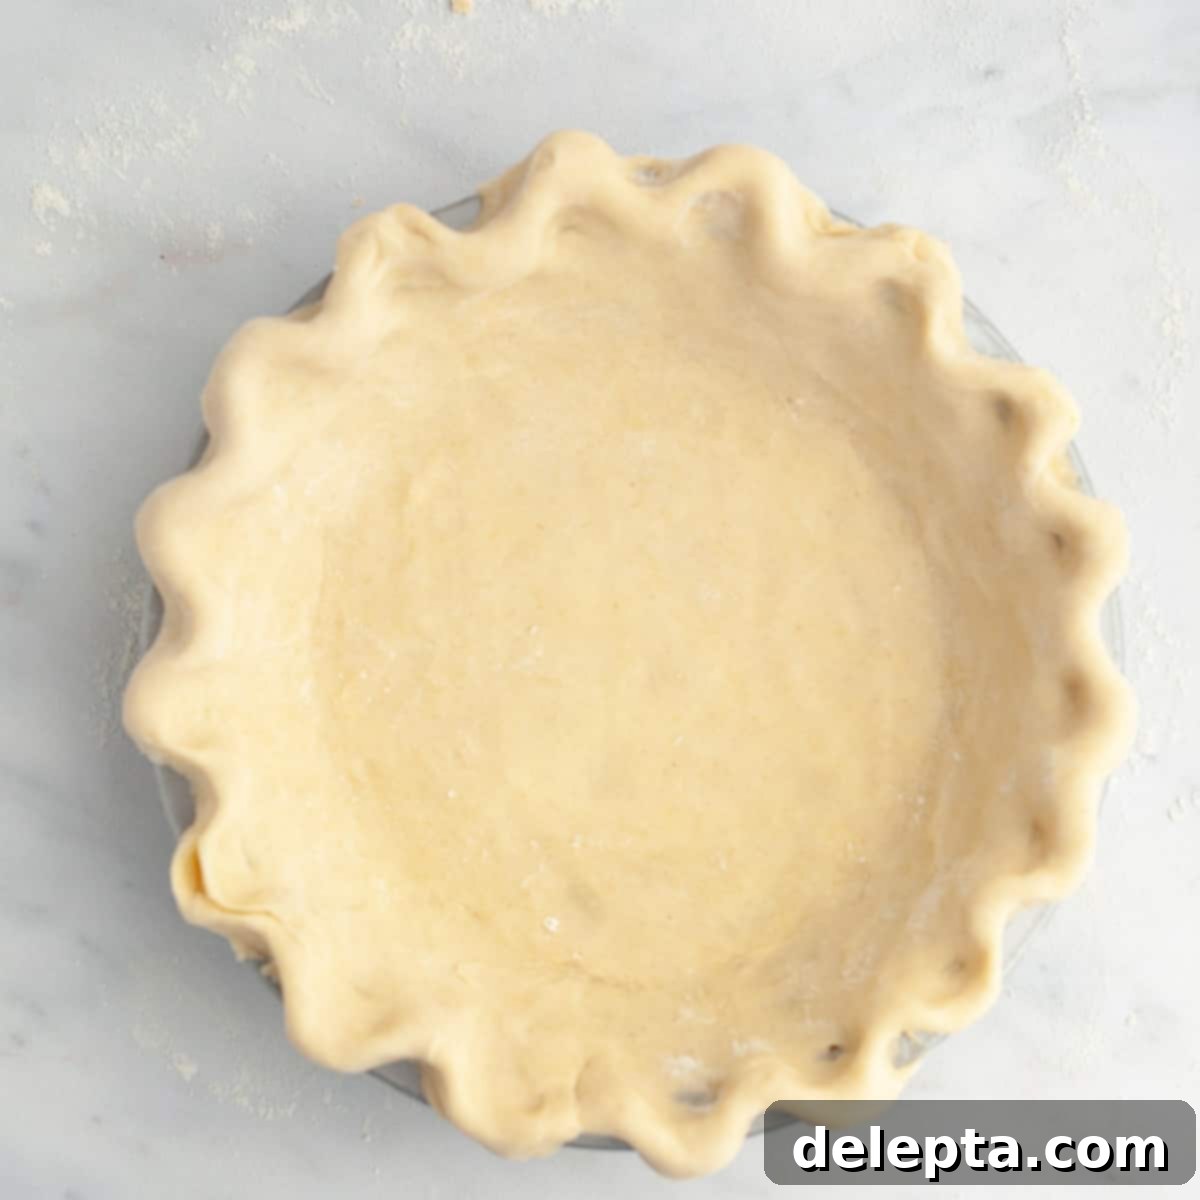
The Ultimate Guide to Crafting the Flakiest All-Butter Homemade Pie Crust
There’s nothing quite like a homemade pie, and at the heart of every truly exceptional pie lies a perfect crust. Forget about store-bought options that often lack flavor and texture; learning how to make your own flaky, all-butter pie crust from scratch is a game-changer. This comprehensive guide will walk you through the process step-by-step, using just a few simple ingredients and sharing invaluable tips to ensure your pie dough is extra flaky, buttery, and utterly delicious. Get ready to impress your family and friends with pies that boast a golden, tender, and irresistibly crisp foundation!
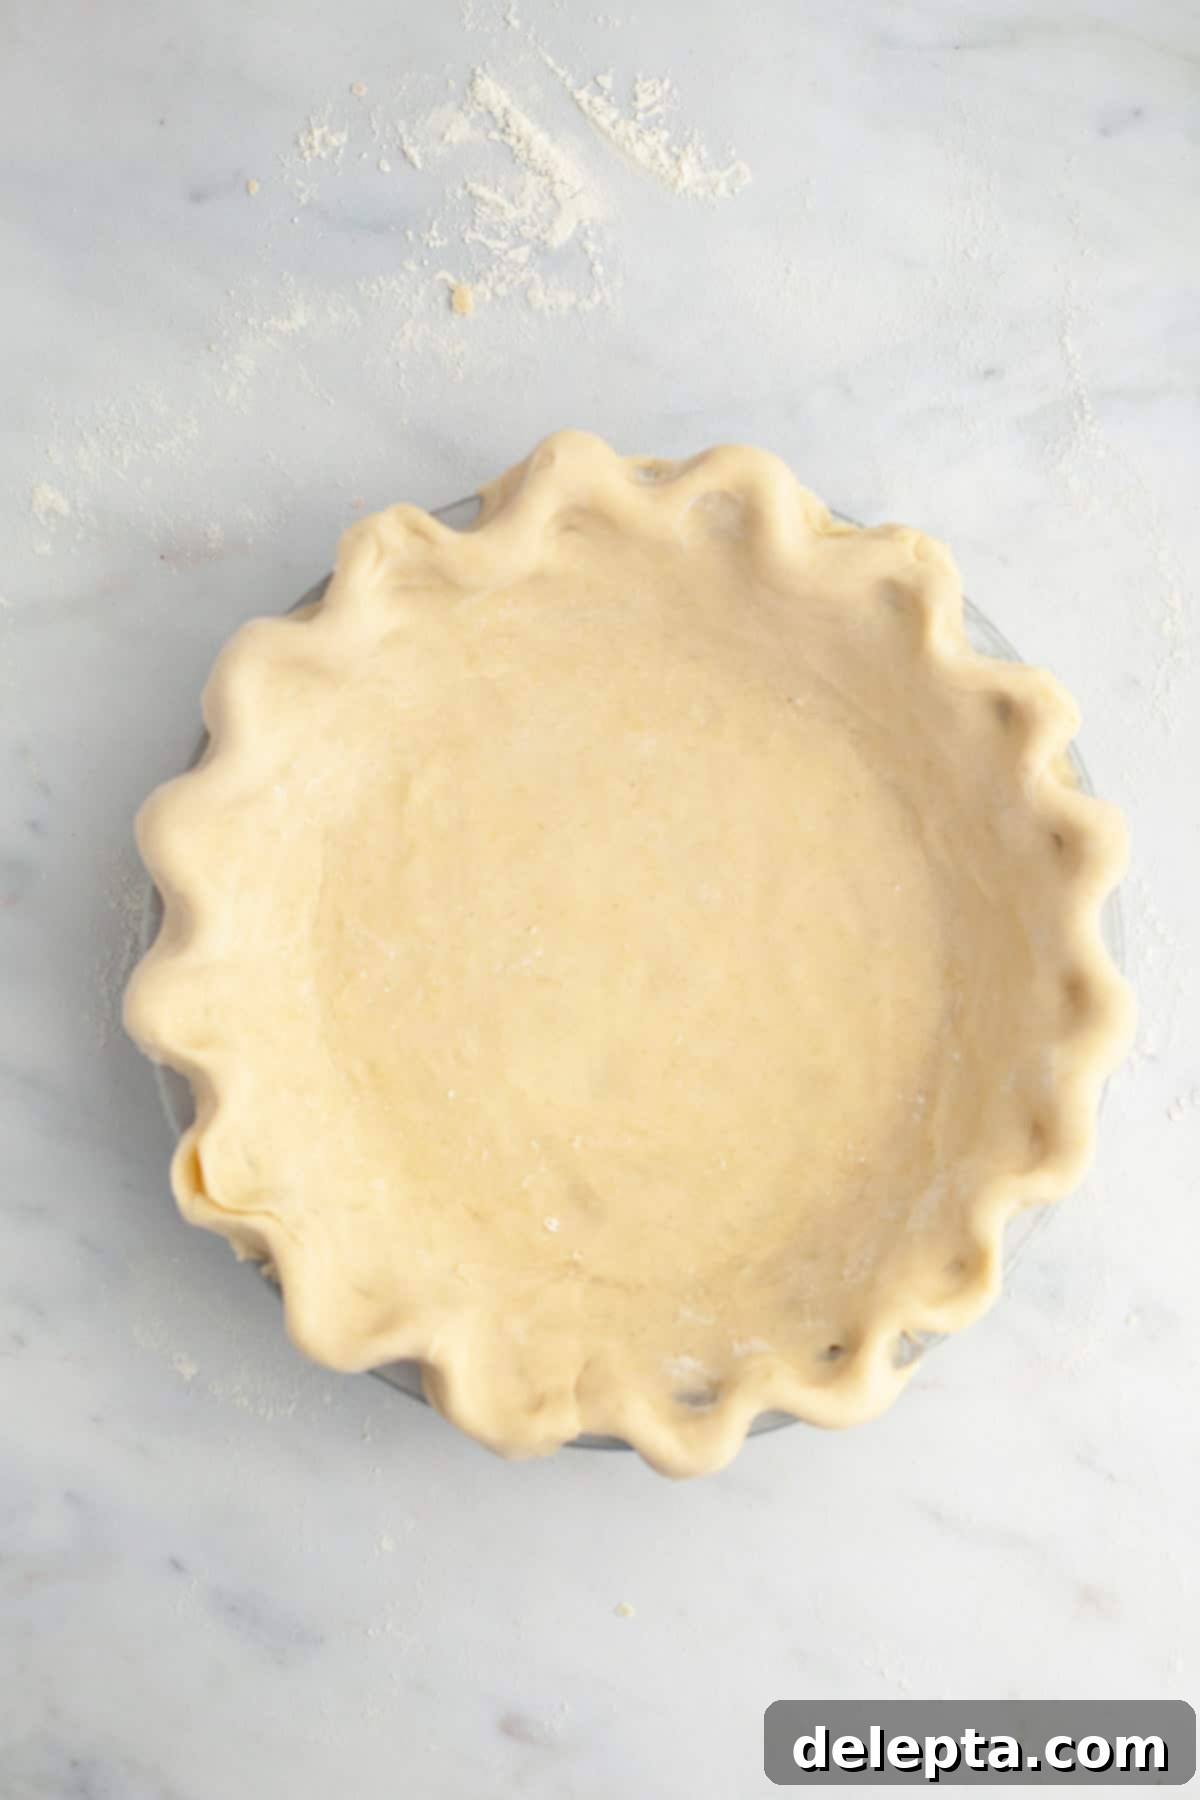
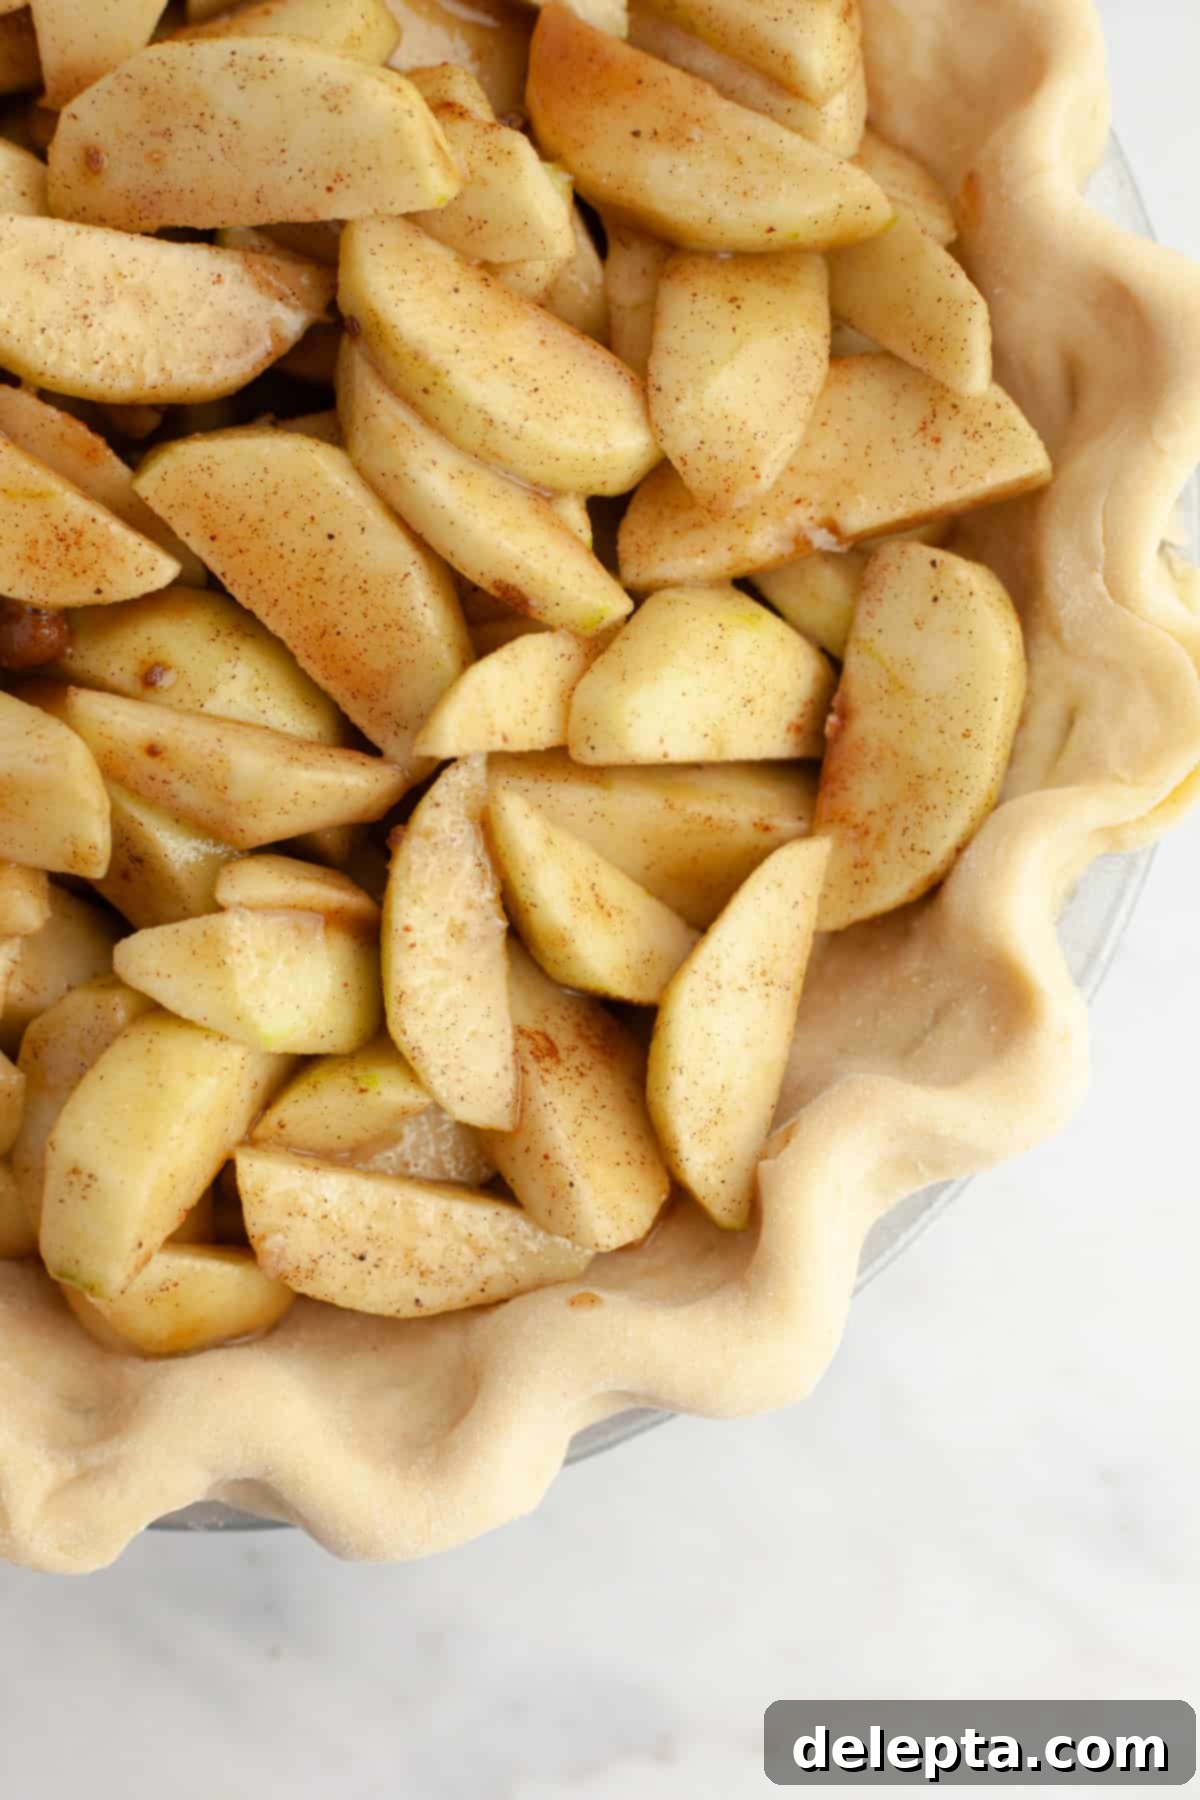
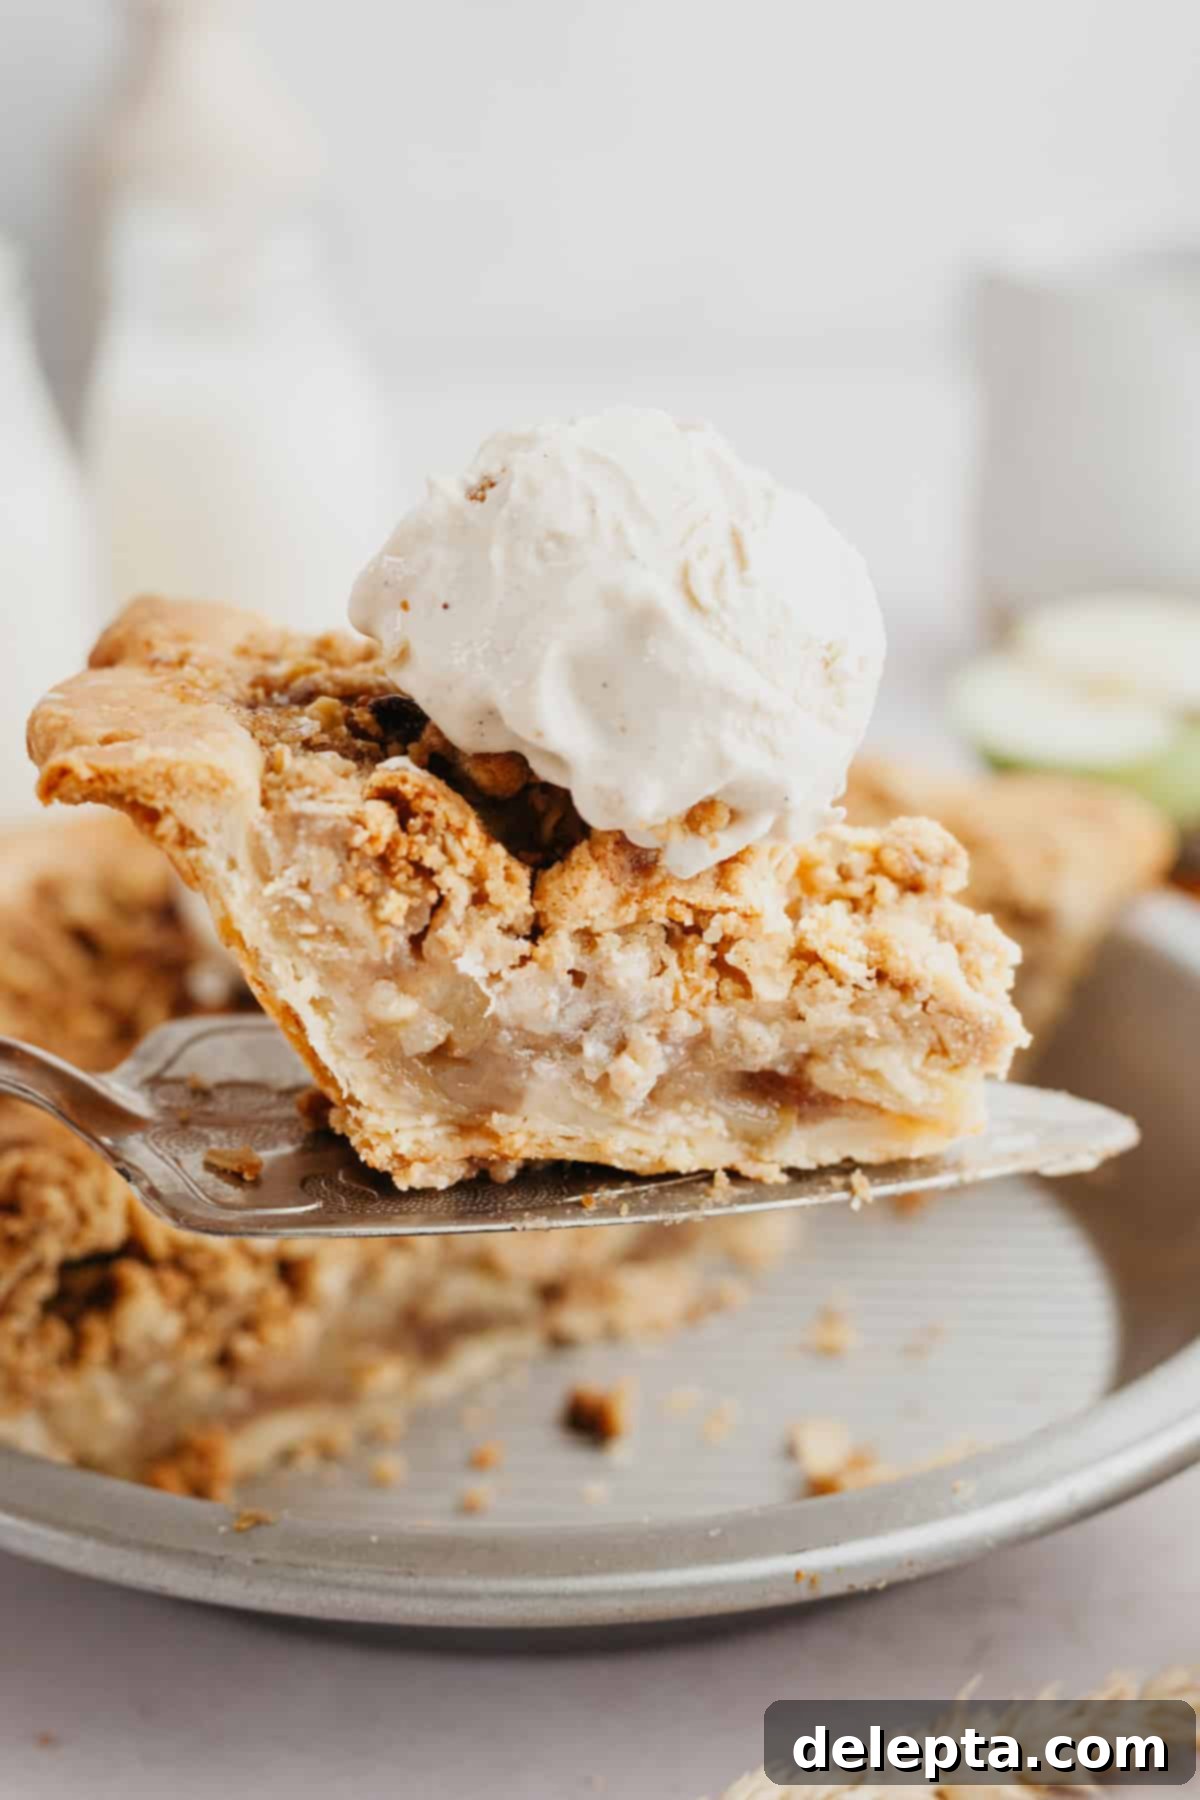
Over the years, I’ve refined and simplified my pie dough method considerably. What once felt like a daunting task has transformed into a surprisingly easy and enjoyable baking experience. This particular all-butter pie dough recipe is my tried-and-true favorite, delivering consistent results every time. It’s the same reliable crust I’ve used for beloved desserts like my pumpkin custard pie, rich cinnamon pie, and classic apple pie, proving its versatility across various fillings and flavors. Mastering this fundamental crust will elevate all your future pie endeavors.
Not only will you learn how to create this versatile crust, but I’ll also guide you on how to prepare it for different types of fillings. Whether your pie calls for a raw crust or requires blind baking (also known as parbaking) to prevent a soggy bottom with wetter fillings, this guide covers everything you need to know to ensure your pie’s foundation is always perfect.
Why You’ll Adore This Homemade Pie Crust Recipe!
- Simple Ingredients, Incredible Flavor: This recipe calls for only 5 basic pantry staples. There are no fancy, hard-to-find items or artificial shortening involved. We rely solely on the rich, pure flavor of butter, which is key to an authentic, delicious pie crust.
- Perfect Yield for Any Pie: This recipe is carefully scaled to produce enough dough for a generous double-crust pie (like a classic apple pie with a top and bottom crust) or two individual single-crcrust pies. This flexibility makes it ideal for various baking needs, from a single dessert to holiday baking.
- The Secret to Unrivaled Flakiness: I’ve developed a special trick that ensures this pie dough comes out exceptionally flaky and buttery, creating those desirable delicate layers that melt in your mouth. This technique transforms a good pie crust into a truly great one, setting your homemade pies apart.
Essential Ingredients You’ll Need
Creating an outstanding pie crust begins with selecting the right ingredients and understanding their roles. Here’s a closer look at what goes into our all-butter flaky pie crust:
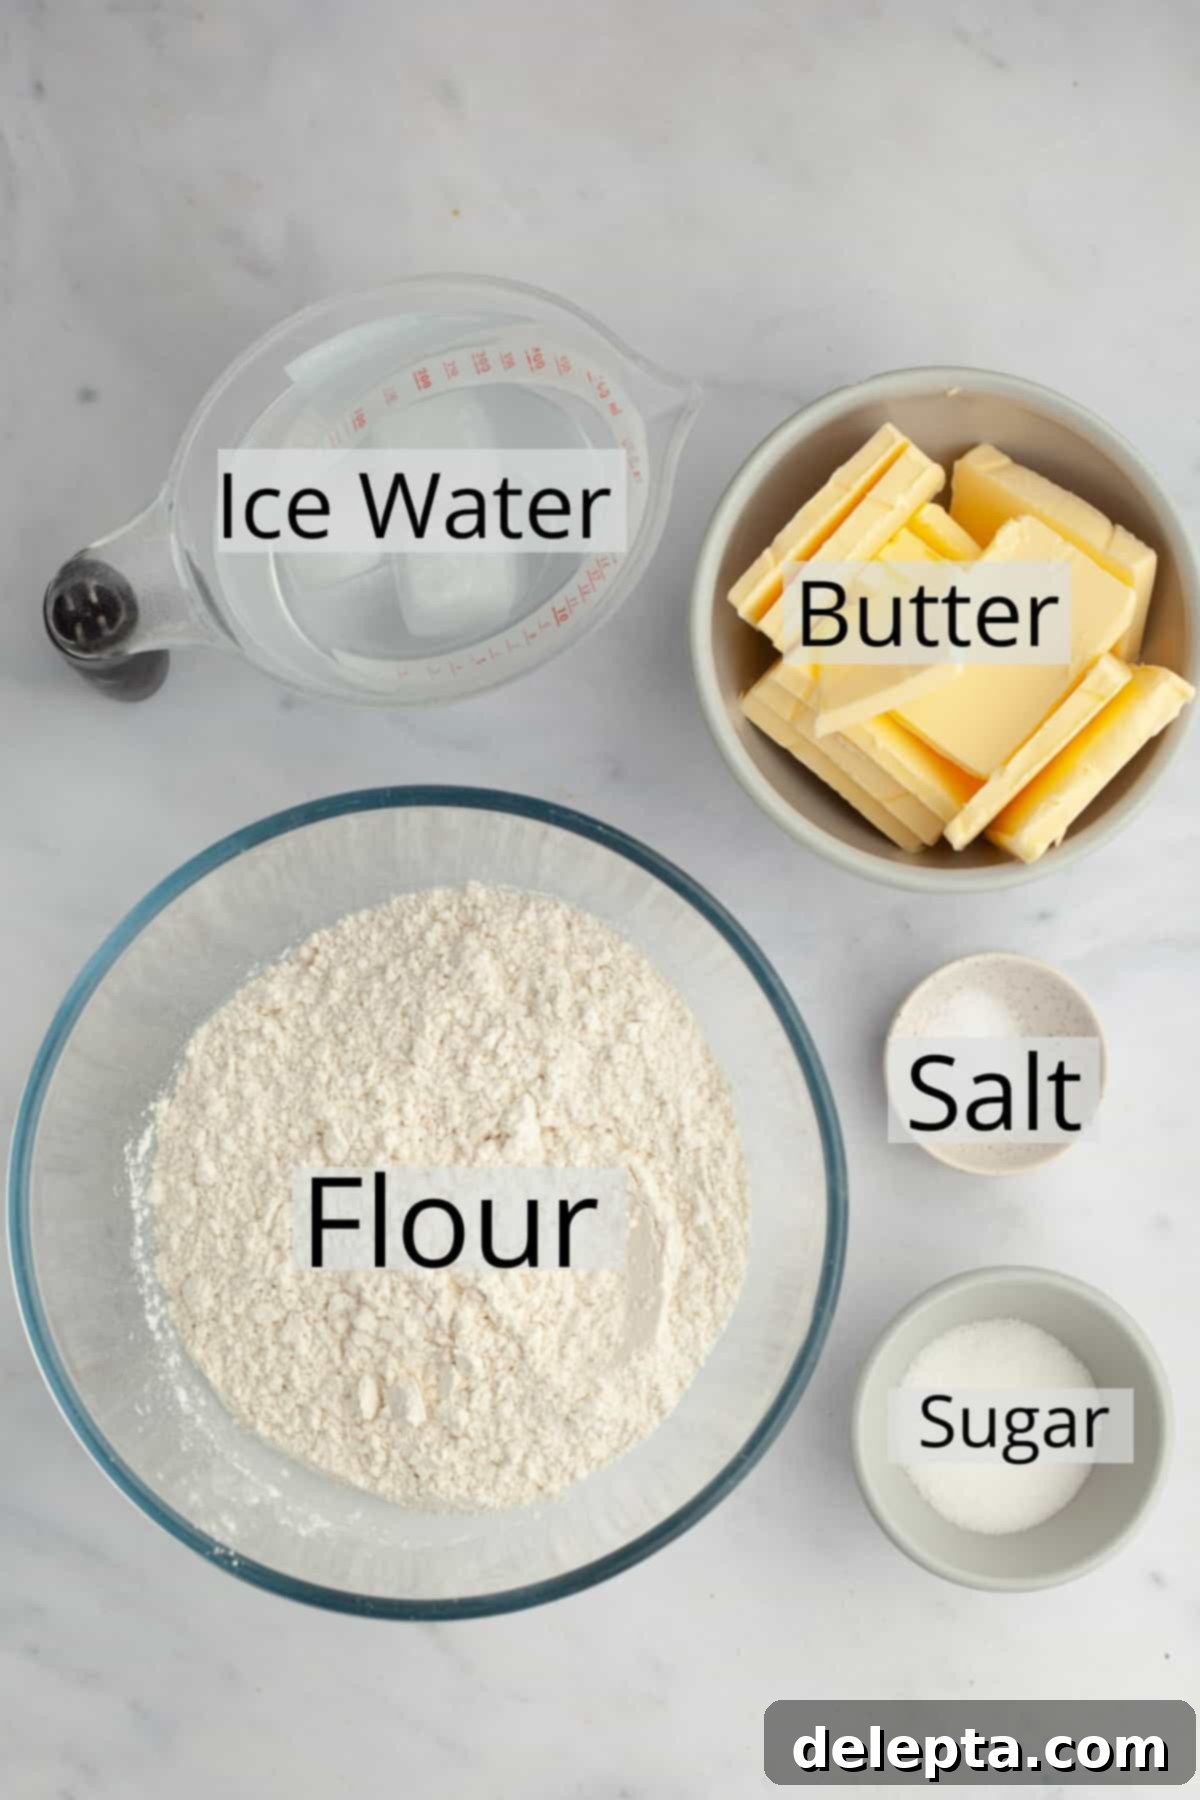
- All-Purpose Flour: This recipe has been exclusively tested and perfected using standard all-purpose flour. It provides the ideal balance of protein to create a tender, yet structurally sound crust. While other flours might yield different results, all-purpose is recommended for consistency.
- Granulated Sugar: A touch of sugar is added to enhance the flavor and promote beautiful golden-brown caramelization during baking, especially for sweet dessert pies. If you’re planning a savory pie, you can easily omit or significantly reduce the sugar without compromising the crust’s texture.
- Ice Water: This is arguably the most crucial ingredient for a truly flaky crust. The water must be *exceptionally cold* to prevent the butter from melting prematurely and to inhibit excessive gluten development, which can lead to a tough crust. I highly recommend filling a jug with water and plenty of ice cubes, letting it chill thoroughly before you begin.
- European-Style Unsalted Butter: For the richest flavor and the most tender, flaky texture, I always opt for high-quality European-style unsalted butter. European butter typically has a higher fat content than its American counterparts, which contributes to a more luxurious taste and superior flakiness. Ensure your butter is very cold and firm before you start.
- Kosher Salt: Don’t underestimate the power of salt! It plays a vital role in balancing the flavors of the crust and any sweet or savory filling it will hold. A teaspoon of kosher salt enhances the overall taste, bringing out the butter’s richness, so definitely do not skip this essential seasoning.
Crafting Your Flaky Pie Crust: Step-by-Step
Follow these detailed steps to achieve a beautifully flaky and tender pie crust every time. Precision and temperature control are your best friends here!
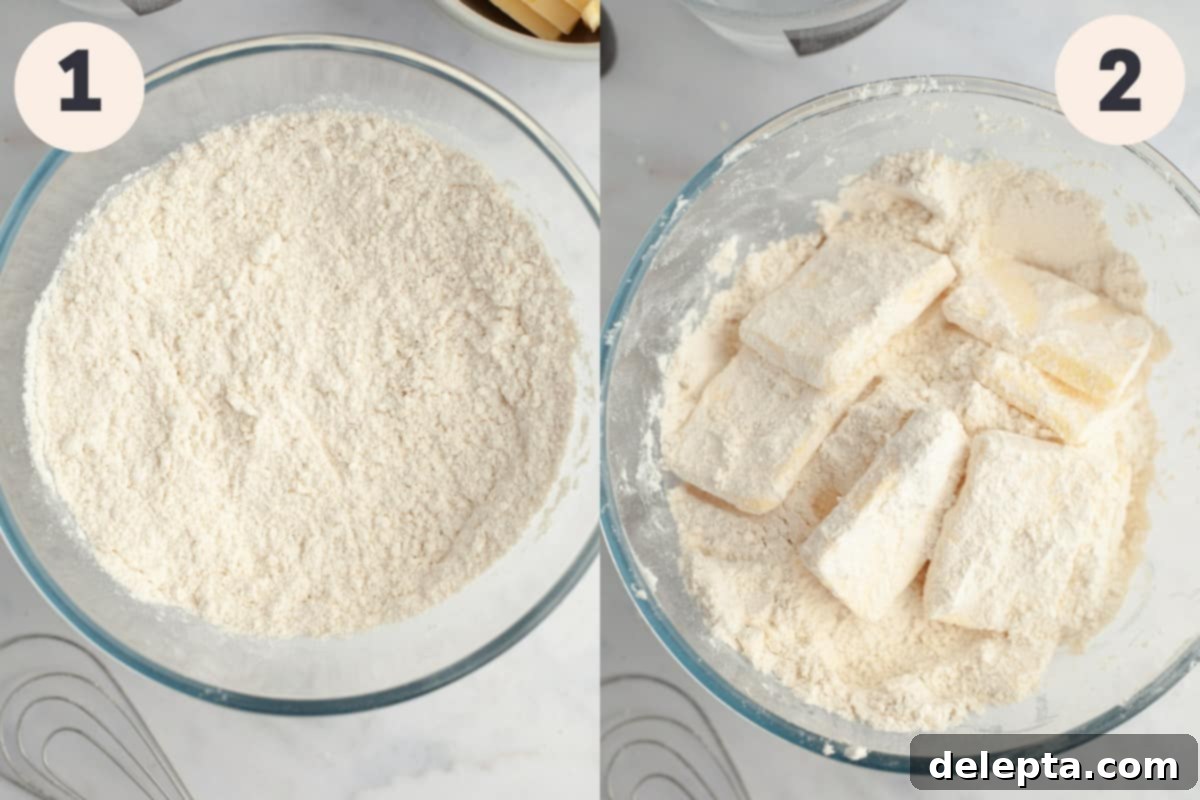
Step 1: Combine Dry Ingredients. In a large mixing bowl, thoroughly whisk together the all-purpose flour, granulated sugar (if using for a sweet pie), and kosher salt. Whisking ensures all dry ingredients are evenly distributed, which is important for consistent flavor throughout the crust.
Step 2: Incorporate Cold Butter. Take your very cold European-style butter and slice it into ¼-inch thick pieces. Add these cold butter slices to the dry ingredient mixture and toss them gently with your hands, making sure each butter piece is fully coated in flour. This flour coating helps prevent the butter from clumping together and ensures it can be flattened into distinct layers. Now, using your fingertips, “squish” or flatten each piece of butter until it’s about the size of walnut halves. The goal is to create flat, irregular pieces of butter, not to fully incorporate them into the flour. These pockets of butter are crucial for creating steam during baking, which will lift and separate the dough into flaky layers.
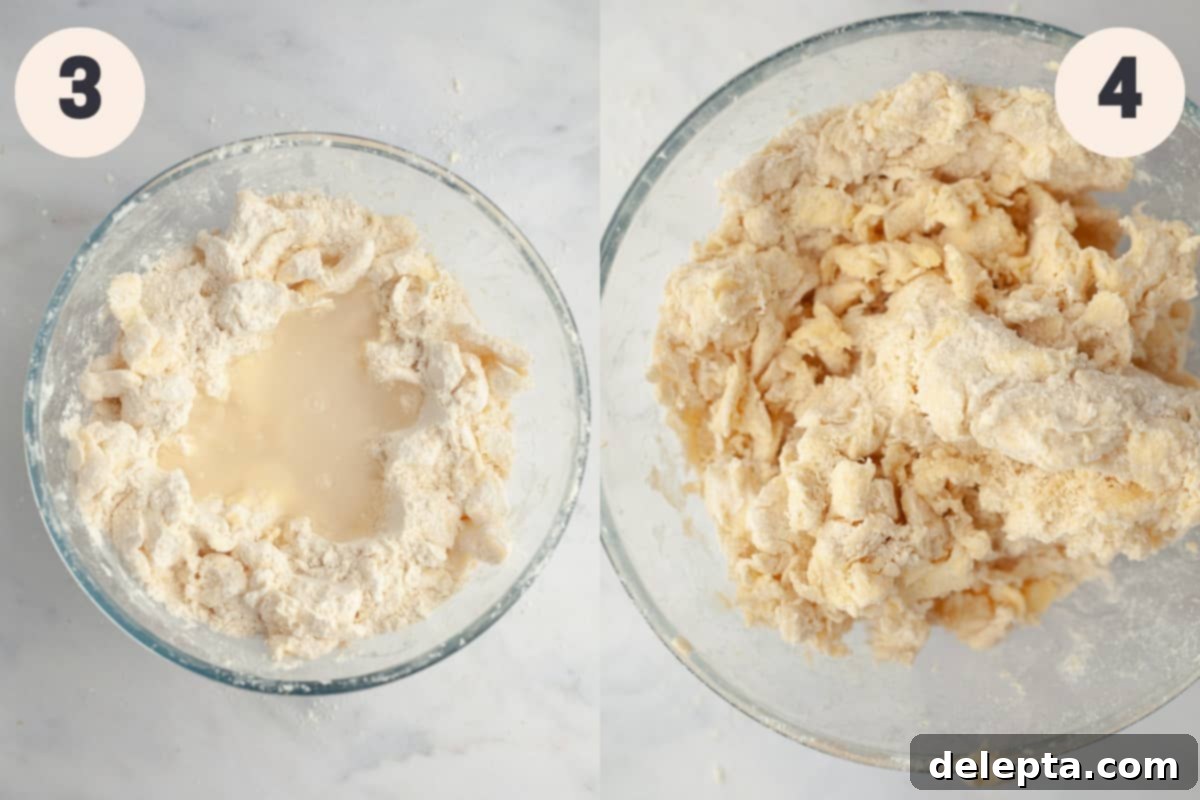
Step 3: Gradually Add Ice Water. Retrieve your ice-cold water from the fridge. For a double-crust pie or two single pies, start by drizzling in 10 tablespoons of the ice water. Be extremely careful not to let any actual ice cubes fall into the bowl. The water should be cold, but not contain chunks of ice.
Step 4: Form the Dough. Use your hands to gently toss the flour and butter mixture with the water. The goal is to bring the dough together with minimal handling. Continue tossing and lightly kneading the mixture until a shaggy, cohesive dough begins to form. If you still see pockets of dry flour, drizzle in a tiny bit more ice water, about a teaspoon at a time, and continue to lightly mix until the dough mostly comes together. Avoid overworking the dough, as this develops gluten and can lead to a tough crust.
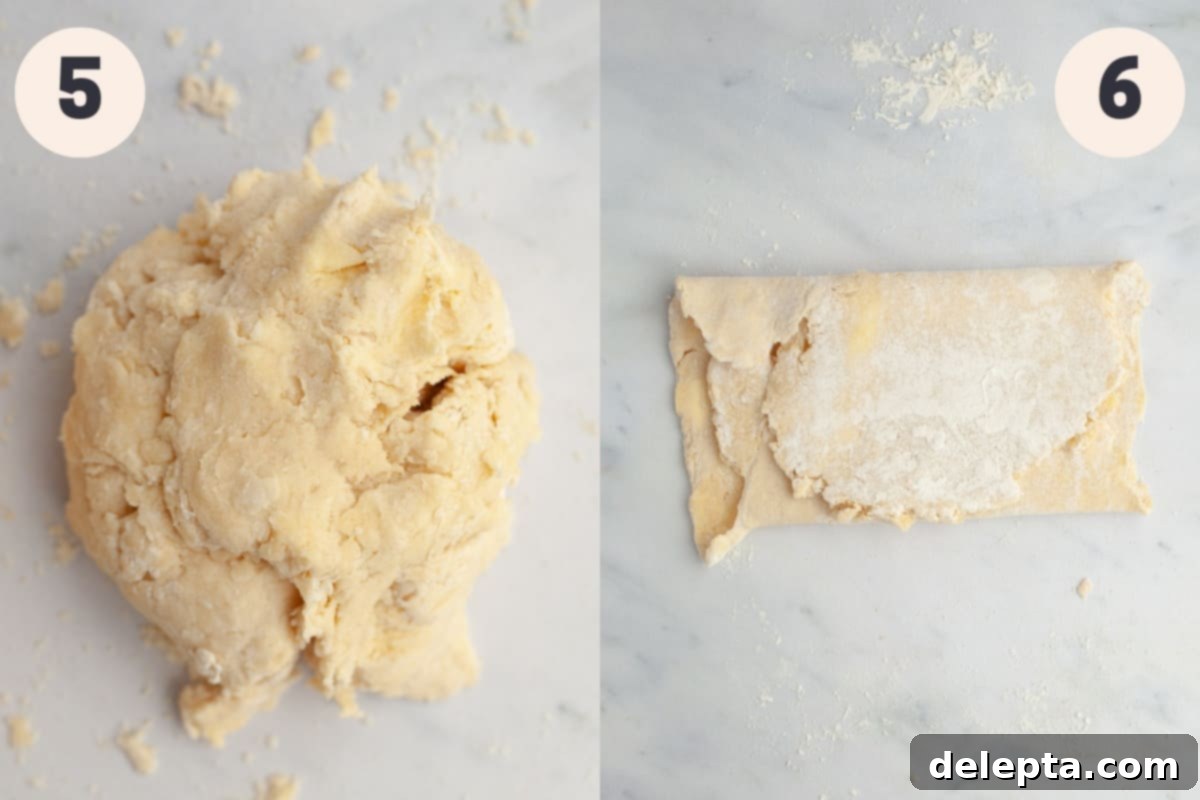
Step 5: Divide and Initial Chill. Once you have a cohesive dough, divide it into two equal pieces. Gently form each piece into a flat disc, then wrap each disc tightly in plastic wrap to prevent it from drying out. Place both discs in the refrigerator to chill for a minimum of 30 minutes. This initial chilling period allows the gluten to relax and the butter to firm up again, making the dough easier to roll.
Step 6: The Flakiness Trick (Lamination). This is the secret step for achieving an exceptionally flaky pie dough! Take one disc of chilled pie dough out of the fridge and, on a lightly floured surface, roll it out into a large rectangle, about 1/4 inch thick. Now, fold the piece of dough over itself three to four times, just like you would fold an envelope. This process, similar to laminating puff pastry, creates multiple thin layers of butter within the dough. These layers will separate during baking, resulting in that coveted super-flaky texture.
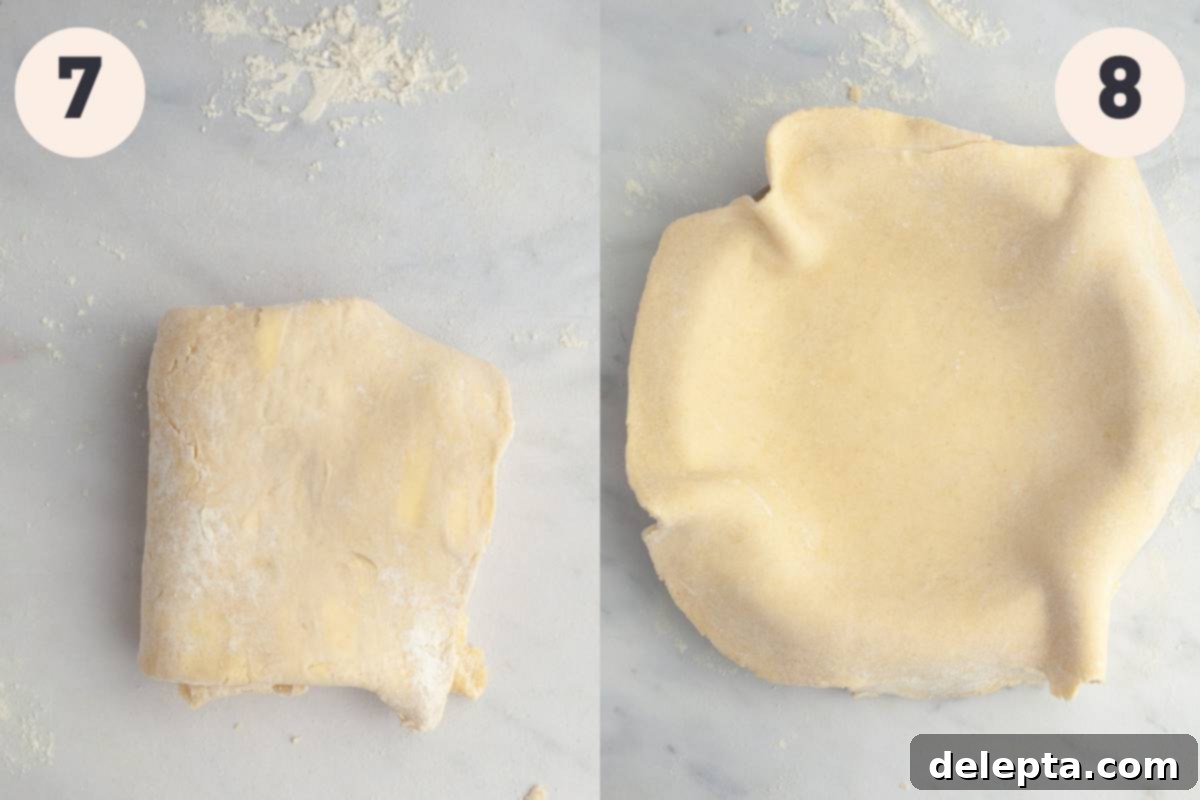
Step 7: Final Chill. After folding, re-wrap the dough tightly in plastic wrap and chill it in the refrigerator for at least 2 hours, or up to 2 days. This extended chill is crucial. It allows the butter to fully firm up again after being worked and ensures the gluten is completely relaxed, preventing shrinkage and creating a more manageable dough when you’re ready to bake.
Step 8: Roll and Transfer to Pie Plate. When you’re ready to bake your pie, take one disc of dough out of the fridge and let it sit on the counter for 5-10 minutes to soften slightly, making it easier to roll without cracking. Lightly flour your work surface and rolling pin. Roll out the dough evenly into a circle that is about 2 inches larger than your pie plate. To transfer the dough, you can either gently fold it in half or quarters, or carefully roll it onto your rolling pin and then unroll it over your pie plate. Let the dough gracefully slump into the pie dish, allowing gravity to help it settle and conform to the pan’s shape.
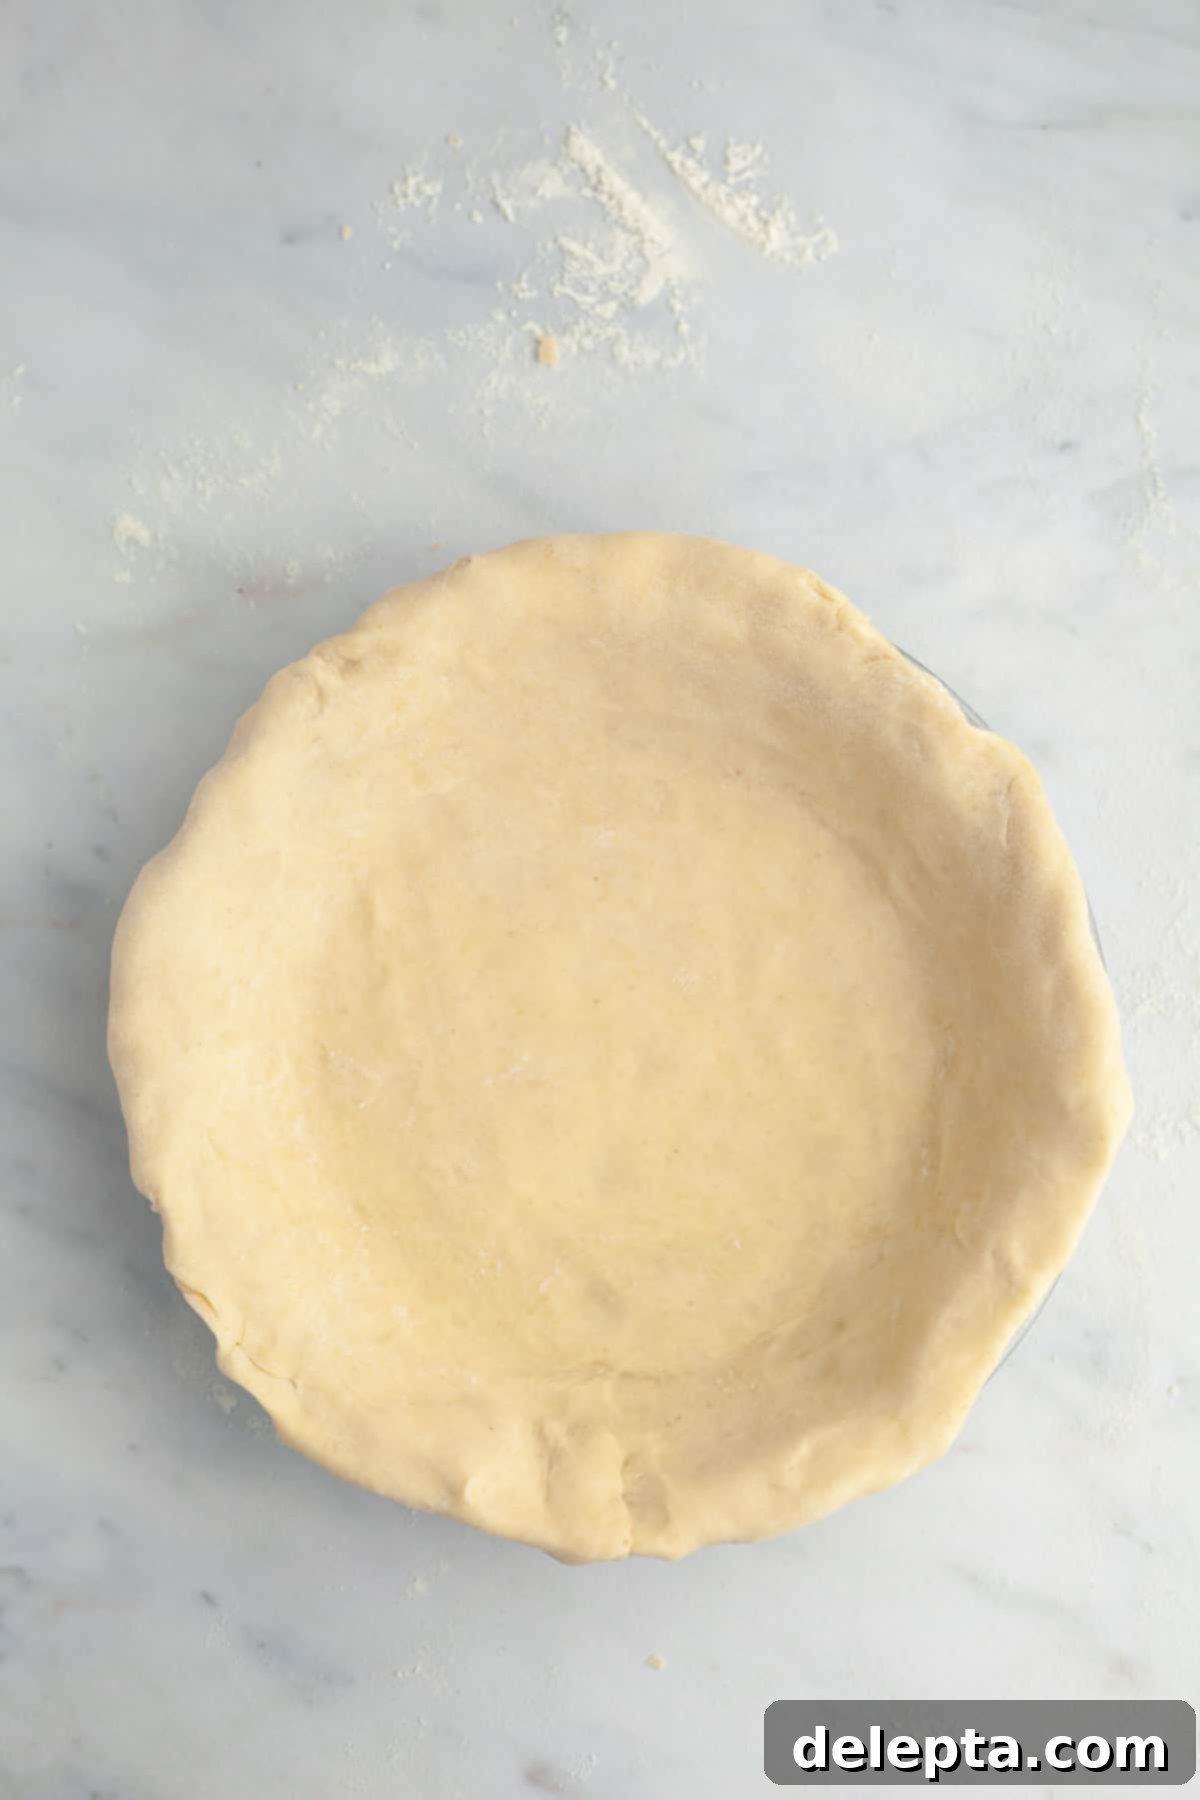
Step 9: Shape, Crimp, and Prick. Use your hands to gently press the bottom of the pie dough onto the base of the dish, then firmly press the dough into the sides where the bottom meets the edge. This critical step helps prevent the crust from slumping down the sides during baking. Trim any excess dough, then fold the edges under to create a thicker, more stable rim. Crimp the edges as desired (using your fingers, a fork, or a specialty tool), pressing firmly into the pie plate to help the crust hold its shape and prevent shrinkage. Finally, use a fork to prick holes all along the bottom of the pie dough. This allows steam to escape during baking, preventing the crust from puffing up unevenly.
Expert Tips for Perfect Pie Dough Every Time
The Golden Rule: Keep Everything Cold!
The secret to a truly flaky pie crust lies in maintaining cold temperatures throughout the process. Ensure your butter is rock-solid cold before you even begin, and always use ice water. When butter hits the hot oven, the tiny cold pockets of butter quickly melt and release steam, creating air pockets that expand and separate the layers of dough, resulting in that coveted flakiness. If your butter is too warm, it will melt into the flour before baking, leading to a tough, greasy, and brittle crust. If at any point during mixing or handling the dough it starts to feel warm to the touch, don’t hesitate to place the bowl or dough in the refrigerator for 10-15 minutes to chill it down. Likewise, always keep your prepared pie dough in the fridge until just before it goes into the oven. A cold dough entering a hot oven is key to preventing a “crispy” (and not in a good way) pie crust.
Choose the Right Pie Pan for Optimal Results!
The type of pie pan you use can significantly impact your crust. If you’re new to pie making, a clear glass pie dish is an excellent choice as it allows you to visually check the bottom crust to ensure it’s cooked through and beautifully golden brown. However, for the ultimate crispy and flaky pie crust, I highly recommend using a metal pie plate. Metal conducts heat more efficiently and evenly, leading to a crisper bottom crust and superior overall texture. This King Arthur Baking pie pan is a fantastic option that I personally use and trust for consistent results.
Mastering Water Addition for Perfect Dough Consistency
Adding water is a delicate balance. Always start with the exact amount of ice water specified in the recipe card. Then, add more very sparingly, just a tablespoon at a time, only if the dough appears too dry and isn’t coming together. The dough should feel cohesive but not sticky. It’s better to add too little water and gradually add more than to add too much all at once, which can make the dough difficult to handle and lead to a tough crust. The dough should look shaggy at first, eventually forming a single mass with just a few dry spots visible.
Protecting Your Crust with a Pie Shield
Pie crust edges can brown quickly, sometimes even burning before the filling is cooked or the rest of the crust is golden. A pie shield is an invaluable tool to prevent this! I love using this adjustable pie crust shield which fits various pie sizes. If you don’t have a dedicated pie shield, you can easily create one by gently covering the edges of your pie crust with strips of aluminum foil once they’ve reached your desired golden-brown color.
Troubleshooting Common Pie Dough Issues
- Tough Crust: This is usually a result of overworking the dough, which develops too much gluten. Remember to handle the dough minimally and add water gradually.
- Soggy Bottom: Often caused by not parbaking for wet fillings, using an oven that’s not hot enough, or having a filling that releases too much moisture. Using a metal pie pan can also help.
- Shrinking Crust: Insufficient chilling can cause the butter to melt and the dough to shrink in the oven. Ensure your dough is thoroughly chilled, and avoid overstretching it when rolling. Firmly pressing the dough into the pie plate’s corners and crimping helps too.
- Cracked Edges: This typically happens if the dough is too cold or too dry. Let the dough sit at room temperature for 5-10 minutes before rolling, and ensure it has just enough moisture to come together without being sticky.
How to Parbake (Blind Bake) a Pie Crust
Parbaking, or partially baking, your pie crust is a crucial step for certain types of pies, especially those with very wet fillings (like custard pies, quiches, or fruit pies with high moisture content) or fillings that require little to no oven time. This process helps prevent a soggy bottom and ensures your crust is golden and crisp throughout.
- Prepare for Baking: First, ensure your prepared pie dough is well-chilled in its pie plate. Preheat your oven to a robust 425ºF (220ºC). Using a fork, gently poke holes all along the bottom and sides of the pie dough. These perforations allow steam to escape, preventing the crust from puffing up unevenly during baking.
- Line with Foil and Pie Weights: Take two pieces of aluminum foil and crisscross them to line the inside of the pie crust, leaving enough overhang to easily lift them out later. Fill the foil-lined crust with pie weights, dried beans, or even dry rice. It’s essential to fill the crust almost completely to the top with weights; this provides enough pressure to prevent the sides from slumping and the bottom from bubbling. I often find I need to use two jars of ceramic pie weights to achieve this!
- First Bake (with Weights): Place the weighted pie crust on the middle rack of your preheated oven and bake for 15-20 minutes. The high heat helps to quickly set the crust and begin its cooking process.
- Second Bake (without Weights): Carefully remove the pie from the oven. Using the foil overhangs, quickly and carefully lift out the foil liner and pie weights. Reduce your oven temperature to 350ºF (175ºC). Return the pie crust to the oven and continue baking for another 10-15 minutes, or until the bottom and sides are lightly golden brown and appear dry. This second bake ensures the crust cooks through and becomes beautifully crisp.
- Cool Completely: Remove the parbaked pie crust from the oven and let it cool completely on a wire rack before pouring in your pie filling. This allows any residual moisture to evaporate and the crust to fully set, preventing any steam from making it soggy once the filling is added.
Delightful Pies to Try with Your New Crust!
Now that you’ve mastered the art of the perfect flaky pie crust, it’s time to put your skills to delicious use! Here are some of my favorite pie recipes that would be absolutely incredible with your homemade all-butter crust:
- Pumpkin Custard Pie
- Strawberry Blueberry Pie
- Lemon Meringue Pie
- Cherry Rhubarb Pie
Have you successfully made this incredibly flaky pie crust? Please take a moment to rate the recipe below! Your feedback is greatly appreciated. Don’t forget to follow me on Instagram @alpineella and Pinterest to share your baking creations and stay updated on new recipes!
Recipe
Homemade Flaky All-Butter Pie Crust
Ella Gilbert
★
★
★
★
📌 Pin Recipe
♡ Save RecipeSaved!
Ingredients
- 3 cups all purpose flour
- 1 teaspoon kosher salt
- 2 tablespoons white sugar
- 2 ½ sticks unsalted butter cold
Instructions
-
To prepare, fill a measuring jug with water and ice and place it in the fridge to ensure it’s super cold. Lay out two pieces of plastic wrap on your counter. Take your unsalted butter and slice it into ¼ inch pieces while it’s still very cold.2 ½ sticks unsalted butter
-
In a large mixing bowl, whisk together the all-purpose flour, kosher salt, and white sugar until well combined.3 cups all purpose flour, 1 teaspoon kosher salt, 2 tablespoons white sugar
-
Add the cold butter cubes to the dry ingredients, tossing to ensure they are all evenly coated in flour. Use your fingers to flatten and “smoosh” the butter pieces. You want to create flat, irregular pieces, with the largest pieces being about the size of a walnut half. Avoid fully incorporating the butter into the flour.
-
Measure out 10 tablespoons of the ice water (ensuring no actual ice cubes fall in) and drizzle it over the flour and butter mixture. Use your hands to gently toss and lightly knead the mixture. Continue adding more ice water, one tablespoon at a time, if needed, until the dough forms a shaggy mass that can be gathered into one large, cohesive piece with only a few dry spots remaining. Do not overwork the dough.
-
Divide the dough into two equal pieces. Gently form each piece into a flat disc and wrap them tightly in the prepared plastic wrap. Refrigerate for at least 30 minutes.
-
To enhance flakiness, take one dough disc out of the fridge and let it sit for 5-10 minutes (depending on your kitchen temperature) to make it easier to roll. On a lightly floured surface, roll the dough out into a large rectangle. Fold the dough in thirds, like an envelope. This creates additional layers of butter. Re-wrap the folded dough tightly in plastic wrap and refrigerate for at least another 2 hours, or up to 2 days. This step is optional but highly recommended for a truly flaky crust. Repeat with the second dough disc if making two pies.
-
When you are ready to bake, take one dough disc out of the fridge and let it come to room temperature for 5-10 minutes to prevent cracking. On a lightly floured surface, roll the dough out into a circle that is about 1 to 2 inches wider than your pie plate. Gently lift the dough and place it onto your pie plate; you can also roll it onto your rolling pin and then unroll it over the plate.
-
Allow the dough to slump into the pie plate naturally. Then, press it very firmly onto the bottom and into the crease where the side and bottom of the pie plate meet. This is essential to prevent the crust from slumping during baking.
-
Trim any excess dough, then tuck the overhang underneath to create a thicker, more stable edge. Crimp the edges as desired, pressing firmly into the pie plate to help it hold its shape and prevent shrinkage.
-
Use a fork to prick the bottom of the pie dough several times. This allows steam to escape during baking and prevents the bottom crust from puffing up excessively. Your pie crust is now ready for filling and baking according to your pie recipe!
To Parbake (Blind Bake) the Crust
-
Position an oven rack in the middle of your oven and preheat to 425°F (220°C).
-
Line the inside of the chilled pie dough with two pieces of aluminum foil, crossing them to create an X shape. Ensure the foil hangs over the edges of the pie plate; this makes it easy to lift out after baking. The overhanging foil should also cover the crimped edges of the crust to prevent them from browning too quickly.
-
Fill the foil-lined pie plate completely with pie weights, dried beans, or even sugar. Bake on the middle shelf of your preheated oven for 15-20 minutes. Quickly remove the pie from the oven, then carefully lift out the foil and pie weights. Reduce the oven temperature to 350°F (175°C) and place the pie crust back in the oven. Bake for another 10-15 minutes, or until the crust is a light golden brown and appears dry. Remove from the oven and let it cool completely on a wire rack before adding your filling.
Video
Notes
Making Ahead: You can prepare the pie dough up to 2 days in advance. Keep the dough discs tightly wrapped in plastic wrap and stored in the refrigerator. Before rolling out, let the dough sit on the counter for 5-10 minutes to soften slightly.
Nutrition
