Decadent Pistachio Cardamom Carrot Cake with Cloud-Like Whipped Cream Cheese Frosting (No Mixer Needed!)
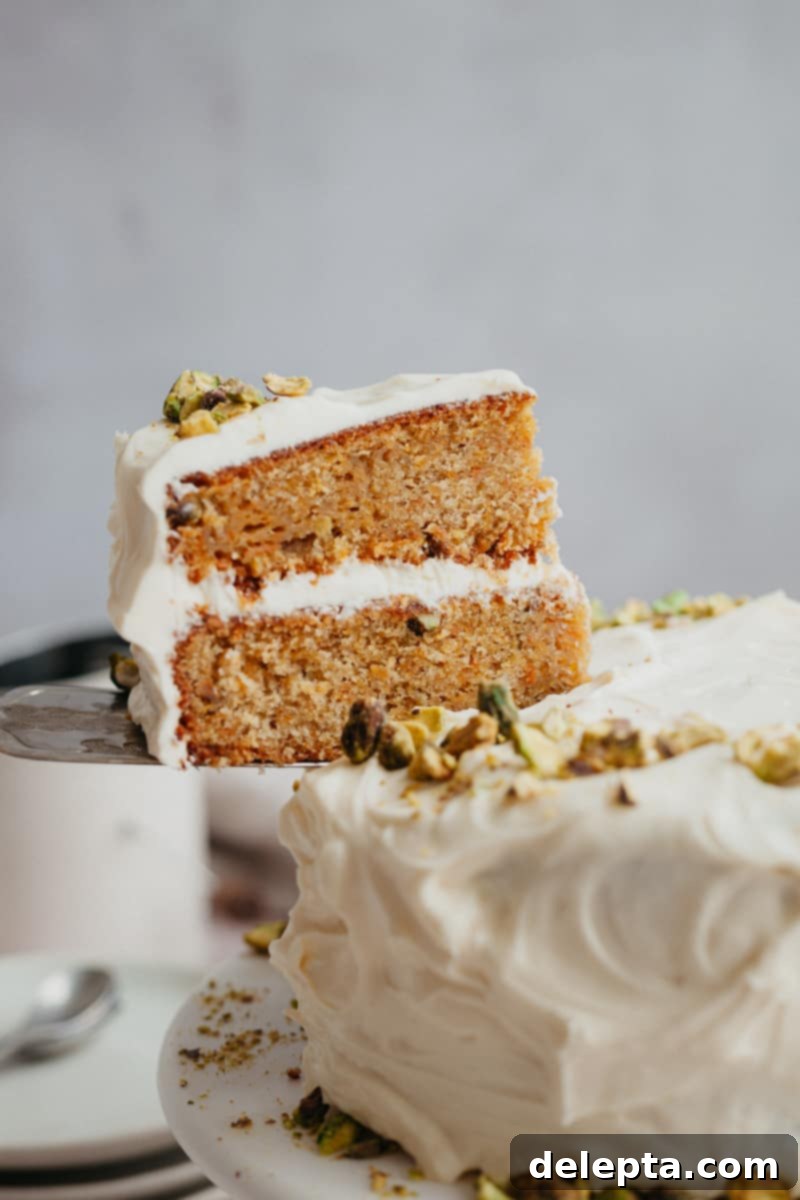
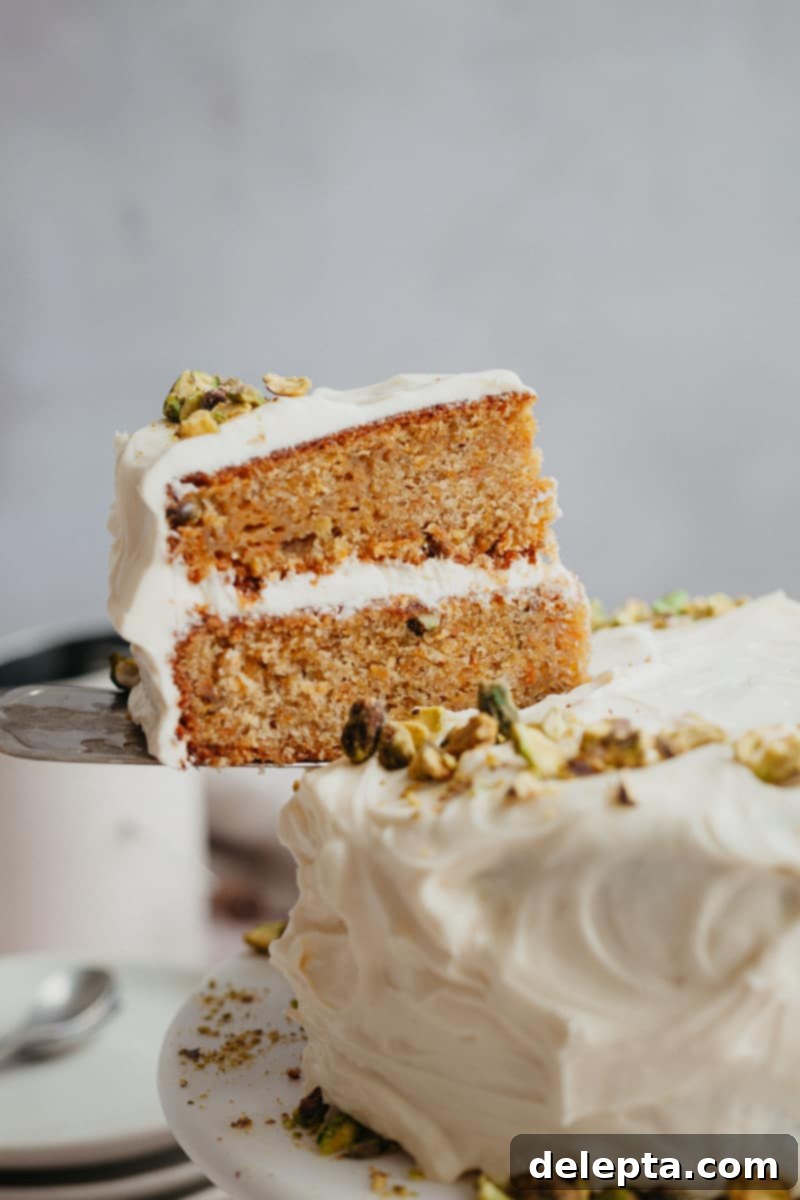
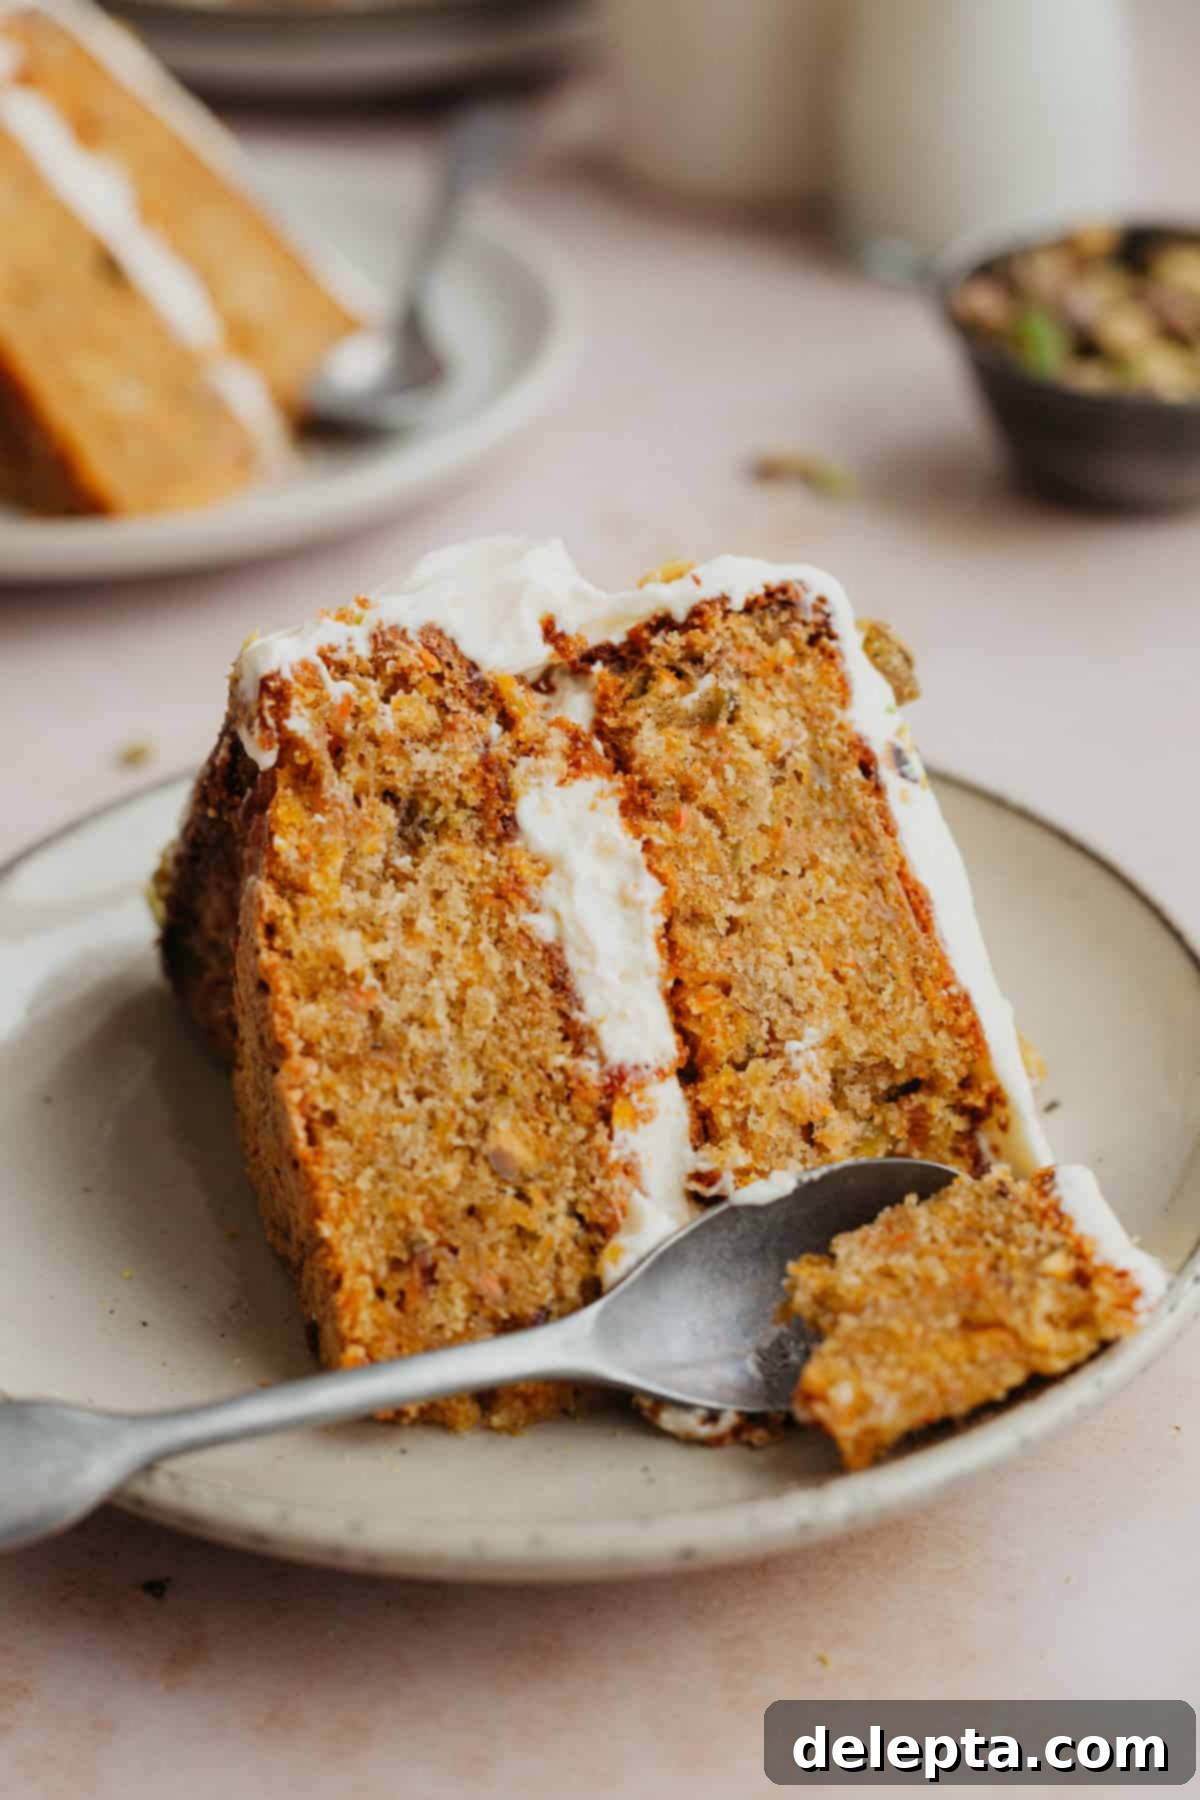
Prepare to fall in love with this incredibly moist and intensely flavourful pistachio cardamom carrot cake! What makes this recipe truly special is its simplicity: you don’t even need a mixer to create this stunning layer cake. Topping it all off is a revolutionary whipped cream cheese frosting, crafted with heavy cream, resulting in a frosting that’s unbelievably soft, light, and perfectly balances the richness of the cake without being overly sweet or dense. It’s a delightful twist on a classic that you’ll want to bake again and again.
Discover the Magic of This Unique Carrot Cake!
Let’s dive into what makes this particular Pistachio Cardamom Carrot Cake a truly standout dessert. It’s not just another carrot cake; it’s an experience for your taste buds, combining ease of preparation with sophisticated flavors and textures.
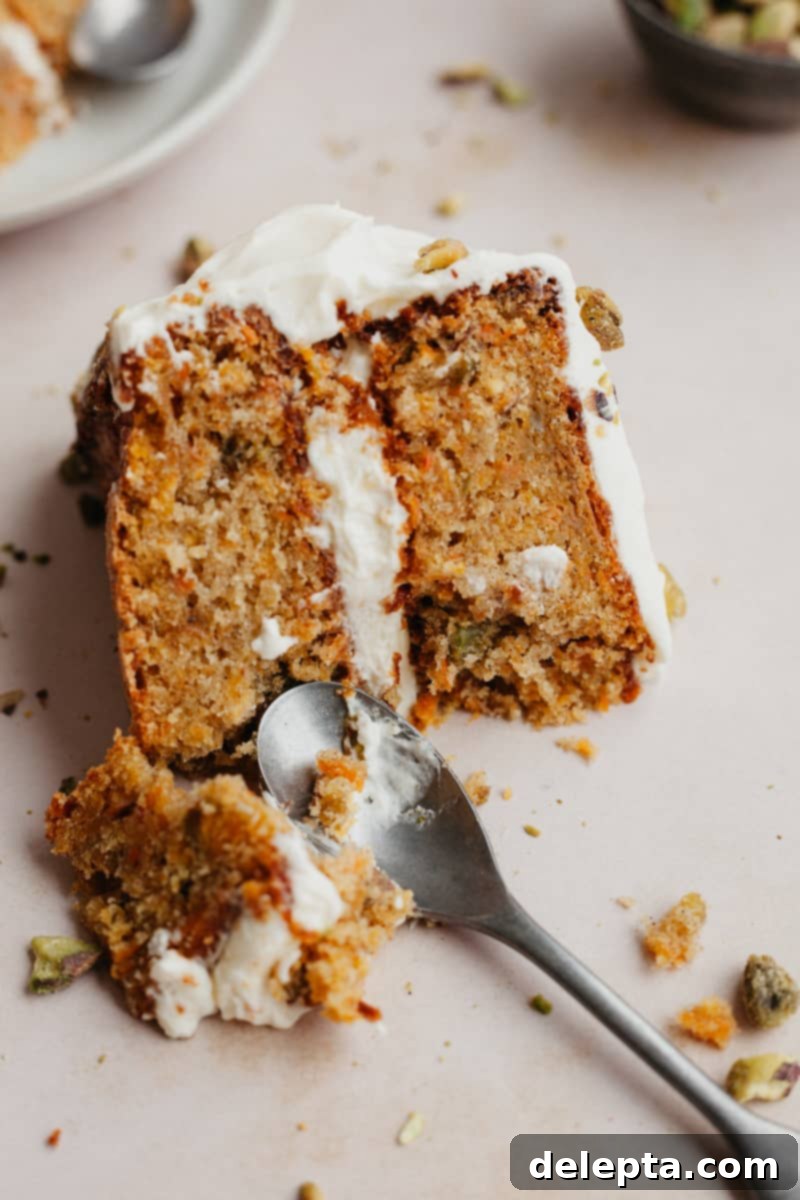
- Flavour Profile: This carrot cake is a symphony of delightful tastes, generously packed with crunchy pistachios and a harmonious blend of warm spices. You’ll find notes of aromatic cardamom, comforting cinnamon, and a hint of zesty ginger. This carefully selected combination creates a wonderfully spiced and inviting cake that feels warm and cozy, yet it’s perfectly balanced so as not to be confined to just Fall or autumn flavours. It’s a cake that truly can be savored any time of the year, bringing a touch of exotic warmth to your table.
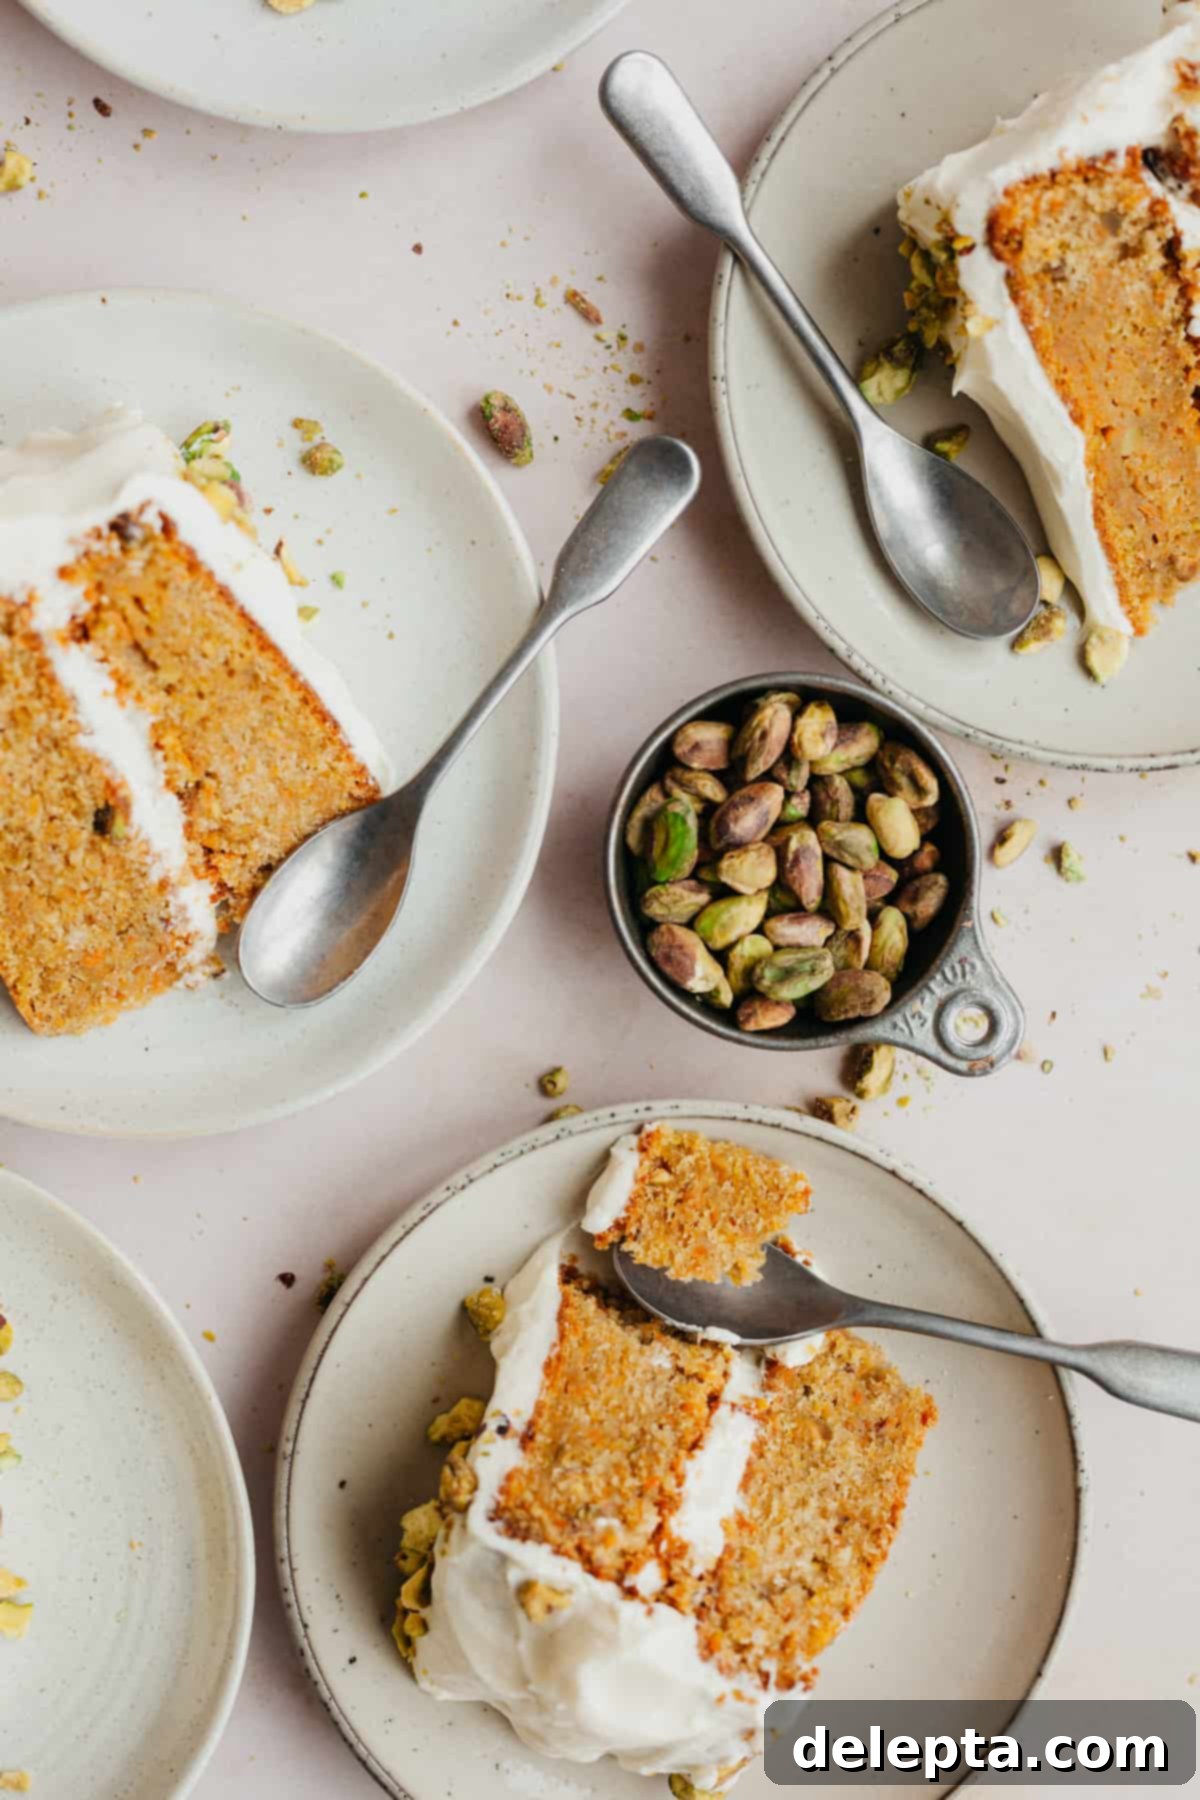
- Irresistible Texture: The cake layers themselves are incredibly moist and possess a satisfyingly dense crumb, a characteristic often achieved through the smart use of oil instead of butter in the batter. This rich base pairs exquisitely with our signature cloud-like frosting. Unlike traditional cream cheese frostings that can be heavy or overly sweet, this whipped cream cheese frosting is exceptionally light and soft. It’s made without butter or excessive powdered sugar, allowing the tangy cream cheese and fresh cream notes to shine through, creating a perfect textural contrast with the cake.
- Effortless Preparation: Don’t let the impressive appearance fool you; this is a remarkably simple recipe that even a beginner baker can confidently tackle. The cake batter itself requires absolutely no electric mixer, relying instead on simple whisking and folding techniques. This streamlined process means less equipment to clean and a more enjoyable baking experience. From start to finish, the steps are straightforward and accessible.
- Time-Saving Delight: While all good cakes require some patience for baking, the active preparation time for this recipe is surprisingly short. The cake batter can be assembled in just about 15 minutes, and the innovative frosting comes together in a mere 12 minutes. The majority of your time will be spent waiting for the cakes to bake to golden perfection and then cool, making it an ideal project for a weekend afternoon or even a special weeknight treat.
- A Resounding “Yes” to Remaking: Without a doubt, I would make this cake again, and I plan to do so frequently throughout the year! Carrot cake should never be restricted to just spring or Easter celebrations. The unique blend of pistachios and cardamom elevates it beyond a seasonal dessert, making it a perfect indulgence for any occasion. If you’re looking for a smaller, single-layer option, be sure to try my equally delightful mini carrot snack cake with cream cheese frosting!
Crafting Your Perfect Homemade Carrot Cake
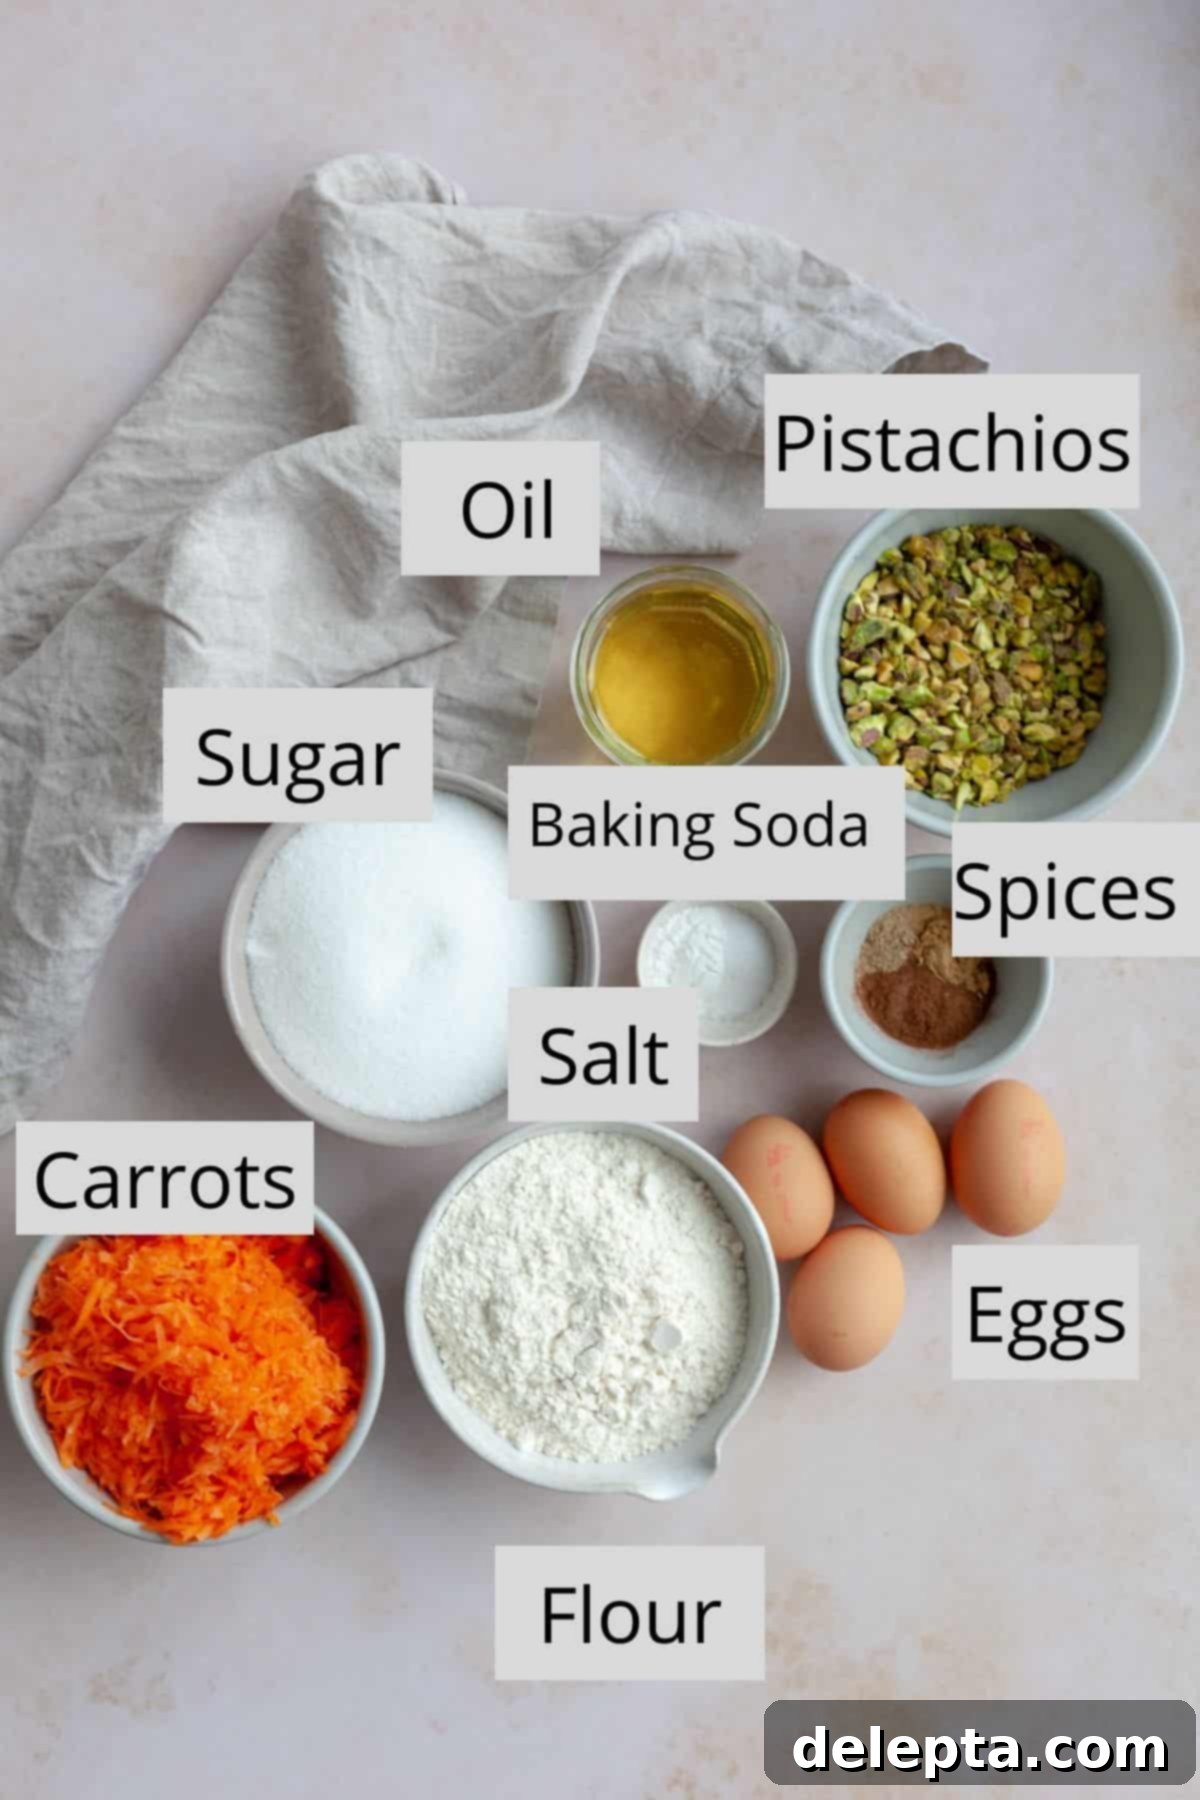
Creating this delicious Pistachio Cardamom Carrot Cake is a surprisingly simple process, even for those new to baking. We focus on a few key steps to ensure a moist, flavorful, and perfectly textured cake every time. Here’s a breakdown of the essential stages:
- Combine Wet & Dry Ingredients (Minus Flour): Begin by vigorously whisking together the liquid components and flavorings: oil, sugar, eggs, a fragrant blend of spices (cardamom, cinnamon, ginger), vanilla extract, baking soda, and a pinch of salt. The inclusion of oil in this recipe, as opposed to butter, is a crucial secret to achieving a remarkably moist and tender crumb. Oil, being a liquid at room temperature, contributes to a consistently moist texture throughout the cake’s lifespan, preventing it from drying out quickly. Whisk until everything is well combined and the sugar begins to dissolve.
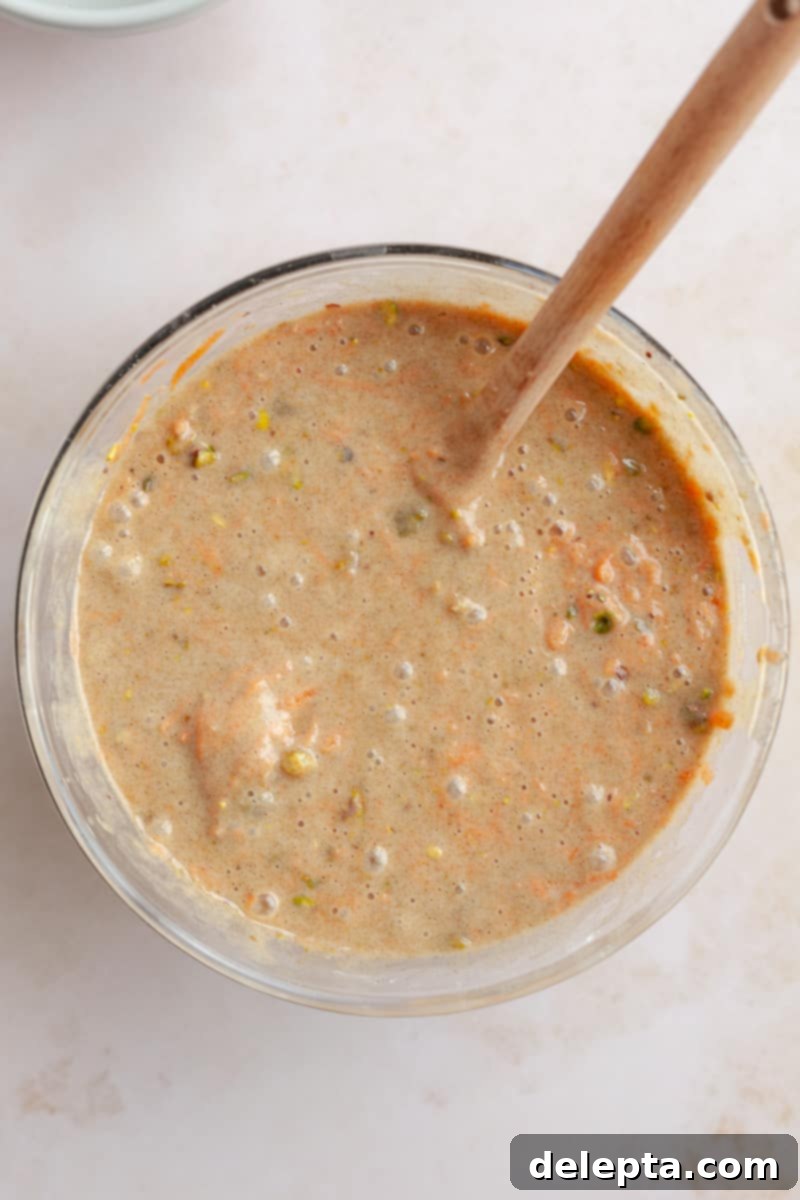
- Gently Fold in the Flour: Once your wet ingredients are harmonious, it’s time to incorporate the all-purpose flour. The key here is to fold it in gently and mix only until just smooth. Overbeating the flour will develop the gluten too much, which can result in a tough, chewy cake – the opposite of the light and tender texture we’re aiming for. Stop mixing as soon as no dry streaks of flour remain.
- Incorporate Carrots and Pistachios: Finally, fold in your freshly grated carrots and crushed pistachios. For the best results and a smooth texture, ensure your grated carrots are not too large. We want them to integrate seamlessly into the batter, providing moisture and subtle sweetness without adding an unwanted “crunchy” texture from overly chunky pieces. The pistachios add a wonderful nutty crunch and a beautiful pop of color, complementing the warm spices perfectly.
Choosing the Right Cake Pan for Perfect Layers
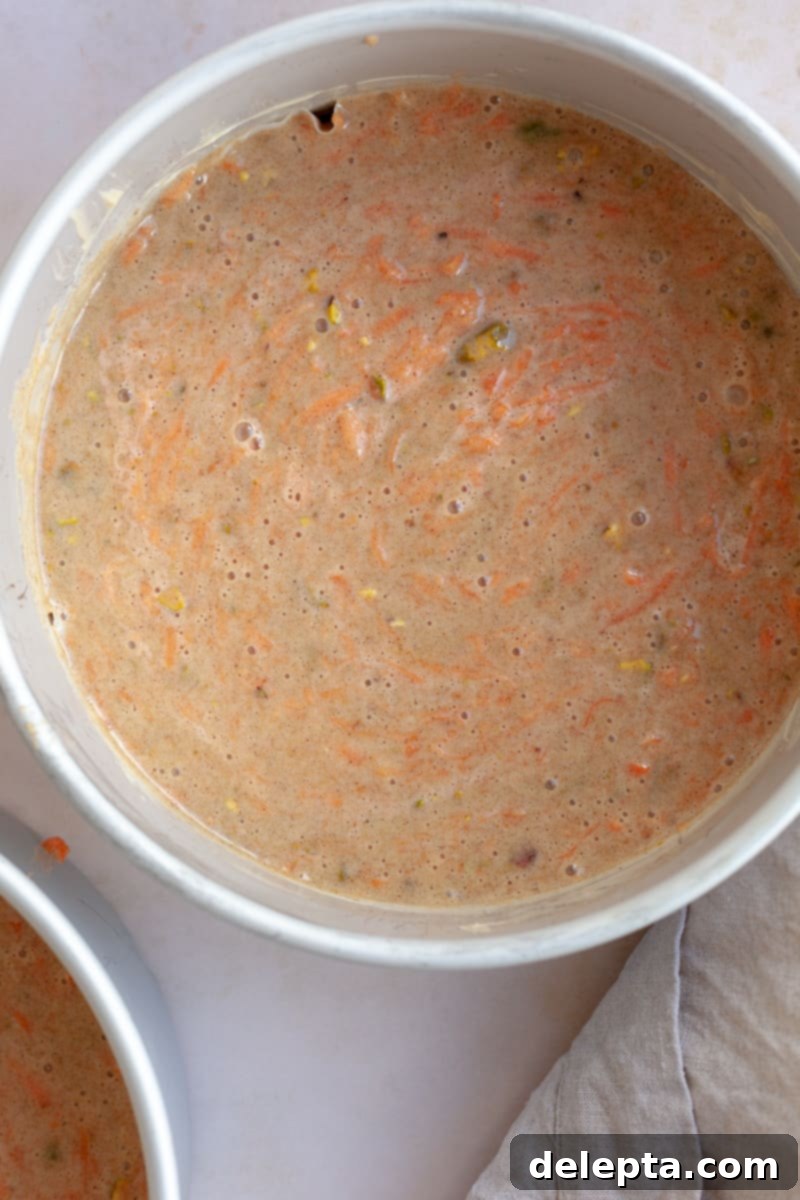
This recipe is specifically designed to create two beautifully even layers using 8-inch round cake pans. For optimal results, ensure your pans are properly prepared: generously grease them with butter or baking spray, then line the bottoms with parchment paper. This meticulous preparation prevents sticking and ensures your cake layers release cleanly, allowing for easy assembly. While an 8-inch pan is recommended, you absolutely could use two 9-inch pans instead. Just be mindful that using a larger diameter pan will result in slightly thinner cake layers and will likely reduce the baking time to approximately 35-40 minutes. Always check for doneness with a toothpick. To achieve perfectly even layers, which is crucial for a professional-looking finished cake, I recommend pouring approximately 700g (just under 25 ounces) of batter into each cake pan. Using a kitchen scale for this step is highly recommended for precision.
Before placing your filled cake pans into the oven, give each pan a few gentle but firm taps on your kitchen counter. This simple technique helps to release any trapped air bubbles within the batter, which can otherwise lead to tunnels or an uneven crumb structure in your baked cake. Tapping promotes a denser, more uniform cake layer.
Crafting the Fluffy, No-Butter Whipped Cream Cheese Frosting
Say goodbye to overly sweet, soupy, or heavy cream cheese frostings! This recipe introduces a revelation in frosting: a light and airy whipped cream cheese version that is butter-free and relies on the simple magic of heavy cream. Made with cold heavy cream, granulated sugar, cream cheese, vanilla extract, and a touch of salt, this frosting is designed to be incredibly soft, spreadable, and perfectly balanced in flavor, allowing the tangy cream cheese to shine without being masked by excessive sweetness or fat.
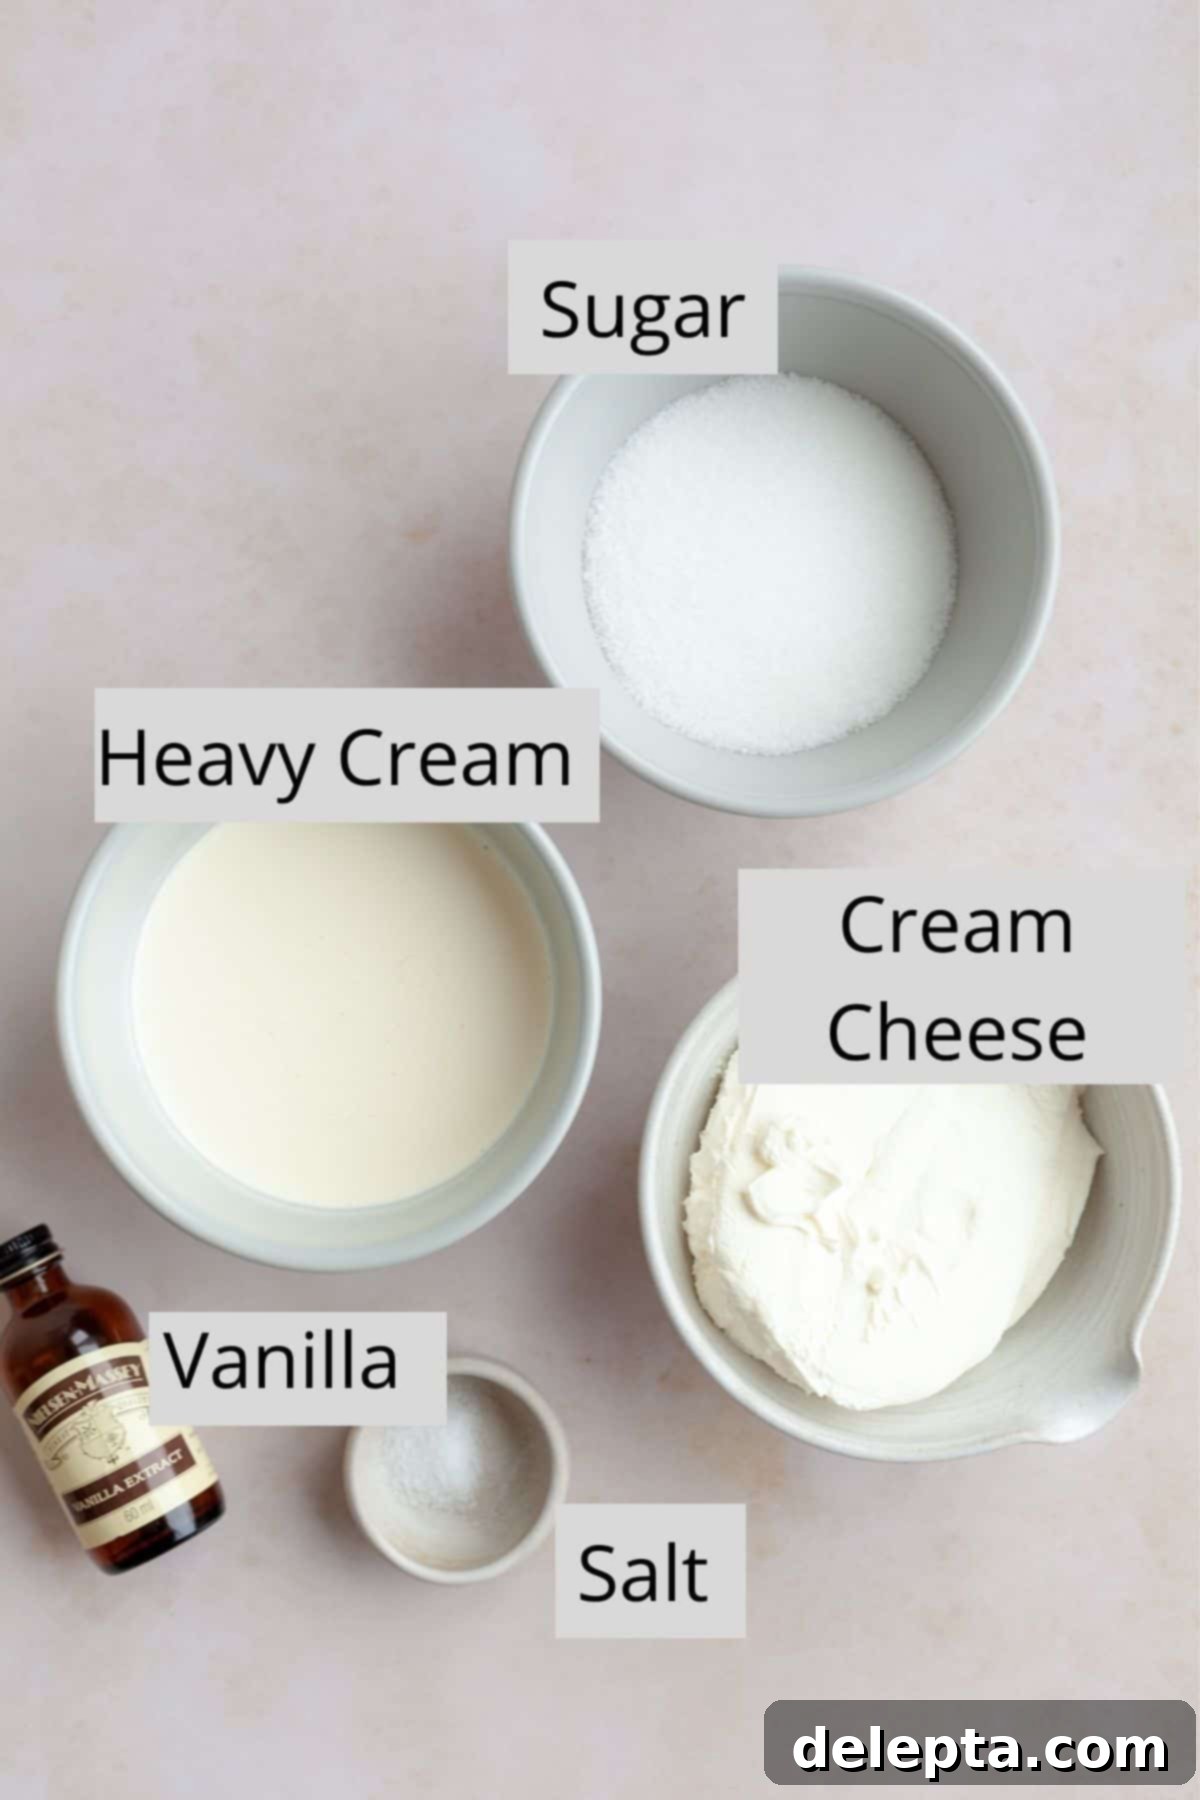
A crucial tip for success with this frosting is ensuring your key ingredients are properly chilled. Unlike many baking recipes that call for room temperature ingredients, for this whipped cream cheese frosting, we absolutely want our heavy cream and cream cheese to be straight out of the fridge and as cold as possible. This cold temperature is vital for the heavy cream to whip up properly and for the overall stability and texture of the frosting. For an extra boost, I even like to chill my mixing bowl (and sometimes the whisk attachment) in the fridge overnight or for at least an hour before I begin.
A note for our friends in the UK: if you live there, you’ll often find cream cheese sold in tubs rather than solid bricks. Cream cheese in the UK generally has a higher moisture content, which can affect the consistency of your frosting, potentially making it a bit wetter and less stable or easy to handle. To counteract this, take your cream cheese out of the tub beforehand and place it on several layers of paper towels. Gently pat it down firmly with more paper towels to absorb as much excess moisture as possible until it feels significantly drier. This step will make a big difference in achieving the desired cloud-like texture.
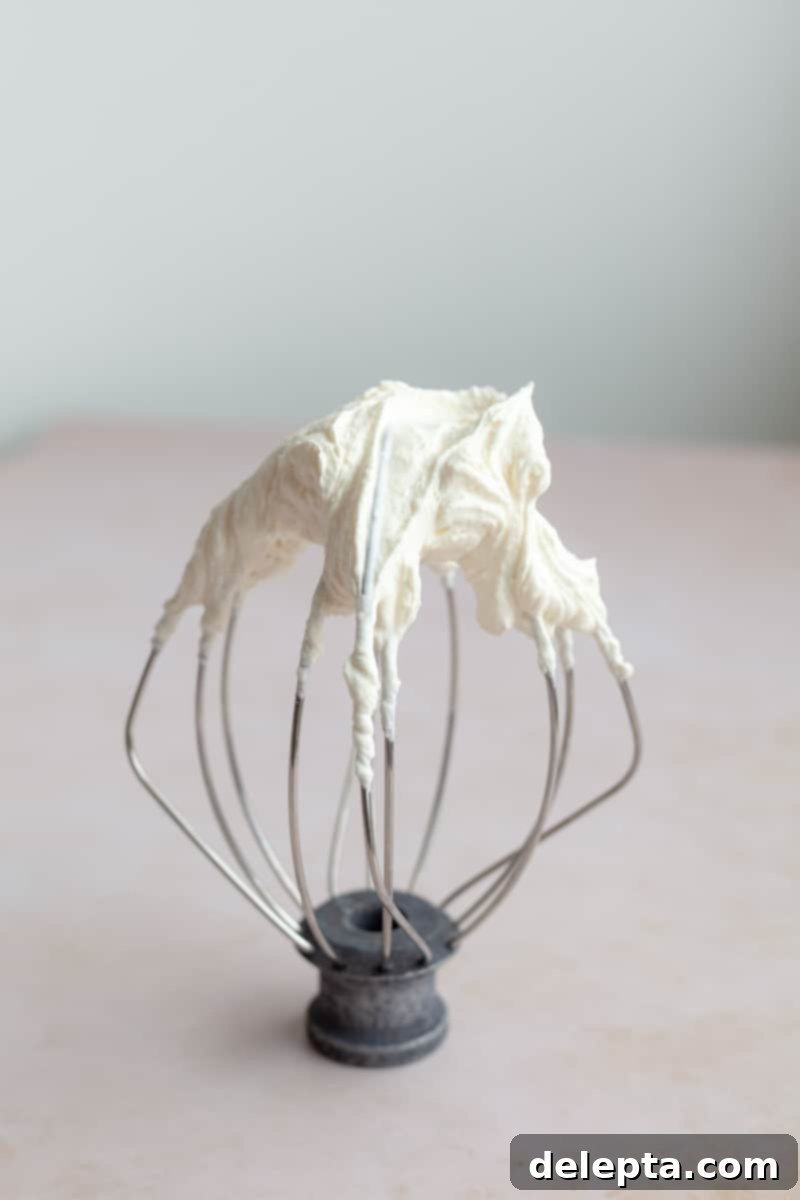
Now, for the mixing process: In the bowl of your stand mixer fitted with the whisk attachment (or using a large bowl with a handheld electric whisk), combine the cold heavy cream, granulated sugar, salt, and vanilla. Begin whisking on medium-low speed for about 2 minutes to ensure the sugar completely dissolves. Then, increase the speed to high and continue whisking for another 2 minutes. You’ll notice the mixture transforming, thickening significantly until it resembles the thick, rich consistency of Greek yogurt. This is the perfect stage for the next step, indicating that the cream has begun to properly aerate and hold its shape.
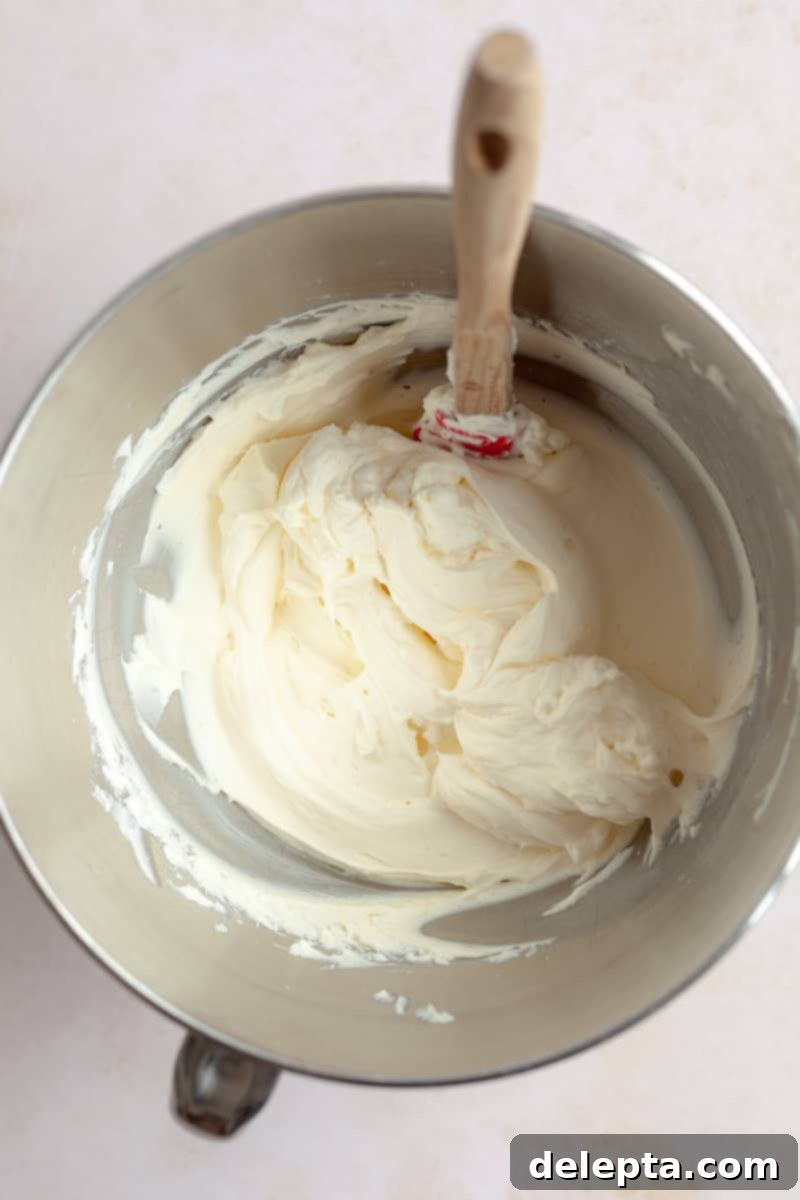
With the mixer still running, but on a low speed this time, gradually add the cold cream cheese, a tablespoon at a time. It’s normal for the mixture to initially look a bit broken, like cottage cheese, or even slightly curdled – don’t panic! This is a temporary phase as the ingredients begin to incorporate. Once all the cream cheese has been added, stop the mixer. Take a spatula and thoroughly scrape down the entire bowl, ensuring that no unmixed cream cheese or cream is clinging to the sides or bottom. This guarantees an even consistency. Finally, turn the mixer speed back up to high and whip for a full 3 minutes. During this time, the frosting will miraculously transform into a beautifully smooth, light, and perfectly spreadable consistency. It will be thick enough to hold its shape for piping and frosting your cake layers.
Customizing Your Pistachio Cardamom Carrot Cake: Smart Substitutions
One of the beauties of home baking is the ability to adapt recipes to your preferences or what you have on hand. This Pistachio Cardamom Carrot Cake is wonderfully versatile, allowing for a few simple substitutions without compromising its deliciousness. Here are some ideas to help you customize your cake:
- If you’re not particularly fond of pistachios, or simply don’t have them available, you can easily substitute them with an equal weight of other toasted nuts. Walnuts and pecans are classic choices for carrot cake, offering a familiar earthy flavor and pleasant crunch that complements the spices beautifully. Feel free to use any other toasted nut you enjoy – just ensure they are roughly chopped to a similar size as the crushed pistachios for consistent texture.
- Should you prefer a more traditional, butter-based cream cheese frosting, or if you’re curious to try another delightful recipe, you can certainly swap out this whipped frosting. I highly recommend trying the classic cream cheese frosting recipe from my cardamom cake with browned butter cream cheese frosting. It offers a rich, tangy, and utterly delicious alternative that works perfectly with the spiced carrot cake layers.
- For those who love to experiment with spices, or if you don’t have cardamom on hand, you can adjust the spice blend to your liking. While cardamom offers a unique floral and citrusy note, a quarter teaspoon of ground cloves or nutmeg can be added in its place or in addition to enhance the warmth and complexity of the cake. This will give your carrot cake a slightly different but equally inviting aromatic profile.
Storing Your Delicious Carrot Cake to Keep It Fresh
Due to its delightful whipped cream cheese frosting, it’s essential to store this Pistachio Cardamom Carrot Cake properly to maintain its freshness and food safety. Always keep the cake in the refrigerator. The frosting, being dairy-based, will stay fresh and stable in a chilled environment. Simply place the cake in an airtight container or cover it loosely with plastic wrap to prevent it from drying out or absorbing any refrigerator odors. When stored correctly, your carrot cake should remain wonderfully moist and fresh for up to 3 days, making it a perfect make-ahead dessert for entertaining or simply enjoying over a few days.
Extending the Joy: How to Freeze Your Carrot Cake
Excellent news for future cravings: this Pistachio Cardamom Carrot Cake freezes beautifully! Freezing is a fantastic way to enjoy a slice of this delicious cake whenever the mood strikes, without having to bake a whole new one. To freeze, first allow the cake to cool completely after baking. Then, for best results, slice the cake into individual servings. Wrap each slice tightly in clingfilm (plastic wrap), ensuring no air pockets, and then place the wrapped slices into an airtight freezer-safe container or a heavy-duty freezer bag. This double layer of protection helps prevent freezer burn and preserves the cake’s texture and flavor. You can keep these delightful slices in the freezer for up to 1 month. When you’re ready to enjoy a slice, simply take it out of the freezer and let it thaw at room temperature for approximately one hour before indulging. It will taste just as fresh and moist as the day it was baked!
Frequently Asked Questions About This Carrot Cake
No worries at all! You absolutely don’t need fancy equipment to prepare the carrots and pistachios for this delightful cake. For the carrots, a standard box grater will do the trick perfectly. Simply use the smallest side of the box grater to achieve fine, uniform carrot shreds that will integrate beautifully into the cake batter without creating a “chunky” texture. As for your pistachios (or any other nuts you might be using), an easy method is to place them in a sturdy ziplock bag. Seal the bag, ensuring most of the air is out, and then use a rolling pin or the bottom of a heavy pan to gently but firmly crush them until they reach your desired consistency – a mix of finely crushed and some slightly larger pieces for texture works well.
Yes, you can certainly get a head start on this delicious carrot cake! The cake layers themselves can be baked a day in advance, which can significantly streamline your baking process. Once the cake layers have completely cooled, carefully wrap each layer individually in clingfilm (plastic wrap). This helps to seal in the moisture and prevent them from drying out. Store the wrapped cake layers in the refrigerator overnight. However, when it comes to the whipped cream cheese frosting, it is truly best made and used immediately. Its light and airy texture is at its peak when freshly prepared, so I recommend whipping up the frosting right before you plan to assemble and decorate your cake.
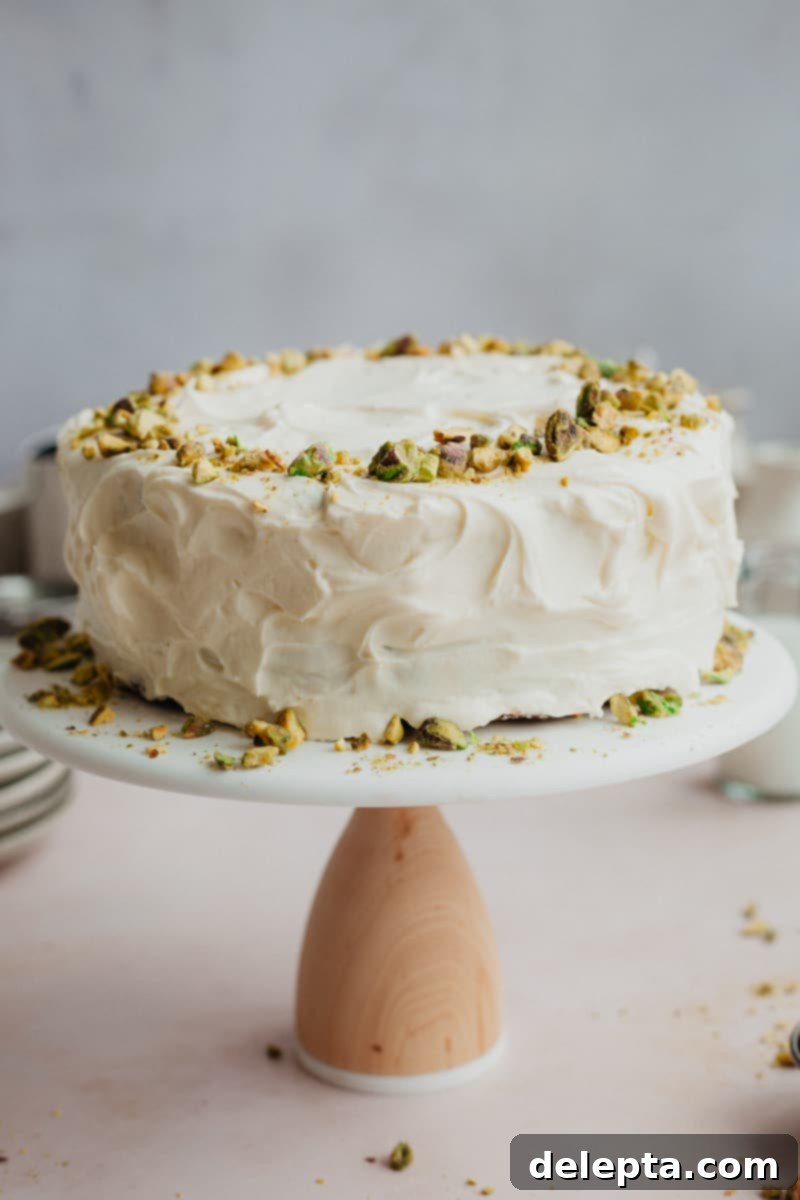
Assembling a stunning layer cake is simpler than it looks! Our cake layers usually bake up pretty flat, but if you notice a slight dome on top, you’ll want to level them for an even stack. Use a long, serrated knife to carefully slice off any domed tops, creating flat surfaces. To begin assembly, place your first cake layer onto your serving plate or cake stand. Next, dollop about one-third of your freshly made frosting onto this layer. Using a small offset spatula, carefully spread the frosting evenly across the top, reaching right to the edges. Place the second cake layer directly on top. Now, apply a thin layer (about a cup) of frosting over the top and around the sides of the entire cake. This is called a “crumb coat,” and its purpose is to trap any loose crumbs, preventing them from mixing into your final layer of frosting. Once crumb-coated, place the cake in the refrigerator for about 20 minutes to allow the frosting to firm up. This crucial chilling step makes applying the final layer of frosting much easier and cleaner. After chilling, take the cake out and use the remaining frosting to smooth over the top and sides for a beautiful, finished look.
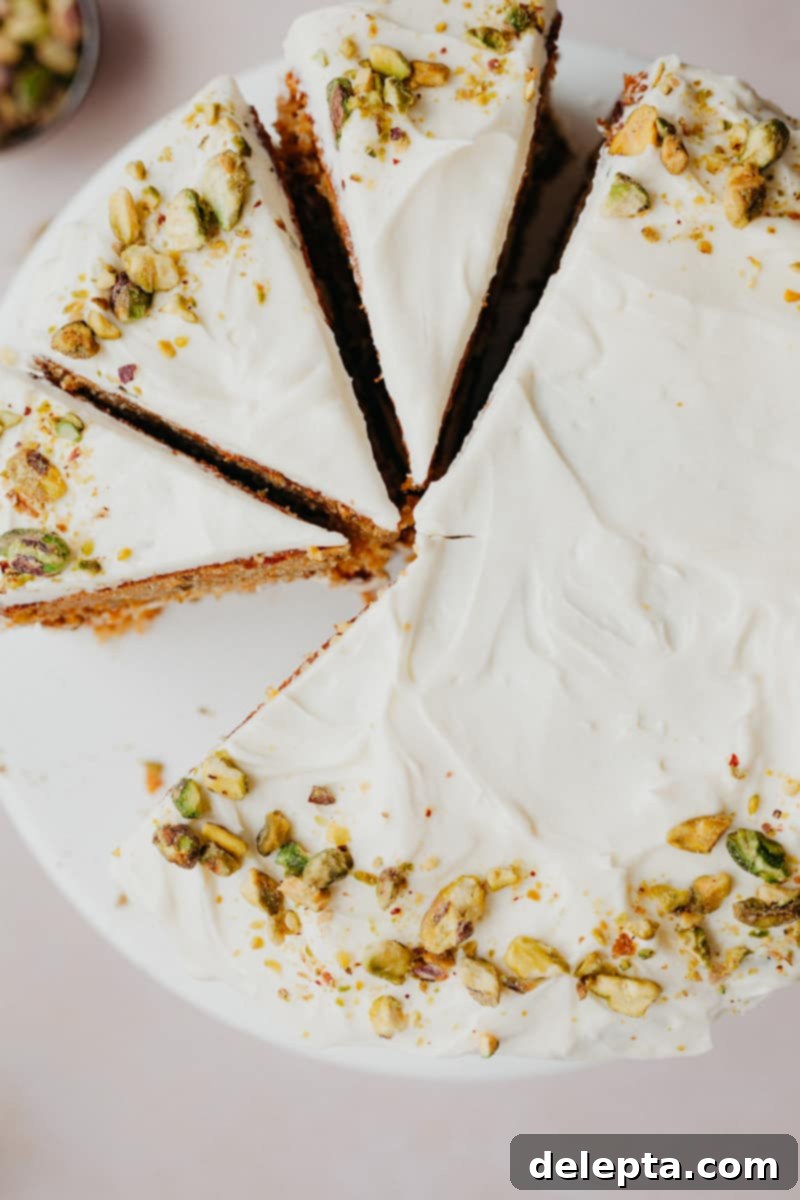
Achieving those beautiful, rustic swirls on top of your frosting is surprisingly easy and doesn’t require any special tools! Instead of using an offset spatula, which can sometimes create overly smooth or rigid lines, I’ve found that a large spoon works incredibly well. Once you’ve applied your final layer of frosting to the top of the cake, simply take the back of a large spoon and gently swirl it across the surface. You can create various patterns, from wide, sweeping arcs to smaller, more intricate circles, depending on the look you desire. The natural curve of the spoon helps to create those lovely, soft peaks and valleys that give your cake a charming, homemade touch.
For those picture-perfect, clean slices of cake, a few simple tricks make all the difference. Firstly, always use a large, sharp knife – and crucially, one that is NOT serrated for cutting cake. A smooth, clean blade will glide through the cake and frosting much more effectively. Secondly, after each individual cut you make, take a moment to wipe the knife blade clean with a damp paper towel or cloth. This removes any residual frosting and crumbs, ensuring that every subsequent slice is as pristine as the first. This little extra step might seem minor, but it makes a huge difference in the presentation of your beautiful Pistachio Cardamom Carrot Cake.
Explore More Delicious Cake Recipes:
If you loved baking this Pistachio Cardamom Carrot Cake, you might enjoy trying some of my other favorite cake creations. Each recipe offers a unique flavor profile and delightful baking experience, perfect for expanding your repertoire!
- Cardamom Cake with Brown Butter Frosting: A wonderfully aromatic cake paired with a rich, nutty brown butter cream cheese frosting.
- Chocolate Brownie Cookie Dough Cake: For the ultimate chocolate lover, a decadent combination of brownie and cookie dough layers with luscious fudge frosting.
- Double Chocolate Sour Cream Pound Cake: A rich and moist pound cake, bursting with double chocolate flavor, made tender with sour cream.
I absolutely adore seeing your baking creations! Make sure to tag me on Instagram @alpineella and leave a review below if you’ve made this incredible Pistachio Cardamom Carrot Cake. Your feedback means the world to me. If you’re constantly seeking new and exciting baking ideas and inspiration, you can also follow me on Pinterest for a treasure trove of recipes and sweet treats!
Recipe
Pistachio Carrot Cake with Whipped Cream Cheese Frosting
Ella Gilbert
Pin Recipe
Save RecipeSaved!
Equipment
-
2 x 8″ cake pans
Ingredients
Carrot Cake
- 4 large eggs
- 320 grams grated carrots (finely grated for best texture)
- 240 grams all-purpose flour
- 2 teaspoon baking soda
- 1 teaspoon fine salt
- 2 teaspoon ground cinnamon
- 1 ½ teaspoon ground cardamom
- ½ teaspoon ground ginger
- 130 grams pistachios crushed (for texture and flavor)
- 198 grams vegetable/canola oil (keeps the cake wonderfully moist)
- 400 grams white sugar
- 2 teaspoon vanilla extract
Frosting
- 339 grams cold cream cheese (full-fat, straight from the fridge)
- 150 grams white sugar
- 3 teaspoon vanilla extract
- ¼ teaspoon fine salt
- 210 grams heavy cream (cold, minimum 36% fat)
Instructions
Make the Pistachio Cardamom Carrot Cake
-
Begin by preheating your oven to 350°F/180°C. Take two 8-inch round cake tins and generously grease them, then line the bottoms with parchment paper to ensure easy release of the baked cakes.
-
In a spacious medium bowl, combine the oil, sugar, eggs, a fragrant blend of spices (cardamom, cinnamon, ginger), vanilla, baking soda, and salt. Whisk these ingredients together until they are fully incorporated and the sugar begins to dissolve. If you’re using a stand mixer, whisk on medium speed for about 3 minutes. For those doing it by hand, a vigorous whisking for 8-10 minutes will achieve the desired consistency.
-
Gently fold in the all-purpose flour using a spatula, mixing just until it’s smooth and you see no dry pockets of flour remaining. Be careful not to overmix, as this can lead to a tough cake. Next, carefully fold in your finely grated carrots and crushed pistachios until they are evenly distributed throughout the batter.
-
Divide the batter evenly between your two prepared cake tins, aiming for approximately 700g in each for consistent layers. Bake for 50-55 minutes, or until a wooden skewer or toothpick inserted into the center comes out clean or with only a few moist crumbs attached. Once baked, let the cakes cool in their tins for 15 minutes before carefully removing them to a wire rack to cool completely.
Prepare the Cloud-Like Whipped Cream Cheese Frosting
-
To ensure the best results for your frosting, chill your mixing bowl (and whisk attachment if using a stand mixer) in the fridge for at least 1 hour, or ideally overnight. In this chilled bowl, combine the cold heavy cream, salt, sugar, and vanilla. Whisk on medium-low speed for about 2 minutes, ensuring the sugar has completely dissolved before proceeding.
-
Increase the mixer speed to high and continue whisking for another 2 minutes. The mixture will thicken considerably, reaching a consistency that is very thick and resembles Greek yogurt. This is the crucial stage for incorporating the cream cheese.
-
With the mixer running on a low speed, add the cold cream cheese one tablespoon at a time. It’s normal for the mixture to appear slightly curdled or like cottage cheese at this point. Once all the cream cheese is added, turn off the mixer and use a spatula to thoroughly scrape down the entire bowl, ensuring all ingredients are fully incorporated from the sides and bottom. Then, increase the speed to high and whip for a full 3 minutes until the frosting becomes perfectly smooth, light, and airy. Use immediately for best results.
Notes
- If you don’t have a food processor to achieve finely grated carrots, a simple box grater will work just as well! Use the smallest side of the grater to get those fine shreds that seamlessly blend into the cake batter.
- For those in the UK, where cream cheese is often sold in tubs with a higher moisture content, an important step is to prepare it before mixing. Take your cream cheese out of the tub and pat it down thoroughly with several layers of kitchen roll (paper towels) until it is significantly drier. This helps to achieve the desired thick, stable consistency for the frosting.
Nutrition
