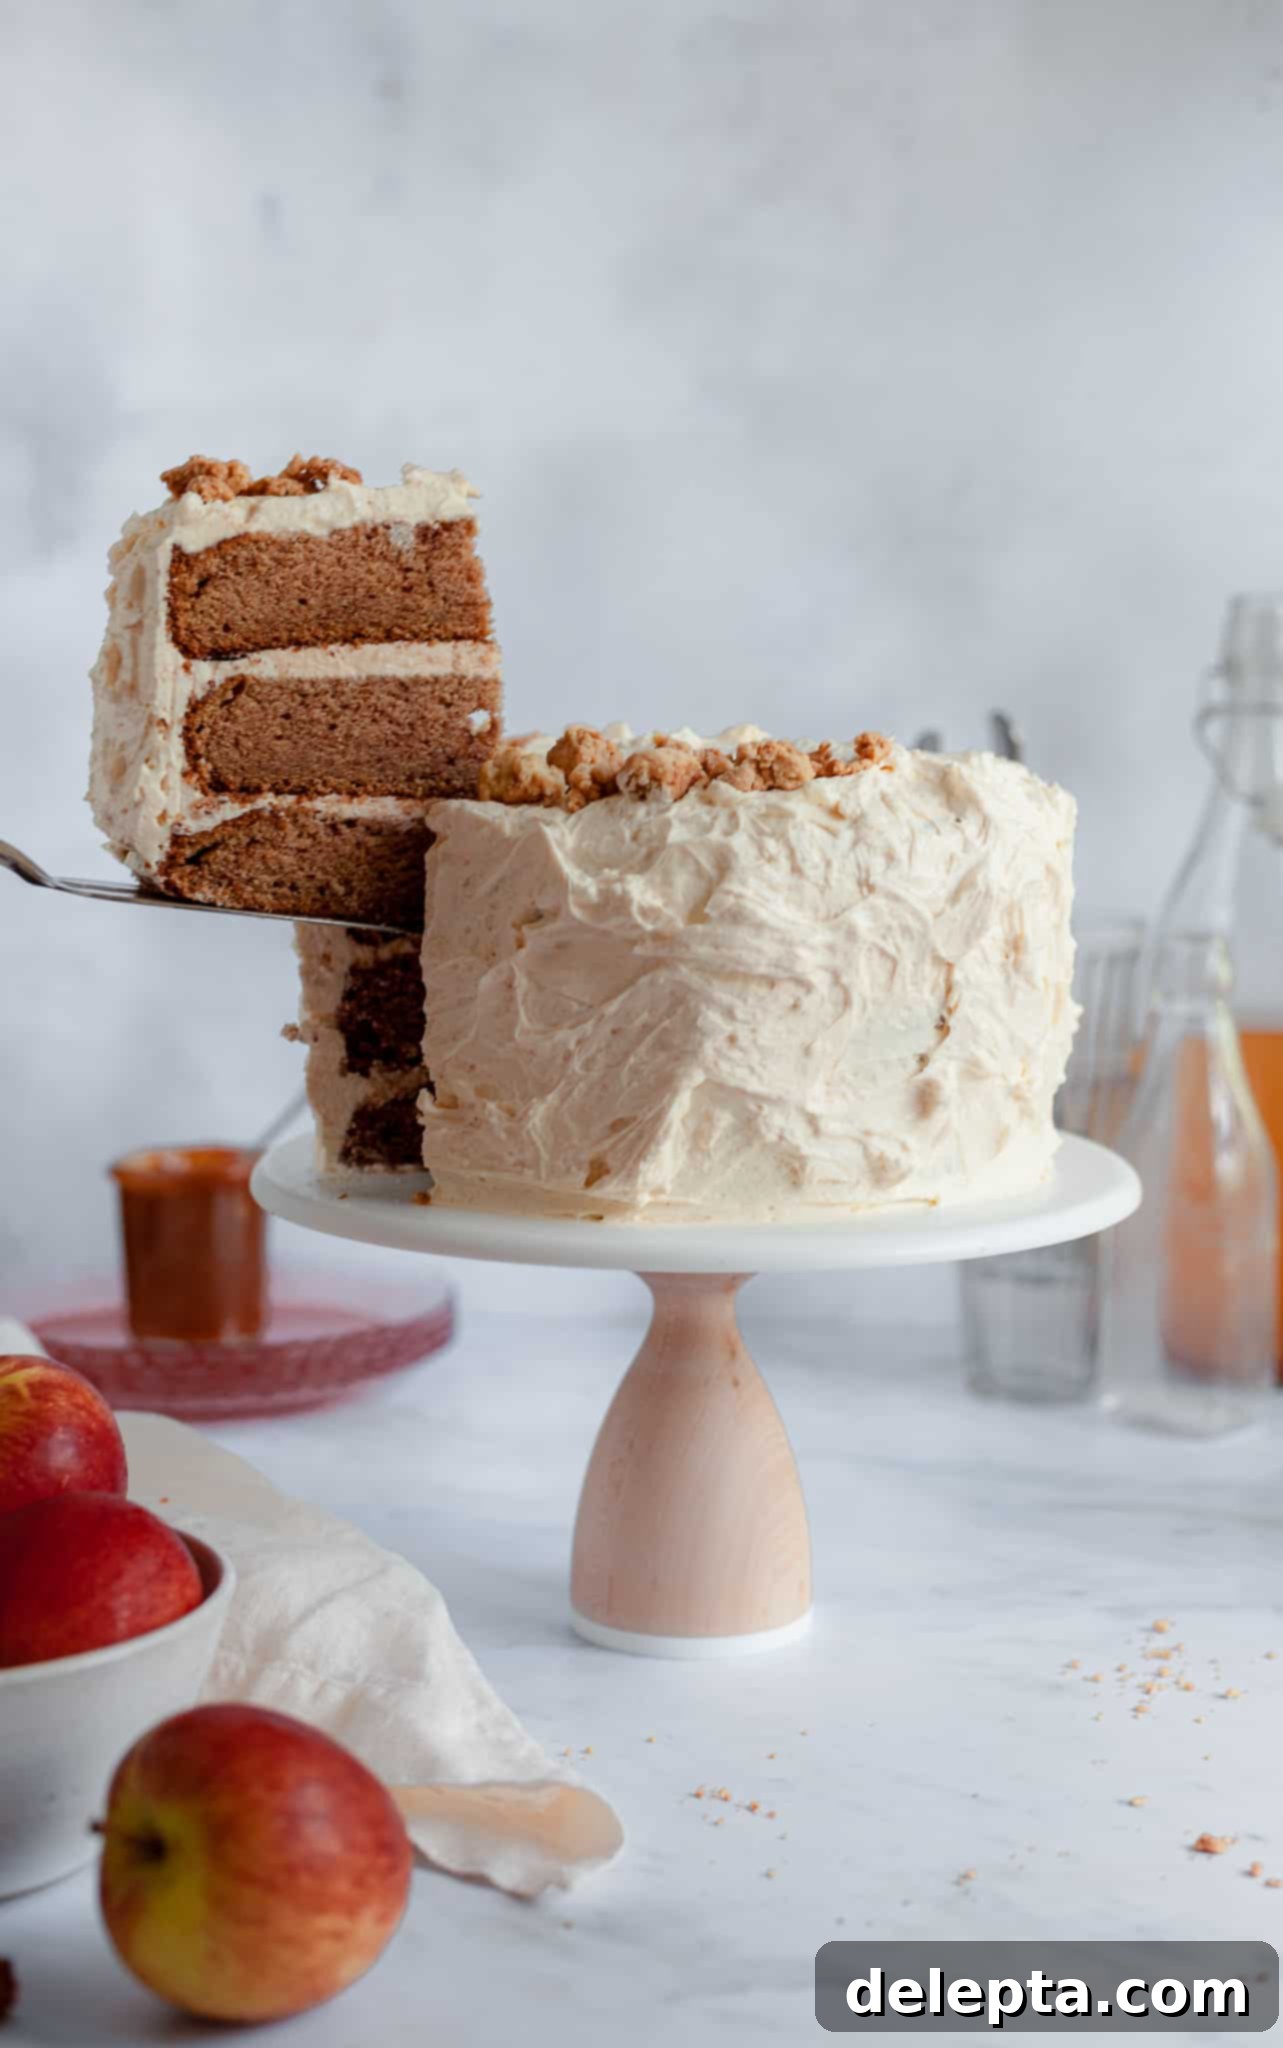
The Ultimate Spiced Apple Cider Layer Cake with Salted Caramel & Pie Crumb Frosting: A Taste of Autumn
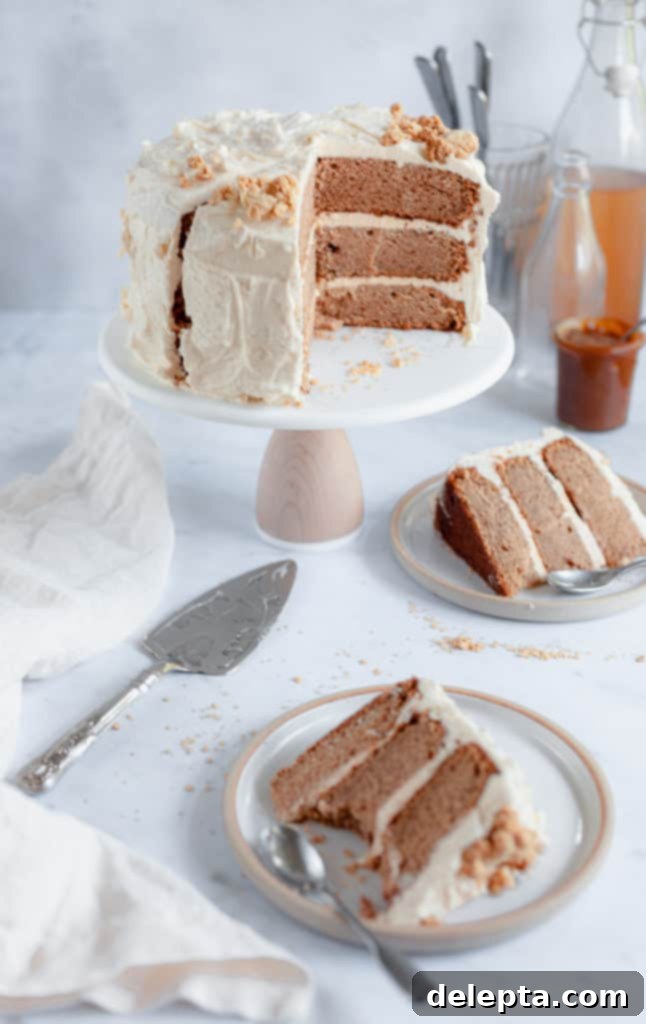
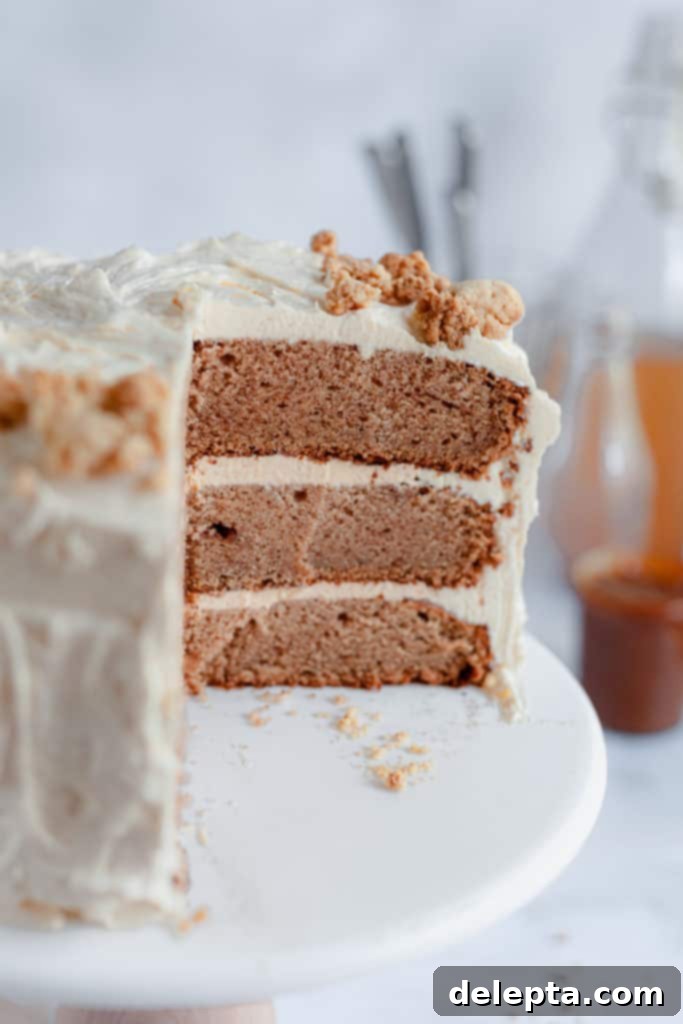
There’s no denying that certain flavors instantly transport you to a specific season. For many, the crisp, sweet-tart taste of apples paired with warm spices signifies the heart of autumn. This Spiced Apple Cider Layer Cake is designed to be precisely that – autumn encapsulated in a decadent dessert. Featuring moist, fragrant apple cider cake layers, a luscious salted caramel Swiss meringue buttercream filling, and a unique, texturally delightful pie crumb buttercream frosting, this cake is the perfect centerpiece for celebrating the arrival of cooler weather, changing leaves, and cozy gatherings. It’s more than just a cake; it’s an experience, bringing together the comforting essence of a caramel apple pie in an elegant, sliceable form.
The inspiration for this showstopper cake came after a delightful batch of homemade apple cider donuts left me with a generous amount of leftover apple cider. As any avid baker knows, waste is a cardinal sin in the kitchen! My thoughts naturally drifted to classic autumnal desserts, and a warm, gooey caramel apple pie immediately sprang to mind. While this recipe isn’t a pie in the traditional sense, my goal was to masterfully translate those beloved caramel apple pie flavors and textures into a magnificent, multi-layered cake. The result is a dessert that offers the comforting familiarity of pie but with the sophisticated presentation and creamy richness of a truly special layer cake.
Crafting the Perfect Spiced Apple Cider Cake Layers
The foundation of this incredible dessert is its wonderfully moist and flavorful apple cider cake. This recipe calls for three 8-inch layers, creating a substantial and impressive cake. If you prefer, you can certainly use 9-inch pans, but be prepared to adjust your baking time accordingly, as thinner layers will bake faster. The secret to the cake’s unique depth of flavor lies in its liquid component: instead of traditional milk, we incorporate a carefully reduced apple cider. This reduction concentrates the natural sweetness and apple essence, infusing every crumb with an intense, authentic cider taste.
For those living outside the US, it’s important to clarify that we’re referring to “American apple cider” – a non-alcoholic, unfiltered apple juice – not “UK hard cider,” which is an alcoholic beverage. If authentic American apple cider isn’t readily available, a good quality cloudy apple juice can be used as a substitute. To enhance the fall-spice profile in this case, simply boost the amounts of cinnamon, nutmeg, and allspice in the recipe. These warm spices beautifully complement the apple flavor, creating that signature autumnal aroma and taste.
Another brilliant technique I adopted, inspired by the renowned Stella Parks, is the addition of a few tablespoons of apple cider vinegar. While it might seem counterintuitive to add vinegar to a sweet cake, it plays a crucial role in activating the baking soda, contributing to a lighter, fluffier texture, and subtly enhancing the apple notes without imparting any sourness. Furthermore, Stella Parks also suggests using a combination of coconut oil and butter. This blend offers a distinct advantage over using butter alone; the coconut oil helps create an incredibly tender and moist crumb, resulting in a cake that is exceptionally soft and airy, a true delight to bite into.
The Silky Smooth Swiss Meringue Buttercream
At the heart of any truly spectacular layer cake is a show-stopping frosting, and for this recipe, Swiss Meringue Buttercream (SMBC) reigns supreme. As its name cleverly suggests, this luxurious frosting is built upon a Swiss meringue base. The process involves gently heating egg whites and sugar over a bain-marie (a double boiler) until the sugar fully dissolves and the mixture reaches a specific temperature – typically around 160°F (71°C). This heating step ensures food safety and creates a stable meringue. Once heated, the mixture is whipped vigorously until it transforms into stiff, glossy white peaks. Only then is room temperature butter gradually incorporated, chunk by chunk, resulting in an incredibly smooth, airy, and less cloyingly sweet buttercream compared to its American counterpart.
Swiss Meringue Buttercream is a baker’s dream for layer cakes due to its exceptional stability and smooth consistency, making it easy to spread and pipe. Its naturally pristine white color also makes it incredibly versatile for tinting with food coloring or infusing with various flavorings. The beauty of this particular buttercream recipe lies in its efficiency: once prepared, it can be divided and flavored in two distinct ways, allowing us to create both our delicious salted caramel filling and our unique pie crumb frosting from a single batch. This clever approach saves time and effort, proving that creating an elaborate cake doesn’t have to be overly complicated.
Homemade Salted Caramel: The Golden Filling
While the convenience of a store-bought salted caramel spread might be tempting (and rest assured, your secret is safe with me – I won’t be calling Ina Garten or Claire Saffitz!), there’s an undeniable magic and depth of flavor that comes from homemade salted caramel. The process might seem intimidating at first, but with a few crucial tips, you’ll be making silky, rich caramel like a pro. And trust me, the effort is truly worth it for that perfect balance of sweet and salty that elevates this cake.
- **Never leave your saucepan unattended!** When cooking sugar for caramel, the transformation from glistening granules to a beautiful golden syrup, and then quickly to a deep amber, happens surprisingly fast. A moment’s distraction can turn perfect caramel into burnt, bitter sugar. Stay focused and keep a close eye on it, ready to remove it from the heat at just the right moment to achieve that rich, complex flavor without bitterness.
- **Salt is your friend.** While you could opt for unsalted caramel, the addition of salt is highly recommended for this recipe. The delicate crystals of kosher salt cut through the intense sweetness of the caramel, creating an exquisite balance that truly makes the flavor pop and linger on the palate.
- **Exercise caution when adding butter and cream.** Once the sugar has reached its desired amber hue and is removed from the heat, adding the butter and then the cream will cause a vigorous reaction. The mixture will hiss, sputter, and bubble up dramatically. Stand back, wear oven mitts, and add these ingredients slowly and carefully, stirring constantly to incorporate them safely.
The Ingenious Pie Crumb Frosting
This truly innovative pie crumb concept is brilliantly adapted from Milk Bar’s celebrated first cookbook. The idea is simple yet revolutionary: taking the comforting, familiar flavor and texture of a pie crust and integrating it into a frosting. This component adds an unexpected layer of dimension and a delightful textural contrast that truly sets this cake apart. While you might be tempted to simplify and make the entire cake salted caramel flavored (and again, no judgment here!), dedicating a little time to prepare the pie crumb is undeniably rewarding. It truly elevates the cake, providing a crunchy, buttery element that mimics the best part of a pie.
The good news is that making the pie crumb is surprisingly quick and straightforward, and it offers the added benefit of being a make-ahead component. It can be stored in an airtight container in the fridge for up to a week, or even longer in the freezer, making your baking day less stressful. The process involves combining the classic ingredients of a pie dough – flour, sugar, salt, and melted butter with a touch of water – and mixing them just enough until small, distinct clusters begin to form. These clusters are then baked until they achieve a beautiful golden-brown color and a crisp texture.
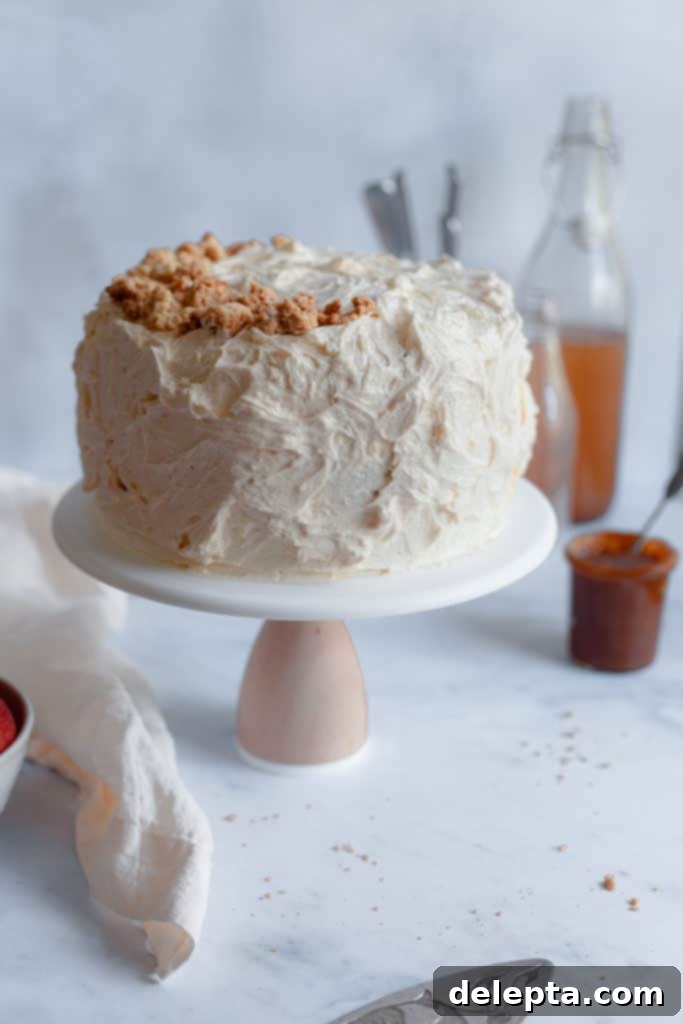
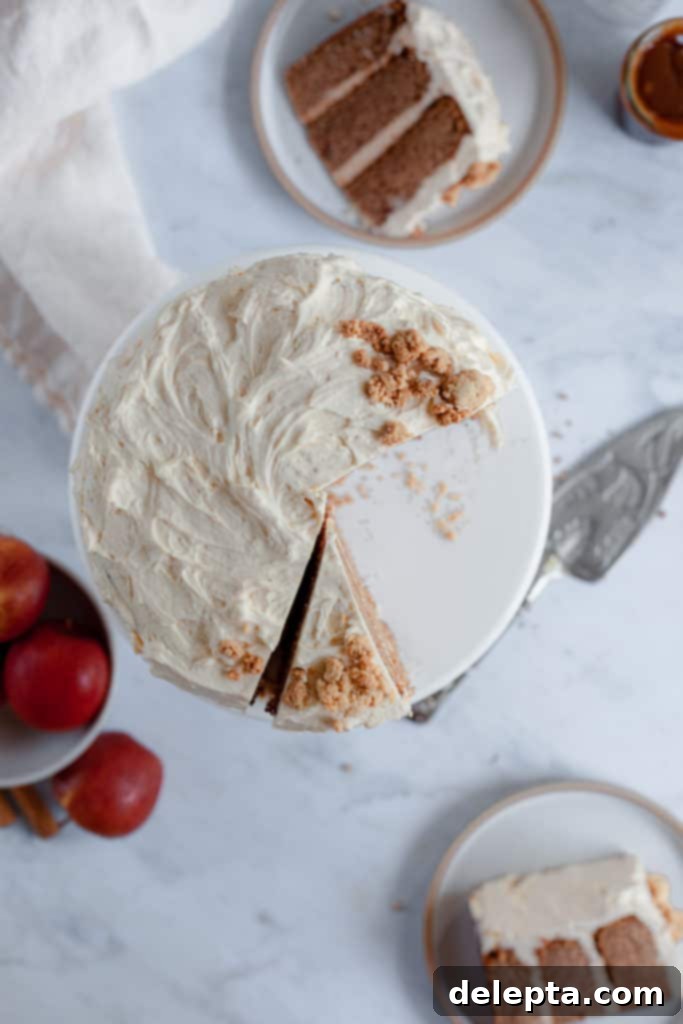
Once cooled, a portion of the baked pie crumb is reserved to sprinkle on top of the finished cake as a garnish, adding visual appeal and an extra crunch. The remaining pie crumb is then blended with milk until it forms a thick, aromatic paste. This paste is then gently folded into the remaining Swiss Meringue Buttercream, transforming it into a uniquely flavorful and subtly textured frosting that tastes remarkably like a deconstructed apple pie. This ingenious addition is what truly distinguishes this layer cake, offering a comforting yet sophisticated twist on a classic autumn treat.
Assembling Your Autumnal Masterpiece
Once all your individual components are prepared – the perfectly baked spiced apple cider cake layers, the silky Swiss meringue buttercream base, the rich salted caramel, and the distinctive pie crumb – it’s time to bring them all together to create your stunning autumnal masterpiece. Patience and attention to detail during assembly will ensure a beautiful and delicious result. Ensure your cake layers are completely cooled before frosting; warm cakes will melt your buttercream, leading to a messy outcome.
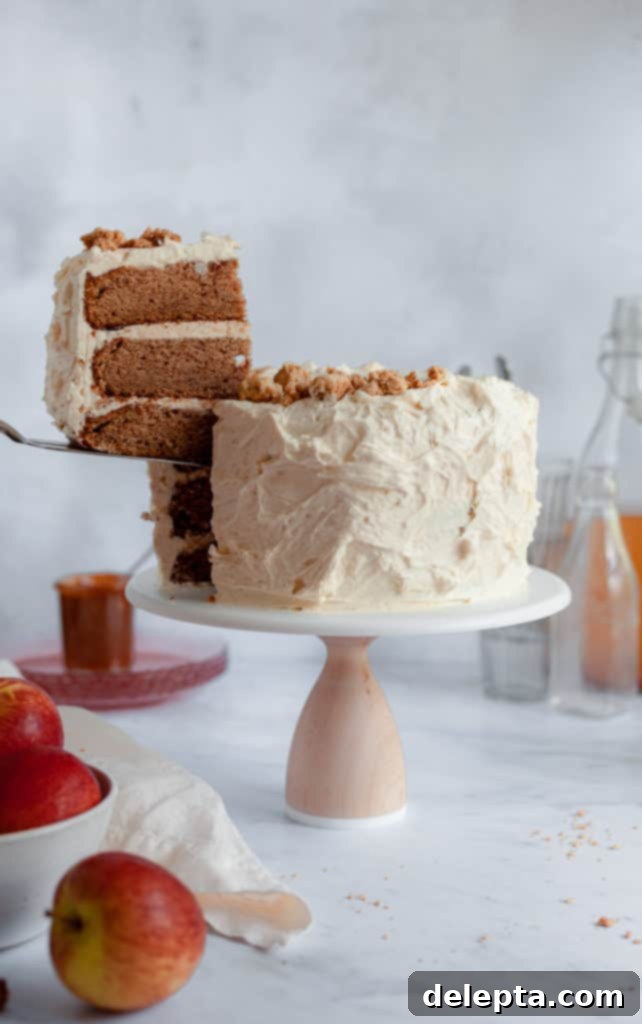
Start by leveling your cake layers if necessary, for a clean, even stack. Spread a generous layer of the salted caramel buttercream onto the first cake layer, creating a delectable filling. Repeat with the second layer, and then top with the third. Next, use the pie crumb buttercream to frost the entire cake, working to create smooth sides and a level top. The beauty of this frosting is that its subtle texture hides minor imperfections, making it forgiving for even novice decorators. Finally, sprinkle the reserved crispy pie crumbs over the top of the cake, perhaps letting some spill artistically down the sides, to add that final touch of visual appeal and irresistible crunch. Serve this magnificent cake chilled or at room temperature, alongside a warm cup of coffee or tea, and savor the quintessential flavors of autumn.
Recipe
Apple Cider Layer Cake with Salted Caramel & Pie Crumb Frosting
Ella Gilbert
Pin Recipe
Save RecipeSaved!
Ingredients
For the Spiced Apple Cider Layer Cake
- 8 egg yolks
- 454 grams apple cider reduced from 1000g
- 3 tablespoons apple cider vinegar
- 454 grams all purpose flour
- 225 grams light brown sugar
- 200 grams granulated sugar
- 2 ½ teaspoons baking powder
- 1 teaspoon baking soda
- 2 teaspoons cinnamon
- ½ teaspoon nutmeg
- ¼ teaspoon allspice
- 226 grams unsalted butter
- ¾ teaspoon kosher salt
- 2 teaspoons vanilla extract
- 113 grams coconut oil, room temperature
For the Swiss Meringue Buttercream
- 8 egg whites
- 446 grams granulated sugar
- ¼ teaspoon fine salt
- 678 grams unsalted butter, room temperature
For the Pie Crumb
- 240 grams all purpose flour
- 18 grams granulated sugar
- 2 grams kosher salt
- 115 grams unsalted butter, melted
- 20 grams water
For the Salted Caramel
- 125 grams double cream
- 200 grams granulated sugar
- 85 grams unsalted butter, room temperature
- ½ tablespoon kosher salt
For the Pie Crumb Frosting (combined with SMBC)
- ½ portion pie crumb
- 110 grams milk
- 2 grams kosher salt
Instructions
Apple Cider Cake
-
Preheat your oven to 325°F/162°C. Generously grease and flour three 8-inch round cake pans.
-
In a large bowl, sift together the all-purpose flour. In a separate measuring jug, thoroughly combine the reduced apple cider and apple cider vinegar.
-
In the bowl of a stand mixer fitted with the paddle attachment, add the softened butter, room temperature coconut oil, both sugars (light brown and granulated), all the spices (cinnamon, nutmeg, allspice), baking powder, baking soda, and kosher salt. Begin mixing on low speed, gradually increasing to medium, and beat for approximately 5 minutes until the mixture is light and fluffy.
-
With the mixer still running on low speed, carefully add the egg yolks one at a time, ensuring each is fully incorporated before adding the next. Then, pour in the vanilla extract. Continue on low speed, adding one-third of the sifted flour, followed by one-third of the apple cider mixture. Repeat this process twice more until all flour and liquid are incorporated. Mix until the batter is just smooth, being careful not to overmix. Divide the batter evenly among the three prepared cake pans.
-
Bake for 40 minutes, or until the cake edges are golden brown and a toothpick inserted into the center comes out with only a few moist crumbs attached. Allow the cakes to cool in the pans for 10-15 minutes before inverting them onto a wire rack to cool completely.
Pie Crumb
-
Preheat your oven to 355°F/180°C and line a baking sheet with parchment paper.
-
In a mixer with a paddle attachment, combine the flour, granulated sugar, and salt on low speed until just mixed. Add the melted butter and water, continuing to mix on low until small clusters of crumb begin to form.
-
Spread the pie crumb clusters evenly onto the prepared baking sheet. Bake for approximately 25 minutes, or until they are beautifully golden brown and crisp. Remove from oven and let cool completely on the baking sheet.
Salted Caramel
-
Place the granulated sugar in a medium, heavy-bottomed saucepan. Stir constantly over medium heat. The sugar will first clump, then begin to melt and turn liquid. Continue stirring until it reaches a deep amber color. Immediately remove the saucepan from the heat. Carefully add all the room temperature butter, stirring vigorously. Be very cautious as the mixture will sputter and steam intensely. Once the butter is fully incorporated, slowly pour in the double cream and add the kosher salt, stirring until smooth. Let the salted caramel cool completely before use.
-
If making ahead, store the cooled salted caramel in an airtight container in the refrigerator for up to two weeks. Reheat gently to desired consistency if needed before mixing into buttercream.
Swiss Meringue Buttercream
-
Fill a medium saucepan with about an inch of water and bring it to a gentle simmer (not a rolling boil).
-
In the heatproof bowl of your stand mixer, combine the egg whites, granulated sugar, and fine salt. Place the bowl over the simmering saucepan, ensuring the bottom of the bowl does not touch the water. Whisk the mixture constantly until it reaches a temperature of 160°F (71°C) and the sugar has completely dissolved (test by rubbing a small amount between your fingers; it should feel smooth, not grainy).
-
Remove the bowl from the heat and attach it to your stand mixer fitted with the whisk attachment. Whisk on medium-high speed for 8-10 minutes, or until the meringue forms stiff, glossy peaks and the bowl feels cool to the touch. This cooling step is crucial for stable buttercream.
-
Reduce the mixer speed to low. Add the room temperature unsalted butter, one tablespoon at a time, allowing each addition to incorporate before adding the next. The mixture may look curdled or soupy during this process, but keep mixing! It will come together into a smooth, silky buttercream. Once all butter is added, increase speed to medium-high and beat for another 1-2 minutes until light and fluffy.
Fillings & Frosting Assembly
-
Once the Swiss Meringue Buttercream is ready, scoop approximately 400g (about 1 ¾ cups) into a separate large bowl. Add 120g (about ½ cup) of the cooled salted caramel to this portion. Using a flexible spatula, gently fold the caramel into the buttercream until thoroughly combined. This will be your luscious salted caramel filling.
-
Take half of the cooled pie crumb and combine it in a blender with the milk and salt. Puree until a thick, relatively smooth paste forms. Add this pie crumb paste to the remaining portion of the Swiss Meringue Buttercream. Gently fold it in with a spatula until evenly distributed. This creates your uniquely textured pie crumb frosting.
-
Now, it’s time to assemble your cake! Place one cooled cake layer on your serving plate or cake stand. Spread an even layer of the salted caramel buttercream filling over it. Place the second cake layer on top and repeat with another layer of salted caramel buttercream. Top with the third cake layer.
-
Finally, use the pie crumb frosting to cover the entire cake – the top and sides. Use an offset spatula or bench scraper to smooth the frosting as desired. For a decorative finish, crumble the remaining half of the baked pie crumb over the top of the cake, or around the base. Slice and serve your extraordinary Apple Cider Layer Cake, and enjoy the flavors of autumn!
