The Ultimate Butterscotch Pudding Pie: A Decadent Sweet & Salty Masterpiece with Chocolate Ganache and Pretzel Crust
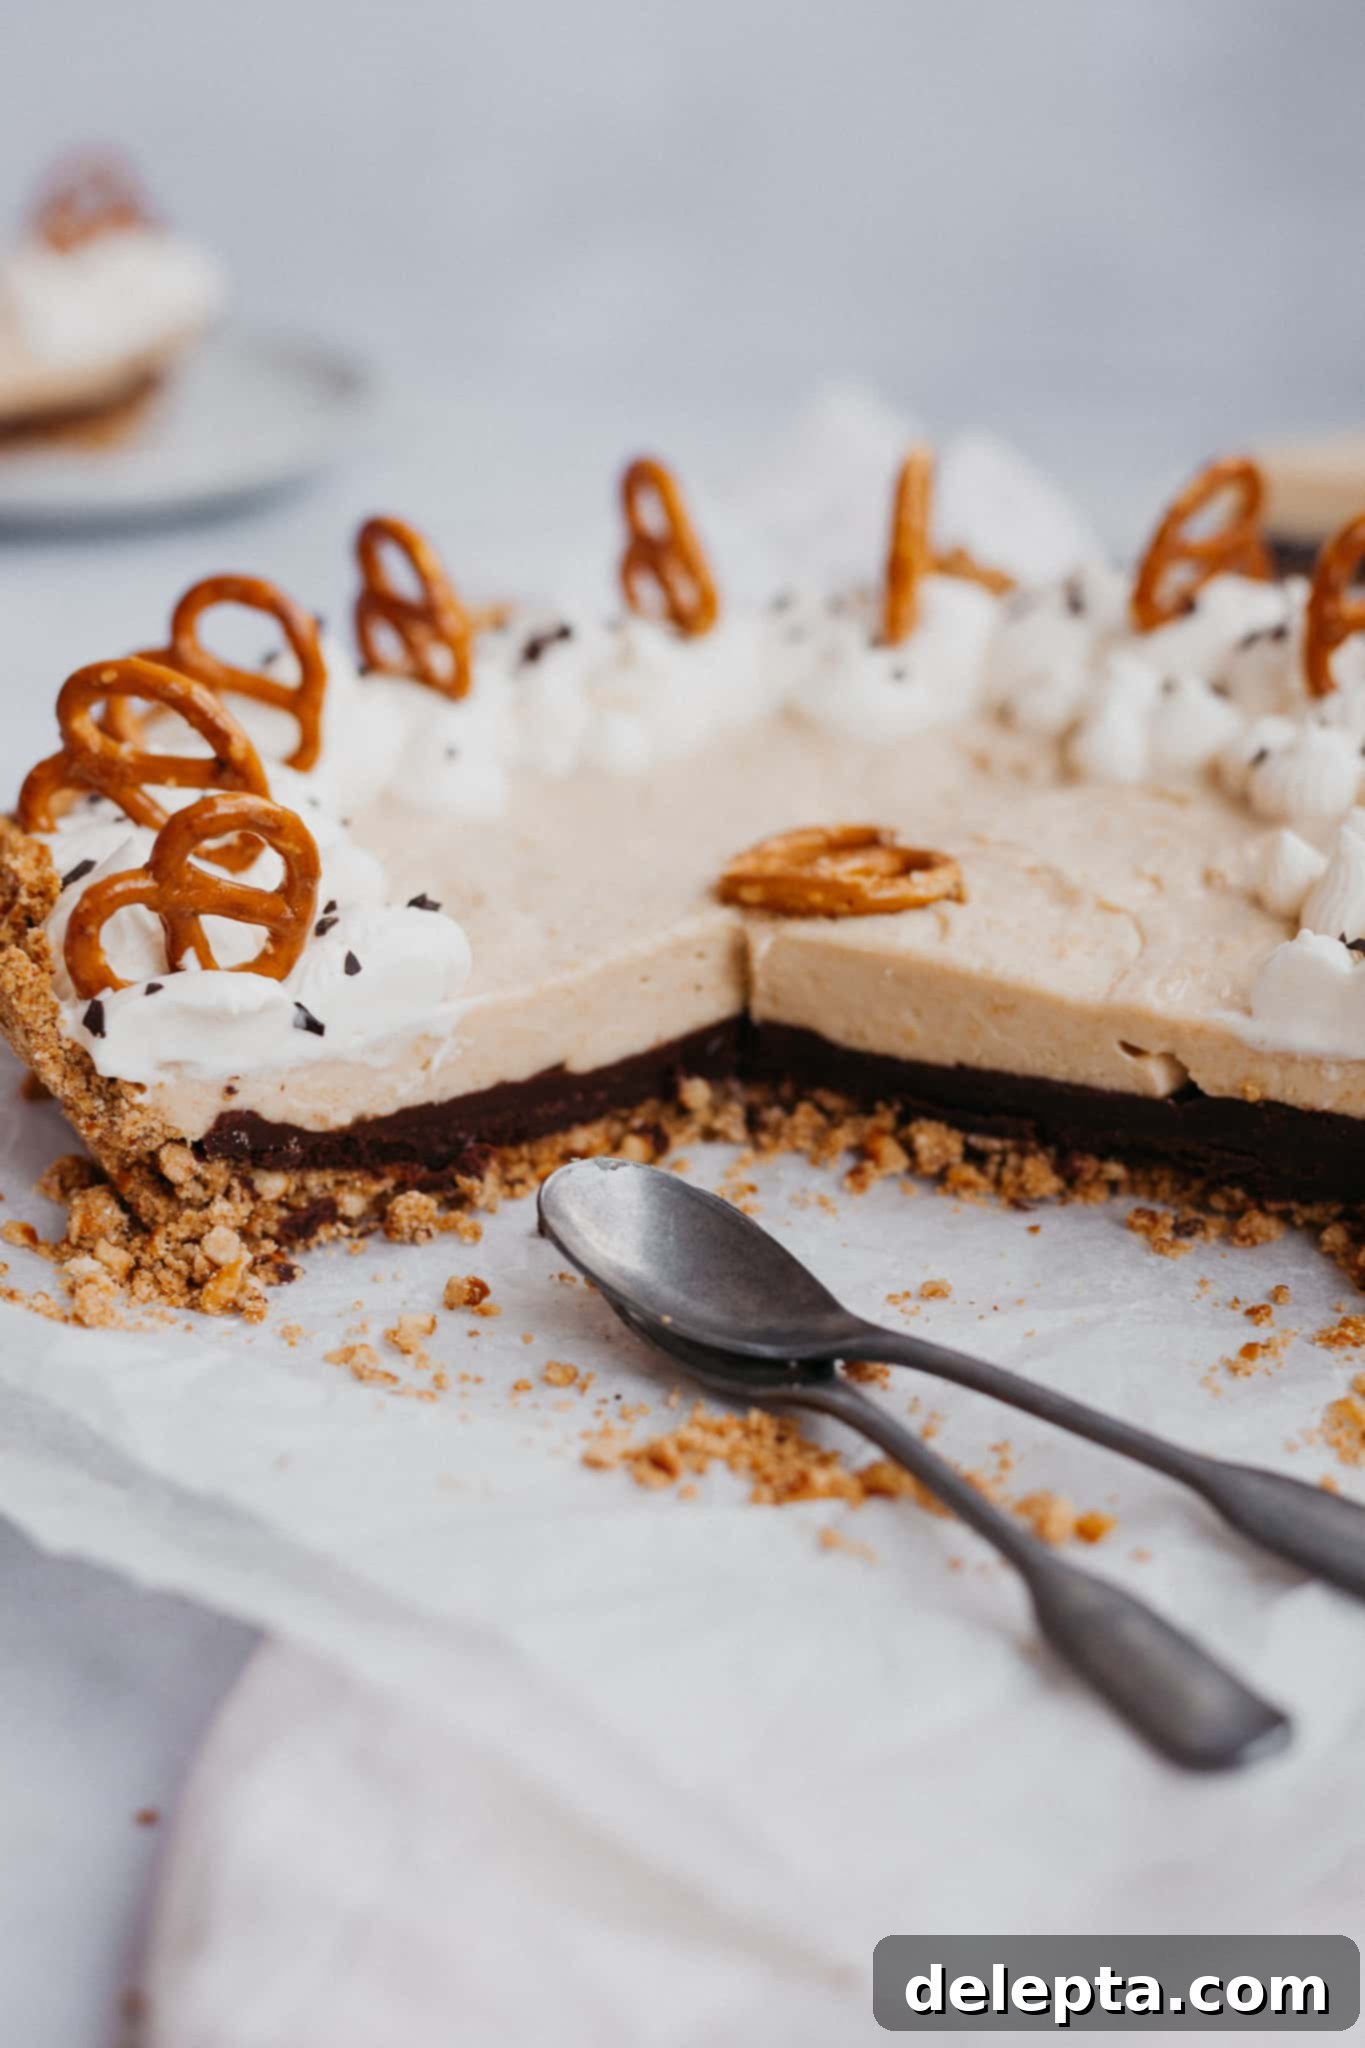
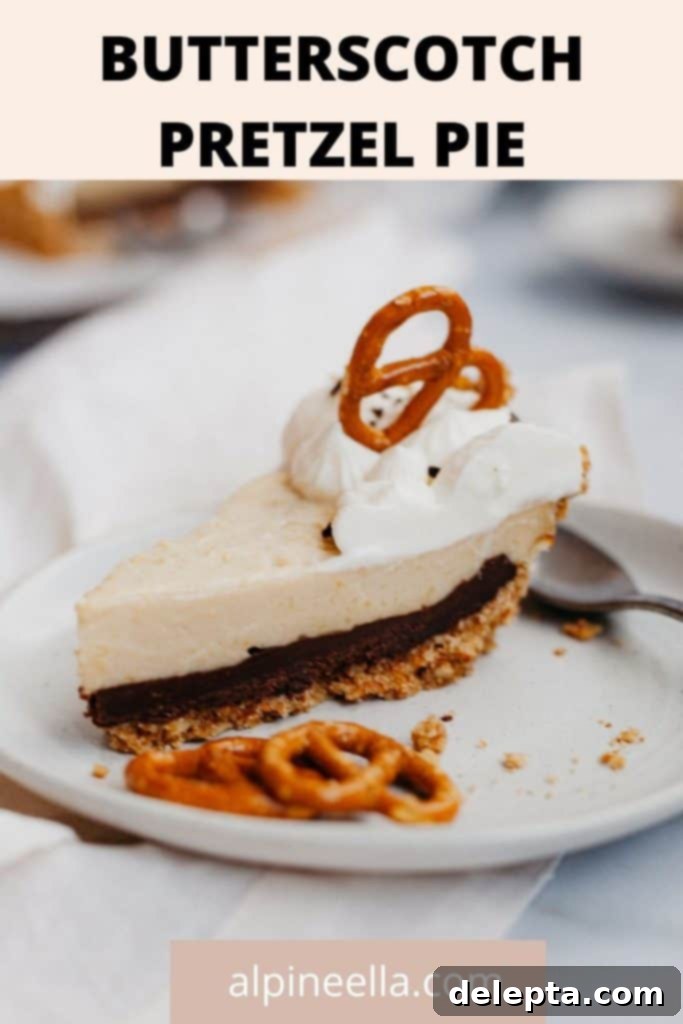
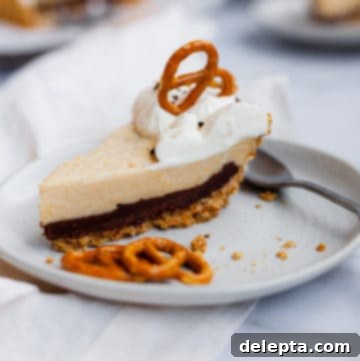
Prepare to be absolutely captivated by this extraordinary Butterscotch Pudding Pie! It’s not just a dessert; it’s an experience, masterfully blending contrasting flavors and textures into a symphony of deliciousness. This homemade creation features a luxurious, creamy butterscotch pudding, nestled upon a rich, dark chocolate ganache layer, all encased in a delightfully crunchy and salty pretzel crust. To crown this masterpiece, a cloud of freshly whipped cream adds a final touch of indulgence. The ingenious combination of sweet and savory elements is a guaranteed winner, making every bite an unforgettable journey for your taste buds.
Creating this show-stopping pie might seem like a grand endeavor, but fear not! We’re breaking it down into four simple, approachable components, each designed to build upon the last, resulting in a perfectly balanced and incredibly satisfying dessert. Whether you’re a seasoned baker or just starting out, this recipe will guide you to a flawless finish that will impress everyone fortunate enough to try a slice.
Crafting Perfection: The Four Layers of This Butterscotch Pudding Pie
Every element of this pie plays a crucial role, contributing to its complex flavor profile and delightful texture. Here’s a closer look at the distinct components that come together to form this irresistible dessert:
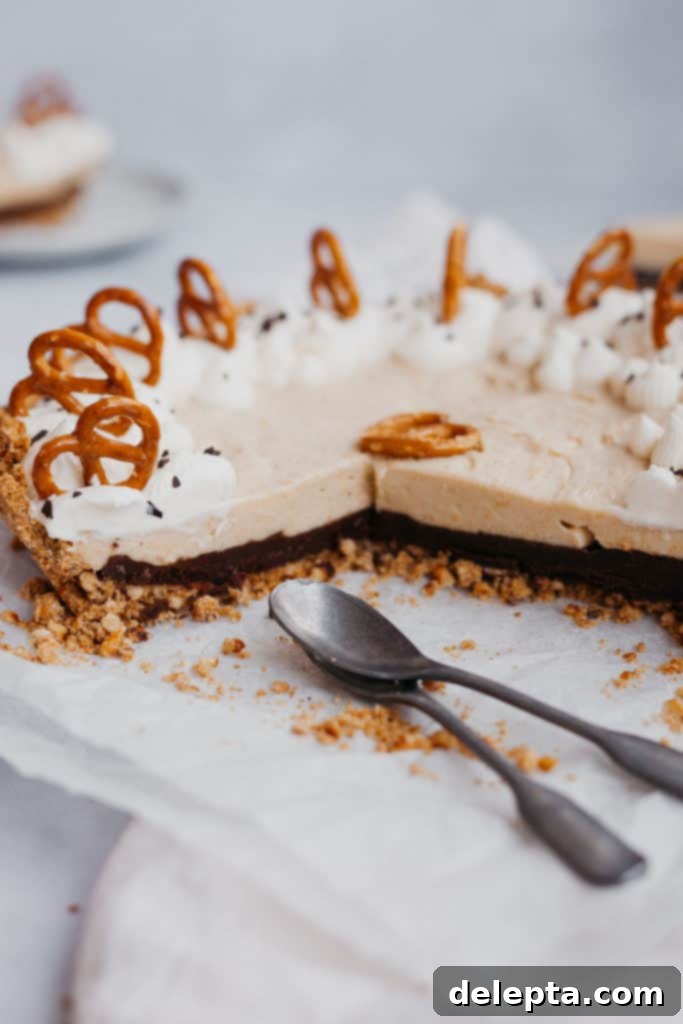
- The Crunchy Salted Pretzel Crust: This isn’t just any crust; it’s the foundation of our sweet and salty adventure. We utilize readily available store-bought pretzels, transforming them into a beautifully textured, slightly salty base. The key to its success lies in blind baking, a simple technique we’ll walk you through, ensuring it’s perfectly crisp and ready to hold our decadent fillings without becoming soggy. The subtle saltiness of the pretzels perfectly cuts through the sweetness of the layers above, creating an addictive balance.
- The Luxurious Chocolate Ganache Layer: Imagine slicing into your pie and discovering a ribbon of rich, glossy dark chocolate. That’s exactly what our homemade chocolate ganache provides. This surprisingly easy-to-make layer adds an intense chocolatey depth and a smooth, almost fudge-like texture that beautifully complements the butterscotch. It’s not just for flavor; this ganache also creates a stunning visual separation between the crust and the pudding, elevating the overall presentation of your pie.
- The Velvety Butterscotch Pudding: Forget store-bought mixes! We’re going old-school with a homemade butterscotch pudding, cooked lovingly on the stovetop. This method ensures an incredibly creamy, smooth, and deeply flavorful pudding, reminiscent of your favorite classic diner desserts. Made with rich dark brown sugar and a touch of salt, it delivers that signature caramelized, buttery sweetness that is the heart of any true butterscotch treat. It’s the star of the show, providing a comforting and nostalgic taste.
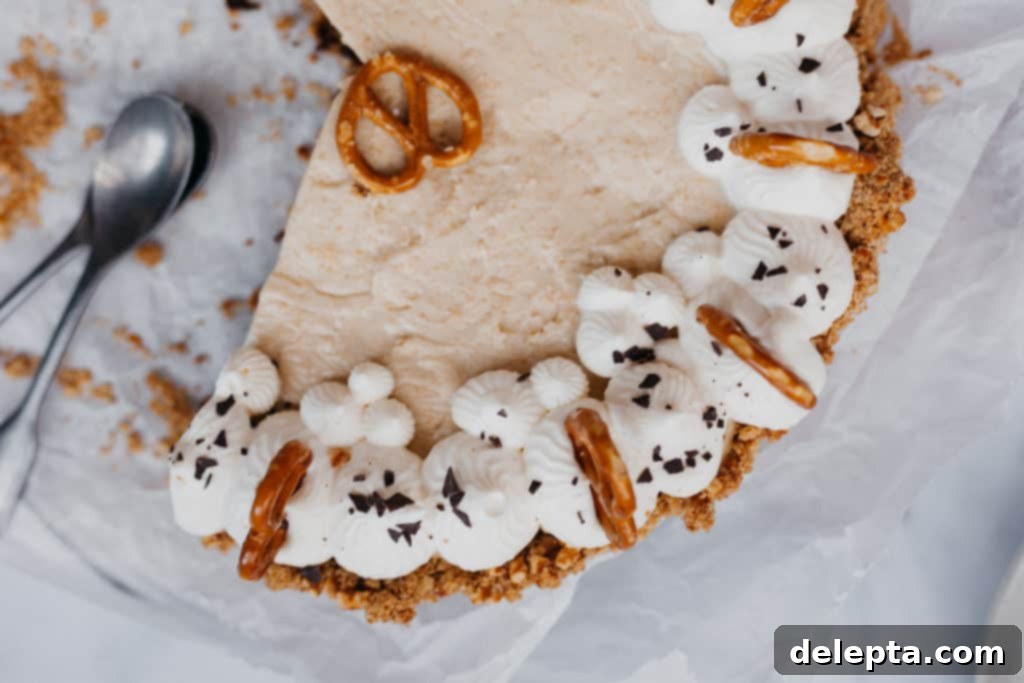
- The Fluffy Homemade Whipped Cream Topping: No grand pie is truly complete without a generous dollop of light, airy, and utterly delicious whipped cream. Far superior to anything from a can, our homemade version adds a delicate sweetness and a dreamy texture that balances the richness of the pudding and ganache. It’s the perfect finishing touch, adding a cloud-like contrast and making each slice feel even more special and celebratory.
Mastering the Art of Blind Baking a Pie Crust for No-Bake Fillings
When I first ventured into the wonderful world of pie making, the terms “blind baking” and “parbaking” seemed incredibly intimidating and confusing. However, once demystified, it’s a straightforward and essential technique for many pie recipes, especially those with unbaked or lightly baked fillings like our butterscotch pudding. Essentially, blind baking simply means pre-baking (or partially baking) your pie crust before you add the filling.
This technique is vital for pie fillings that don’t require significant oven time themselves. If you were to pour an unbaked filling into an unbaked crust and put it in the oven, you’d likely end up with a soggy bottom – a common pitfall for many novice bakers! By blind baking, we create a barrier, a crisp and stable foundation that prevents the crust from absorbing moisture from the filling. This ensures that every bite, from the top whipped cream to the very bottom of the crust, maintains its intended texture. For our butterscotch pudding pie, which has a completely no-bake filling, blind baking the pretzel crust is non-negotiable for achieving that satisfying crunch.
Crumb Crusts vs. Traditional Dough: To Dock or Not to Dock?
One common question that arises with blind baking is whether to “dock” the crust or weigh it down with pie weights. Docking involves pricking the bottom and sides of the pie dough with a fork, while pie weights (or dried beans/rice) are used to prevent the dough from puffing up during baking. These methods are crucial for traditional, flour-based pie doughs, like those used in a classic bourbon apple pie, which contain gluten and moisture that can cause them to shrink or bubble when heated.
However, here’s some good news for simplicity: this butterscotch pie recipe uses a delightful pretzel crumb crust, a mixture of crushed pretzels, butter, and sugar. Unlike traditional pastry dough, a crumb crust doesn’t contain gluten and typically has a stable structure once pressed into the pie plate. This means we don’t have the same issues with puffing or shrinking! You can skip the docking and pie weights entirely, making the blind baking process for this specific crust much simpler and less fuss. The melted butter binds the crumbs together firmly, creating a stable base that bakes beautifully on its own.
A Step-by-Step Guide: Blind Baking Your Perfect Pretzel Crust
Creating this perfectly crisp and flavorful pretzel crust is surprisingly easy and requires minimal effort. Here’s how to do it right:
- Preparation is Key: First, ensure your oven is preheated to 350°F (175°C). This consistent temperature is vital for an even bake.
- Crushing the Pretzels: In a food processor, pulse your store-bought pretzels until they form fine, even crumbs. You want them to be consistently fine, similar to graham cracker crumbs, without any large chunks. If you don’t have a food processor, place them in a sturdy zip-top bag and crush them with a rolling pin or the bottom of a heavy pan.
- Combining the Ingredients: Transfer the pretzel crumbs to a mixing bowl. Add the granulated sugar and kosher salt, then stir thoroughly to ensure all dry ingredients are well distributed. Next, pour in the melted unsalted butter. Mix everything together until the crumbs are evenly moistened. The mixture should resemble wet sand and easily hold together when squeezed. If it feels too dry, add a tiny bit more melted butter, a tablespoon at a time, until it reaches the right consistency.
- Pressing into the Pie Plate: This step is crucial for a sturdy crust. Take your pretzel mixture and press it firmly and evenly into the bottom and up the sides of an ungreased 9-inch deep dish pie plate. It’s important not to grease the pie plate as the butter in the crust prevents sticking. I find that the flat bottom of a metal measuring cup works wonderfully for pressing the crumbs down firmly and creating a smooth, even surface on the bottom and sides. Ensure there are no gaps or thin spots.
- Baking for Perfection: Place your prepared crust in the preheated oven and bake for 15-17 minutes. Keep an eye on it; you’ll know it’s ready when your kitchen is filled with a wonderfully toasted aroma, and the crust has turned a beautiful golden brown color. This short bake time is sufficient to set the crust and give it that desirable crunch.
- Cooling Down: Once baked, remove the crust from the oven and let it cool completely on a wire rack before adding any fillings. This cooling step is critical. Pouring warm ganache or pudding into a hot crust can cause issues with setting and texture. Patience here will be rewarded!
Essential FAQs and Expert Tips for Your Butterscotch Pudding Pie
Absolutely! While the salted pretzel crust offers a unique sweet and salty dynamic that’s truly special, you can certainly experiment with other crumb bases. Any type of cookie or cracker crumb will work beautifully here. Consider using graham cracker crumbs for a classic touch, digestive biscuits for a slightly nutty flavor, or even vanilla wafers. For a richer, more decadent crust, you could try crushed shortbread cookies. Just remember that the flavor profile will shift, so adjust the added sugar and salt in the crust mixture to your preference. If using a very sweet cookie, you might reduce the sugar slightly. If using something plain, a pinch more salt could enhance the flavor.
Achieving a supremely creamy, lump-free butterscotch pudding is easier than you think, with just two key secrets. First, the technique of tempering the egg yolks is paramount. This prevents the eggs from scrambling when they hit the hot milk mixture. To do this, gradually whisk a small amount of the hot milk mixture into your egg yolks in a separate bowl before adding the egg mixture back into the main pot. This slowly raises the temperature of the eggs, allowing them to thicken the pudding without coagulating into lumps. Whisk continuously and thoroughly during this process. Second, once the pudding has thickened on the stove and is removed from the heat, always strain it through a fine-mesh sieve. This step acts as an insurance policy, catching any minuscule lumps of egg or cornstarch that might have formed, ensuring your pudding is unbelievably smooth and velvety.
Yes, this pie is an excellent make-ahead dessert, which makes it perfect for dinner parties or holidays! You can assemble the entire pie (crust, ganache, and pudding layers) up to 24 hours in advance. Simply cover it loosely with plastic wrap once the pudding layer has set, making sure the plastic wrap doesn’t touch the pudding directly to avoid condensation. However, a crucial tip is to wait to add the whipped cream topping until just before serving. Whipped cream can lose its lightness and become watery if applied too far in advance. Preparing the whipped cream fresh will ensure it’s at its peak fluffiness and texture, providing the perfect crowning glory for your pie.
Due to its dairy-based pudding and ganache layers, this butterscotch pudding pie must be stored in the refrigerator. Once assembled and chilled, cover the pie loosely with plastic wrap or foil. It will stay fresh and delicious for up to 3-4 days when stored properly in the fridge. For best results and optimal texture, it’s always best enjoyed within the first two days after making it. If you have leftover slices, you can store them in individual airtight containers to maintain freshness and prevent them from drying out or absorbing refrigerator odors.
For the best chocolate ganache, opt for high-quality dark chocolate with a cacao percentage between 60-75%. A higher quality chocolate will yield a smoother, richer, and more flavorful ganache. Avoid chocolate chips if possible, as they often contain stabilizers that can prevent the ganache from becoming as silky smooth as you’d like. Instead, choose a good quality bar of dark chocolate and chop it finely. This helps it melt evenly and creates a beautifully glossy ganache.
Dark brown sugar is absolutely essential for authentic butterscotch flavor. It contains a higher molasses content than light brown sugar, which contributes significantly to the deep, complex, and caramelized notes characteristic of traditional butterscotch. This molasses also adds a richer color and a slight chewiness to the pudding’s texture. While you *could* technically substitute light brown sugar, the resulting pudding will have a milder, less pronounced butterscotch flavor and a lighter color. For that truly decadent, classic butterscotch experience, stick with dark brown sugar.
Save this recipe for later! This is one you’ll want to revisit time and time again.
Have you tried this incredible recipe? Don’t forget to tag me @alpineella on Instagram and leave a comment below to share your experience! I love seeing your beautiful creations and hearing your feedback.
Recipe Card: Butterscotch Pudding Pie with Salted Pretzel Crust
Butterscotch Pudding Pie with Salted Pretzel Crust
Ella Gilbert
Pin Recipe
Save RecipeSaved!
Equipment
-
9 inch deep dish pie plate
Ingredients
Pretzel Crumb Crust
- 230 grams pretzel crumbs 2 ⅔ cups
- 30 grams sugar
- 1 teaspoon kosher salt
- 128 grams unsalted butter, melted 8 tbsp
Chocolate Ganache
- 226 grams dark chocolate, chopped 8 ounces
- 156 grams heavy cream ⅔ cup
Butterscotch Pudding
- 2 egg yolks
- 340 grams whole milk 1 ½ cups
- 120 grams heavy cream ½ cup
- 106 grams dark brown sugar ½ cup
- 1 teaspoon kosher salt
- 28 grams cornstarch ¼ cup
- 14 grams unsalted butter 1 tbsp
- 2 teaspoon vanilla extract
Whipped Cream
- 235 grams heavy cream 1 cup
- 50 grams sugar ¼ cup
- 1 teaspoon vanilla extract
Instructions
Pretzel Crust
-
Preheat your oven to 350°F (175°C).
-
In a food processor, pulse the pretzels until they transform into fine crumbs. Combine these pretzel crumbs with the sugar and salt in a mixing bowl. Then, pour in the melted butter and stir thoroughly until all ingredients are well combined and the mixture forms pea-sized clumps that hold together when pressed. If the mixture still feels too dry, add a tiny bit more melted butter, about half a tablespoon at a time, and mix until the desired consistency is achieved.
-
Firmly press the prepared crumb mixture into the bottom and up the sides of an ungreased 9-inch deep dish pie plate. Using the bottom of a flat measuring cup or a clean hand can help you achieve an even and compact crust. Remember, do not grease your pie plate as the butter in the crust prevents sticking.
-
Blind bake the pie crust for 15 minutes. It should emerge from the oven smelling wonderfully toasty and appear golden brown. Once baked, allow the crust to cool completely on a wire rack before proceeding to the next steps. This cooling period is crucial for setting the crust and preventing any adverse reactions with the subsequent layers.
Chocolate Ganache
-
Place your finely chopped dark chocolate in a heat-safe bowl. In a small saucepan, gently bring the heavy cream to a rolling boil over medium heat. As soon as it begins to boil, remove it from the heat and immediately pour the hot cream over the chopped chocolate. Let it sit undisturbed for 5 minutes; this allows the chocolate to soften and melt evenly. After 5 minutes, gently stir the mixture with a heatproof spatula (avoid using a whisk, which can incorporate too much air and cause the ganache to seize) until the ganache is completely smooth, glossy, and uniform.
-
Carefully pour the warm, smooth ganache into your completely cooled pretzel pie crust. Use an offset spatula or the back of a spoon to spread it evenly across the bottom of the crust. Allow the ganache layer to set for at least 20 minutes at room temperature, or in the refrigerator for 10-15 minutes, until it’s firm to the touch.
Butterscotch Pudding
-
In a medium-sized heavy-bottomed pot, combine the whole milk and heavy cream. Heat this mixture over medium heat until it comes to a gentle simmer, with small bubbles forming around the edges. Meanwhile, separate your egg yolks and place them in a small jug or bowl.
-
In a separate heatproof bowl, thoroughly whisk together the dark brown sugar, cornstarch, and kosher salt. Ensure there are no lumps in the cornstarch.
-
Once the milk mixture is simmering, carefully whisk the egg yolks into the brown sugar mixture until well combined and smooth. Now, to temper the eggs and prevent scrambling, slowly pour a small splash (about ¼ cup) of the hot milk mixture into the egg mixture while continuously whisking vigorously. Repeat this tempering process two more times, gradually adding more hot milk. This slowly raises the temperature of the eggs. Scrape the tempered egg-and-sugar mixture back into the saucepan with the remaining hot milk. Cook over low heat, stirring constantly with a whisk or heatproof spatula, for about 3-4 minutes, until the pudding becomes very thick and coats the back of a spoon. Do not let it boil vigorously. Remove the pot from the heat and stir in the vanilla extract and the unsalted butter until the butter is completely melted and the pudding is smooth and lustrous.
-
For an ultra-smooth pudding, immediately strain the cooked butterscotch pudding through a fine-mesh sieve into a clean bowl. This step will catch any tiny lumps that may have formed. To prevent a “skin” from forming on top, cover the surface of the pudding directly with plastic wrap, pressing it down gently so it touches the entire surface.
-
Once the pudding has cooled slightly, remove the plastic wrap and pour it directly onto your cooled pie crust with the set chocolate ganache layer. Use an offset spatula to spread the pudding evenly. Refrigerate the pie for a minimum of 2 hours, or until the butterscotch pudding is completely set and thoroughly chilled. This chilling time is essential for the pie to firm up properly and for the flavors to meld beautifully.
Whipped Cream
-
In the bowl of a stand mixer fitted with the whisk attachment (or using a hand mixer), pour the cold heavy cream. Whip the cream on medium speed for about 2 minutes, or until it starts to thicken and soft peaks form. With the mixer still running on medium-low speed, slowly stream in the granulated sugar until it is fully incorporated. Add the vanilla extract and whip until you reach stiff peaks. Be careful not to overmix, or it will turn to butter. Use this homemade whipped cream immediately to top your chilled butterscotch pudding pie just before serving for the freshest, fluffiest texture.
More Incredible Pie Recipes to Satisfy Your Cravings
If you’ve fallen in love with the art of pie making, or if this butterscotch pie has sparked a new passion, you’ll definitely want to explore more delightful pie creations. Here are some other fantastic recipes that promise to bring joy to your kitchen and your dessert table:
- Chocolate Peanut Butter No-Bake Pie: A dreamy, rich, and incredibly easy pie that requires no oven time. Perfect for chocolate and peanut butter enthusiasts!
- Brownie Pie with Cookie Dough Crust: Indulge in a fudgy brownie baked into a delicious cookie dough crust. It’s a double-threat dessert that’s utterly irresistible.
- Wild Blueberry Pie with Cream Cheese Pie Dough: A classic fruit pie elevated with the unique tang and tenderness of a cream cheese-infused crust. Bursting with juicy wild blueberries!
