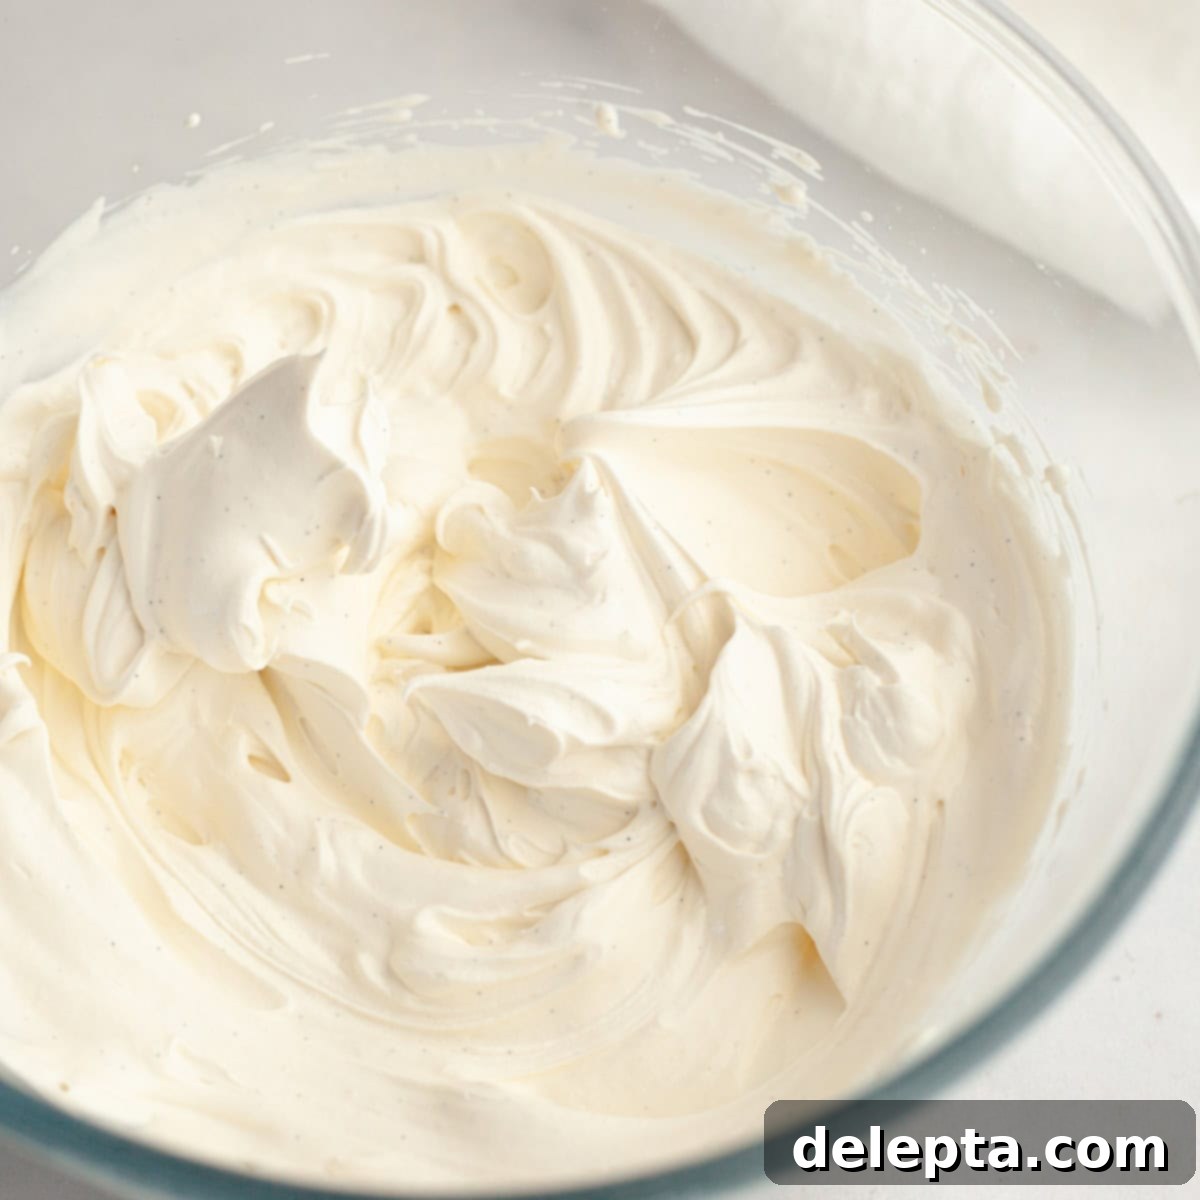
Indulge in Homemade Vanilla Bean Whipped Cream: The Ultimate 3-Ingredient Dessert Topping
Prepare to elevate every dessert, breakfast, and snack with this exquisite homemade vanilla bean whipped cream! Crafted with just three simple ingredients, this recipe guarantees an intense vanilla flavor, beautiful vanilla bean flecks, and a light, airy texture that store-bought versions simply can’t match. It’s incredibly versatile, serving as the perfect companion for everything from decadent pies and rich cheesecakes to warm fruit crisps, fluffy pancakes, and crisp waffles. Once you try this easy, from-scratch recipe, you’ll never look back!
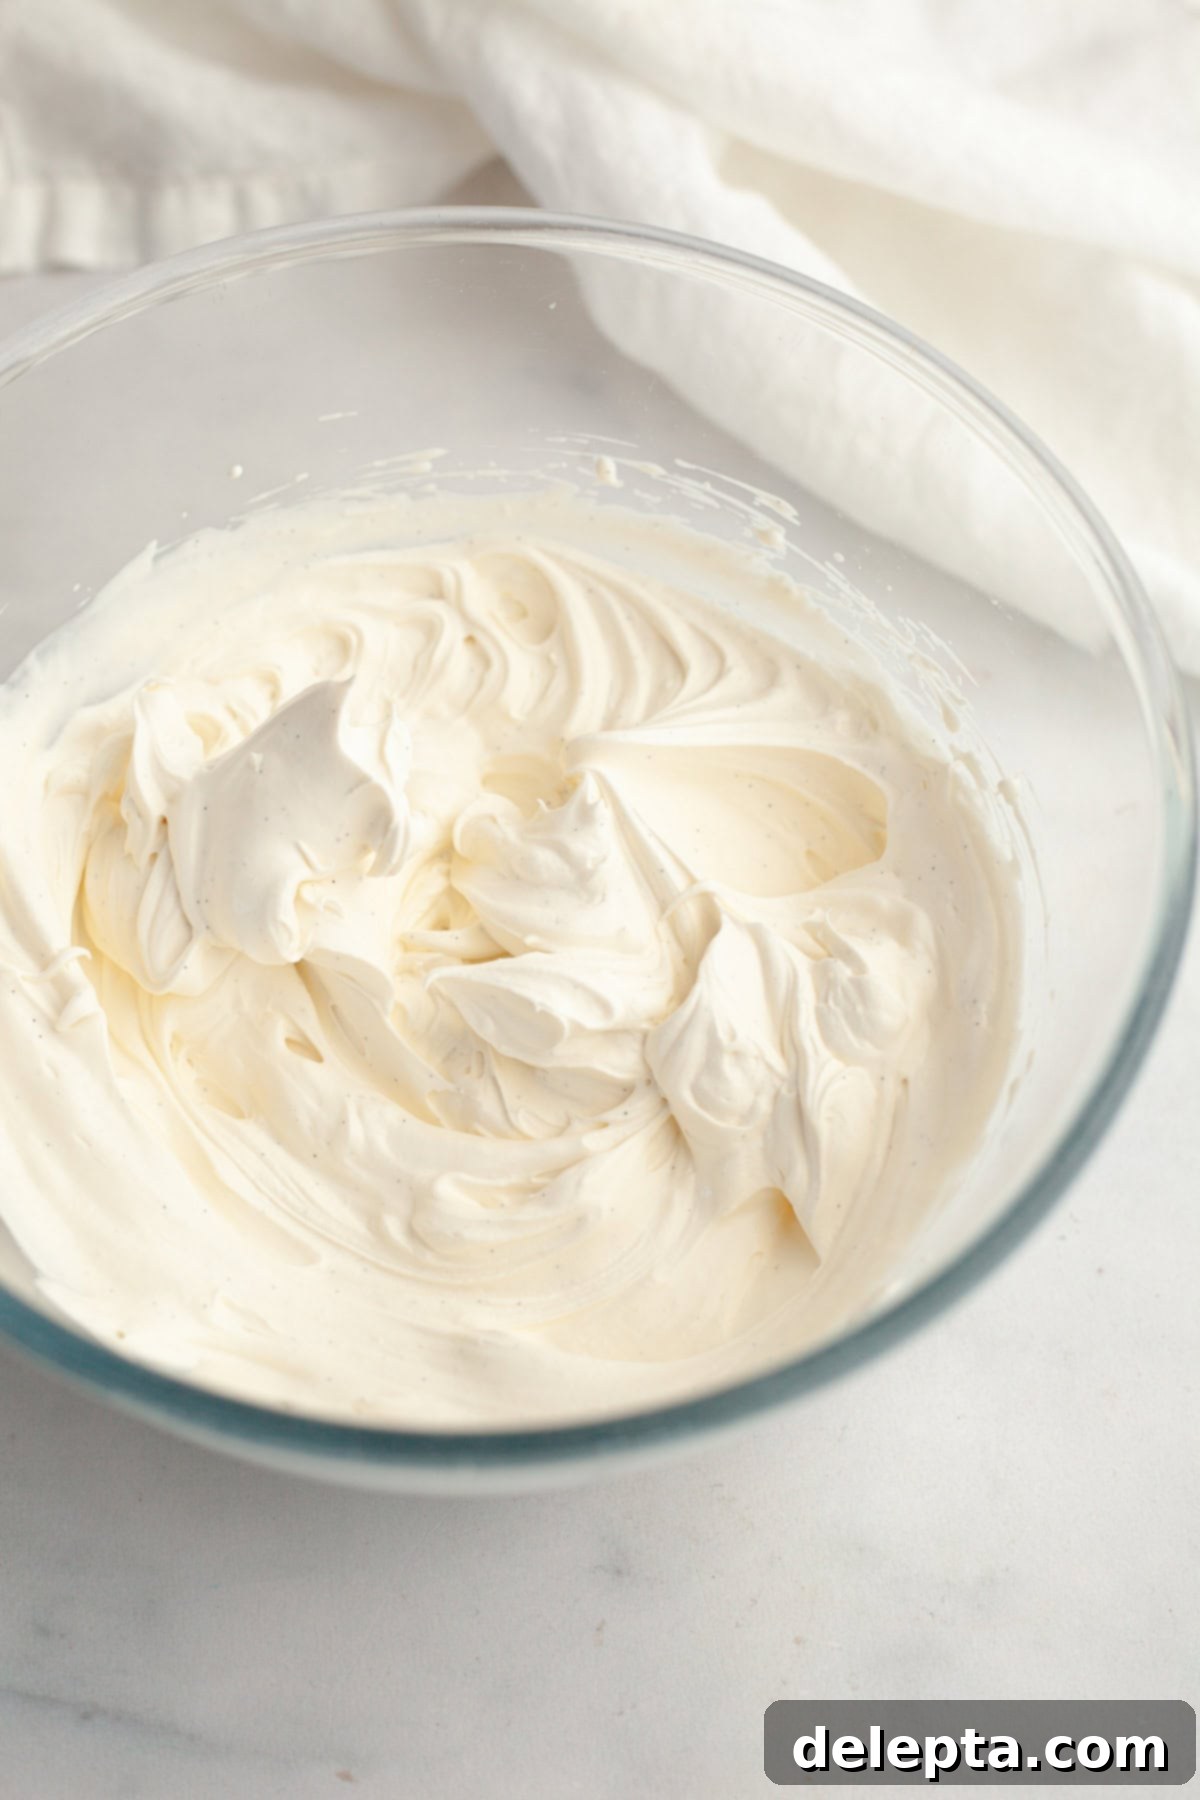
There’s a world of difference between homemade whipped cream and the canned stuff you find in grocery stores. I can confidently promise you that this vanilla bean whipped cream is a thousand times better – in flavor, texture, and freshness! What’s even better is how incredibly easy it is to make. You’ll only need three basic ingredients and a few minutes of your time to whip up a batch that will impress everyone.
As someone who regularly enjoys and makes dairy-based treats, homemade whipped cream is a staple in my kitchen. However, I often realize that many people haven’t had the pleasure of making it from scratch before. It might seem daunting, but it’s genuinely one of the simplest culinary delights to prepare, offering immense satisfaction and superior results.
You truly only need a few basic kitchen tools: a mixing bowl and either a handheld mixer or a stand mixer with a whisk attachment. That’s it! My journey with this particular vanilla whipped cream began as a topping for my delightful mini strawberry snack cake and my creamy no-bake vanilla bean cheesecake. Since then, it has become an indispensable recipe that I always keep in my back pocket for any occasion.
While this recipe focuses on a lighter, airy whipped cream, sometimes you might need a more robust frosting for piping or structural integrity. If you’re looking for a thicker, more stable option, consider trying my butter-free cream cheese frosting recipe or my rich mascarpone whipped cream frosting. Both offer excellent stability for more elaborate dessert decorations.
Unlock Rich Flavor: Your 3 Key Ingredients for Vanilla Bean Whipped Cream
Creating sensational vanilla bean whipped cream starts with selecting the right ingredients. The beauty of this recipe lies in its simplicity; with just three core components, quality truly shines through. Let’s dive into what makes each ingredient essential for achieving that perfect, dreamy consistency and robust vanilla flavor.
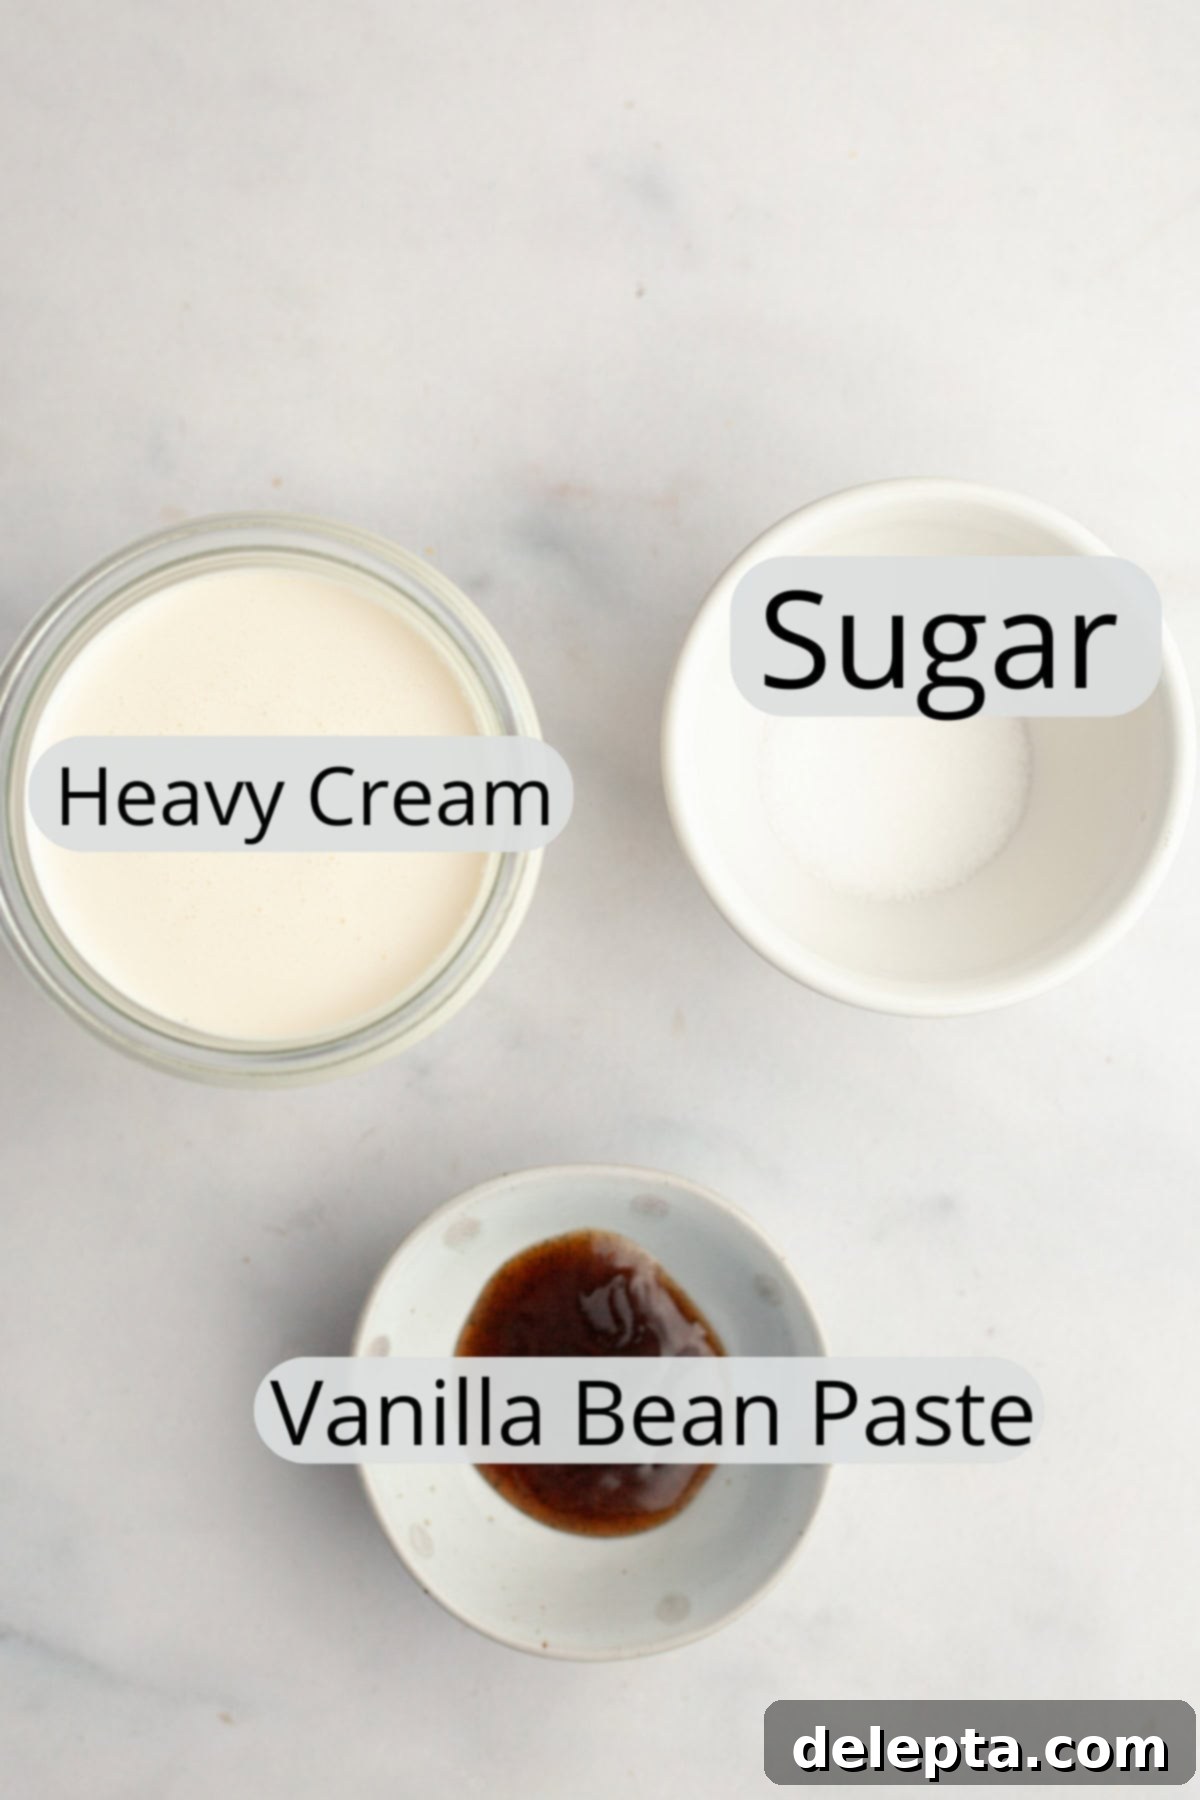
- Sugar: For this recipe, I typically reach for granulated sugar. It dissolves beautifully into the cream, providing a subtle sweetness without altering the texture. However, if you prefer or only have powdered sugar (also known as confectioners’ sugar) on hand, feel free to use an equal amount. Some bakers find powdered sugar helps with a slightly smoother consistency, but both work wonderfully. The key is to add just enough to complement the vanilla without overpowering it.
- COLD Heavy Cream: This is arguably the most critical ingredient. The temperature of your heavy cream is paramount! It absolutely *must* be cold, straight from the refrigerator. Why? Cold cream emulsifies and thickens much more efficiently, trapping air to create that desired fluffy volume. Using heavy cream (or heavy whipping cream) with a fat content of 36% or higher is ideal. The higher fat content contributes significantly to a more stable and luxurious whipped cream that holds its shape longer. Avoid using regular whipping cream, as it often has a lower fat percentage and won’t yield the same rich, stable results.
- Vanilla Bean Paste: The secret weapon for intense vanilla flavor and those gorgeous speckled flecks! A little goes a long way with vanilla bean paste. Think of it as a concentrated, more potent version of vanilla extract, infused with actual vanilla bean seeds. It offers a depth of flavor that is simply unparalleled and gives your whipped cream a gourmet appearance. While pricier than extract, its impact is undeniable and worth the investment for a truly premium vanilla experience.
How to Make the Perfect Vanilla Bean Whipped Cream: A Step-by-Step Guide
Making homemade whipped cream might seem like a simple task, but a few key details ensure a consistently perfect result. Follow these steps to achieve beautifully fluffy, perfectly flavored vanilla bean whipped cream every time.
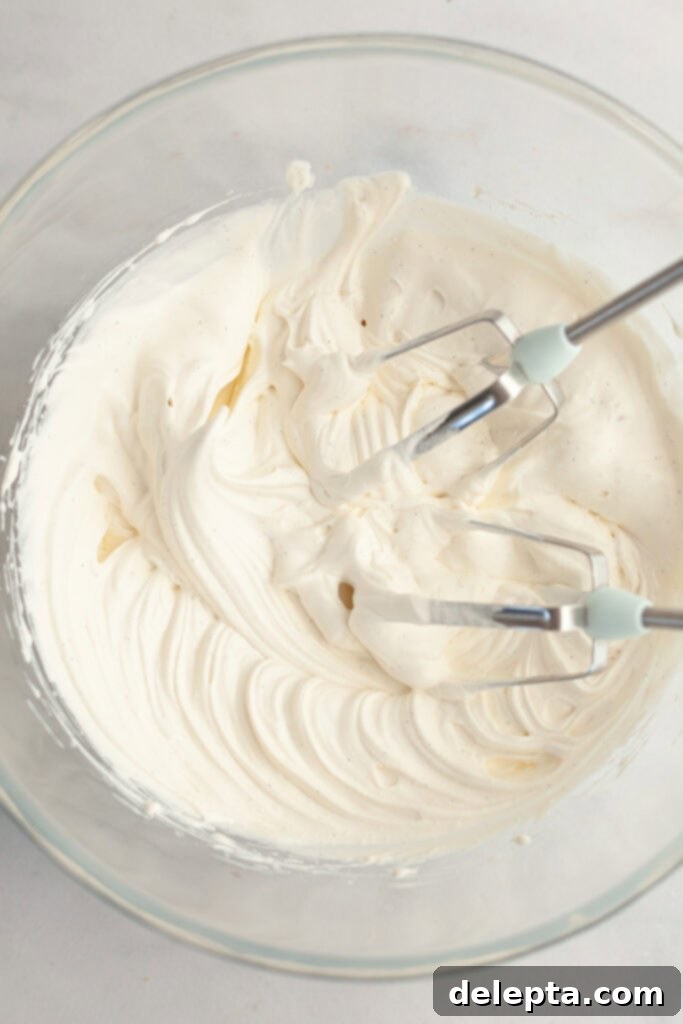
Step 1: Combine and Whip to Perfection
Begin by placing all your chilled heavy cream, sugar, and vanilla bean paste into a large mixing bowl. If your bowl and whisk attachment have been chilled beforehand (a great tip for faster whipping!), even better. Using either a handheld mixer or a stand mixer fitted with the whisk attachment, start beating the mixture on medium-low speed. Gradually increase the speed to medium-high. Continue to beat until you achieve beautiful medium peaks. What are medium peaks? They hold their shape when you lift the whisk, but the tip of the peak will gently curl over. This consistency is ideal for most toppings as it’s light and airy yet stable enough to hold its form.
A word of caution: Whipped cream can go from perfect to over-whipped in a matter of seconds. If you beat it too long, it will begin to curdle and separate, looking grainy. Don’t despair if this happens! You can often remedy it by stopping the mixer, drizzling in a tablespoon or two more of cold heavy cream, and gently folding it in with a rubber spatula until smooth again. This trick helps re-emulsify the fat and brings back that smooth, creamy texture. Keep a close eye on your cream as it whips; it changes quickly!
Vanilla Beans, Vanilla Bean Paste, or Vanilla Extract? Making the Right Choice for Your Whipped Cream 🤔
When it comes to vanilla, you have options, and each offers a slightly different experience in your whipped cream. I understand that not everyone keeps vanilla bean paste in their pantry, so let’s explore if you can substitute with whole vanilla beans or vanilla extract instead.
The good news is, yes! You can absolutely swap out vanilla bean paste for either of the other two options. The choice often comes down to personal preference, availability, and the desired aesthetic for your finished whipped cream.
- Vanilla Bean Paste: As used in this recipe, paste provides an intense, complex vanilla flavor and those signature tiny black flecks from the ground vanilla beans, which add a beautiful gourmet visual appeal. It’s a convenient middle ground between extract and whole beans.
- Vanilla Extract: This is the most common vanilla product and a perfectly acceptable substitute. Use an equal amount (1 teaspoon for 1 teaspoon of paste). The primary difference is that your whipped cream won’t have those charming little flecks of vanilla bean. The flavor will still be wonderful, but it might be slightly less intense and aromatic compared to paste or fresh beans. For everyday use, vanilla extract is a fantastic and accessible choice.
- Whole Vanilla Bean Pods: If you’re fortunate enough to have whole vanilla bean pods at home (they are often considered a luxury ingredient!), you’re in for the most authentic and aromatic vanilla experience. To use them, you’ll need to “scrape” them. Here’s how: Place a vanilla bean pod on a clean cutting board. Using the tip of a sharp paring knife, carefully slice the pod lengthwise down the middle, without cutting all the way through the back. Open the pod, then use the dull side of your knife (or a spoon) to scrape out the sticky, fragrant pulp (the “caviar”). Add this scraped vanilla bean pulp directly into your mixing bowl along with the cream and sugar. One whole vanilla bean pod typically yields about 1 teaspoon of paste or extract equivalent, sometimes more depending on its size. This method provides the freshest, most vibrant vanilla flavor and the most prominent bean flecks.
Ultimately, choose the vanilla form that suits your pantry, budget, and desired level of indulgence. No matter your choice, the result will be a delicious homemade whipped cream.
Mastering Stability: Tips for Long-Lasting Whipped Cream
One common frustration many home bakers encounter is their whipped cream losing its beautiful, fluffy volume and deflating into a sad, soupy mess, especially when serving dessert later. Nobody wants “womp, womp” whipped cream! Achieving stability is key, particularly if your whipped cream won’t be served immediately or if you plan to use it for more than just a quick dollop.
During extensive testing of various whipped cream recipes, I’ve found that for most applications, simply keeping the whipped cream in the refrigerator and only bringing it out right before serving is often enough to maintain its structure. If you have a particularly warm kitchen, a smart preventative measure is to chill your mixing bowl and whisk attachment in the fridge or freezer for 15-20 minutes before you start whipping. This extra chill helps the cream incorporate air more effectively and stabilizes it from the get-go.
However, I recognize that some people live in warmer climates where ambient temperature is a constant battle, or they intend to use whipped cream in a more structural way – perhaps as a filling between cake layers, piping on cupcakes, or creating intricate designs, rather than just a simple topping. In these scenarios, a little extra stabilization can make all the difference.
Here are some reliable methods for creating a more stable whipped cream:
- Skimmed Milk Powder: A fantastic and subtle stabilizer. For every cup of heavy cream, add about 1 tablespoon of skimmed milk powder (dry milk powder). Whisk it in with the sugar and vanilla at the start. The milk solids in the powder help to absorb excess moisture and create a stronger structure, significantly increasing the whipped cream’s stability without affecting flavor. I successfully used this method with my chocolate whipped cream frosting, which needed to hold its shape beautifully.
- Cream Cheese: For a truly stable, pipeable frosting that retains its shape even in warmer conditions, incorporating cream cheese is an excellent technique. This method transforms light whipped cream into a more robust, yet still airy, frosting. If you’re looking for a genuine frosting recipe that you can confidently pipe onto cakes or cupcakes, I highly recommend using my whipped cream frosting recipe without butter. Simply swap out the vanilla extract mentioned in that recipe for vanilla bean paste to maintain the signature speckled look and deep vanilla flavor. The cream cheese provides a tangy richness and incredible stability.
- Gelatin: For the most robust stabilization, particularly in very hot environments or for elaborate dessert constructions, a small amount of bloomed gelatin can be used. Dissolve 1/2 teaspoon of unflavored gelatin in 2 tablespoons of cold water, let it bloom for 5 minutes, then gently warm it (microwave for 5-10 seconds) until liquid. Let it cool slightly, then drizzle it into the whipped cream towards the end of the whipping process, just as soft peaks are forming. This creates a very firm, long-lasting whipped cream, though it can slightly alter the texture if too much is used.
Choosing the right stabilization method depends on your specific needs, but even simple steps like keeping your ingredients and tools cold can significantly improve the longevity and structure of your vanilla bean whipped cream.
Optimal Storage for Freshness: Keeping Your Whipped Cream Perfect
While this homemade vanilla bean whipped cream is utterly delicious and best enjoyed fresh, you might find yourself with leftovers or needing to prepare it slightly in advance. Proper storage is key to maintaining its delightful texture and flavor.
I generally recommend using this vanilla bean whipped cream topping immediately after preparation for the absolute best results. Its peak fluffiness and stability are right after whipping. However, if immediate use isn’t possible, don’t worry! You can certainly store it.
To store, transfer the whipped cream into an airtight container. Press a piece of plastic wrap directly onto the surface of the whipped cream before sealing the container. This prevents a skin from forming and helps to minimize air exposure, which can cause it to deflate. Place the container in the coldest part of your refrigerator.
Stored correctly, your homemade whipped cream will stay fresh and maintain its texture for up to one day. Beyond that, it may start to lose some of its volume and become a bit denser. While still edible, it won’t have the same light, airy quality. For longer storage or specific preparations, consider using one of the stabilizing methods mentioned above, as they will extend its shelf life and structural integrity significantly.
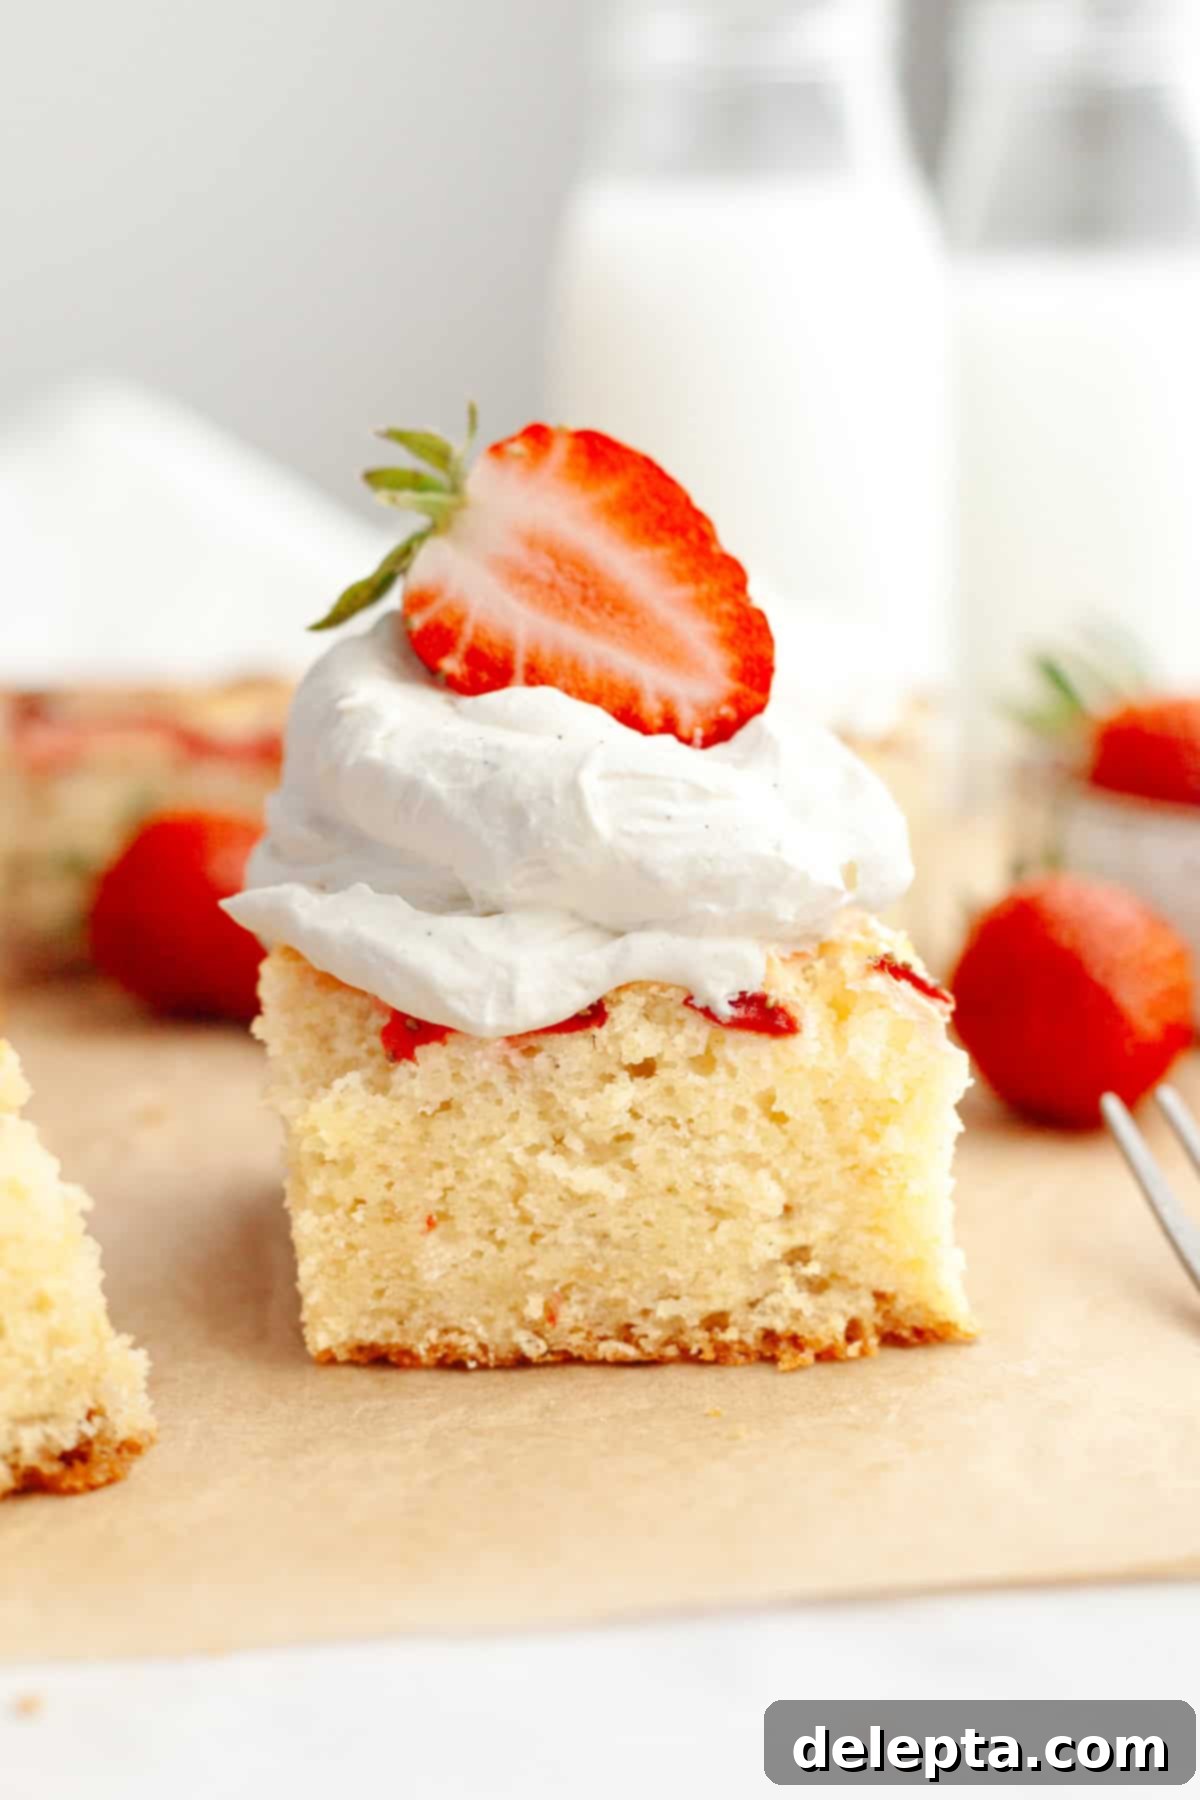
Creative Culinary Pairings: Delightful Ways to Use Vanilla Bean Whipped Cream!
The beauty of homemade vanilla bean whipped cream lies not only in its exquisite flavor but also in its incredible versatility. It’s truly a topping that can elevate almost any dish. Here are some of my favorite ways to enjoy this luscious creation:
- Pies: This whipped cream is a dream come true on virtually any pie! Imagine topping this decadent chocolate pudding pie with a graham cracker crust – pure yum. Or for holiday festivities, serve it generously on top of a slice of creamy pumpkin custard pie, a comforting pumpkin pie in a graham cracker crust, or a hearty apple oat crumble pie. Any Thanksgiving pie will be absolutely DELICIOUS with a generous dollop of this vanilla bean whipped cream!
- Breakfast & Brunch: Transform your morning meals into a gourmet experience. Use it with these simple apple waffles for a next-level brunch sensation. It’s also incredible on pancakes, French toast, or even a bowl of fresh berries and granola.
- Cakes & Cupcakes: While light for piping, it’s a perfect dollop-topping for various cakes. Pair it with a slice of sponge cake, a rich chocolate cake, or add a cloud of it to a hot chocolate mug cake for an instant upgrade.
- Fruit Desserts: This whipped cream is a natural partner for fruit-based treats. Swap out vanilla ice cream for a lighter, more refreshing vanilla bean whipped cream with a warm blueberry and apple crumble or a sweet strawberry and apple crisp! Its cool, creamy texture contrasts beautifully with warm, spiced fruit.
- Simple Pleasure: Sometimes, the simplest pairings are the best. Serve a generous scoop with a bowl of fresh, ripe strawberries for a classic, elegant “strawberries and cream” dessert. A few raspberries or blueberries can also be added for a colorful twist.
- Hot Beverages: Don’t forget to add a luxurious dollop to your hot coffee, hot cocoa, or even a chai latte for an indulgent treat. The vanilla bean flecks will make it extra special.
- Fruit Salads & Parfaits: Layer it into parfaits with granola and fresh fruit, or gently fold it into a fruit salad for a light and creamy addition.
No matter how you choose to enjoy it, this homemade vanilla bean whipped cream is sure to become a beloved staple in your culinary repertoire.
Discover More Delightful Recipes!
If you loved making this easy vanilla bean whipped cream, you’re sure to enjoy exploring more of my delightful baking and dessert recipes. Here are some hand-picked suggestions for your next kitchen adventure:
- Marshmallow Meringue Frosting
- Brown Butter Pumpkin Pie with Gingersnap Crust
- Pumpkin Spice Cupcakes with Marshmallow Frosting
- Maple Espresso Glaze Icing
If you’ve made this incredibly easy and delicious homemade vanilla bean whipped cream, I would absolutely love to hear about it! Make sure to leave a ⭐️ rating and review below to share your experience and tips with other bakers. Your feedback means the world to me and helps others discover this wonderful recipe. I also adore seeing your culinary creations, so please tag me on Instagram @alpineella so I can see what you’ve made! You can also follow along for more recipes, tips, and inspiration on Pinterest, Facebook, and TikTok!
Recipe
Homemade Vanilla Bean Whipped Cream (3 Ingredients)
Ella Gilbert
Pin Recipe
Save RecipeSaved!
Equipment
-
Handheld Mixer
-
Large Mixing Bowl
-
Optional: Stand Mixer with Whisk Attachment
Ingredients
- 1 cup heavy cream very cold, at least 36% fat content
- 1 tablespoon granulated sugar or powdered sugar
- 1 teaspoon vanilla bean paste for flecks and intense flavor; see notes for alternatives
Instructions
-
Ensure your heavy cream is very cold. For best results, you can also chill your mixing bowl and whisk attachment for 15-20 minutes in the refrigerator before starting. Place the cold heavy cream, sugar, and vanilla bean paste into the chilled mixing bowl.
-
Using either a handheld mixer or a stand mixer with the whisk attachment, begin beating the mixture on medium-low speed. Gradually increase the speed to medium-high. Continue to beat until the cream thickens and forms medium peaks. Medium peaks hold their shape when the whisk is lifted but have a slightly soft, curling tip. Be careful not to over-whip, as the cream can curdle quickly.1 cup heavy cream, 1 tablespoon sugar, 1 teaspoon vanilla bean paste
-
Serve your homemade vanilla bean whipped cream immediately for the freshest taste and best texture. If not using right away, refer to the storage notes below.
Notes
Heavy Cream Essentials: The success of your whipped cream largely depends on using the correct cream. Opt for heavy cream or heavy whipping cream with a fat content of at least 36%. Avoid using regular whipping cream, as it typically has a lower fat percentage and won’t thicken as reliably or hold its shape as well. Remember, the colder the cream, the faster and more successfully it will whip!
Vanilla Options: If you don’t have vanilla bean paste, you can substitute it with 1 teaspoon of vanilla extract. Keep in mind that vanilla extract will provide a lovely vanilla flavor but without the visible black flecks. For an even more intense and fresh flavor, you can use the scraped seeds from one whole vanilla bean pod (equivalent to about 1 teaspoon of paste/extract).
Storage: This vanilla bean whipped cream is best when enjoyed fresh. If you have leftovers or need to prepare it a few hours in advance, transfer it to an airtight container. Press a piece of plastic wrap directly onto the surface of the whipped cream before sealing the container. Store in the refrigerator for up to 1 day. Beyond this, it may start to lose some of its volume and become denser.
Stabilizing for Longer Hold: If you need your whipped cream to hold its shape for longer periods, for piping, or in warm environments, consider stabilizing it. You can add 1 tablespoon of skimmed milk powder per cup of heavy cream when you start whipping, or incorporate cream cheese as detailed in the blog post for a more robust frosting.
Nutrition
