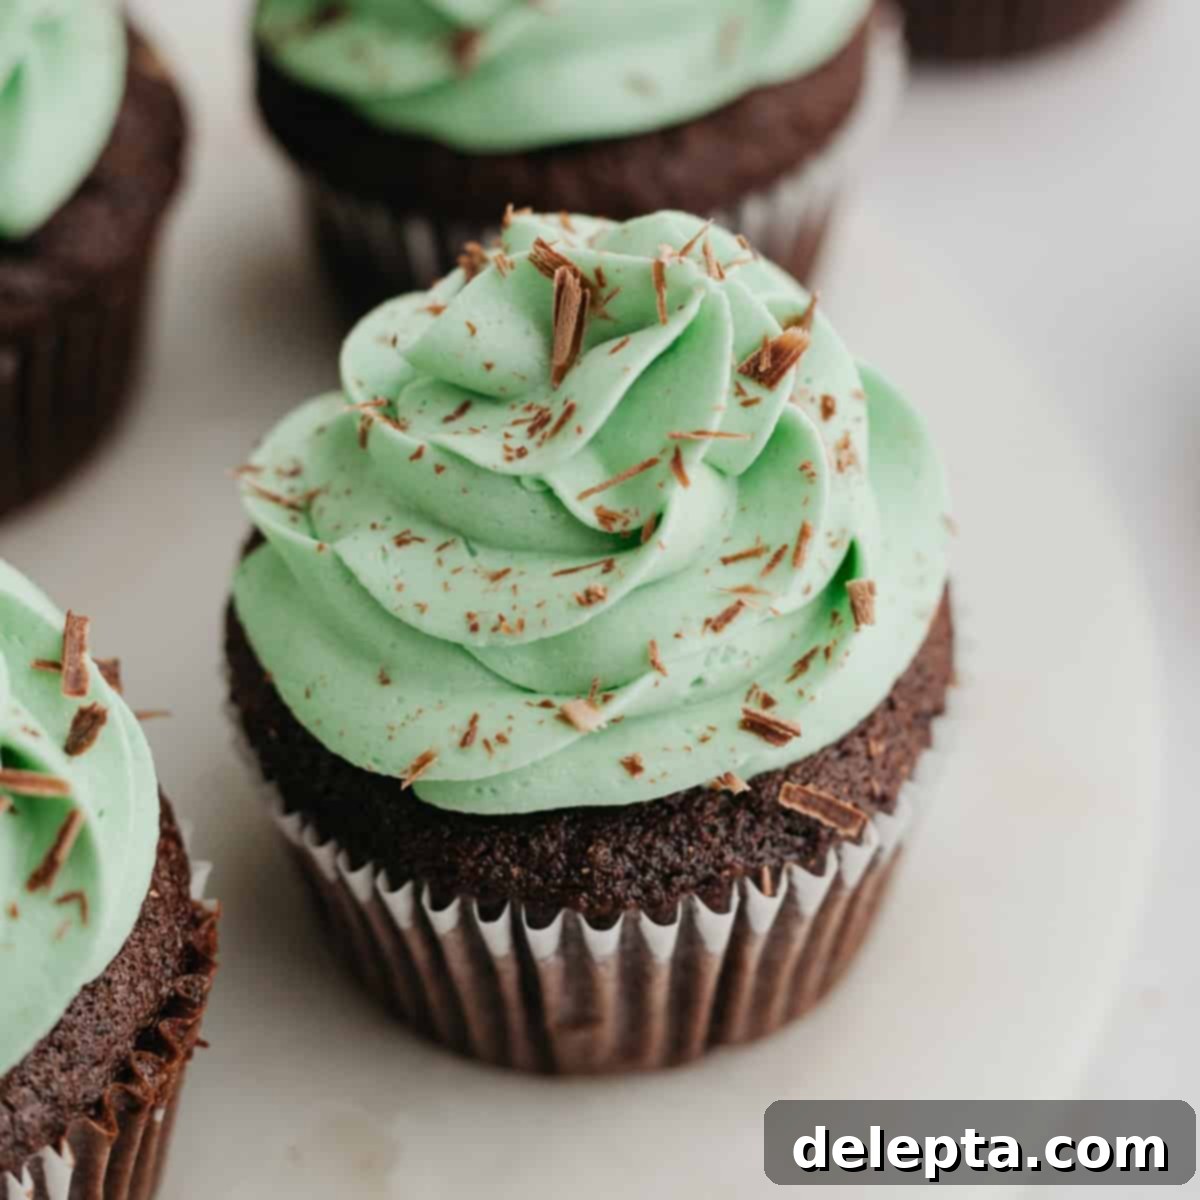
Decadent Mint Chocolate Cupcakes with Velvety Mint Buttercream
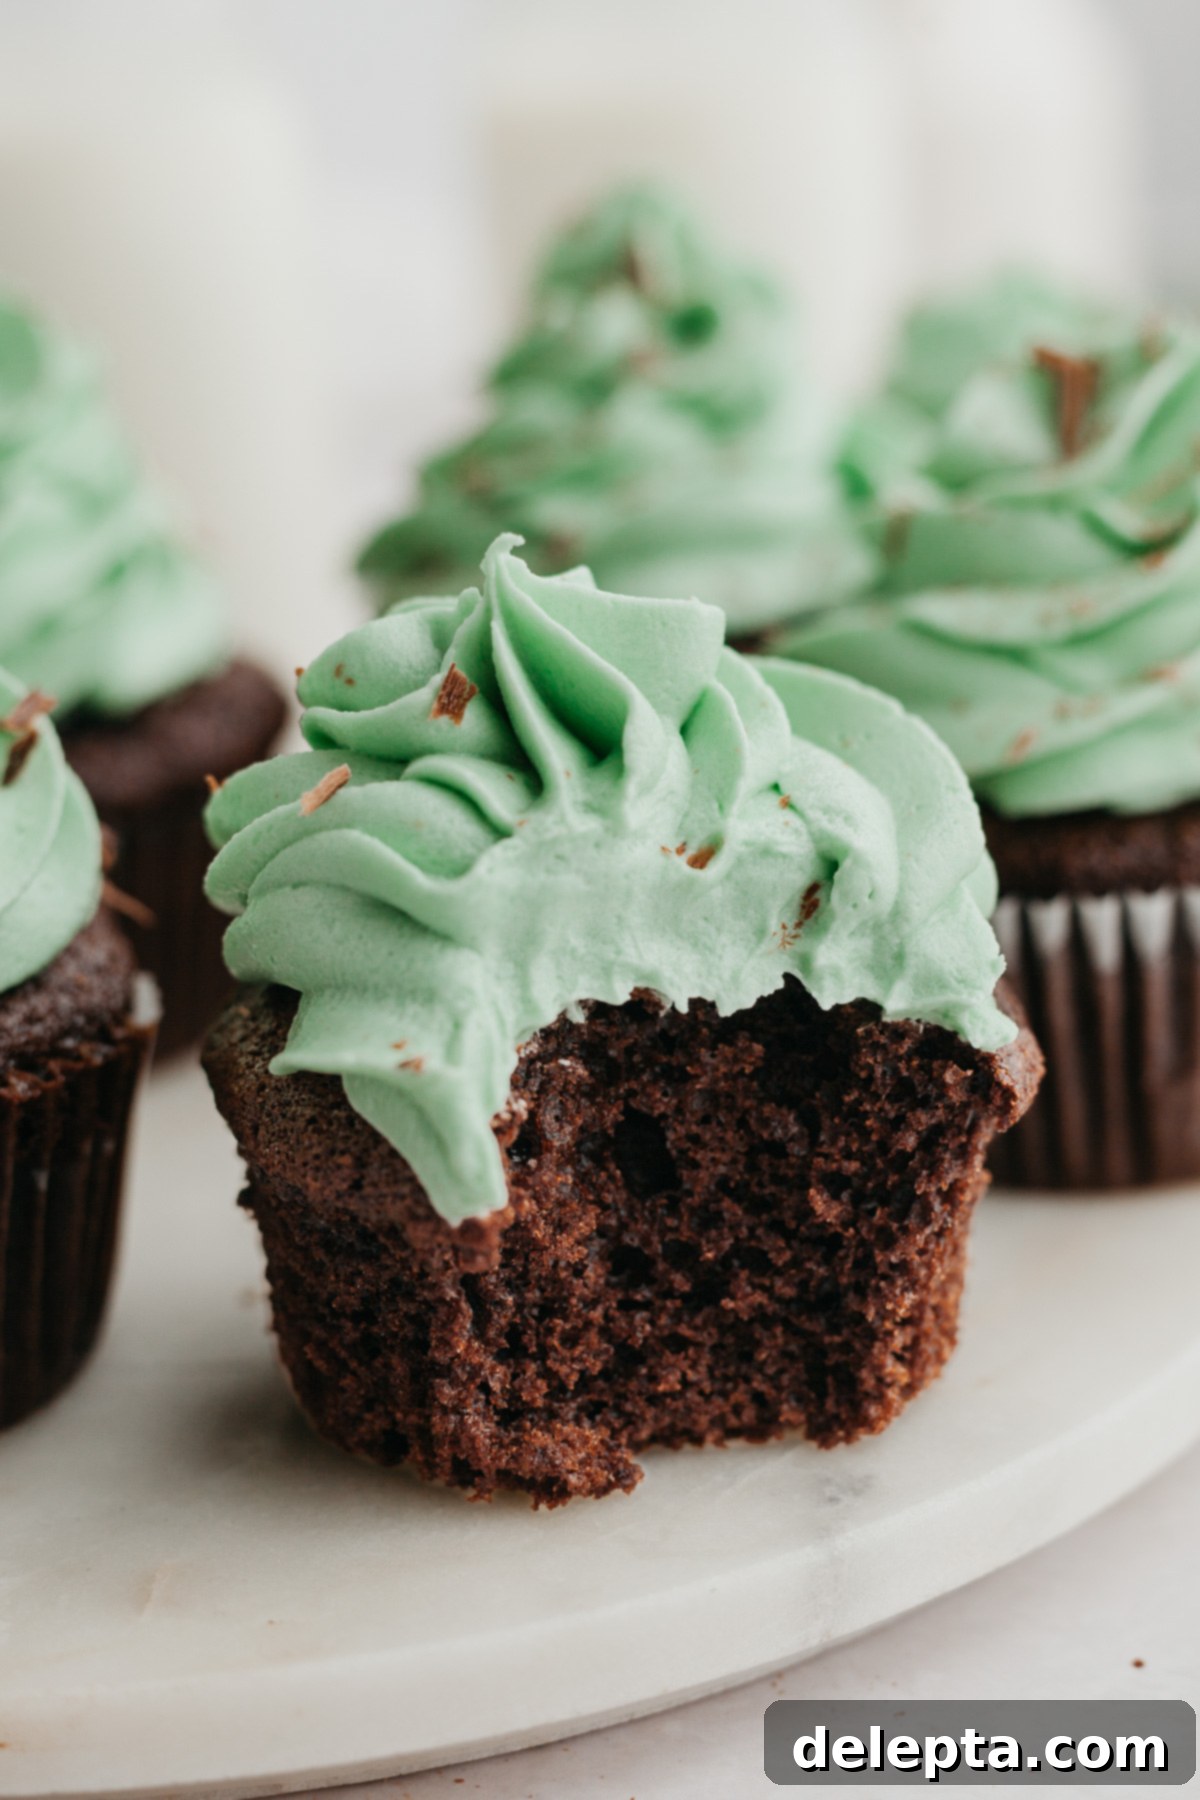
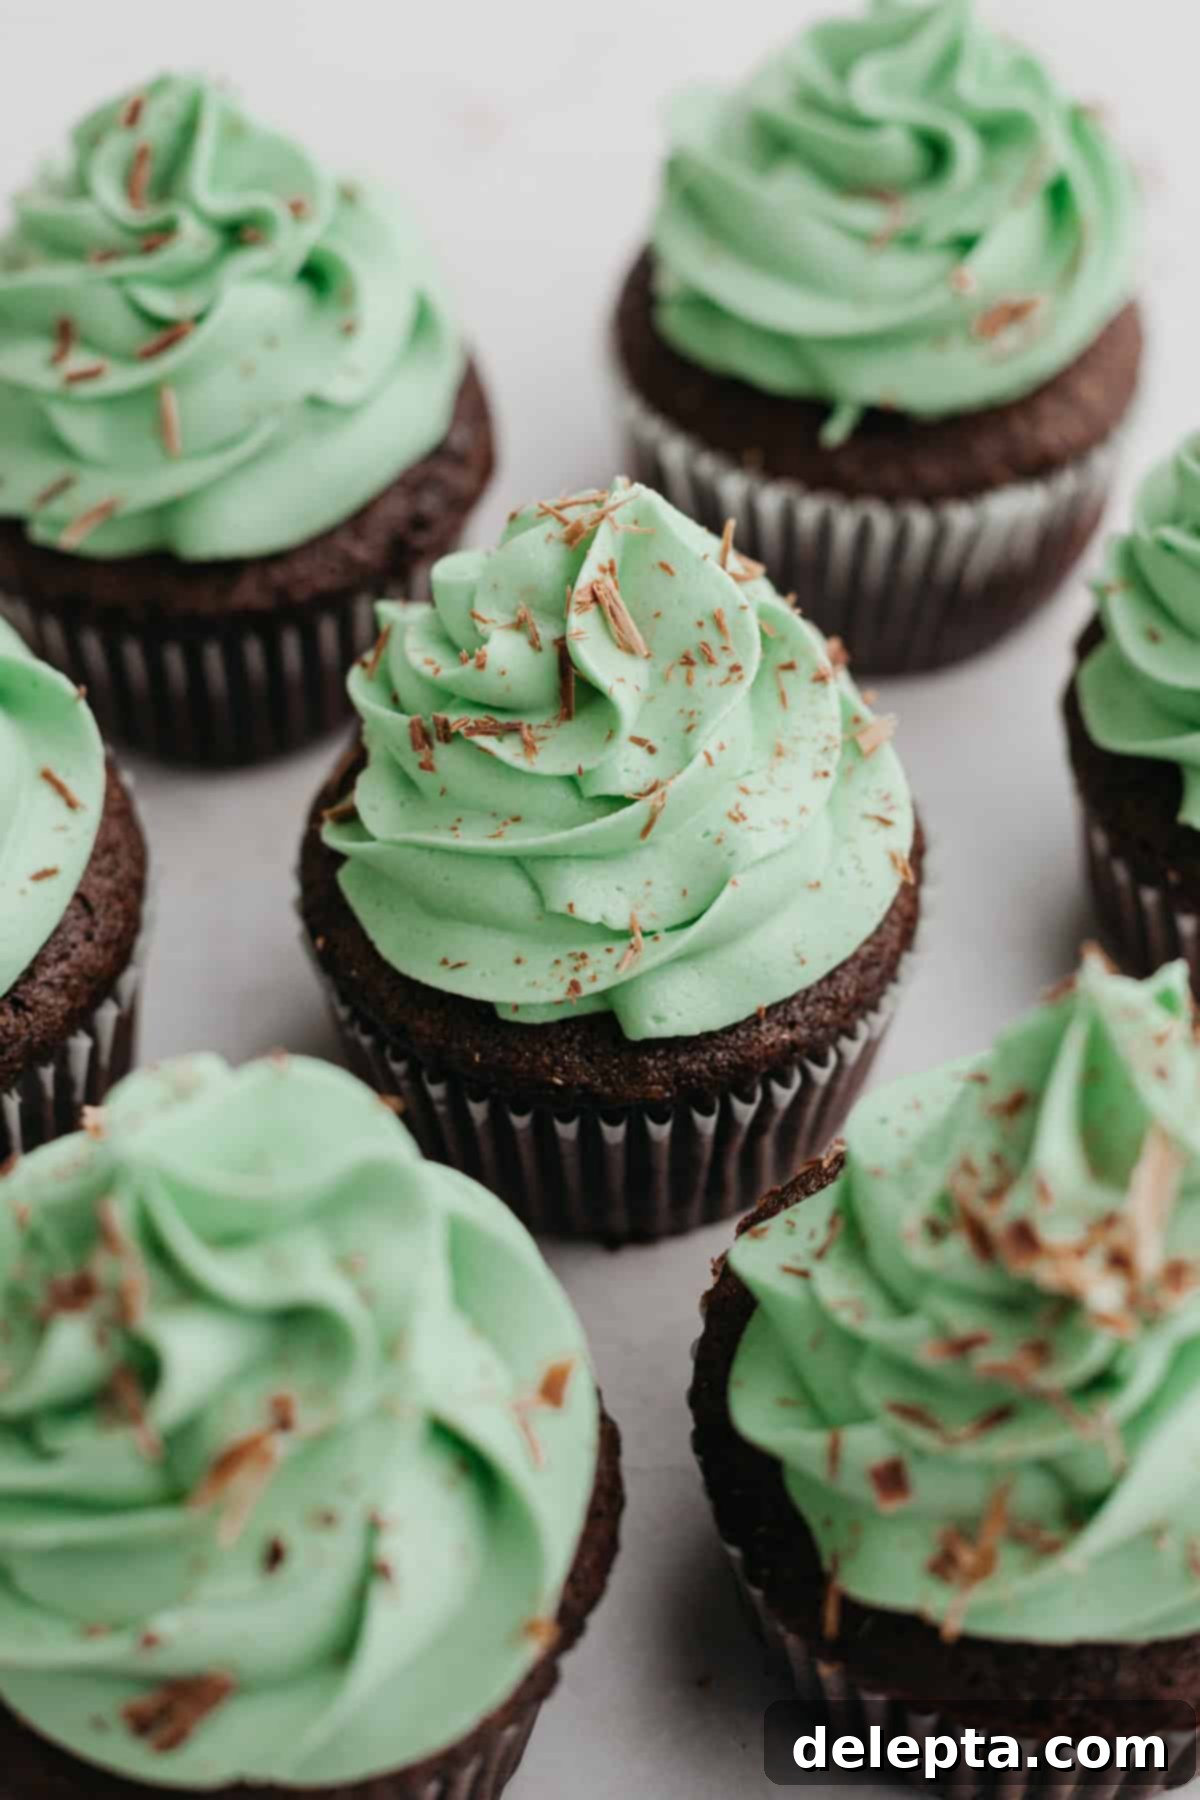
Prepare to delight your taste buds with these truly irresistible mint chocolate cupcakes! Featuring a rich, soft, and unbelievably moist chocolate cupcake base, each bite is perfectly complemented by a swirl of light, fluffy, and vibrant mint buttercream. If you’re a devoted fan of classic flavor combinations like Thin Mint cookies or the refreshing taste of Andes Mints, then this is precisely the cupcake recipe you’ve been searching for. These cupcakes aren’t just a dessert; they’re an experience, a harmonious blend of deep chocolate and cool mint that will leave you craving more.
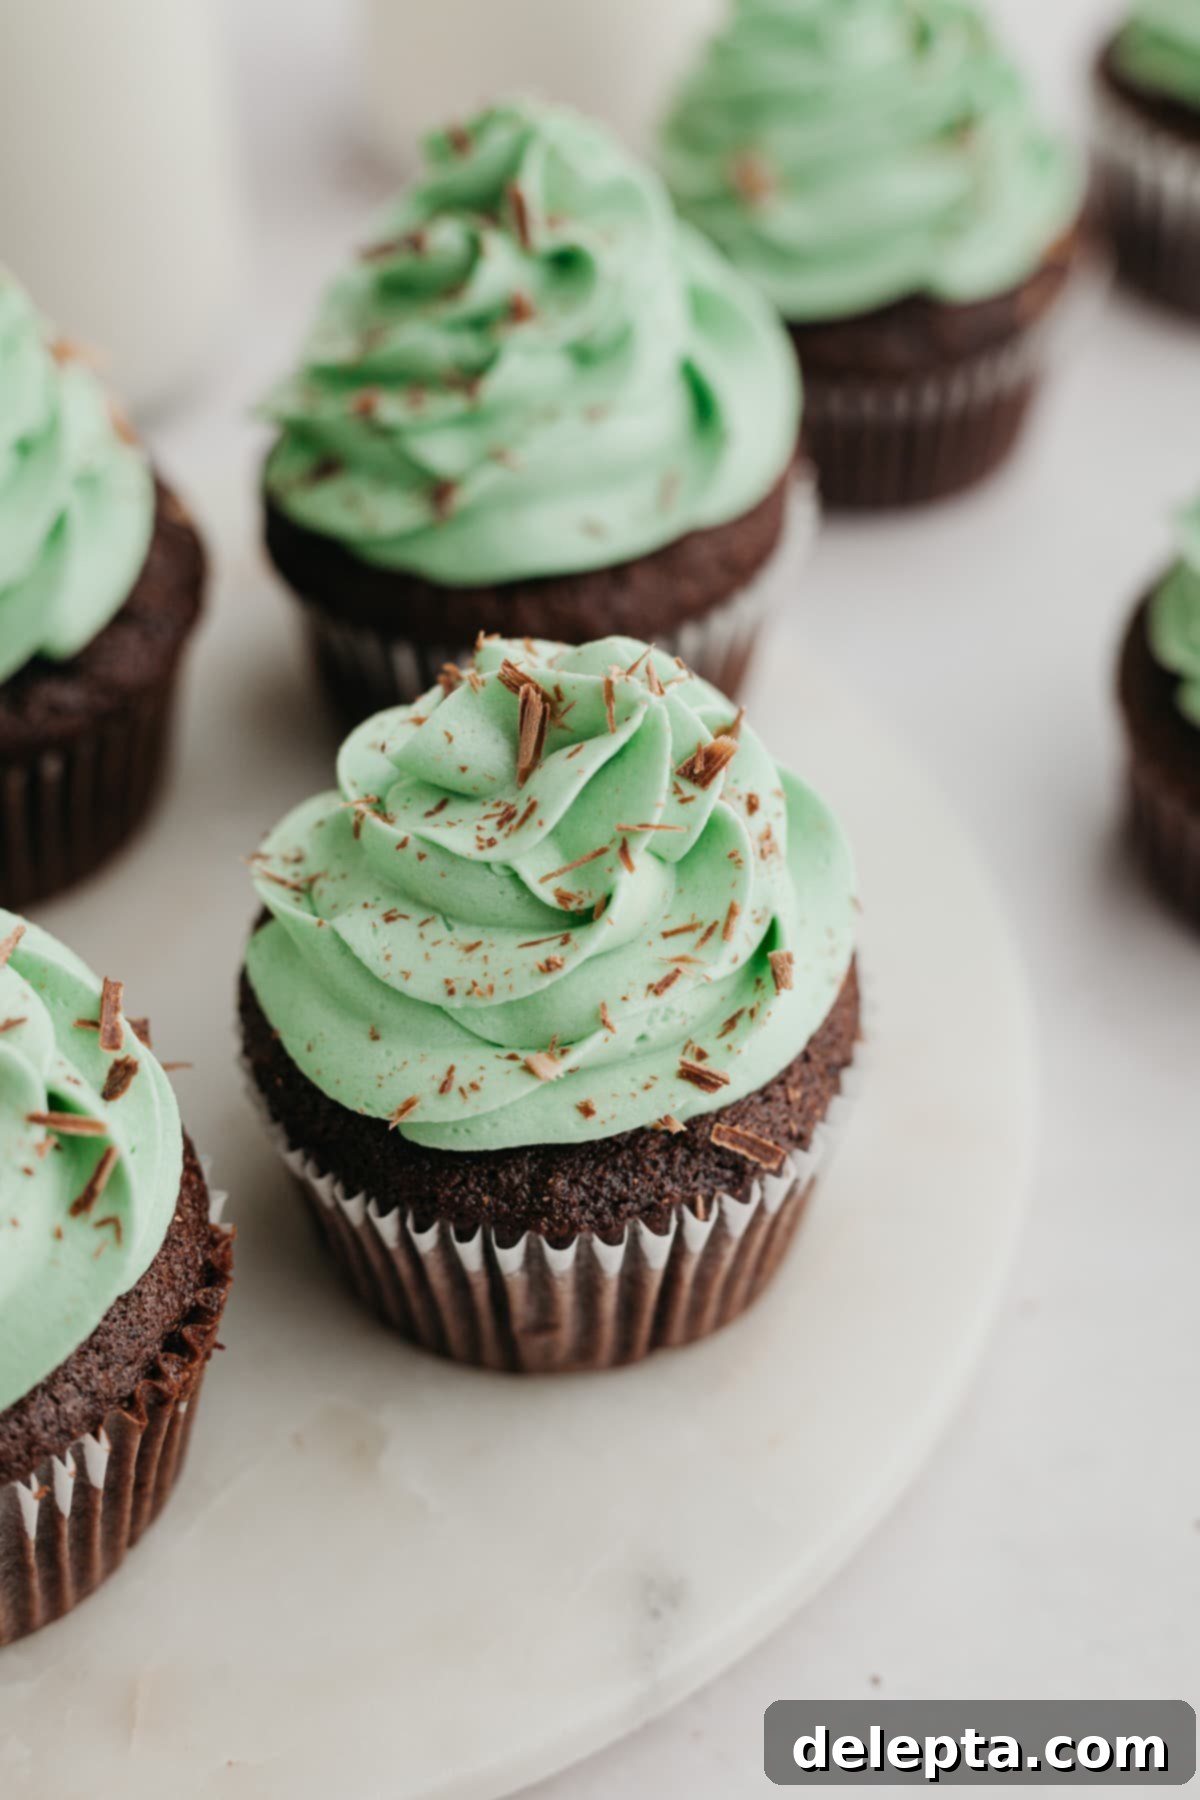
While the combination of chocolate and mint might seem unconventional to some, once you try it, you’ll understand its undeniable appeal. My journey to loving this duo began with my peppermint bark cheesecake, and ever since, I’ve been hooked on the refreshing contrast it offers. These homemade chocolate mint cupcakes are wonderfully versatile, making them an ideal treat for festive occasions like Christmas gatherings, yet they’re equally perfect and fun for celebrating holidays such as St. Patrick’s Day with their signature green frosting. Their vibrant color and enticing flavor make them a standout dessert for any event.
At the heart of this recipe are my beloved chocolate fudge cupcakes – a tried-and-true recipe known for its incredible moisture and deep chocolate flavor. Paired with a classic American buttercream, infused with just the right amount of mint extract, these cupcakes strike the perfect balance between sweetness and refreshing zest. The buttercream is smooth, easy to work with, and holds its shape beautifully for elegant piping.
For a touch of elegance and added texture, I opted for delicate chocolate shavings as a simple decoration. However, the possibilities for garnishing these beauties are endless! Imagine topping them with a glossy chocolate ganache for an extra layer of richness, a sprinkle of festive fun sprinkles for a pop of color, or a scattering of mini chocolate chips for a delightful crunch. Each topping offers a unique way to personalize these already fantastic cupcakes.
Why You’ll Absolutely Adore These Mint Chocolate Cupcakes!
These mint chocolate cupcakes are more than just a dessert; they’re a celebration of flavor and texture that’s incredibly satisfying to make and even better to eat. Here’s why this recipe will quickly become a favorite in your kitchen:
- Effortlessly Easy: Baking delicious cupcakes shouldn’t be a chore, and with this recipe, it certainly isn’t. We use straightforward techniques and common pantry staples that you likely already have on hand, making it accessible for bakers of all skill levels. From mixing the batter to whipping up the frosting, each step is designed for simplicity and success.
- Remarkably Moist and Fluffy: The secret to our incredibly tender and moist chocolate cupcakes lies in their oil-based foundation. Unlike butter-based recipes that can sometimes yield drier results, oil ensures a consistently soft, fluffy, and moist crumb that stays fresh longer. You’ll achieve perfect, melt-in-your-mouth cupcakes every single time.
- Simple and Delicious Frosting: The vibrant mint buttercream frosting is a dream to prepare. Built on a classic American buttercream base, it comes together quickly and easily, requiring minimal effort but delivering maximum flavor and a beautifully smooth, pipeable consistency. Its refreshing minty kick is the ideal counterpoint to the rich chocolate.
- Customizable Mint Flavor: While the primary burst of cool mint comes from the luscious buttercream, you have the option to intensify the flavor even further. For a truly “double mint” experience, consider adding an extra drop or two of mint extract directly into the cupcake batter. This allows you to tailor the mint intensity to your personal preference, ensuring every bite is exactly how you like it.
Essential Ingredients for Your Mint Chocolate Cupcakes
Crafting the perfect mint chocolate cupcake relies on a careful selection of ingredients, each playing a crucial role in achieving that delightful balance of flavor and texture. Here’s a detailed look at what you’ll need and why:
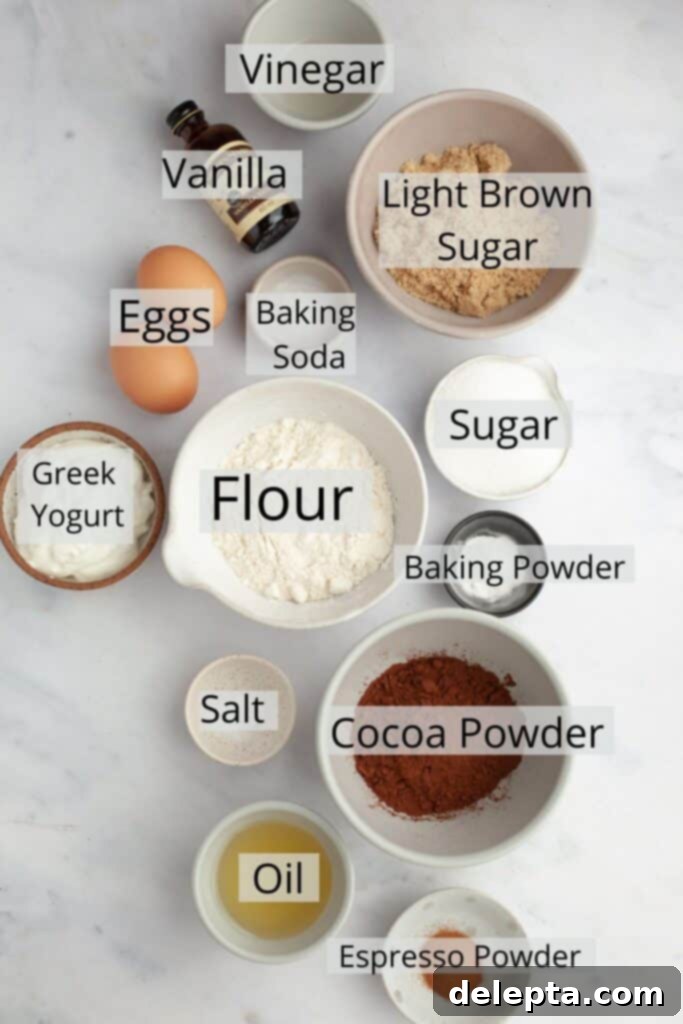
- Neutral Oil: For the cupcake base, it’s essential to use a neutral-flavored oil such as vegetable oil, canola oil, or sunflower seed oil. These oils contribute to the cupcakes’ exceptional moistness without imparting any strong or undesirable flavors that could interfere with the delicate chocolate and mint notes. Avoid olive oil or coconut oil unless you specifically want those flavors to come through.
- Greek Yogurt (or Sour Cream): This ingredient is a game-changer for achieving super moist and tender cupcakes. Greek yogurt (or sour cream, if preferred) adds a lovely tang and richness to the batter, creating a wonderfully tender crumb and ensuring your cupcakes remain moist for days. Be sure to use it at room temperature for the best results.
- All-Purpose Flour: This recipe has been meticulously tested and perfected using standard all-purpose flour. Its balanced protein content provides the perfect structure for fluffy, yet sturdy, cupcakes. While other flours might work, for guaranteed success, stick with all-purpose.
- Dutch Process Cocoa Powder: The choice of cocoa powder makes a difference! I specifically recommend Dutch process cocoa powder for its rich, deep, and less acidic chocolate flavor. It results in a darker, more intense chocolate color and taste compared to natural cocoa powder. If you’re unsure, check your cocoa powder package; “Dutch-processed” or “alkalized” are key indicators.
- Espresso Powder (Optional, but Recommended): This secret ingredient is truly optional, but I highly encourage its inclusion. Espresso powder doesn’t make your cupcakes taste like coffee; instead, it magically enhances and deepens the existing chocolate flavor, making it richer and more pronounced. Just a tiny amount makes a significant impact on the overall decadence.
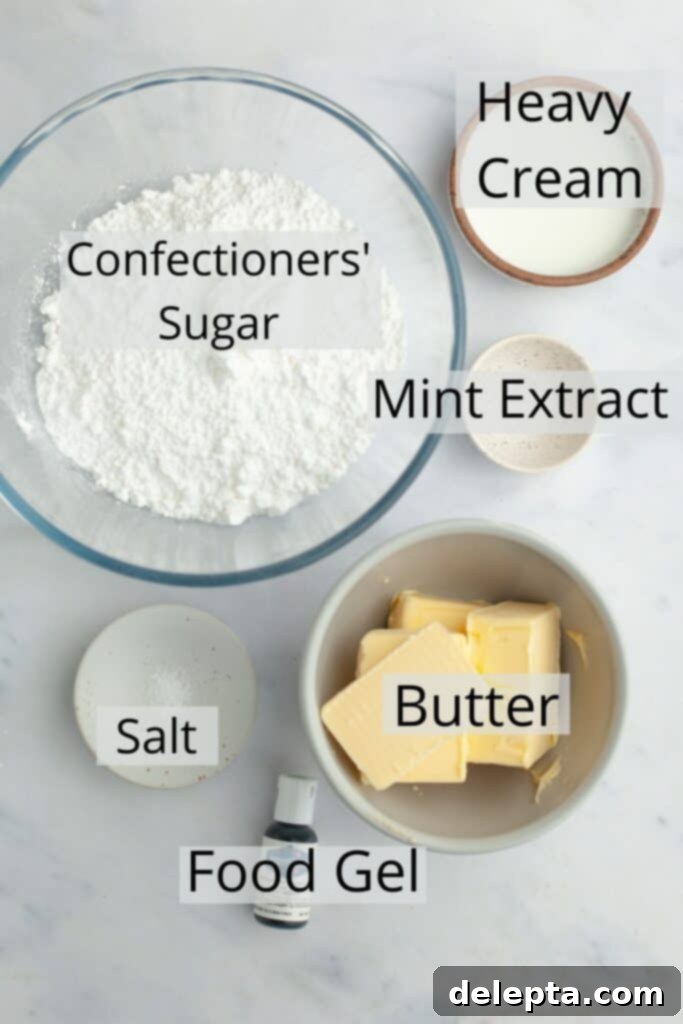
- Green Food Gel: To achieve that iconic mint green color for your frosting, a high-quality food gel is essential. My personal favorite brand is Americolor, and I used their “Mint Green” shade for these cupcakes. Gel colors are concentrated, so a little goes a long long way, allowing you to easily achieve your desired hue without thinning out the frosting.
- Mint Extract: This is where the signature mint flavor comes into play. It’s crucial to use pure mint extract, not peppermint extract. Peppermint extract can sometimes have a taste reminiscent of toothpaste, which is not what we’re aiming for here. Mint extract provides a fresher, more palatable minty essence that perfectly complements the chocolate.
For precise measurements and quantities, please refer to the comprehensive recipe card located at the bottom of this post.
Effortless Step-by-Step Guide to Baking Perfection
Creating these delightful mint chocolate cupcakes is a straightforward and enjoyable process. Follow these easy steps to bake and frost your way to a perfect batch!
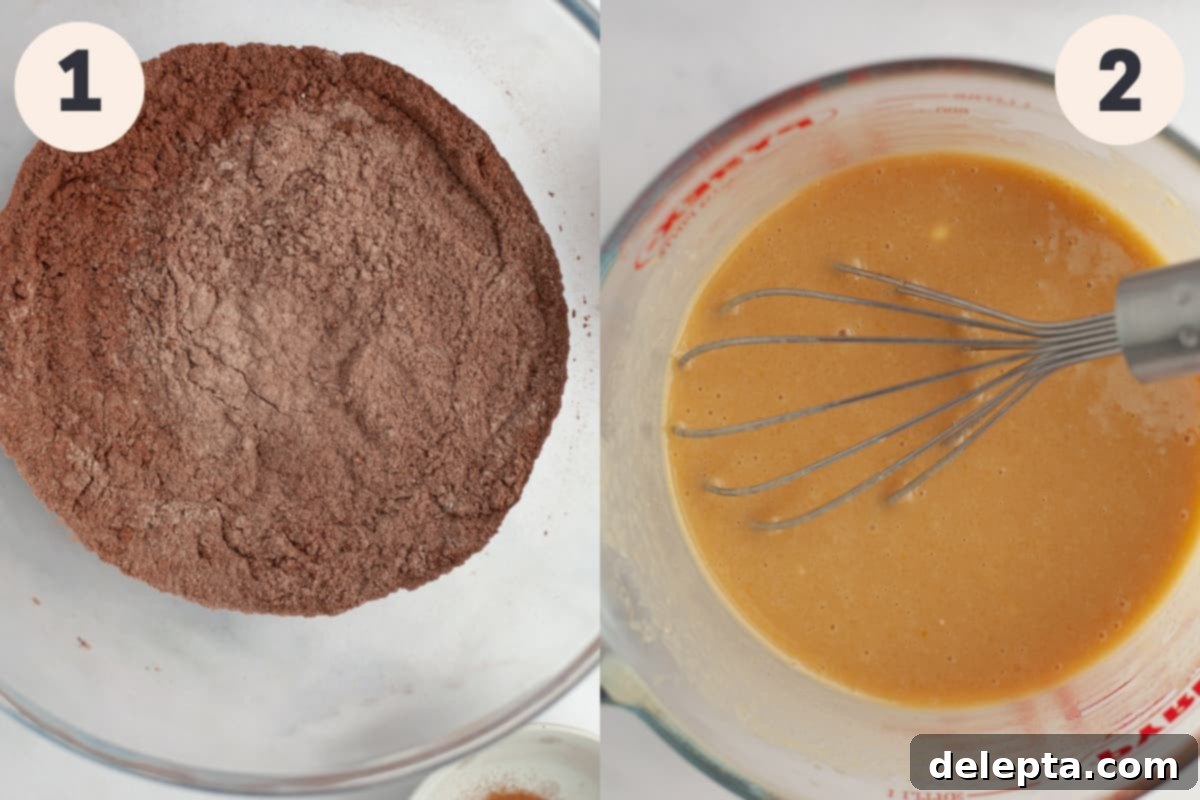
Step 1: Prepare Your Workstation. Begin by preheating your oven to 350°F (175°C). Line a 12-cup cupcake pan with paper liners. In a large mixing bowl, thoroughly whisk together all the dry ingredients for the cupcakes: the all-purpose flour, Dutch process cocoa powder, baking powder, baking soda, and kosher salt. Whisking ensures they are well combined and aerated.
Step 2: Combine Wet Ingredients. In a separate medium-sized bowl or a large liquid measuring jug, prepare your wet mixture. If using, dissolve the espresso powder in hot water first. Then, add the granulated white sugar, light brown sugar, room temperature eggs, Greek yogurt, neutral oil, white vinegar, and vanilla extract. Whisk these ingredients together until the mixture is smooth and well emulsified.
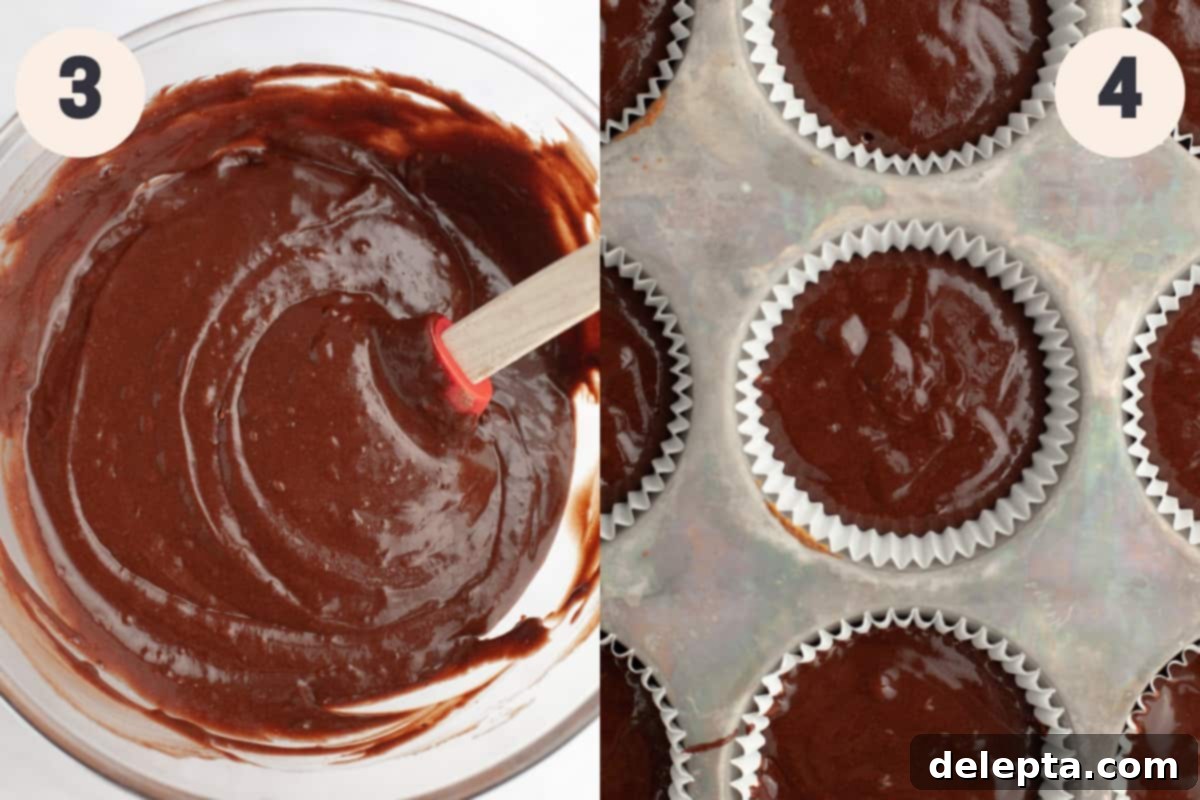
Step 3: Mix Batter Gently. Pour the wet ingredients directly into the bowl with the dry ingredients. Using a rubber spatula, gently fold everything together until just combined and smooth. Be careful not to overmix the batter, as this can lead to tough, dry cupcakes. A few small lumps are perfectly fine!
Step 4: Bake the Cupcakes. Carefully spoon the cupcake batter into the prepared cupcake liners, filling each about two-thirds to three-quarters full. Transfer the pan to your preheated oven and bake for 18-20 minutes, or until a wooden skewer or toothpick inserted into the center of a cupcake comes out clean. Once baked, let them cool in the pan for a few minutes before transferring to a wire rack.
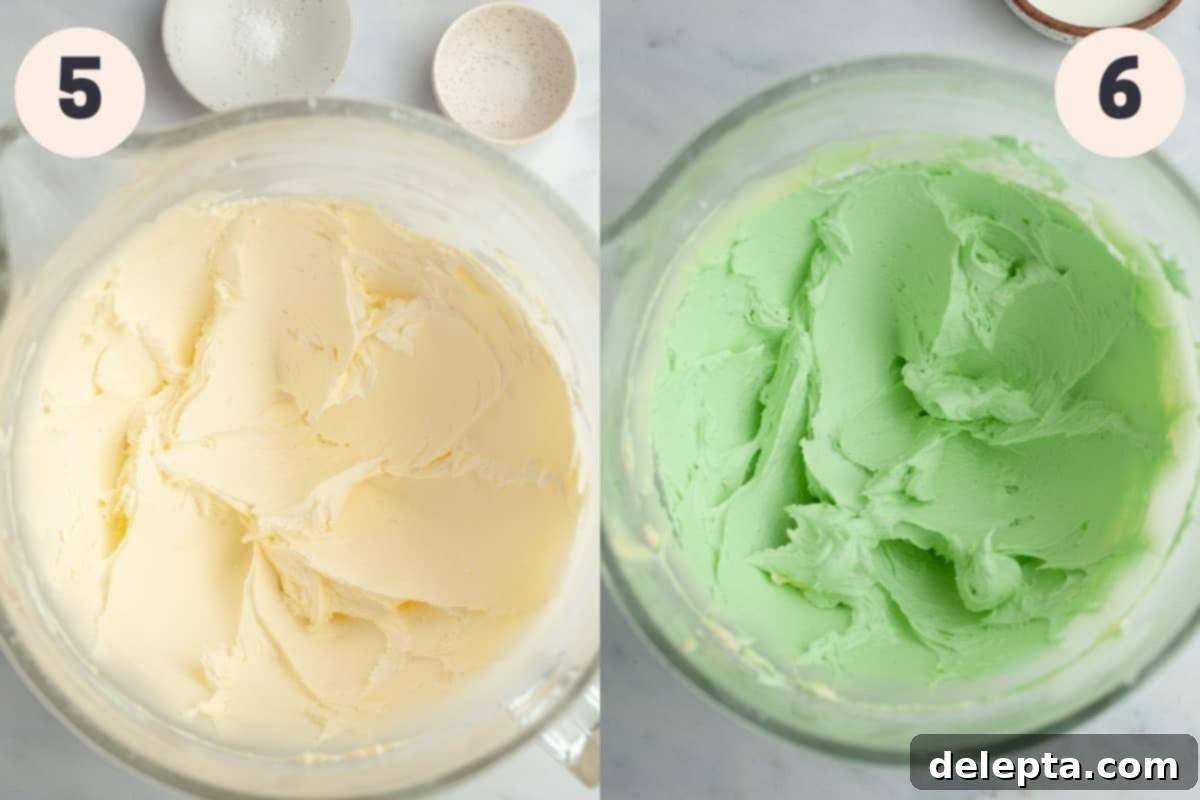
Step 5: Prepare the Mint Buttercream. While the cupcakes cool, begin making your frosting. In the bowl of a stand mixer fitted with a paddle attachment, beat the room temperature unsalted butter on low speed until it’s softened. Gradually add the confectioners’ sugar, mixing on low until fully combined and no dry sugar remains. Once incorporated, increase the speed to high and beat for 2-3 minutes until the mixture is visibly lighter in color and fluffy.
Step 6: Flavor and Color the Frosting. Reduce the mixer speed to medium. Add the mint extract, a pinch of kosher salt, and a few drops of green food gel. Continue to mix until the color is evenly distributed and the frosting is beautifully soft and fluffy. Start with just a few drops of food gel and add more gradually until you achieve your desired shade of mint green. Finally, turn the mixer to its lowest speed and slowly pour in the heavy cream. Beat until the frosting becomes wonderfully creamy, smooth, and spreadable, perfect for piping or spreading.
Expert Tips & Tricks for Perfect Mint Chocolate Cupcakes
Achieving bakery-quality cupcakes at home is easier than you think with these professional insights. Incorporate these tips to elevate your mint chocolate cupcake game:
- Precision with a Kitchen Scale: Baking is a science, and accuracy in measurements is paramount. I always recommend investing in and using a digital kitchen scale to weigh out your ingredients, especially flour and cocoa powder. It’s incredibly easy to accidentally add too much when using volumetric cups, which can result in dense, dry, and crumbly cupcakes. Weighing ensures consistent, perfect results every time.
- Gradual Food Gel Application: When coloring your frosting, remember that food gels are highly concentrated. Always add only a few drops of green food gel at a time, mixing thoroughly after each addition. This allows you to gradually build up to your desired shade of mint green, preventing you from over-coloring and ensuring a visually appealing, vibrant hue.
- Transform into Mint Oreo Cupcakes: For an extra layer of texture and flavor, easily convert these into indulgent mint Oreo cupcakes! Simply crush some Oreo cookies (mint Oreos for an even bigger mint kick!) and fold them into your finished mint buttercream frosting. The cookie pieces add a delightful crunch and an irresistible cookies-and-cream twist.
- Boost the Mint Factor in Cupcakes: If you’re truly a mint enthusiast and crave an even stronger mint presence, you can enhance the cupcake batter itself. Substitute half a teaspoon of mint extract for the vanilla extract in the chocolate cupcake batter. This will infuse the cake with a subtle minty undertone, creating a more pronounced and harmonious mint-chocolate symphony.
- Creative Decoration Ideas: Beyond simple chocolate shavings, let your creativity shine with various decorations. Consider elegant chocolate curls, playful mini chocolate chips, crunchy Oreo crumbs, fresh mint leaves for a gourmet touch, or even a classic Thin Mint cookie perched on top. A drizzle of rich chocolate ganache can also add a stunning finish and extra chocolatey goodness.
Frequently Asked Questions
Absolutely, yes! The green food gel is purely for aesthetic appeal to give the frosting that classic minty look. Your frosting will still have the delicious, refreshing mint flavor you crave, but it will be a natural white or pale yellow color from the butter. The taste and texture will remain just as fantastic.
Dry cupcakes are a common baking frustration, and there are a few usual culprits. Firstly, you might have inadvertently added too much flour or cocoa powder. Using a kitchen scale for precise measurements can help prevent this. Secondly, over-mixing the cupcake batter can develop too much gluten, resulting in dense, tough, and dry cupcakes. Mix until just combined. Lastly, and perhaps most commonly, over-baking is a frequent cause of dry cakes. Keep a close eye on your baking time and use the toothpick test; remove them from the oven as soon as the toothpick comes out clean or with a few moist crumbs attached.
Yes, you can! The chocolate cupcake batter is best baked immediately for the lightest texture. However, you can mix the dry ingredients a day in advance. The mint buttercream frosting can be made up to 2-3 days ahead. Store it in an airtight container in the refrigerator. When you’re ready to use it, let it come to room temperature, then beat it again with your stand mixer for a few minutes until it’s light, fluffy, and smooth once more.
Storage Guidelines for Freshness
To keep your delicious mint chocolate cupcakes tasting fresh and moist, proper storage is key. Once frosted, place the cupcakes in an airtight container. They will stay fresh in the refrigerator for up to 3 days. For optimal enjoyment and the best texture, remember to let them come to room temperature for about 30 minutes before serving. This allows the cake to soften and the buttercream to become perfectly creamy again.
Expand Your Baking Repertoire with These Delicious Cupcake Recipes!
If you loved these mint chocolate cupcakes, you’re in for a treat with these other fantastic cupcake creations from my kitchen:
- Mini Vanilla Cupcakes
- Chocolate and Vanilla Cupcakes
- Cinnamon Cupcakes with Brown Sugar Cinnamon Buttercream
- Chocolate Salted Caramel Cupcakes
If you’ve enjoyed making this recipe, I’d be absolutely thrilled if you could make sure to leave a ⭐️ rating and review below! Your feedback is invaluable and helps other bakers discover these delightful cupcakes. I love seeing your creations, so please tag me on Instagram @alpineella so I can admire what you’ve made! You can also follow along for more delicious recipes and baking inspiration on Pinterest, Facebook, and TikTok!
Recipe
Mint Chocolate Cupcakes
Ella Gilbert
Pin Recipe
Save RecipeSaved!
Equipment
-
12-cup cupcake tray
-
Large mixing bowls
-
Whisk or stand mixer
-
Rubber spatula
-
Wire cooling rack
Ingredients
Cupcakes
- ¾ cup all purpose flour
- ½ cup Dutch process cocoa powder
- ¾ teaspoon baking powder
- ½ teaspoon baking soda
- ½ teaspoon kosher salt
- 2 large eggs room temperature
- ½ cup granulated sugar
- ½ cup light brown sugar
- ¼ cup vegetable oil
- 1 teaspoon vanilla extract
- ½ cup Greek yogurt room temperature
- 1 teaspoon espresso powder optional, for enhanced chocolate flavor
- 2 tablespoons hot water
- 2 teaspoons white vinegar
Frosting
- 2 sticks unsalted butter room temperature (1 cup or 226g)
- ¼ teaspoon kosher salt
- 3 cups confectioners’ sugar (powdered sugar)
- ¼ cup heavy cream (cold)
- 1-2 teaspoons mint extract (to taste, not peppermint)
- green food gel (e.g., Americolor “Mint Green”)
Instructions
Make Cupcakes
-
Preheat your oven to 350°F (175°C). Line a 12-cup muffin tray with paper cupcake liners. This recipe yields approximately 14 cupcakes, so you may need to bake in two batches if you only have one 12-cup pan.
-
In a large bowl, whisk together the all-purpose flour, Dutch process cocoa powder, baking powder, baking soda, and kosher salt. Ensure there are no lumps and the ingredients are well distributed. Set this bowl aside.¾ cup all purpose flour, ½ cup Dutch process cocoa powder, ¾ teaspoon baking powder, ½ teaspoon baking soda, ½ teaspoon kosher salt
-
In a mug or small cup, mix the espresso powder with 2 tablespoons of hot water to create a strong coffee. Stir until fully dissolved. If you’re not using espresso powder, simply skip this step.1 teaspoon espresso powder, 2 tablespoons hot water
-
In a large jug or another bowl, whisk together the room temperature eggs, the prepared coffee (if using), Greek yogurt, neutral oil, vanilla extract, white vinegar, granulated sugar, and light brown sugar until the mixture is completely smooth and all sugars are dissolved.2 large eggs, ½ cup granulated sugar, ¼ cup vegetable oil, 1 teaspoon vanilla extract, ½ cup Greek yogurt, 2 teaspoons white vinegar, ½ cup light brown sugar
-
Pour the wet mixture into the bowl containing the dry ingredients. Using a rubber spatula, gently fold everything together until the batter is just smooth. It’s crucial not to overmix, as this can lead to tough cupcakes. A few small lumps are perfectly acceptable.
-
Divide the cupcake batter evenly among the prepared liners, filling each approximately ¾ full. Bake in the preheated oven for 18-20 minutes. To check for doneness, insert a wooden skewer or toothpick into the center of a cupcake; it should come out clean.
-
Allow the freshly baked cupcakes to cool in the muffin tray for about 10-15 minutes before carefully transferring them to a wire cooling rack to cool completely. If you have extra batter, bake the remaining cupcakes once the first batch is done. Ensure cupcakes are fully cooled before frosting.
Make Frosting
-
In the bowl of a stand mixer fitted with the paddle attachment, begin by beating the room temperature unsalted butter on low speed until it is soft and creamy. Gradually add the confectioners’ sugar, continuing to beat on low speed until it is fully incorporated and no dry sugar is visible.2 sticks unsalted butter, 3 cups confectioners’ sugar
-
Once combined, increase the mixer speed to medium-high and continue to beat the frosting for 2-3 minutes. This step is crucial for incorporating air and achieving a light, fluffy texture. The frosting should become notably thicker and lighter in color.
-
Stop the mixer and scrape down the sides of the bowl. Add the kosher salt, green food gel (start with just a few drops), and the mint extract. Beat on medium-high speed for another 2 minutes, ensuring all ingredients are well combined and the color is evenly distributed. Add more food gel, drop by drop, if a deeper green is desired.¼ teaspoon kosher salt, 1-2 teaspoons mint extract
-
Reduce the mixer speed to the lowest setting. Slowly pour in the cold heavy cream. Continue beating until the frosting transforms into a wonderfully creamy, smooth, and easily spreadable consistency. Avoid overmixing once the cream is added.¼ cup heavy cream
-
Once your cupcakes are completely cooled, it’s time to frost them! You can use an offset spatula for a rustic look or a piping bag fitted with your favorite tip (like a Wilton 1M star tip) for a more professional swirl. Decorate as desired with chocolate shavings, sprinkles, or mini chocolate chips.
Notes
Room Temperature Ingredients: For optimal emulsification and a smooth batter/frosting, it’s essential that all your refrigerated ingredients, including eggs, Greek yogurt, and butter, are at room temperature before you begin baking. Plan ahead and pull them out of the fridge at least an hour or two before starting.
Butter Choice: I typically use European-style unsalted butter, such as Kerrygold, in my baking. This type of butter generally has a higher fat content and lower water content, contributing to a much creamier, richer texture and flavor in your finished cupcakes and frosting.
Salt Conversion: If you don’t have kosher salt on hand and are using fine table salt, remember to halve the amount specified in the recipe. As a general rule of thumb, 1 teaspoon of kosher salt is approximately equivalent to ½ teaspoon of fine salt, as fine salt is denser.
Greek Yogurt Substitution: Don’t have Greek yogurt? No problem! You can easily substitute it with an equal amount of full-fat sour cream. Both options will provide the necessary moisture and tenderness to the cupcakes.
Cocoa Powder Information: This recipe calls for Dutch-processed cocoa powder. If you’re unsure if yours is Dutch-processed, check the ingredient list for terms like “acidity regulator” or “alkali.” If you decide to use natural cocoa powder instead, which is more acidic, you should omit the white vinegar from the cupcake batter to maintain the correct chemical balance for leavening.
Food Gel Brand: For the vibrant green hue in the frosting, I highly recommend using Americolor food gel. Specifically, I used the shade ‘Mint Green’ to achieve the perfect color for these cupcakes.
Mint vs. Peppermint Extract: Please ensure you are using pure mint extract, not peppermint extract. Peppermint extract has a distinctly different flavor profile that can sometimes taste like toothpaste in baked goods, which is not the desired effect for these delicious cupcakes.
Extra Minty Cupcakes: For a more intense mint flavor throughout the entire cupcake, you can add ½ teaspoon of mint extract directly into the chocolate cupcake batter, replacing the vanilla extract. This will give you an even stronger and more delightful mint-chocolate experience.
Espresso Powder’s Role: While optional, adding espresso powder to the chocolate cupcake batter is a fantastic way to deepen and enrich the chocolate flavor without making the cupcakes taste like coffee. It simply amplifies the richness of the cocoa. Feel free to leave it out if you prefer.
Storage Instructions: Store any leftover frosted mint chocolate cupcakes in an airtight container in the refrigerator for up to 3 days. Before indulging, let them sit at room temperature for about 30 minutes to allow the cake to soften and the frosting to reach its ideal creamy consistency.
Nutrition
