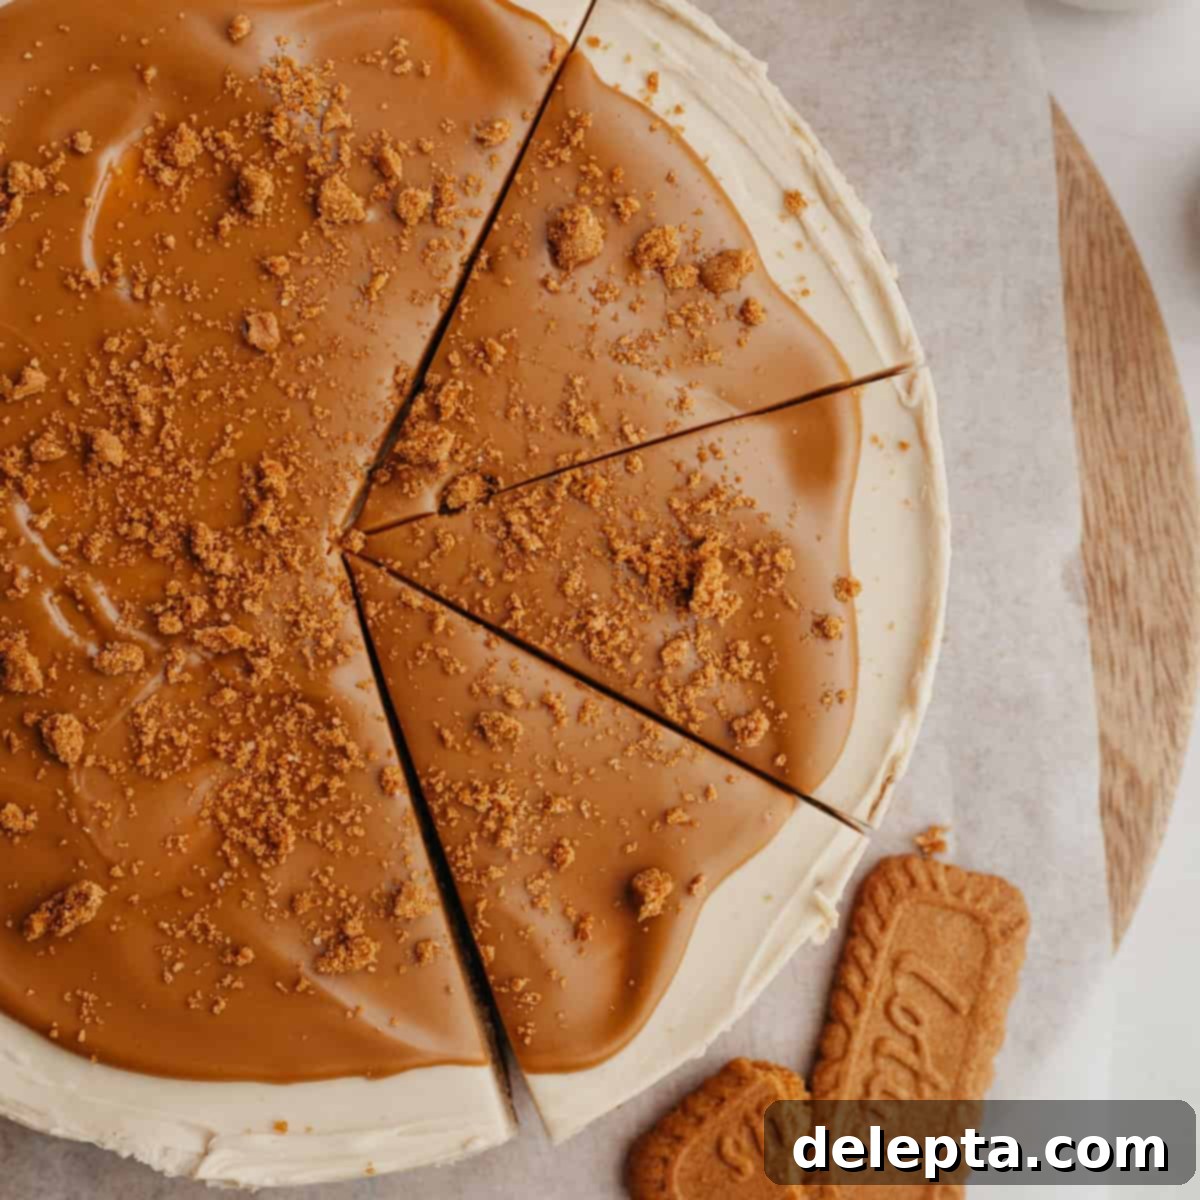
Ultra Creamy No-Bake Biscoff Cheesecake: Your Easy Guide to a Decadent Cookie Butter Dessert
Prepare to create a truly unforgettable dessert with this ultra-creamy, no-bake Biscoff cheesecake. Infused with the irresistible flavor of Biscoff cookie butter spread, featuring a perfectly crunchy Biscoff cookie crust, and generously topped with a rich layer of melted cookie butter, this recipe is a dream come true for both beginners and seasoned bakers. Best of all, it’s an incredibly easy recipe that requires no oven time, perfect for any occasion. With just 20 minutes of active preparation and a mere 7 simple ingredients, you’ll be on your way to dessert heaven!
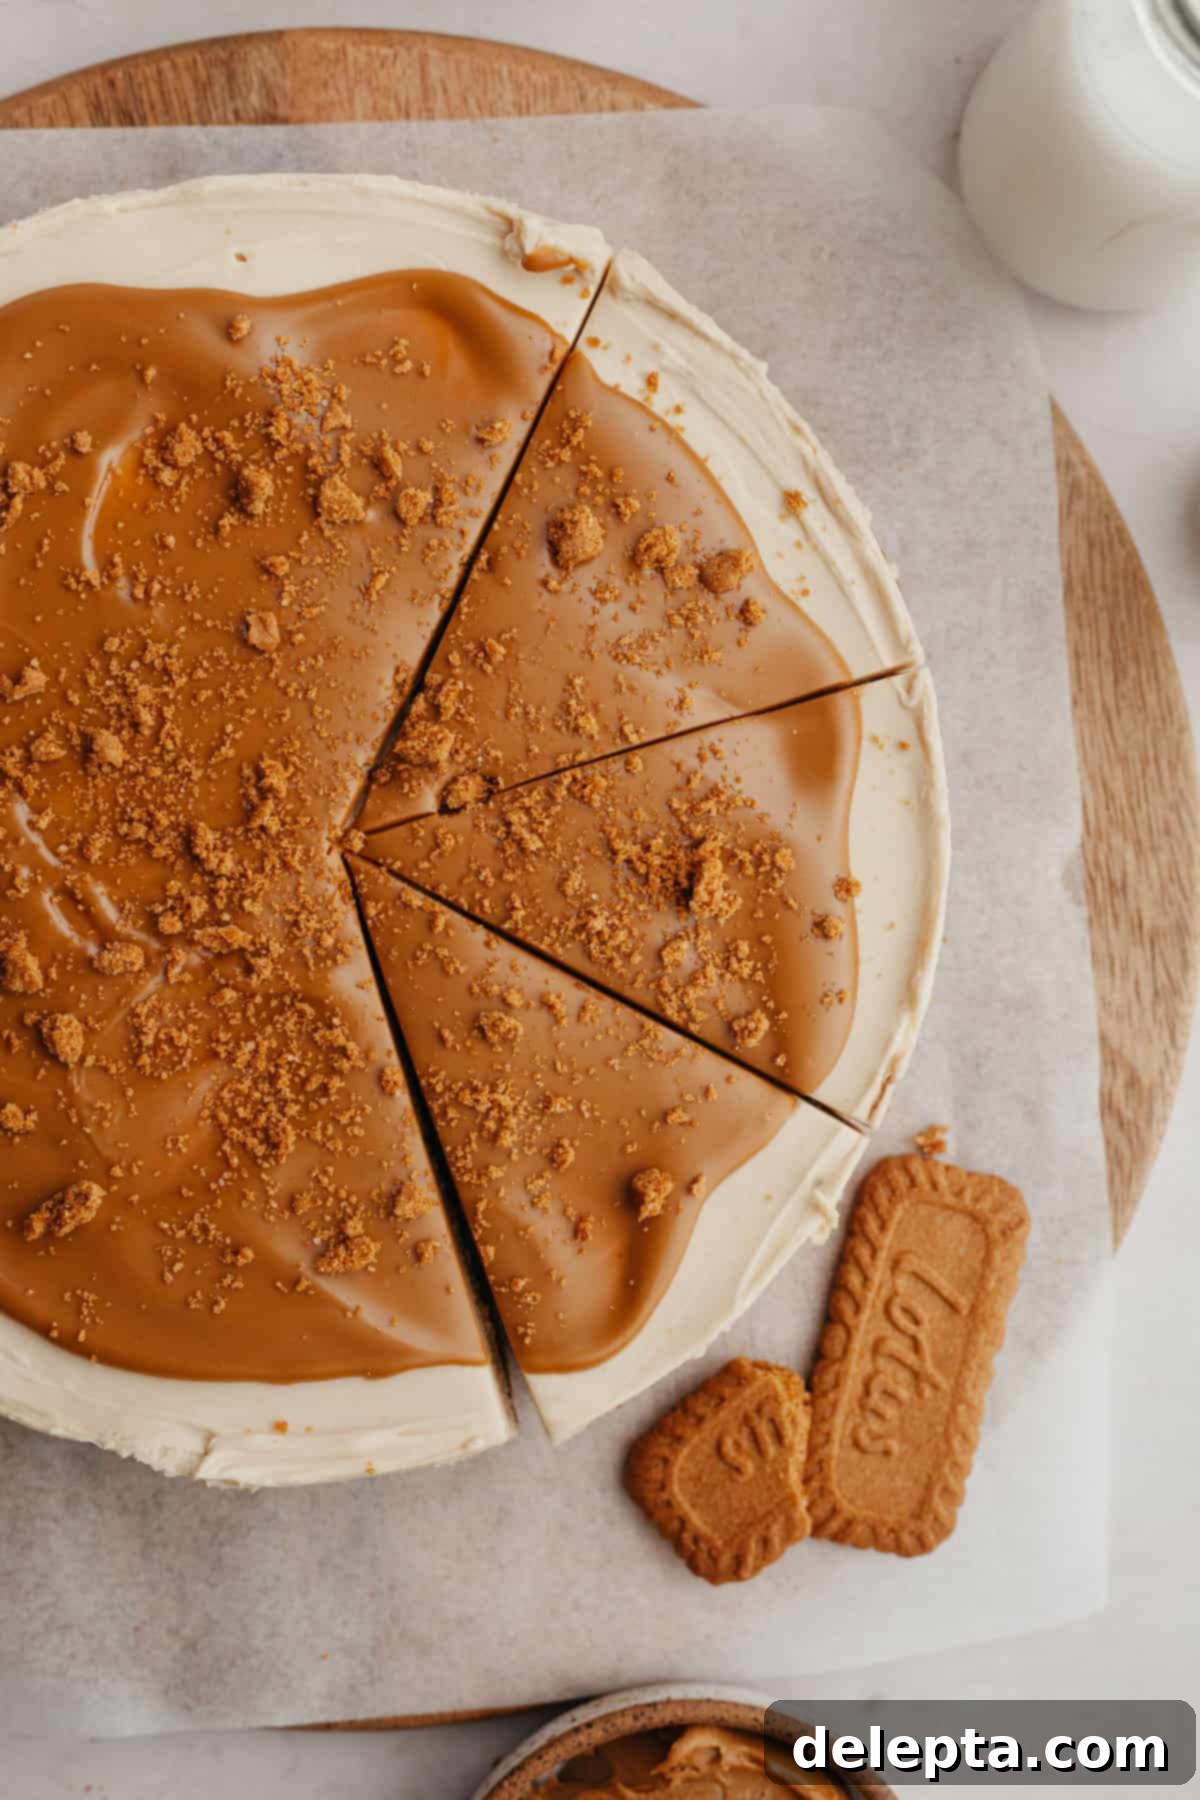
This decadent Biscoff cheesecake might look like a showstopper, but it’s surprisingly simple to make! Far easier than any traditional baked cheesecake, it’s the ideal choice for special occasions when you want to impress without the stress. Just like our popular no-bake cheesecake with mascarpone and the delightful strawberry and white chocolate cheesecake, there’s absolutely no need to fuss with a tricky water bath or worry about cracks. This truly makes it a foolproof dessert that anyone can master.
If you’re searching for an amazing dessert that will be the highlight of a birthday party, a sophisticated dinner party, or any festive celebration, then look no further than this spectacular cookie butter cheesecake. Its simplicity is matched only by its incredible flavor, and the fact that you can prepare it entirely ahead of time makes entertaining a breeze. Imagine having a stunning dessert ready to go, allowing you to focus on your guests and enjoy the moment.
For all the devoted cookie butter lovers out there, this recipe is a must-try. But don’t stop here! Be sure to explore our other fantastic Biscoff creations like the rich Biscoff stuffed cookies, the incredibly moist brown butter cookie butter blondies, and the showstopping Biscoff cake! Each recipe celebrates the unique, caramelized flavor of Speculoos cookies.
[feast_advanced_jump_to]
Why You’ll Adore This No-Bake Biscoff Cheesecake Recipe!
- Unmatched Cookie Butter Flavor: This Biscoff cheesecake is an absolute celebration of cookie butter! Every single element is meticulously crafted to deliver an intense and delicious Biscoff experience. From the velvety smooth cookie butter filling to the perfectly crunchy, crushed Speculoos cookie crust, and finally, a glossy, melted Biscoff spread topping, it’s a harmonious symphony of caramelized biscuit notes that will delight your palate.
- Effortless No-Bake Dessert: Say goodbye to oven woes and hello to ultimate convenience! This no-bake Biscoff cheesecake is your go-to dessert for those sweltering summer days when turning on the oven is unthinkable, or when you simply need a reliable, delicious treat that can be prepared well in advance. It frees up your oven for other dishes and reduces last-minute stress.
- Incredibly Creamy Texture: Prepare for a truly luxurious mouthfeel. The Biscoff cheesecake filling boasts an exceptionally smooth, light, and decadent texture that melts in your mouth. Its richness is perfectly balanced, making each bite an indulgent experience, much like our beloved strawberry crunch cheesecake, but with that signature Biscoff twist.
- Minimal & Simple Ingredients: You won’t need a trip to a specialty store for this recipe. We pride ourselves on using just 7 straightforward, easy-to-find ingredients to create this magnificent no-bake cheesecake. This means less shopping, less fuss, and more time to enjoy the delightful process of making (and eating!) your Biscoff masterpiece. We believe gourmet results can be achieved with everyday pantry staples.
- A True Showstopper, Effortlessly: Despite its stunning appearance and sophisticated flavor, this Biscoff cheesecake is surprisingly simple to assemble. It’s the perfect dessert to impress guests at dinner parties, birthdays, or any gathering, without requiring advanced baking skills. You get all the wow factor with none of the usual complexities of traditional cheesecake preparation.
- No Water Bath Required: One of the biggest advantages of a no-bake cheesecake is the complete elimination of a water bath, a common source of stress for many bakers. You won’t have to worry about cracks, uneven baking, or cumbersome transfers from the oven. Just mix, chill, and enjoy!
Essential Ingredients for Your Biscoff Cheesecake
Crafting this divine Biscoff cheesecake relies on a selection of high-quality, yet simple, ingredients. Each component plays a crucial role in achieving the signature flavor and incredibly creamy texture. Here’s a closer look at what you’ll need and why:
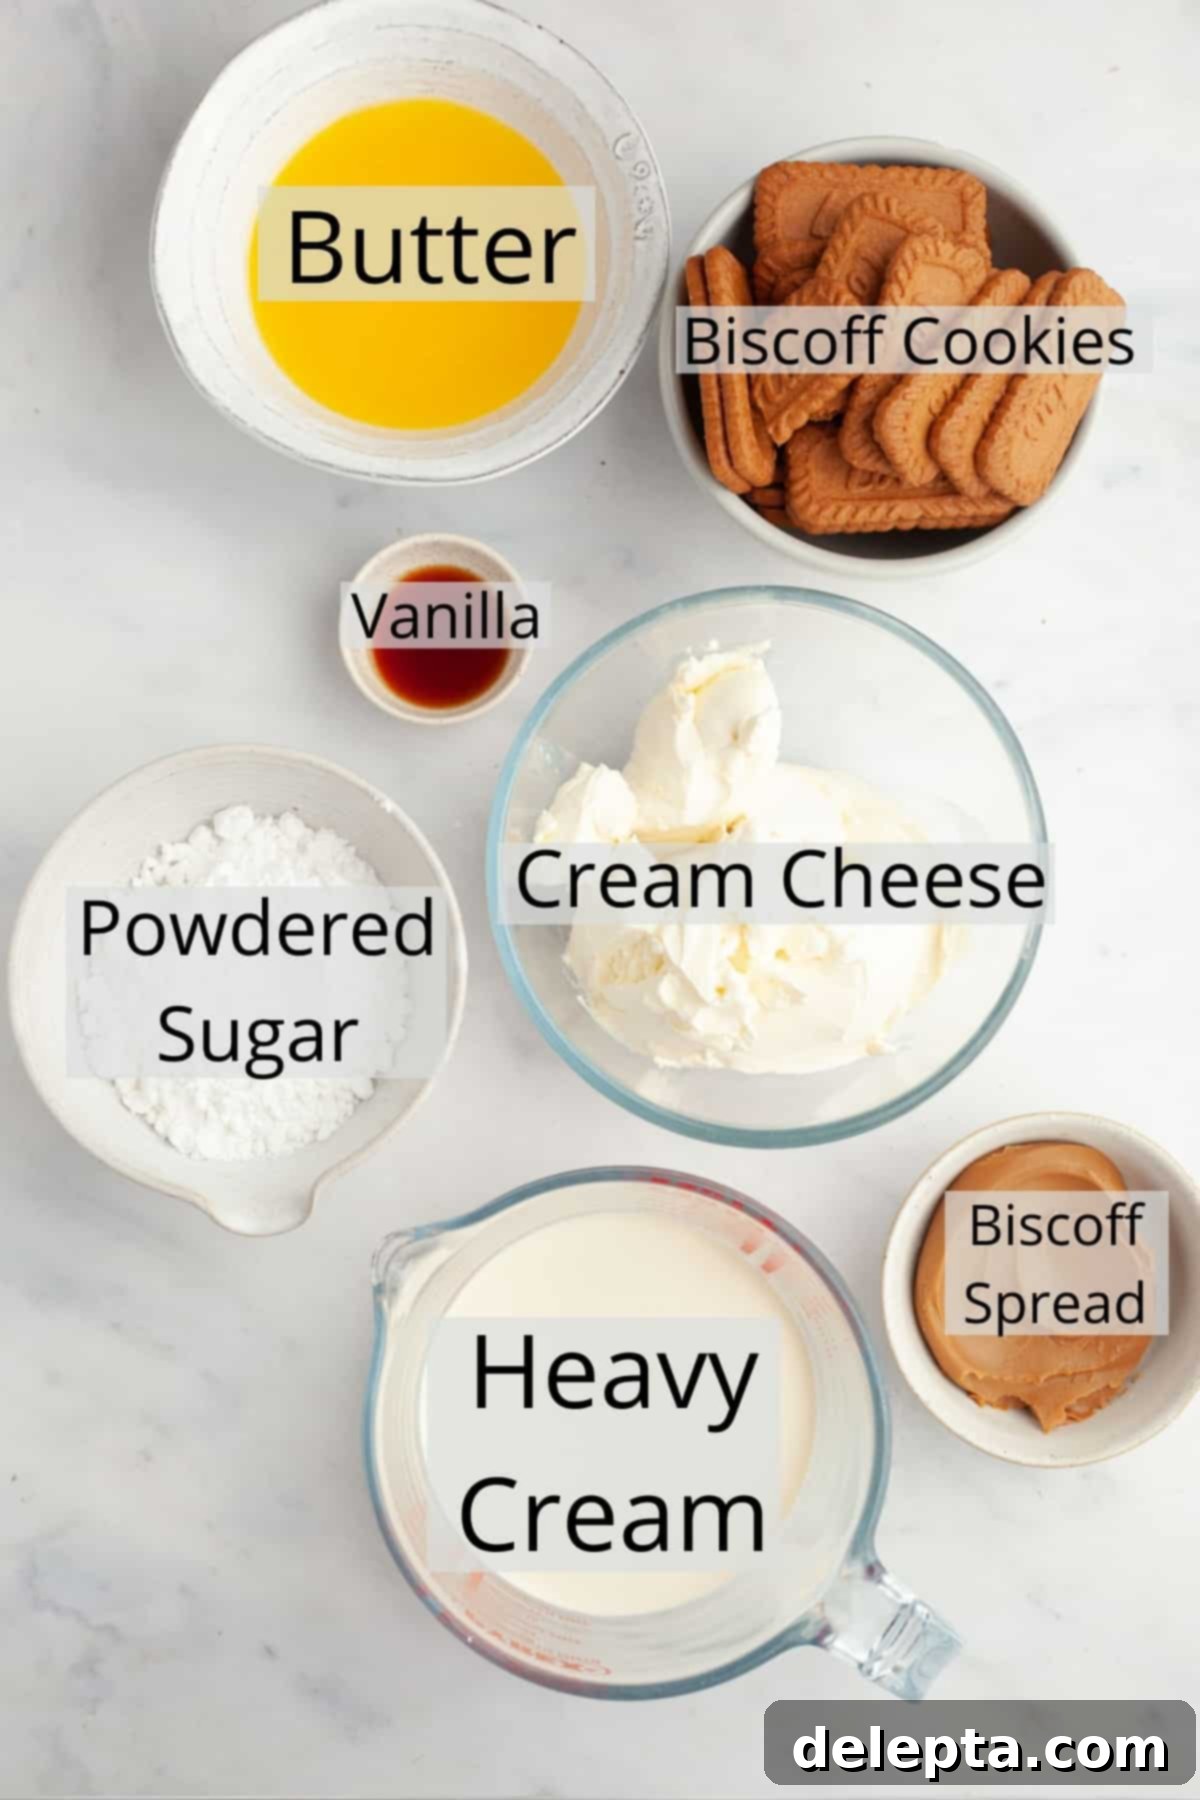
- Full-Fat Cream Cheese: The foundation of any truly creamy cheesecake. We highly recommend using full-fat cream cheese, such as the Philadelphia brand, for the richest flavor and best texture. Avoid low-fat varieties, as they can result in a less stable and often less flavorful cheesecake. For those based in Europe, where cream cheese often comes in tubs and has higher moisture content, it’s crucial to gently squeeze the cream cheese with a paper towel before adding it to your mixing bowl. This simple step helps remove excess moisture, preventing a runny filling and ensuring your cheesecake sets beautifully. Always ensure your cream cheese is at room temperature before beating, as this is key to achieving a lump-free, smooth consistency.
- Lotus Biscoff Spread (Cookie Butter): This is the star ingredient that gives our cheesecake its distinctive caramelized, spiced flavor. Biscoff spread, also widely known as Speculoos cookie butter, is essential for both the luscious filling and the delectable topping. If Lotus Biscoff is not readily available in your area, popular alternatives like Trader Joe’s Cookie Butter or other similar brands will work perfectly. Just make sure it’s a smooth, spreadable consistency.
- Biscoff Cookies: These iconic caramelized biscuits form the perfect crunchy base for our cheesecake. While we use Biscoff Lotus biscuits for an authentic flavor, you can certainly substitute them with graham crackers or digestive biscuits if Biscoff cookies are hard to find or if you prefer a different base. We’ve successfully tested this recipe using both regular Biscoff cookies and the Biscoff sandwich cookies, and both yield a fantastic crust. For reference, two cups of crushed Biscoff cookies typically equates to about one standard package (approximately 8.8 ounces or 250 grams) of Biscoff biscuits.
- Heavy Cream (Double Cream): This ingredient is vital for creating the light, airy, and super creamy texture of the cheesecake filling. It’s whipped to stiff peaks and then gently folded into the cream cheese mixture, adding volume and a luxurious mouthfeel. Ensure your heavy cream is very cold before whipping for the best results. In the UK, this is typically referred to as double cream.
- Confectioners’ Sugar (Powdered Sugar): Also known as powdered sugar, confectioners’ sugar is used instead of granulated sugar in no-bake cheesecakes because it dissolves easily, ensuring a smooth, grit-free filling. Make sure to sift it to prevent lumps from forming in your creamy mixture.
- Vanilla Extract: A touch of pure vanilla extract enhances all the flavors in the cheesecake, adding a warm, aromatic depth that complements the spiced notes of the Biscoff spread. Use good quality pure vanilla for the best taste.
- Unsalted Butter: Melted unsalted butter is crucial for binding the Biscoff cookie crumbs together, forming a firm and flavorful crust. Using unsalted butter allows you to control the overall saltiness of the dessert.
For precise measurements and detailed quantities, please refer to the comprehensive recipe card located at the end of this post.
Easy Step-by-Step Instructions for Your No-Bake Biscoff Cheesecake
Follow these straightforward steps to create your perfect no-bake Biscoff cheesecake. Each instruction is designed to be clear and easy to follow, even for first-time dessert makers!
Crafting the Perfect Biscoff Cookie Crust:
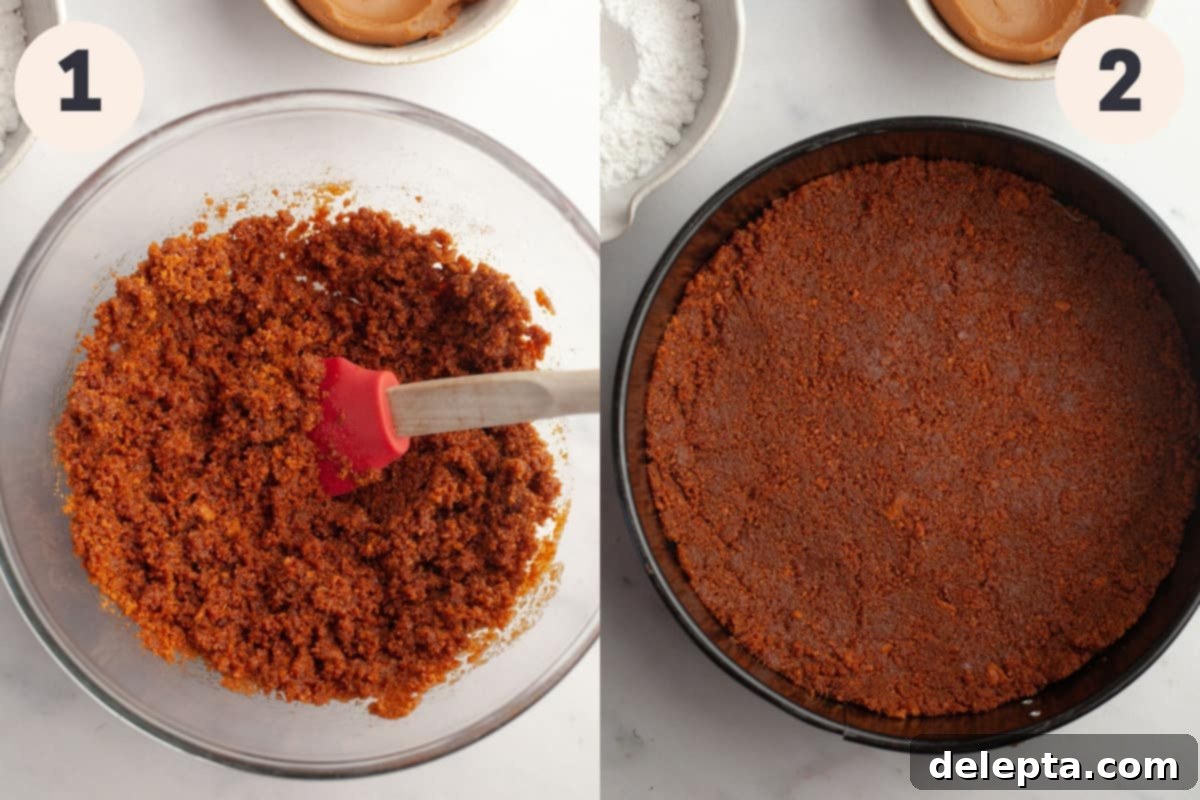
Step 1: Prepare the Biscoff Cookie Crumbs. Begin by crushing your Biscoff cookies. You can do this efficiently using a blender or a food processor. Pulse the cookies until you achieve fine, even crumbs. Avoid over-processing, as you don’t want a paste. Once the crumbs are ready, pour in your melted unsalted butter. Mix thoroughly until all the cookie crumbs are evenly moistened by the butter. This ensures a cohesive and flavorful crust that holds its shape.
Step 2: Form and Chill the Crust. Transfer the buttered cookie crumbs into the bottom of a 9-inch springform pan. Use the back of a rubber spatula or the flat bottom of a measuring cup to firmly and evenly press the crumbs across the base of the pan. A well-packed crust is crucial for structural integrity when slicing. Once pressed, place the springform pan in the freezer for at least 20 minutes. This chilling period allows the butter to solidify, setting the crust firmly and preventing it from becoming soggy when the filling is added.
Preparing the Luxurious Biscoff Cheesecake Filling:
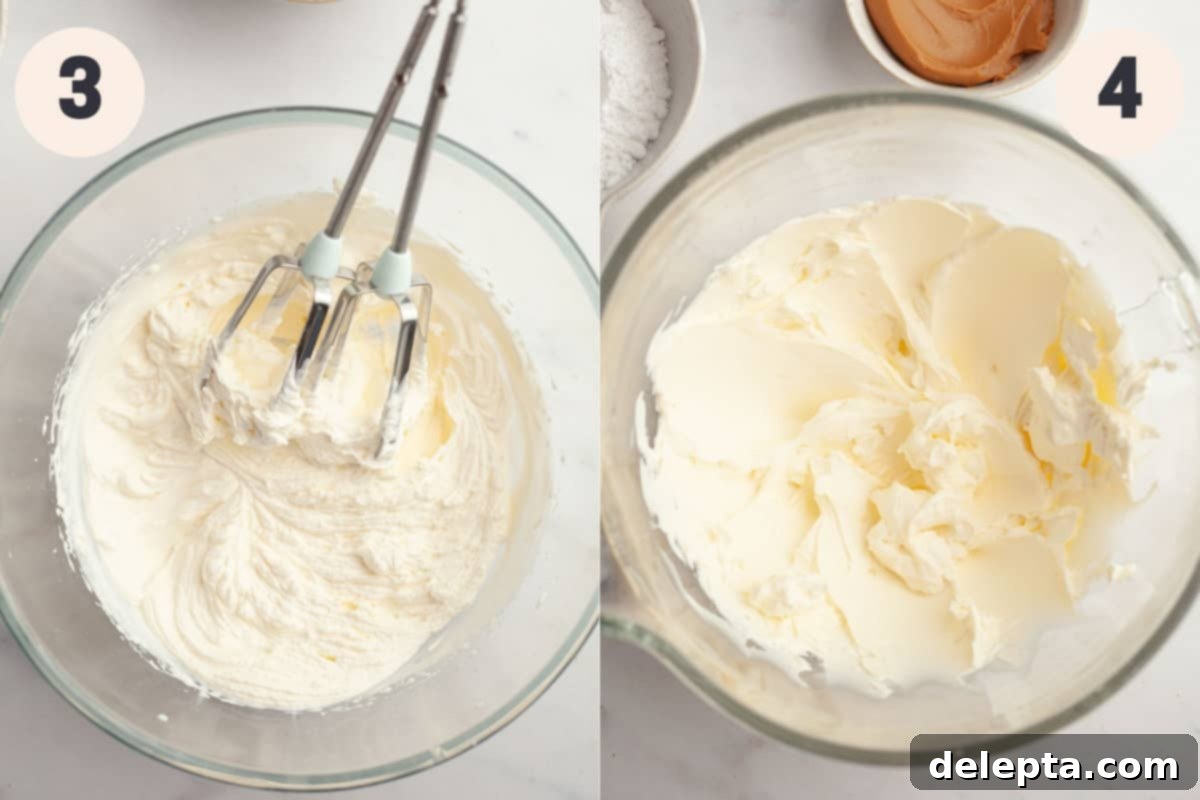
Step 3: Whip the Heavy Cream. In a clean, chilled stand mixer bowl fitted with the whisk attachment (or using a handheld electric mixer), pour your cold heavy cream. Whip the cream on medium-high speed until it forms stiff peaks. This usually takes about 4-5 minutes, depending on your mixer. Stiff peaks mean the cream holds its shape firmly when the whisk is lifted. Set this aside gently, keeping its airy texture intact.
Step 4: Beat the Cream Cheese. Switch to the paddle attachment on your stand mixer (or use clean beaters for a handheld mixer). Add your softened, room-temperature cream cheese to the bowl. Beat it on medium speed until it is completely smooth and creamy, with no lumps remaining. This step is critical for a silky-smooth cheesecake filling.
Top Tip for a Silky Smooth Filling
To ensure your cheesecake filling is perfectly smooth and free of lumps, it is absolutely essential that your cream cheese is at room temperature. If it’s cold, it won’t blend evenly, resulting in a textured, clumpy filling. Plan ahead and take it out of the fridge at least an hour before you begin!
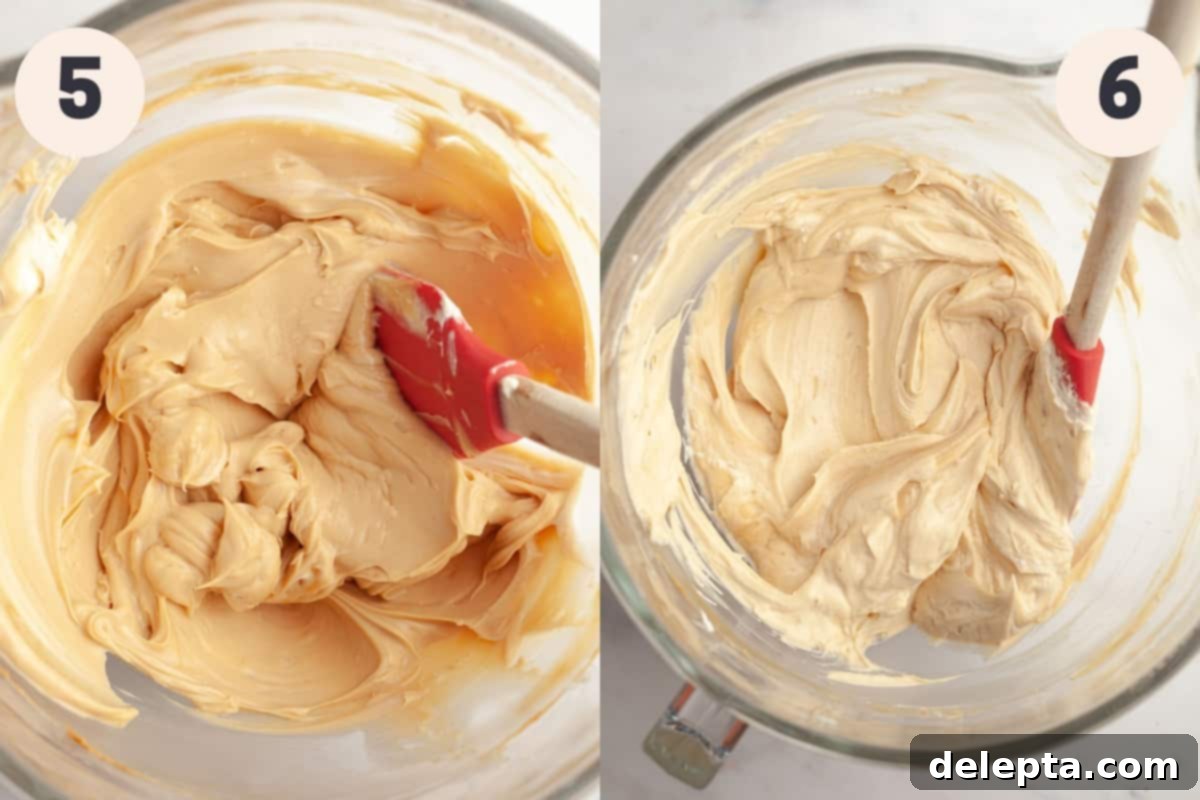
Step 5: Incorporate Flavors. To the smooth cream cheese, add the sifted confectioners’ sugar, the luscious Biscoff cookie butter spread, and the vanilla extract. Continue to beat on medium speed until all these ingredients are thoroughly combined and the mixture is once again perfectly smooth. You might need to stop the mixer occasionally and scrape down the sides and bottom of the bowl with a spatula to ensure everything is fully incorporated. Once it’s creamy and uniform, stop mixing.
Step 6: Gently Fold in Whipped Cream. Now, carefully add the whipped heavy cream to the Biscoff cream cheese mixture. Using a rubber spatula, gently fold the whipped cream into the filling. The key here is gentleness; you want to preserve the airy volume of the whipped cream, which contributes to the cheesecake’s light and creamy texture. Continue folding until the whipped cream is fully incorporated and there are no streaks of white. Be patient and fold just until combined.
Assembling and Chilling Your Biscoff Masterpiece:
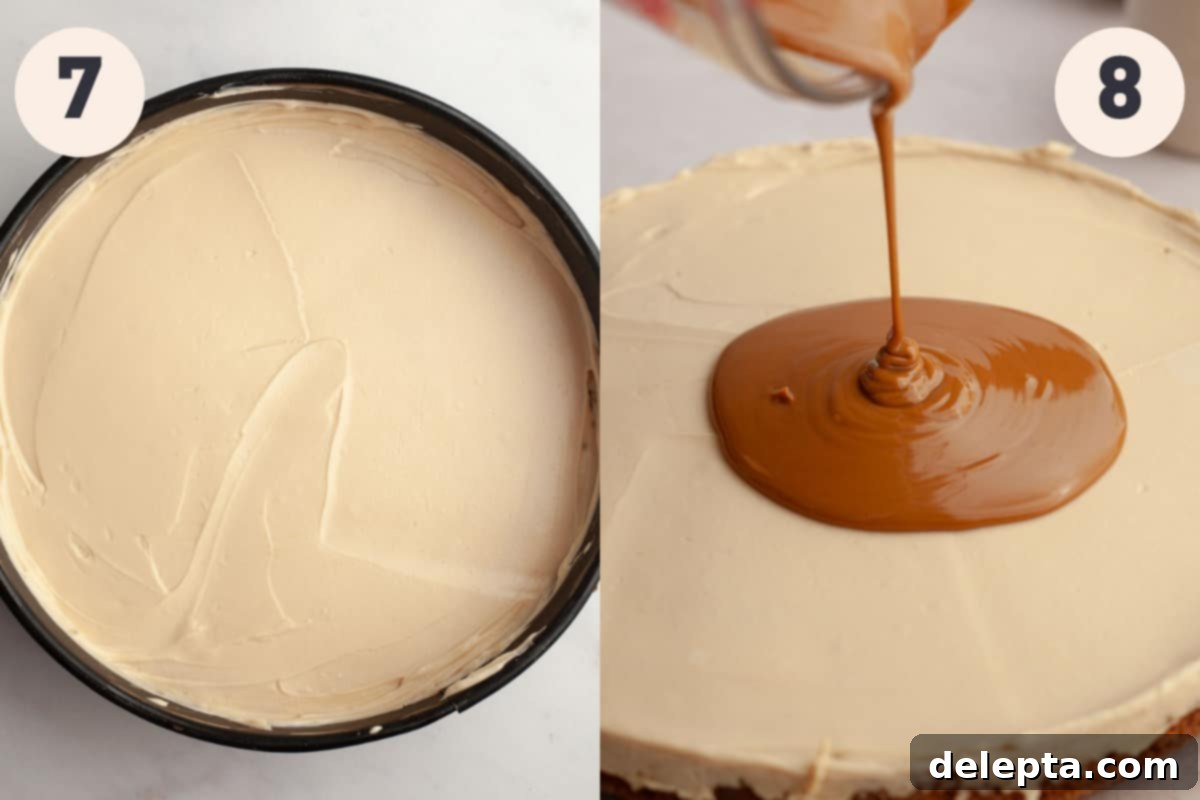
Step 7: Fill and Chill the Cheesecake. Retrieve your chilled Biscoff cookie crust from the freezer. Pour the prepared creamy Biscoff cheesecake filling over the crust in the springform pan. Use a small offset spatula or the back of a spoon to gently smooth out the top surface of the cheesecake batter. Cover the springform pan tightly with plastic wrap, ensuring no air can get in, and place it in the refrigerator. For the best possible results, and to ensure truly clean, perfect slices, chill the cheesecake for a minimum of 12 hours. While 6 hours can suffice, you’ll notice a significant difference in firmness and slice quality with the full 12-hour chill.
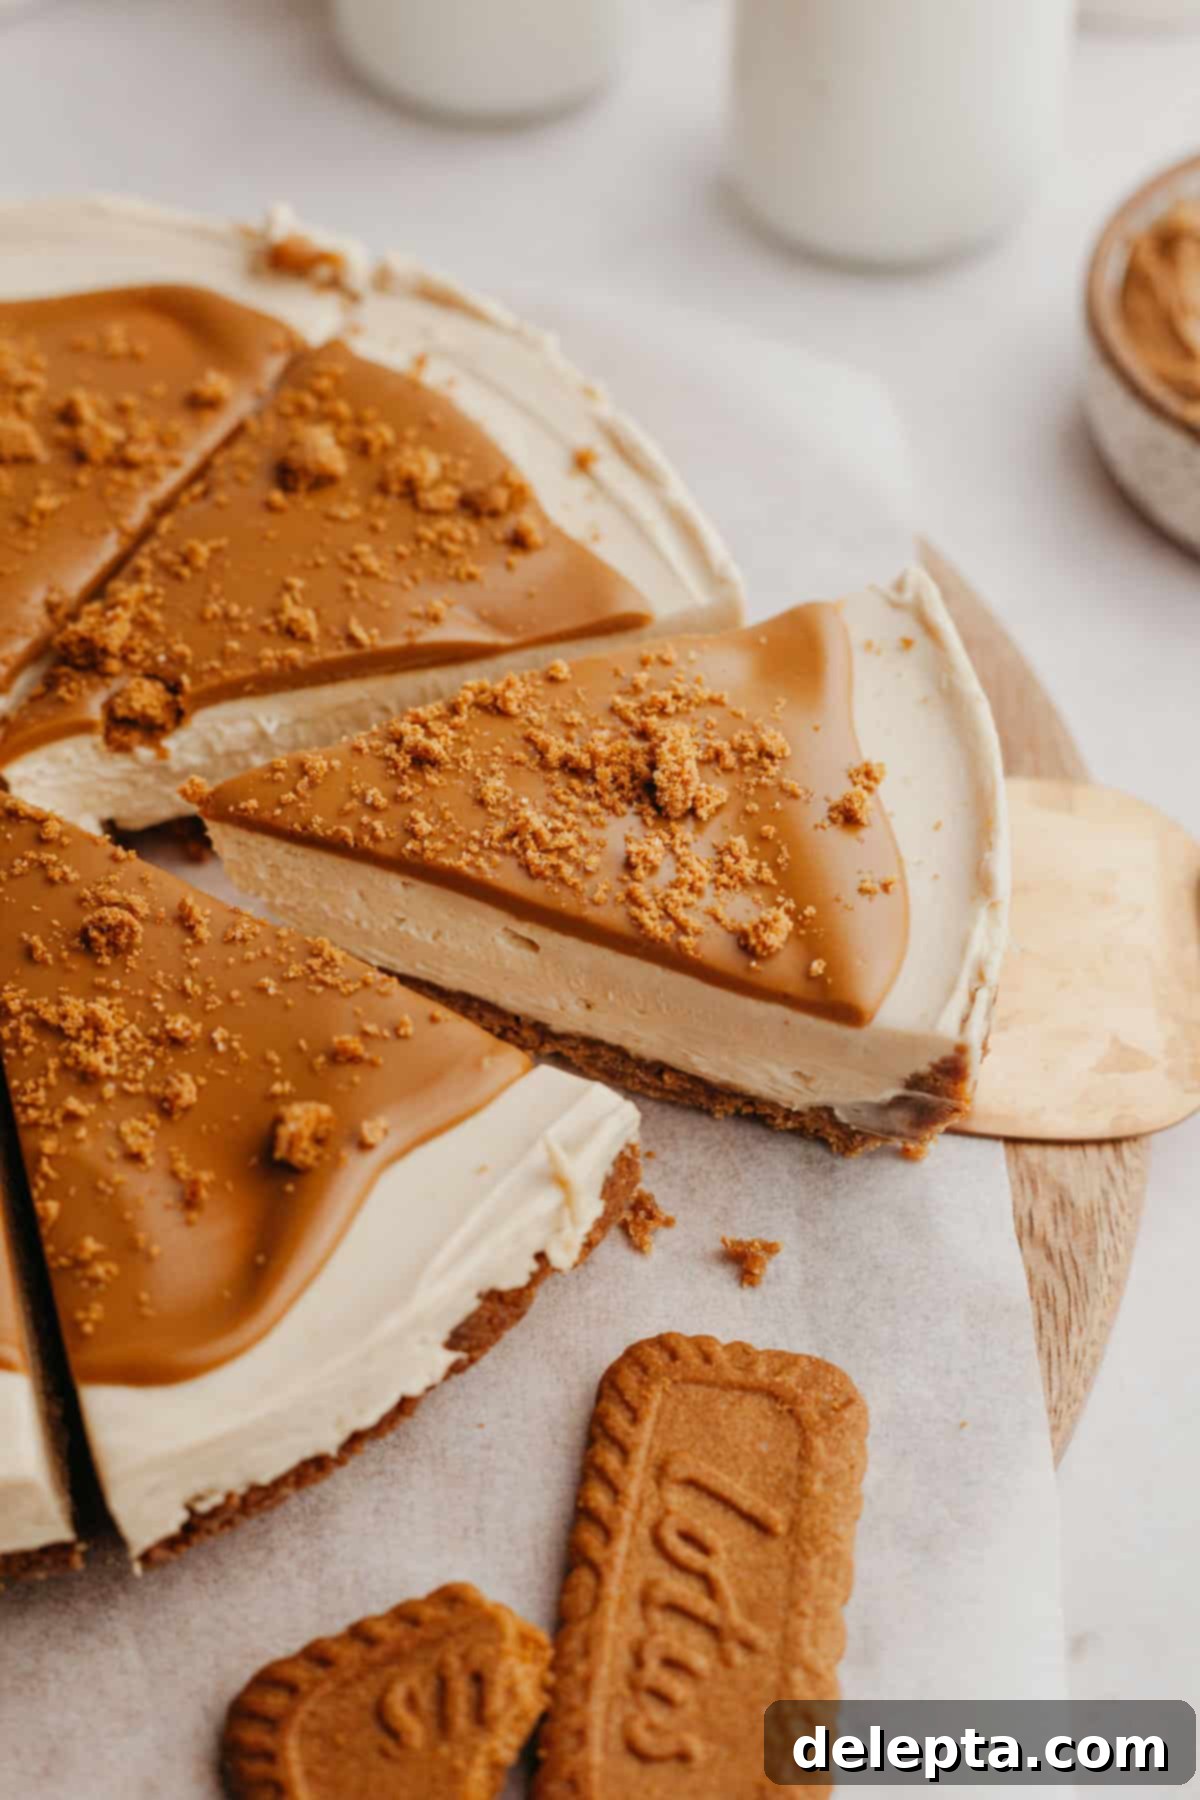
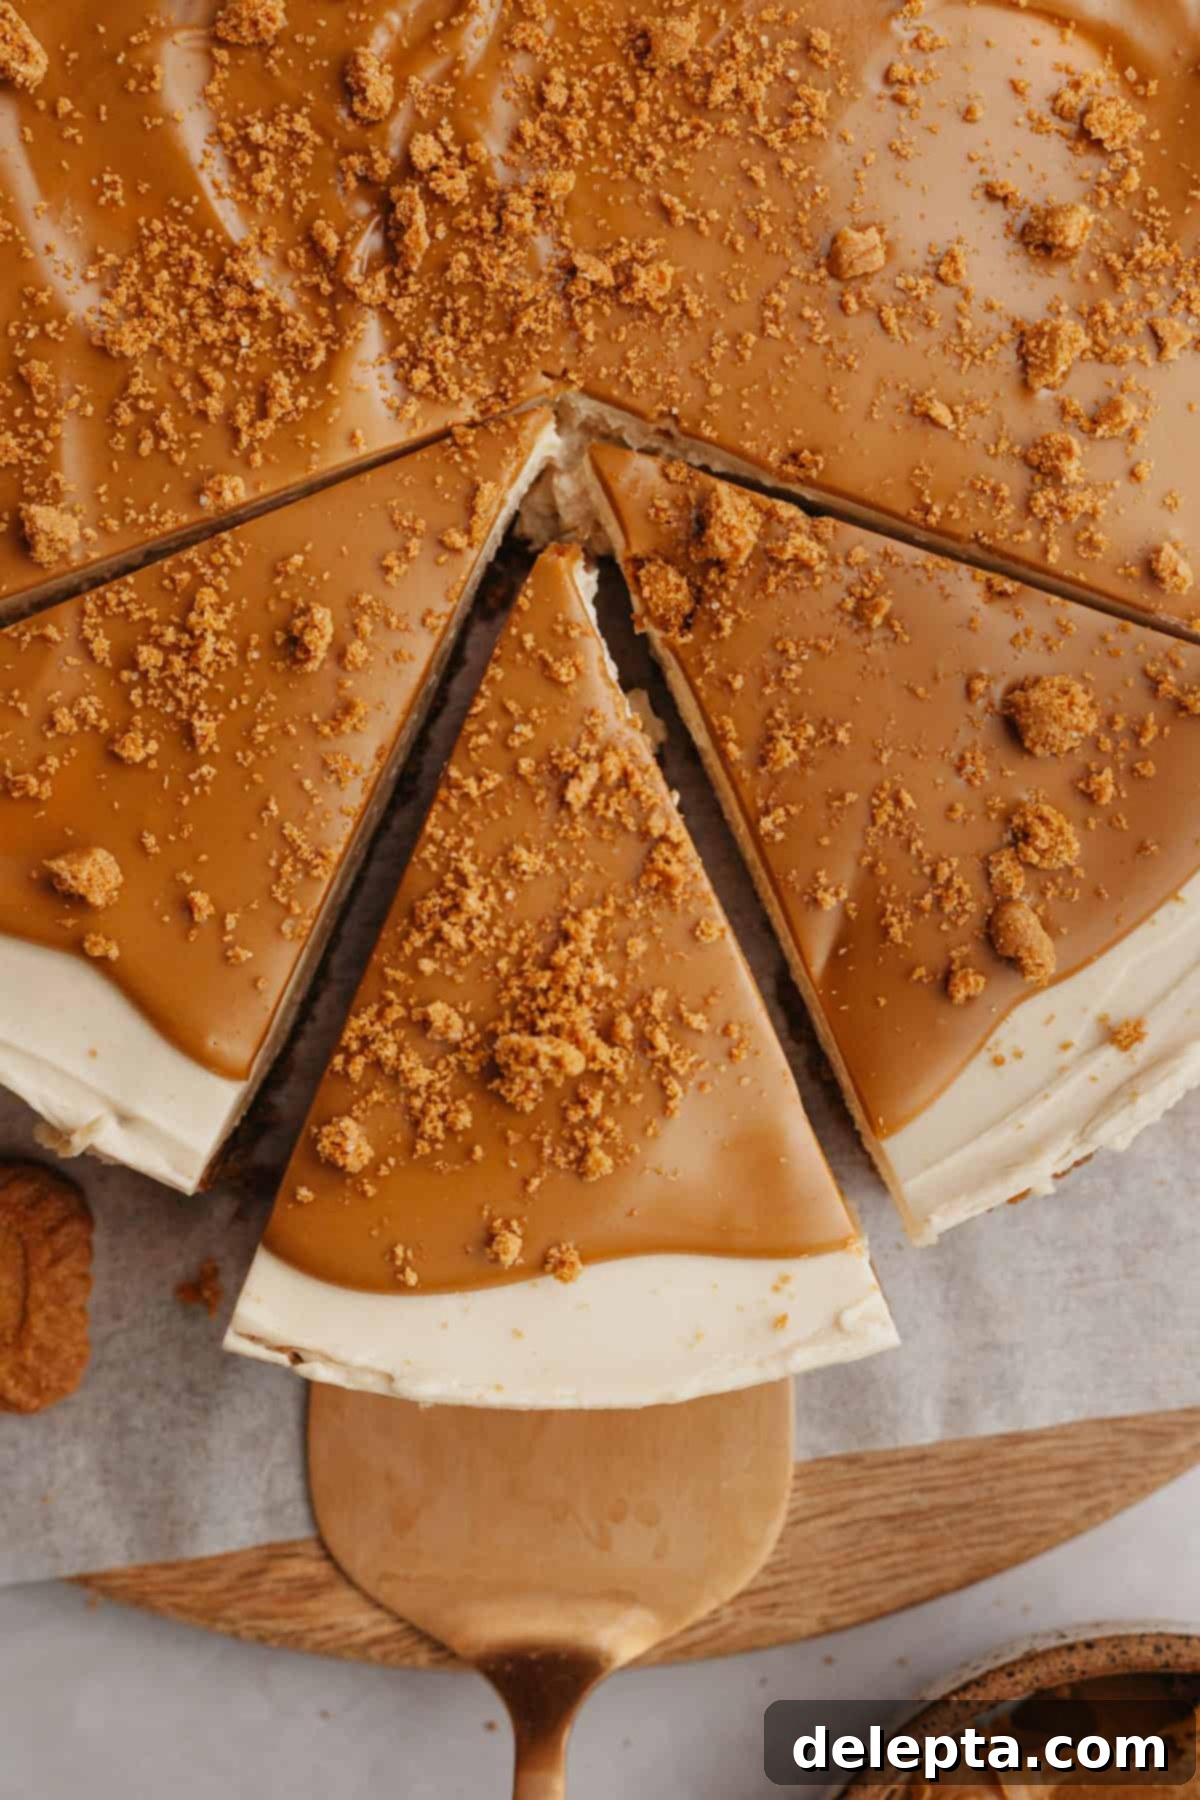
Step 8: Add the Glorious Biscoff Topping. The next day, or once your cheesecake is thoroughly chilled and firm, it’s time for the crowning glory! Gently melt your extra Biscoff cookie butter spread in the microwave in short bursts, stirring until smooth and pourable. Carefully remove the cheesecake from the refrigerator and detach the sides of the springform pan. Pour the warm, melted cookie butter evenly over the top of the cheesecake. Use a small offset spatula to spread it smoothly across the surface. Immediately after, sprinkle additional Biscoff cookie crumbs (from one crushed cookie) over the melted topping for an extra layer of flavor and texture. Return the cheesecake to the fridge for another 20-30 minutes to allow the topping to set slightly before serving.
Expert Tips & Tricks for Biscoff Cheesecake Success
Achieving a perfect no-bake Biscoff cheesecake is simple with these expert tips and tricks designed to elevate your baking and ensure a flawless dessert every time:
- Embrace Your Kitchen Scale: For optimal accuracy and consistency in all your baking endeavors, we always recommend using a digital kitchen scale and measuring your ingredients using the metric system. While cup measurements are provided for convenience, weighing your ingredients (especially flour, sugar, and spreads) significantly reduces variability and guarantees the best results. It makes a huge difference to your baking!
- Mind the Temperature of Your Ingredients: Ingredient temperature is paramount in no-bake cheesecakes. Make it a habit to ensure all refrigerated ingredients, except for the heavy cream, are at room temperature before you begin. This includes your cream cheese and Biscoff spread. Room temperature ingredients emulsify much better, leading to a smoother, lump-free, and perfectly blended filling. Keep your heavy cream icy cold, however, as this is essential for successful whipping.
- Addressing European Cream Cheese Moisture: A specific tip for our European bakers: cream cheese in Europe often contains more moisture than its North American counterparts. To prevent a runny cheesecake filling, gently pat down your cream cheese with a paper towel before adding it to your mixing bowl. This simple step helps absorb excess water, ensuring your cheesecake sets beautifully.
- The Golden Rule of Chilling: For the best texture, firmest set, and most pristine slices, aim to chill your cheesecake for a full 12 hours. We’ve experimented with shorter chilling times (6 hours), and while the cheesecake was edible, the slices were noticeably cleaner, more defined, and easier to handle after the extended 12-hour chill. Patience truly pays off here!
- Customize Your Topping with White Chocolate: If you’re looking for an alternative or an additional layer of flavor, consider substituting or combining the melted Biscoff spread topping with melted white chocolate. A smooth layer of white chocolate adds a complementary sweetness and a beautiful visual contrast. Drizzle it over or swirl it with the Biscoff for a marbled effect.
- Elevate Your Decoration Game: To make this no-bake Biscoff cheesecake even more indulgent and visually stunning, don’t hesitate to get creative with your decorations! After the main topping has set, you can pipe swirls of extra whipped cream around the edges using a piping bag fitted with a star tip. Then, sprinkle more Biscoff cookie crumbs over the whipped cream for a professional and irresistible finish. Add a few whole Biscoff cookies or a dusting of cinnamon for extra flair.
- Effortless Removal from the Springform Pan: Once your cheesecake is perfectly chilled and ready to serve, removing it cleanly from the springform pan is easy with a few tricks. First, carefully unlatch the springform pan and gently lift the sides. For extra clean edges, slightly warm a small offset spatula under hot water, quickly wipe it completely dry, and then carefully run it along the inner perimeter of the cheesecake before removing the ring. This creates a beautifully smooth side surface.
- Serving Suggestions: This cheesecake is fantastic on its own, but it also pairs wonderfully with a cup of coffee or tea. You can serve it with a dollop of fresh whipped cream, a side of fresh berries (strawberries or raspberries provide a nice tart contrast), or even a scoop of vanilla bean ice cream for an extra indulgent treat.
- Make-Ahead Perfection: This Biscoff cheesecake is an ideal make-ahead dessert. Preparing it the day before your event allows it ample time to chill and set properly, making your hosting duties much smoother and ensuring you have a stress-free dessert ready to impress.
Frequently Asked Questions About No-Bake Biscoff Cheesecake
While a 9-inch springform pan is highly recommended for its ease of use and ability to present a clean, elegant cheesecake, it’s not strictly mandatory. You could use a deep-dish pie plate or a regular cake pan with removable bottoms. However, if you use a standard pie plate, remember that you won’t be able to remove the cheesecake from the pan, meaning you’ll have to cut and serve slices directly from the dish, which might not offer the same polished presentation. Ensure whatever pan you choose has sufficiently high sides to accommodate the filling.
Unfortunately, we generally do not recommend freezing this particular no-bake cookie butter cheesecake. Freezing can significantly alter the delicate creamy texture of the filling, making it less smooth and potentially grainy upon thawing. The high dairy content in no-bake cheesecakes can sometimes separate or become icy when frozen, which detracts from the overall enjoyment. It’s best enjoyed fresh and chilled from the refrigerator.
To maintain its freshness, flavor, and creamy texture, your Biscoff cheesecake should always be stored in the refrigerator. Cover it tightly with plastic wrap or place it in an airtight container to prevent it from absorbing other odors from the fridge and to keep it from drying out. When properly stored, this delicious dessert will remain fresh and enjoyable for up to 5 days.
Achieving perfectly clean slices requires two main things: sufficient chilling and the right cutting technique. First and foremost, ensure your cheesecake has been thoroughly chilled for at least 12 hours – this is crucial for a firm set. When it’s time to slice, use a large, sharp knife. For the cleanest cuts, wipe the knife blade clean with a damp paper towel after each slice. You can also dip the knife in hot water and dry it quickly before each cut to make it glide through the cheesecake effortlessly. This prevents crumbs and filling from sticking, giving you beautifully defined slices every time.
Absolutely! This recipe is highly adaptable for individual servings. You can use ramekins, muffin tins lined with cupcake liners, or small dessert glasses. Adjust the crust amount per serving, and the chilling time might be slightly reduced for smaller portions, but the overall process remains the same. This is a fantastic option for parties or personal treats.
A runny filling is usually due to one of two reasons: either the cream cheese wasn’t at room temperature and wasn’t beaten smooth enough, or the heavy cream wasn’t whipped to stiff peaks. Ensure your cream cheese is soft and well-beaten, and your heavy cream is very cold and properly whipped. If the filling seems a bit loose after mixing, an extra hour or two of chilling in the fridge can sometimes help it firm up, but starting with properly prepared ingredients is key.
Discover More Irresistible Cheesecake Recipes!
If you’ve fallen in love with the ease and deliciousness of this no-bake Biscoff cheesecake, you’ll be thrilled to explore our other fantastic cheesecake creations. Each recipe offers a unique flavor profile and the same no-fuss approach to dessert perfection:
- No-Bake Turtle Pie Cheesecake
- Golden Oreo Cheesecake (No-Bake)
- Strawberry Crunch Cheesecake (No-Bake)
- No-Bake Cheesecake with Mascarpone
If you’ve had the pleasure of making this delightful Biscoff cheesecake recipe, we would absolutely love to hear from you! Please take a moment to leave a ⭐️ rating and review below – your feedback is incredibly valuable and helps other home bakers. I genuinely love seeing your culinary creations, so don’t forget to tag me on Instagram @alpineella so I can admire your work! You can also follow along for more delicious recipes and baking inspiration on Pinterest,Facebook and TikTok!
Recipe Card: No-Bake Biscoff Cheesecake
No-Bake Biscoff Cheesecake
Ella Gilbert
Pin Recipe
Save RecipeSaved!
Equipment
-
9″ springform pan
-
Food processor or blender
-
Stand mixer with whisk and paddle attachments (or hand mixer)
-
Rubber spatula
-
Small offset spatula
Ingredients
Cheesecake Crust
- 2 cups Biscoff cookies (approx. 8.8 oz / 250g, crushed finely)
- 1 stick unsalted butter (½ cup / 113g), melted
Cheesecake Filling
- 1 cup heavy cream (cold, 240ml / double cream)
- 16 oz full-fat cream cheese (room temperature, 450g, Philadelphia recommended)
- 2 teaspoon vanilla extract
- 1 cup confectioners’ sugar (sifted, 120g)
- ½ cup Biscoff spread (smooth cookie butter, 120g)
Topping
- ½ cup Biscoff spread (smooth cookie butter, 120g, melted)
- 1 Biscoff cookie (crushed, for garnish)
Instructions
Crust Preparation
-
Using a food processor or blender, pulse the Biscoff cookies until you have fine, even crumbs. Pour in the melted unsalted butter and mix again until all crumbs are thoroughly moistened.2 cups Biscoff cookies, 1 stick unsalted butter
-
Press the mixture firmly and evenly into the bottom of a 9-inch springform pan. Use the bottom of a measuring cup or a rubber spatula to ensure it’s well-packed. Place the pan in the freezer for at least 20 minutes to firm up the crust while you prepare the filling.
Cheesecake Filling
-
In a stand mixer fitted with the whisk attachment (or using a handheld electric mixer), whip the cold heavy cream on medium-high speed until you achieve stiff peaks. This typically takes 4-5 minutes. Set the whipped cream aside.1 cup heavy cream
-
Using the paddle attachment on your stand mixer, beat the room-temperature full-fat cream cheese until it is completely smooth and lump-free on medium speed. (For European cream cheese, pat dry before beating).16 oz cream cheese
-
Add the sifted confectioners’ sugar, Biscoff spread, and vanilla extract to the cream cheese mixture. Beat on medium speed until well combined and perfectly smooth. Scrape down the sides and bottom of the bowl as needed to ensure everything is incorporated. Stop mixing once smooth to avoid over-beating.2 teaspoon vanilla extract, 1 cup confectioners’ sugar, ½ cup Biscoff spread
-
Gently fold the reserved whipped cream into the Biscoff cream cheese mixture using a rubber spatula. Fold carefully until it is completely incorporated, taking care not to deflate the whipped cream, which keeps the filling light and airy.
-
Take the chilled crust out of the freezer. Pour the creamy Biscoff filling into the crust and use a small offset spatula to smooth the top surface evenly. Cover the springform pan tightly with plastic wrap and chill in the refrigerator for a minimum of 12 hours for the best set and cleanest slices.
Topping and Serving
-
The next day, or once thoroughly chilled, melt the remaining ½ cup of Biscoff spread in the microwave in short intervals until smooth and pourable. Remove the plastic wrap from the cheesecake and carefully release the sides of the springform pan. Pour the melted cookie butter over the top of the cheesecake, spreading it evenly with a small offset spatula. Immediately sprinkle the crushed Biscoff cookie over the topping for garnish. Return the cheesecake to the fridge for 20-30 minutes for the topping to set slightly before slicing and serving.½ cup Biscoff spread, 1 Biscoff cookie
Video Tutorial
Chef’s Notes & Important Tips
Cream Cheese Selection: For the creamiest and most stable cheesecake, always use full-fat cream cheese, such as Philadelphia brand. If you are baking in Europe and your cream cheese comes in tubs, it tends to have higher moisture content. To ensure your cheesecake sets properly and isn’t too soft, make sure to pat the cream cheese dry with a paper towel to remove any excess moisture before mixing. Also, ensure your cream cheese is at room temperature before beating for a silky-smooth, lump-free filling.
Heavy Cream (Double Cream): In the UK, “heavy cream” is equivalent to “double cream.” Ensure it’s very cold before whipping to achieve stiff peaks, which is crucial for the cheesecake’s airy texture.
Biscoff Spread Alternatives: Lotus Biscoff spread is sometimes labeled as “Cookie Butter” in certain regions, notably at stores like Trader Joe’s. Any smooth, good quality Speculoos cookie butter spread will work for this recipe if Biscoff brand is unavailable.
Optimal Storage: To keep your no-bake Biscoff cheesecake at its best, store it tightly covered with plastic wrap or in an airtight container in the refrigerator. It will maintain its delicious flavor and texture for up to 5 days.
Nutrition Information
