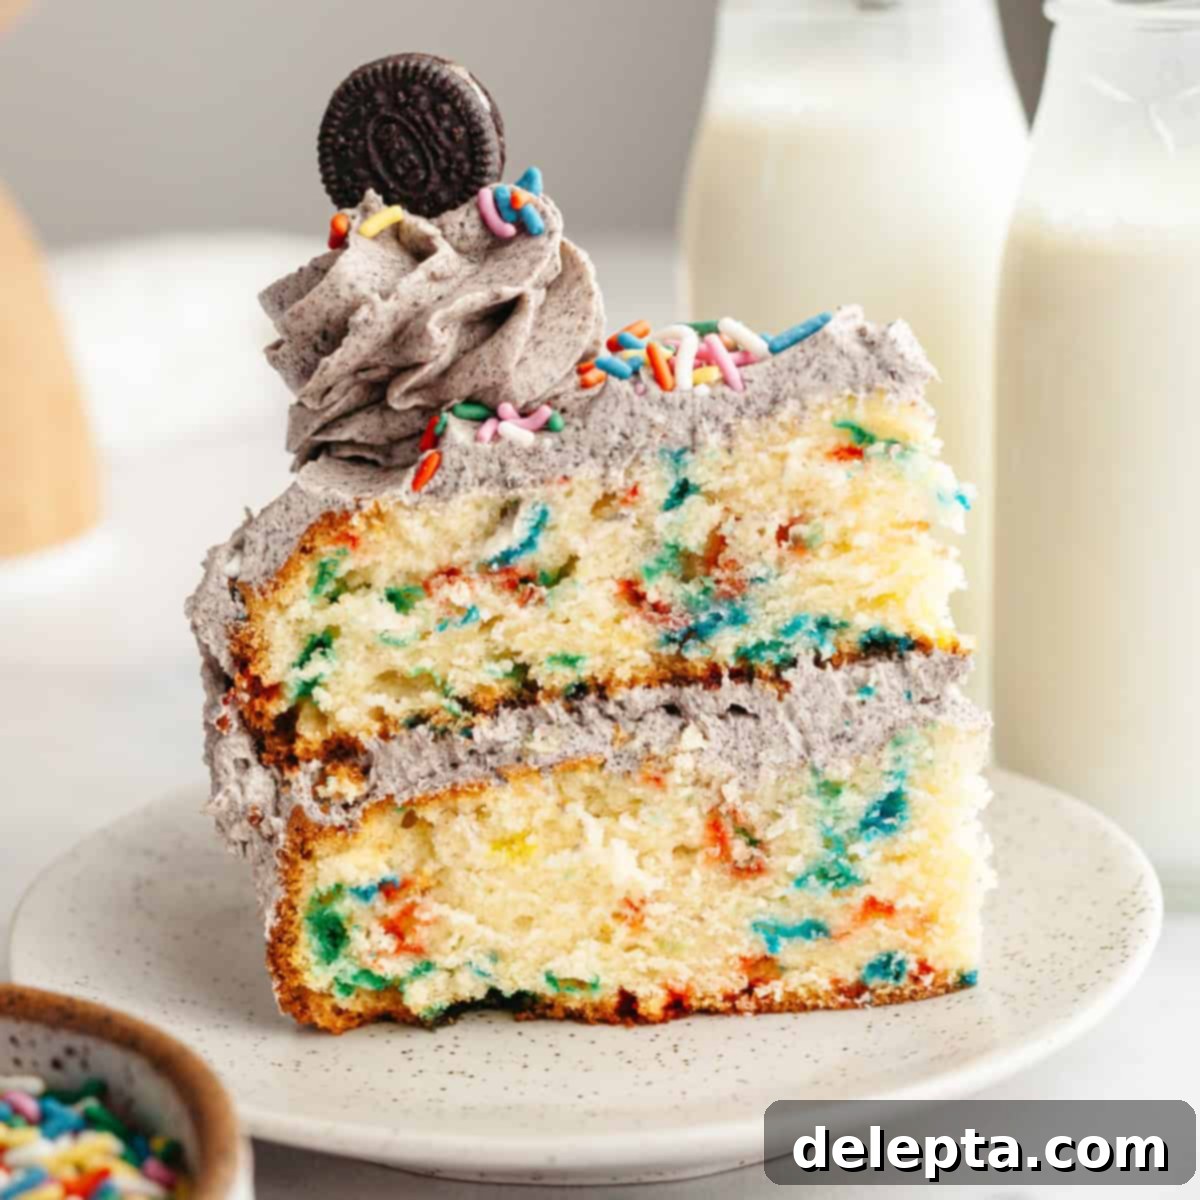
Irresistibly Delicious Funfetti Oreo Cake: The Ultimate Festive Dessert
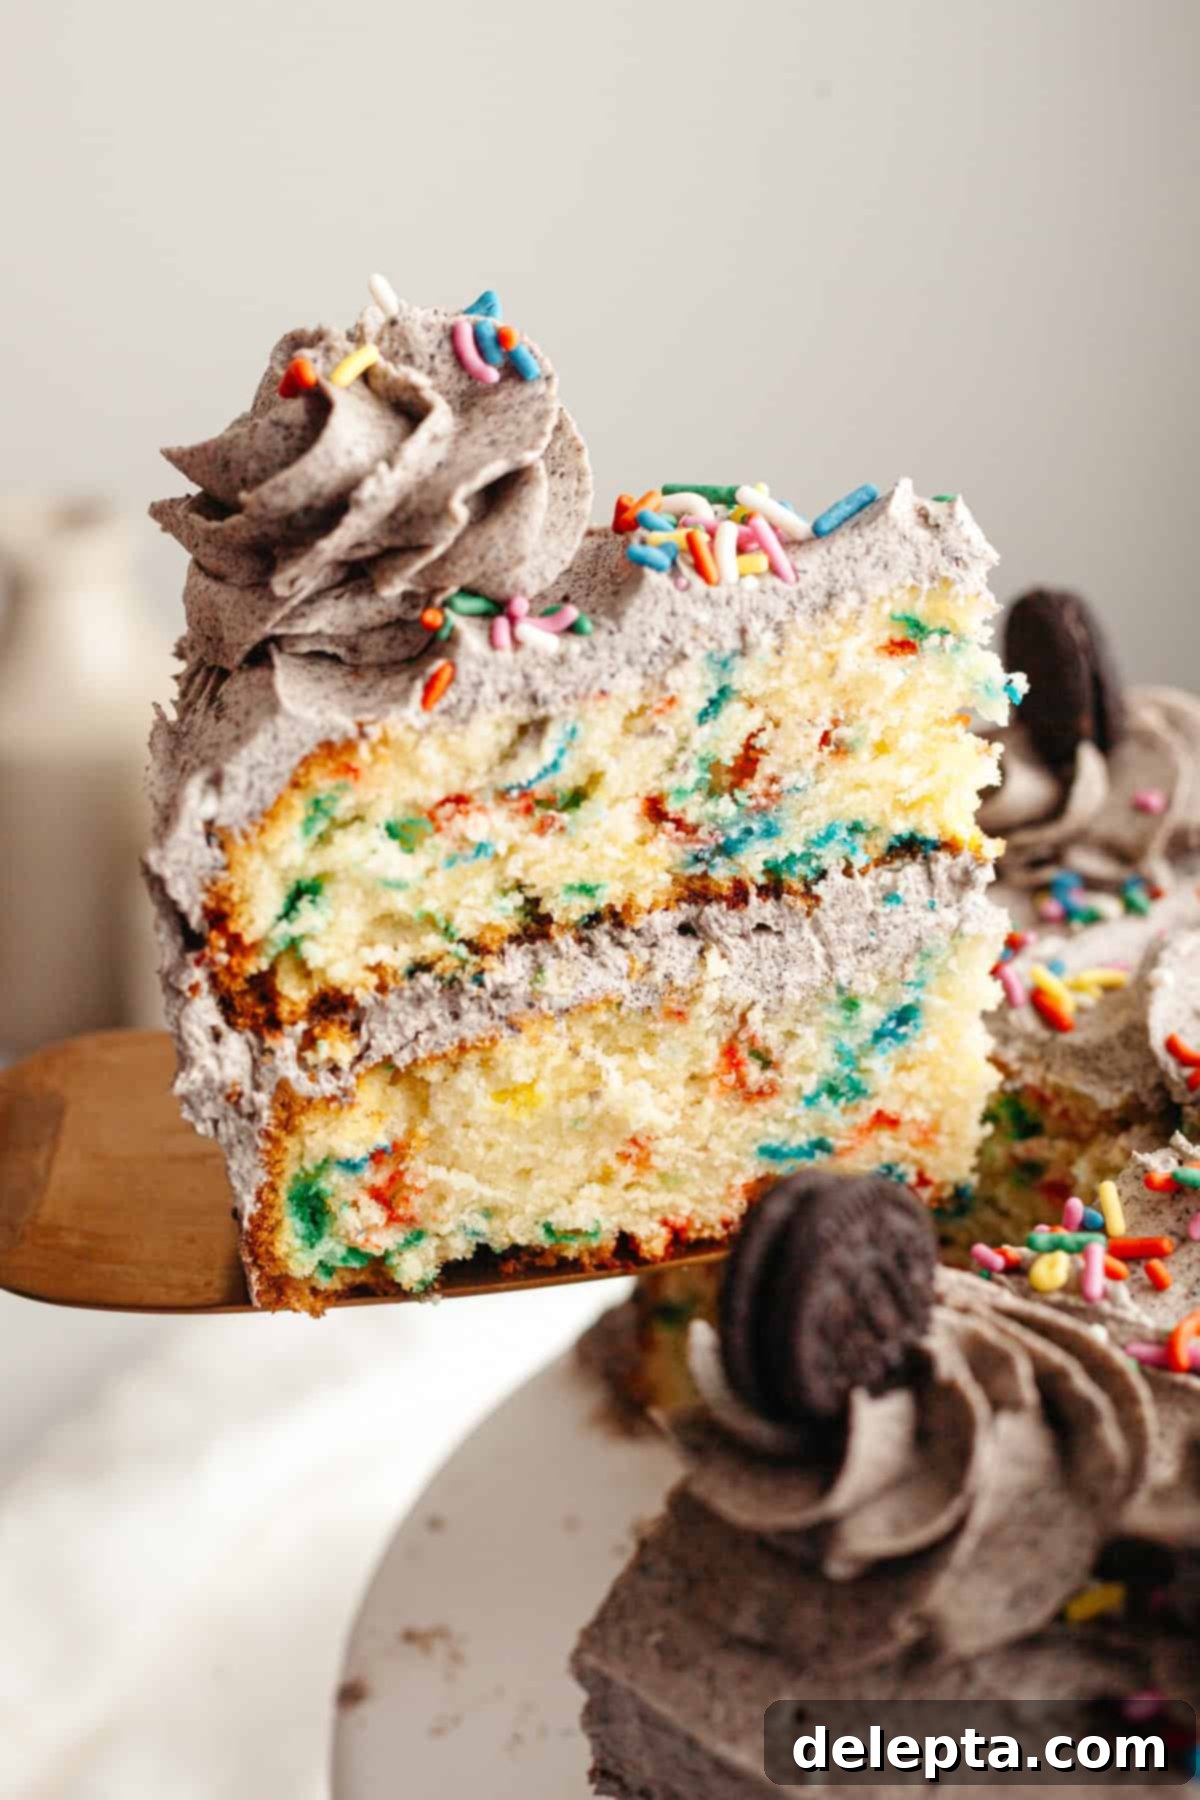
Prepare to delight your senses with this incredible Funfetti Oreo Cake! This isn’t just any cake; it’s a celebration in every slice, featuring gloriously soft, incredibly tender funfetti cake layers generously studded with vibrant rainbow sprinkles, all enveloped in a luxurious, creamy Oreo American buttercream. With its playful appearance and unforgettable flavor combination, this funfetti layer cake is the quintessential treat for birthdays, special occasions, or simply when you need a burst of joy. After all, what could possibly say “party” better than sprinkles and America’s favorite cookie? To elevate the festive look even further, I’ve adorned this masterpiece with a medley of extra rainbow sprinkles and charming mini Oreos. The secret to the funfetti cake’s remarkably soft and moist texture lies in a thoughtful blend of rich buttermilk and a clever swap of some traditional butter for neutral oil, ensuring a truly plush crumb that stays fresh for days.
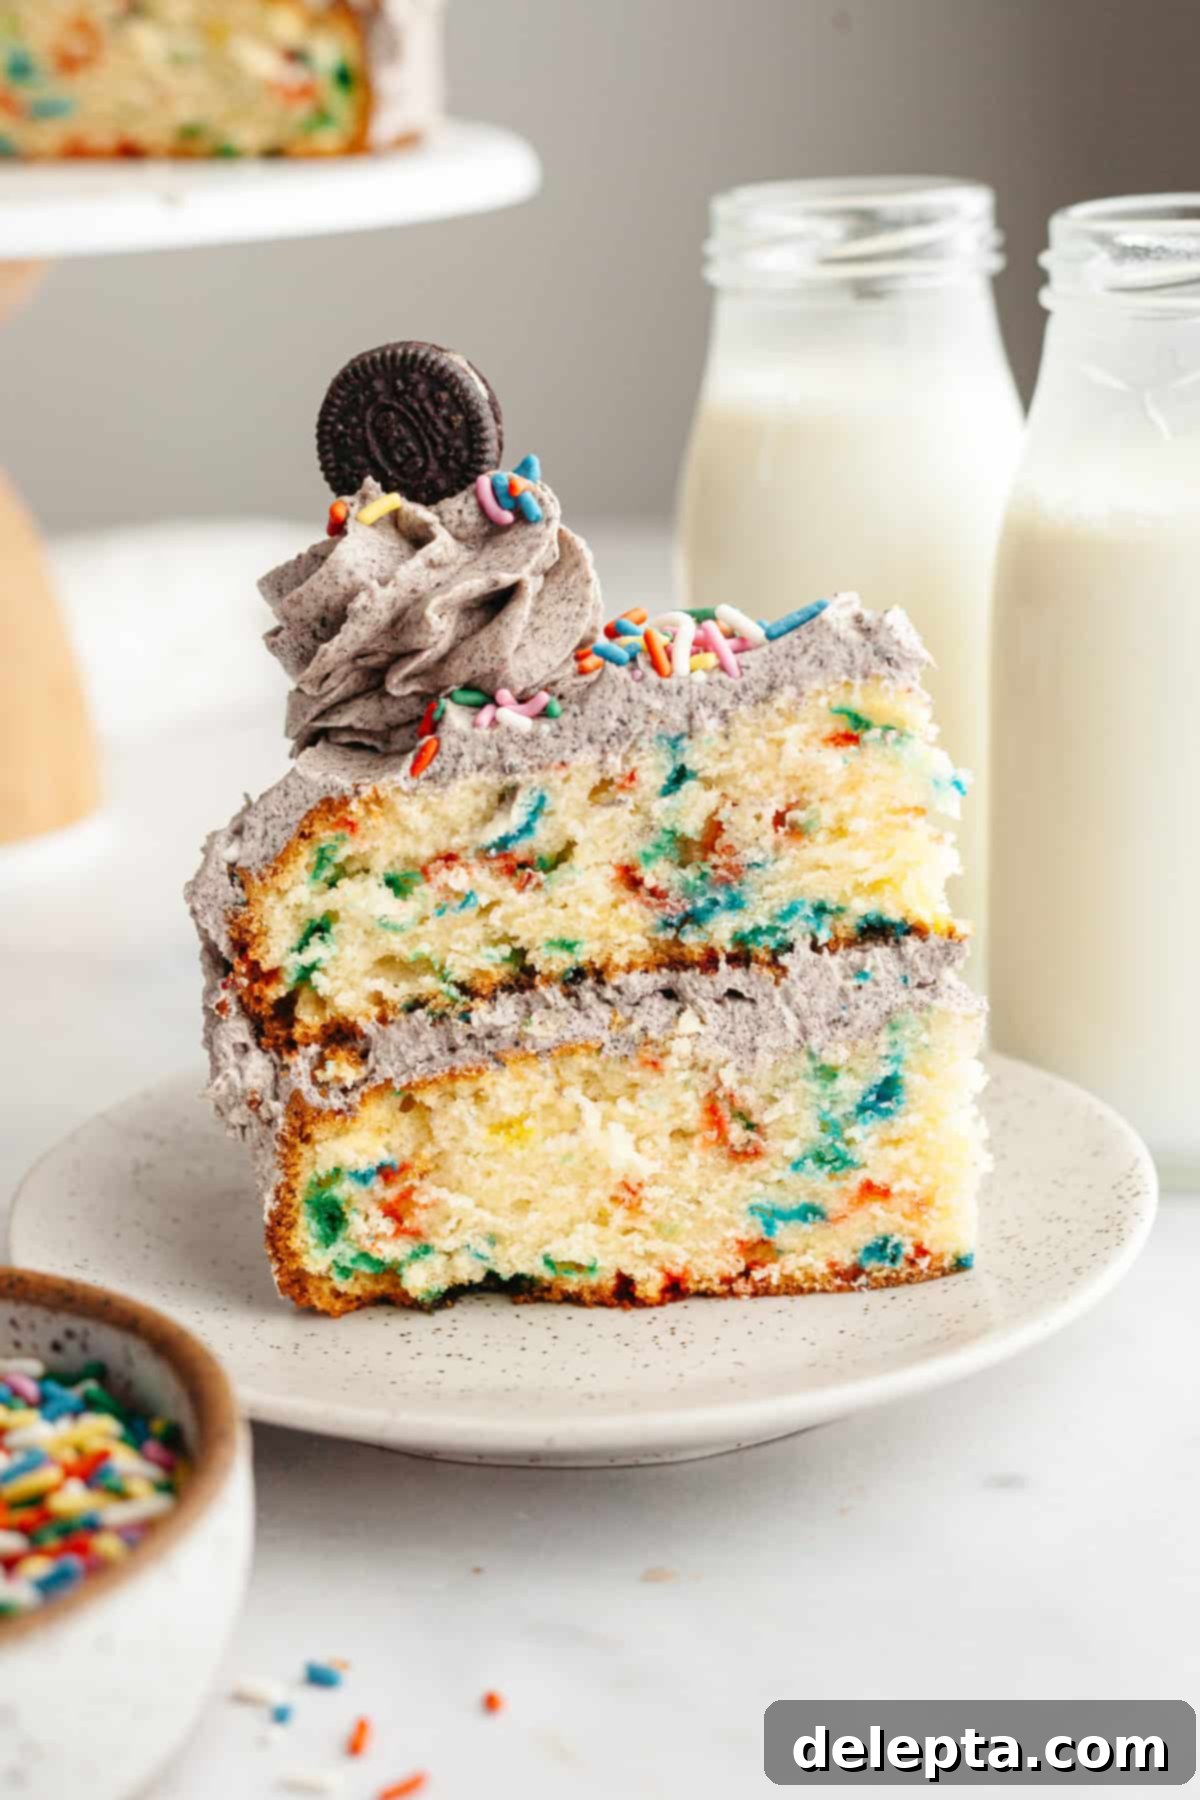
Ever since I perfected my funfetti cake with strawberry frosting, I’ve been on a mission to explore all the delicious possibilities of funfetti recipes. It’s safe to say I’m utterly obsessed! (And yes, you guessed it, I’m already planning a funfetti sheet cake for this week!) This particular Oreo Funfetti Cake utilizes the exact same tried-and-true vanilla cake base as my beloved strawberry version, guaranteeing you a consistently delicious, tender crumb bursting with bright rainbow sprinkles. It’s a foundation that never disappoints, ensuring your funfetti layers are always a hit.
To complement these delightful funfetti layers, I’ve generously covered the cake in my absolute favorite Oreo frosting – a classic American buttercream. American buttercream is renowned for being one of the simplest frostings to whip up, requiring just a few staple ingredients: butter blended with confectioners’ sugar. What transforms this into an irresistible Oreo frosting is the addition of finely crushed Oreo crumbs, infusing every bite with that unmistakable, rich chocolate cookie flavor. The balance between the sweet, playful funfetti and the deep, chocolatey Oreo cream is simply divine.
If you find yourself craving more indulgent layer cakes or have a particular love for Oreo desserts, you absolutely must try some of my other popular creations. Sink your teeth into my decadent triple chocolate layer cake, experience the vibrant richness of my Oreo red velvet cake (which happily features the same scrumptious Oreo buttercream!), or explore the romantic flavors of my chocolate-covered strawberry cake. Each recipe offers a unique journey for your taste buds, but this Funfetti Oreo Cake truly stands out as a joyful crowd-pleaser.
Why You’ll Absolutely Love This Funfetti Oreo Cake!
- Effortlessly Simple Recipe: Don’t let the impressive appearance of this layer cake fool you. I’ve meticulously designed this recipe to be as straightforward and approachable as possible, even for those new to multi-layered cakes. While you will need a reliable stand mixer or a powerful handheld mixer for both the cake batter and the frosting (which simplifies the process immensely!), the steps themselves are intuitive and easy to follow. This recipe focuses on maximizing flavor and visual appeal without unnecessary complexity, making homemade celebration cakes achievable for everyone.
- The Dream Team: Oreo 🤝 Funfetti: This cake delivers an unparalleled flavor experience by perfectly marrying two beloved dessert icons. You get the irresistible, classic chocolatey notes thanks to the finely crushed Oreo cookie crumbs generously folded into the rich buttercream. This deep, satisfying flavor contrasts beautifully with the plush, tender funfetti cake, which bursts with cheerful rainbow sprinkles and the comforting aroma of vanilla extract. Together, they create a nostalgic birthday cake flavor profile that evokes pure joy and excitement with every forkful. It’s the ultimate combination of playful fun and indulgent richness.
- Unbeatable Texture: Beyond its fantastic flavor, this Funfetti Oreo Cake boasts an incredibly soft, moist, and tender crumb. The thoughtful inclusion of buttermilk contributes a subtle tang and remarkable moisture, while a strategic swap of some butter for neutral oil ensures the cake remains plush and delightful for days. This combination prevents dryness and yields a cake that feels incredibly luxurious and melts in your mouth.
- Visually Stunning: With its vibrant rainbow sprinkles embedded in the cake layers and sprinkled generously on top, along with the contrasting dark Oreo frosting and optional mini Oreos for garnish, this cake is an absolute showstopper. It’s a feast for the eyes as much as it is for the palate, guaranteed to bring smiles and compliments at any gathering.
- A Guaranteed Crowd-Pleaser: Whether you’re celebrating a birthday, an anniversary, a holiday, or simply want to brighten a regular day, this Funfetti Oreo Cake is universally loved. Its familiar yet exciting flavors appeal to all ages, making it the perfect centerpiece for any event and ensuring there are never any leftovers!
Gather Your Essential Ingredients!
Crafting this delightful Funfetti Oreo Cake begins with selecting the right ingredients. Here’s a closer look at some of the key components and why they are essential for achieving the perfect result:
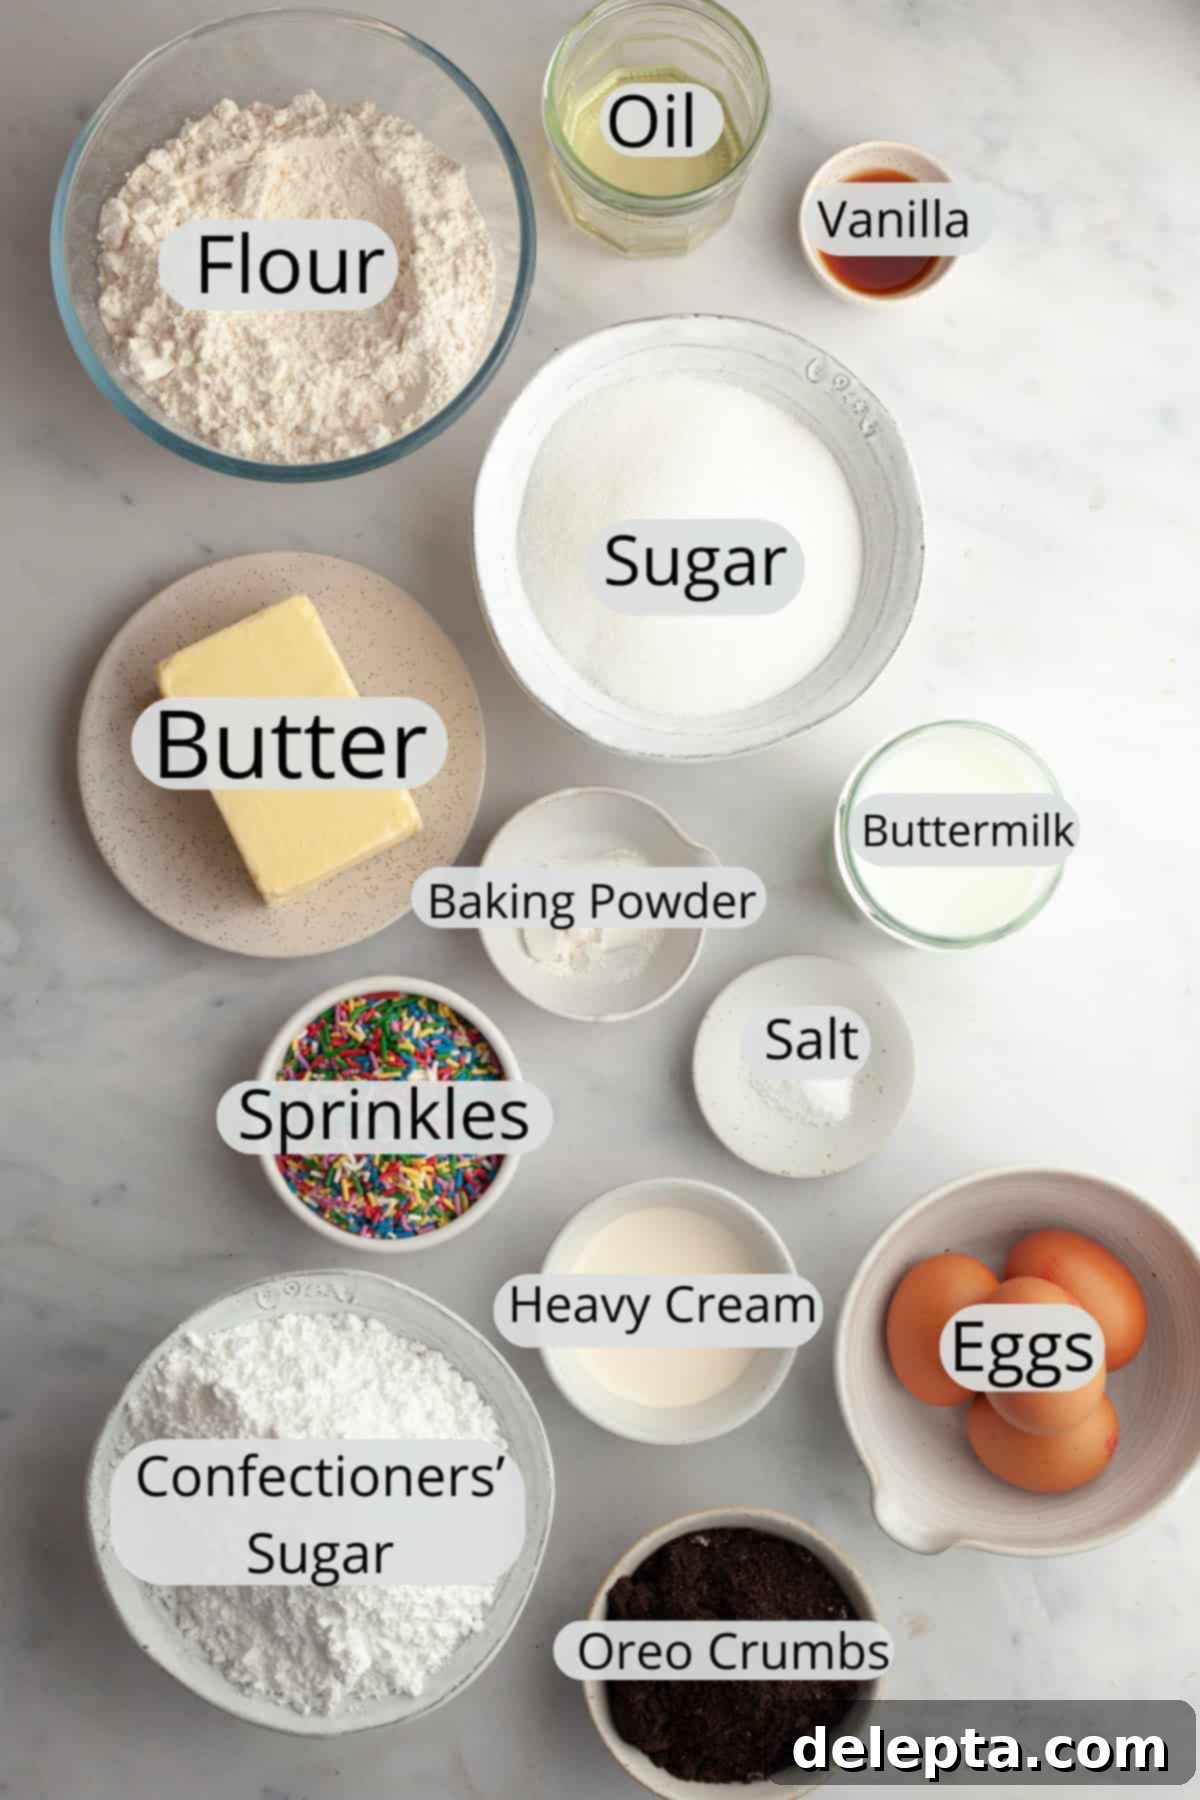
- Oreo Crumbs: These are the star of our luscious Oreo buttercream! While you might be able to find ready-made Oreo cookie crumbs in some specialty grocery stores, making them yourself is incredibly easy and ensures maximum freshness. Simply pulse whole Oreo cookies (cream filling included for extra richness!) in a food processor or a high-speed blender until they form fine, even crumbs. Alternatively, for a more hands-on approach, place them in a sturdy ziploc bag and crush them thoroughly with a rolling pin. The key is to achieve very fine crumbs – this is crucial, especially if you plan to pipe the frosting, as larger chunks can clog your piping tip and cause frustration.
- Rainbow Sprinkles: For that quintessential “funfetti” look, the type of sprinkles truly matters. I highly recommend using long-stranded sprinkles, commonly known as “jimmies” or sometimes “confetti sprinkles.” These hold their shape and vibrant colors beautifully within the cake batter during baking. Avoid the tiny, round nonpareils, as they tend to dissolve and bleed their colors into the batter, leaving you with a dull, murky appearance rather than distinct, cheerful speckles.
- Neutral Oil: This ingredient is a game-changer for cake texture! By thoughtfully swapping out some of the traditional butter for a neutral-flavored oil (such as sunflower oil, vegetable oil, or canola oil), we achieve an unparalleled level of softness and plushness in the cake crumb. Oil contributes moisture in a way that butter alone cannot, keeping your cake wonderfully soft and fresh for several days. However, we still retain a portion of butter in the recipe to ensure that delightful, rich buttery flavor is not lost. It’s the best of both worlds!
- Buttermilk: I am a huge advocate for using buttermilk in almost all my cake recipes, and for good reason! Beyond imparting a subtle, pleasing tangy taste that beautifully balances the sweetness of the cake, buttermilk plays a vital role in activating the baking powder, contributing to a lighter, more tender, and exceptionally moist crumb. If you don’t have buttermilk on hand, you can easily make a substitute by adding one tablespoon of white vinegar or lemon juice to a measuring cup, then filling the rest of the cup with regular milk and letting it sit for 5-10 minutes until it slightly curdles.
- All-Purpose Flour: The foundation of our cake structure. Always measure flour accurately, ideally by weight using a kitchen scale for the most consistent results. If measuring by volume, spoon the flour into your measuring cup and level it off with a straight edge to avoid packing too much flour, which can lead to a dense, dry cake.
- Granulated Sugar: Provides sweetness and also contributes to the cake’s tenderness and moisture by retaining water.
- Unsalted Butter (Room Temperature): Used in both the cake and frosting. Ensure it’s at room temperature for proper creaming with sugar, which incorporates air and creates a light texture. Using unsalted butter allows you to control the total salt content in your recipe.
- Large Eggs (Room Temperature): Eggs add structure, richness, and moisture. Bringing them to room temperature before mixing helps them emulsify better with other ingredients, resulting in a smoother, more uniform batter.
- Vanilla Extract: A crucial flavor enhancer for both the funfetti cake and the Oreo buttercream, lending a warm, comforting aroma and taste. Use good quality pure vanilla extract for the best flavor.
- Baking Powder & Kosher Salt: Baking powder is our leavening agent, ensuring the cake rises beautifully and achieves a light texture. Salt is essential for balancing and enhancing all the other flavors, preventing the cake from tasting bland or overly sweet.
- Heavy Cream: Used in the Oreo buttercream to achieve the perfect creamy, spreadable consistency and add richness.
Let’s Bake This Incredible Funfetti Oreo Cake!
Follow these detailed steps to create your own show-stopping Funfetti Oreo Cake. Precision and patience are your best friends in baking!
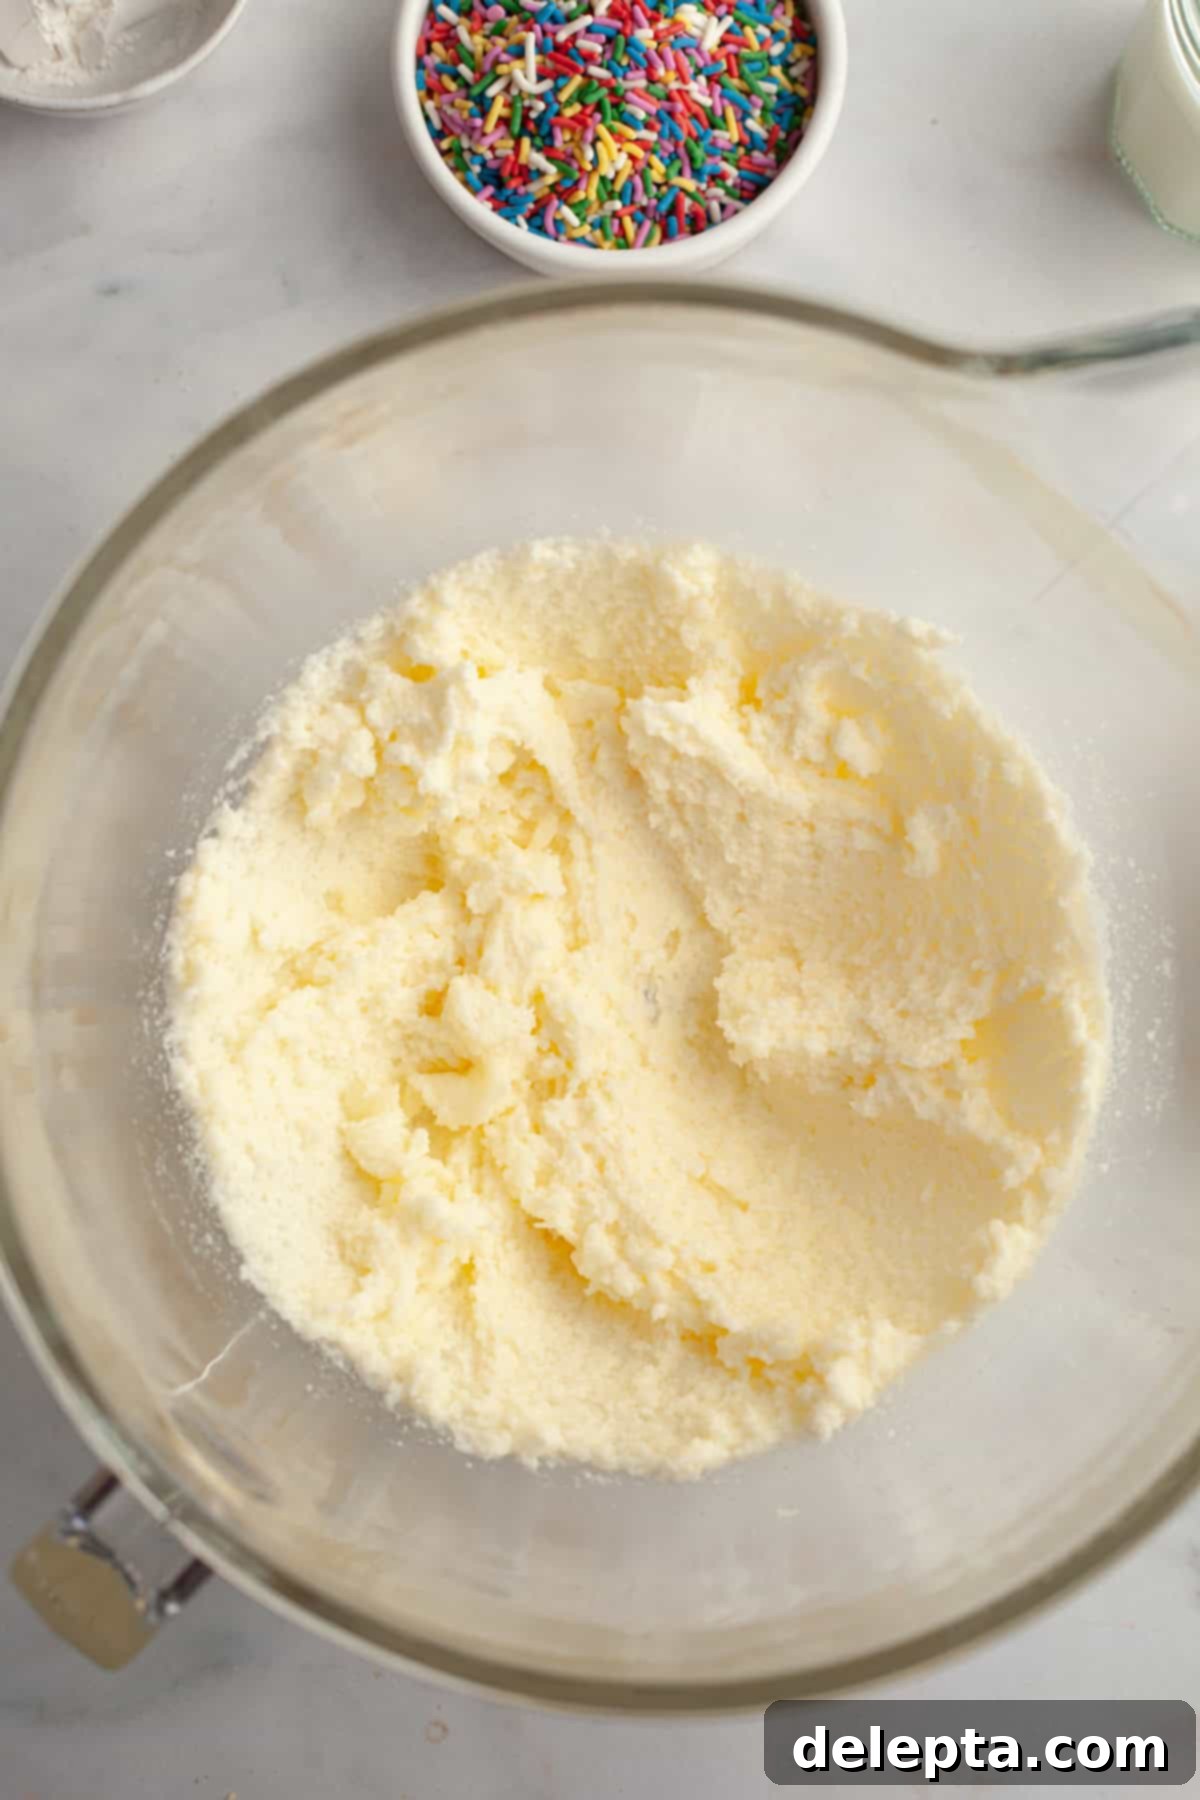
- Step 1: Prepare Your Pans and Cream Ingredients. Begin by preheating your oven to 350ºF (175ºC). Generously grease and line the bottoms of two 8-inch round cake pans with parchment paper. This preparation ensures your beautiful cake layers release easily without sticking. In the bowl of a stand mixer fitted with the paddle attachment, or using a large bowl with a handheld mixer, combine the softened room temperature unsalted butter, granulated sugar, and neutral oil. Beat these ingredients on medium speed for 2-3 minutes until the mixture becomes wonderfully light, fluffy, and pale yellow. This creaming process is vital for incorporating air into the batter, which contributes to the cake’s tender texture.
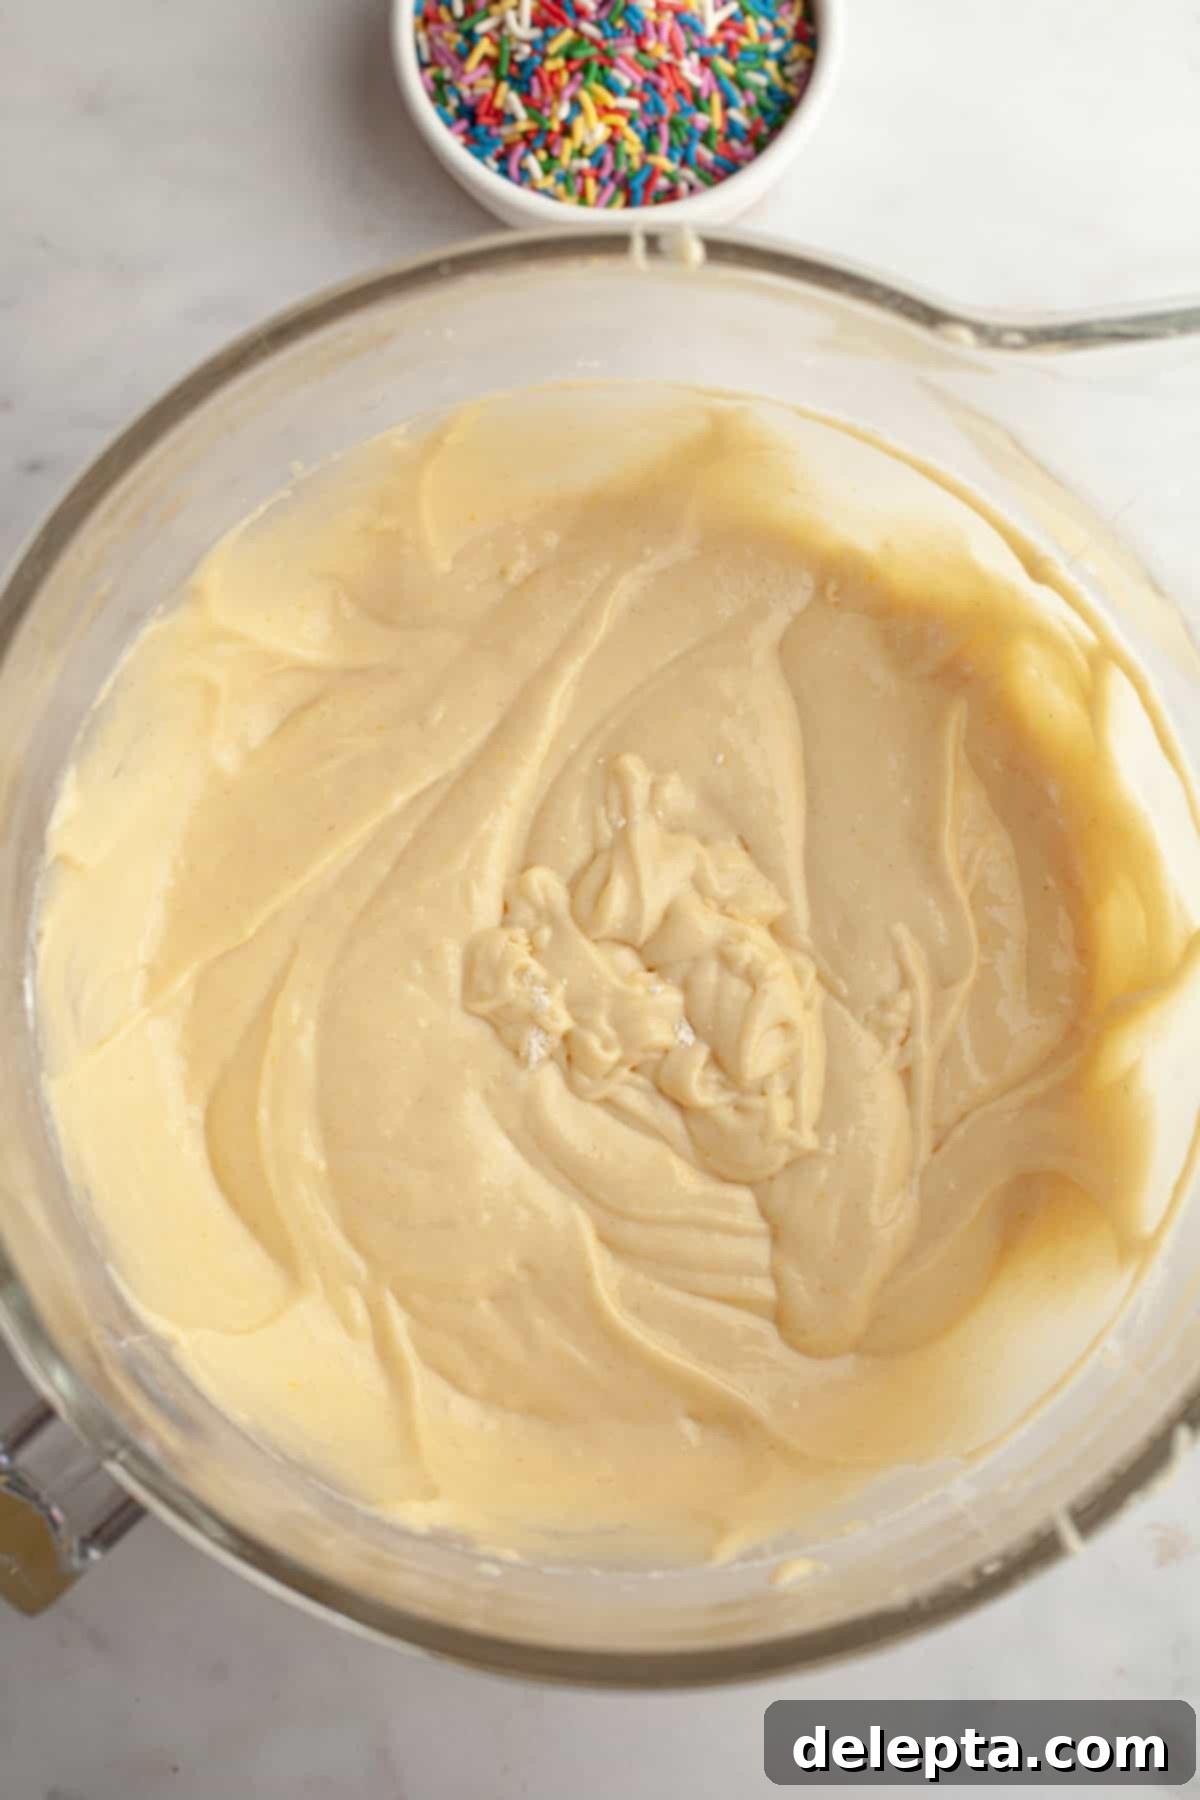
- Step 2: Incorporate Eggs and Vanilla. Add the large room temperature eggs to your creamed mixture, one at a time. After each egg addition, beat thoroughly until just combined, then stop the mixer and scrape down the sides and bottom of the bowl with a rubber spatula. This ensures all ingredients are fully incorporated and prevents streaks of unmixed batter. Once all eggs are in, mix in the vanilla extract until just blended. In a separate, small bowl, whisk together the all-purpose flour, baking powder, and kosher salt. This dry mixture will be added to the wet ingredients in stages.
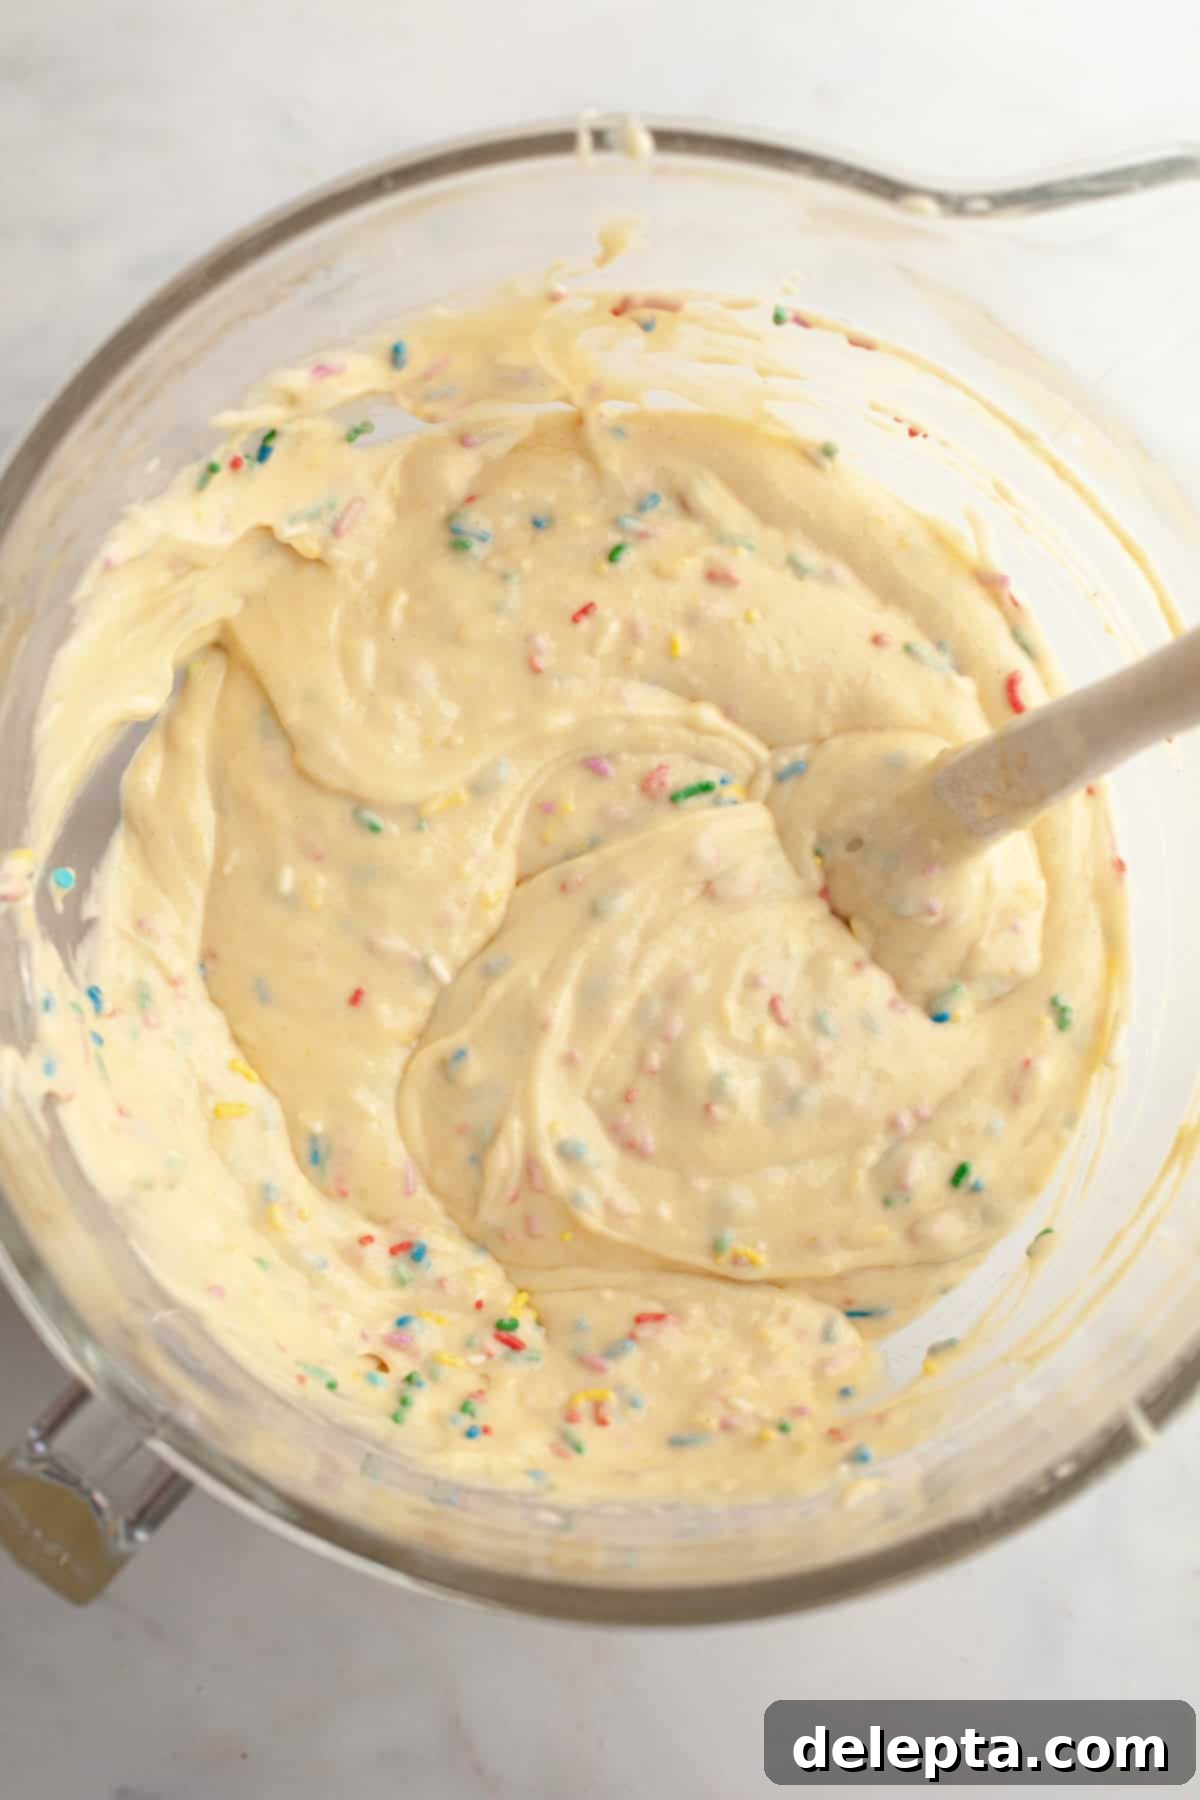
- Step 3: Alternate Dry and Wet Ingredients, Add Sprinkles. With the mixer on low speed, add approximately one-third of the dry flour mixture to the wet ingredients and mix until just combined – be careful not to overmix. Next, pour in half of the buttermilk and mix until just incorporated. Repeat this process once more, adding another third of the dry ingredients, mixing, then the remaining buttermilk, and mixing again. Finish by adding the last third of the dry ingredients and mixing just until no dry streaks remain. Overmixing the flour can develop too much gluten, resulting in a tough cake. Finally, gently fold in the rainbow sprinkles by hand using a rubber spatula, distributing them evenly throughout the funfetti cake batter.
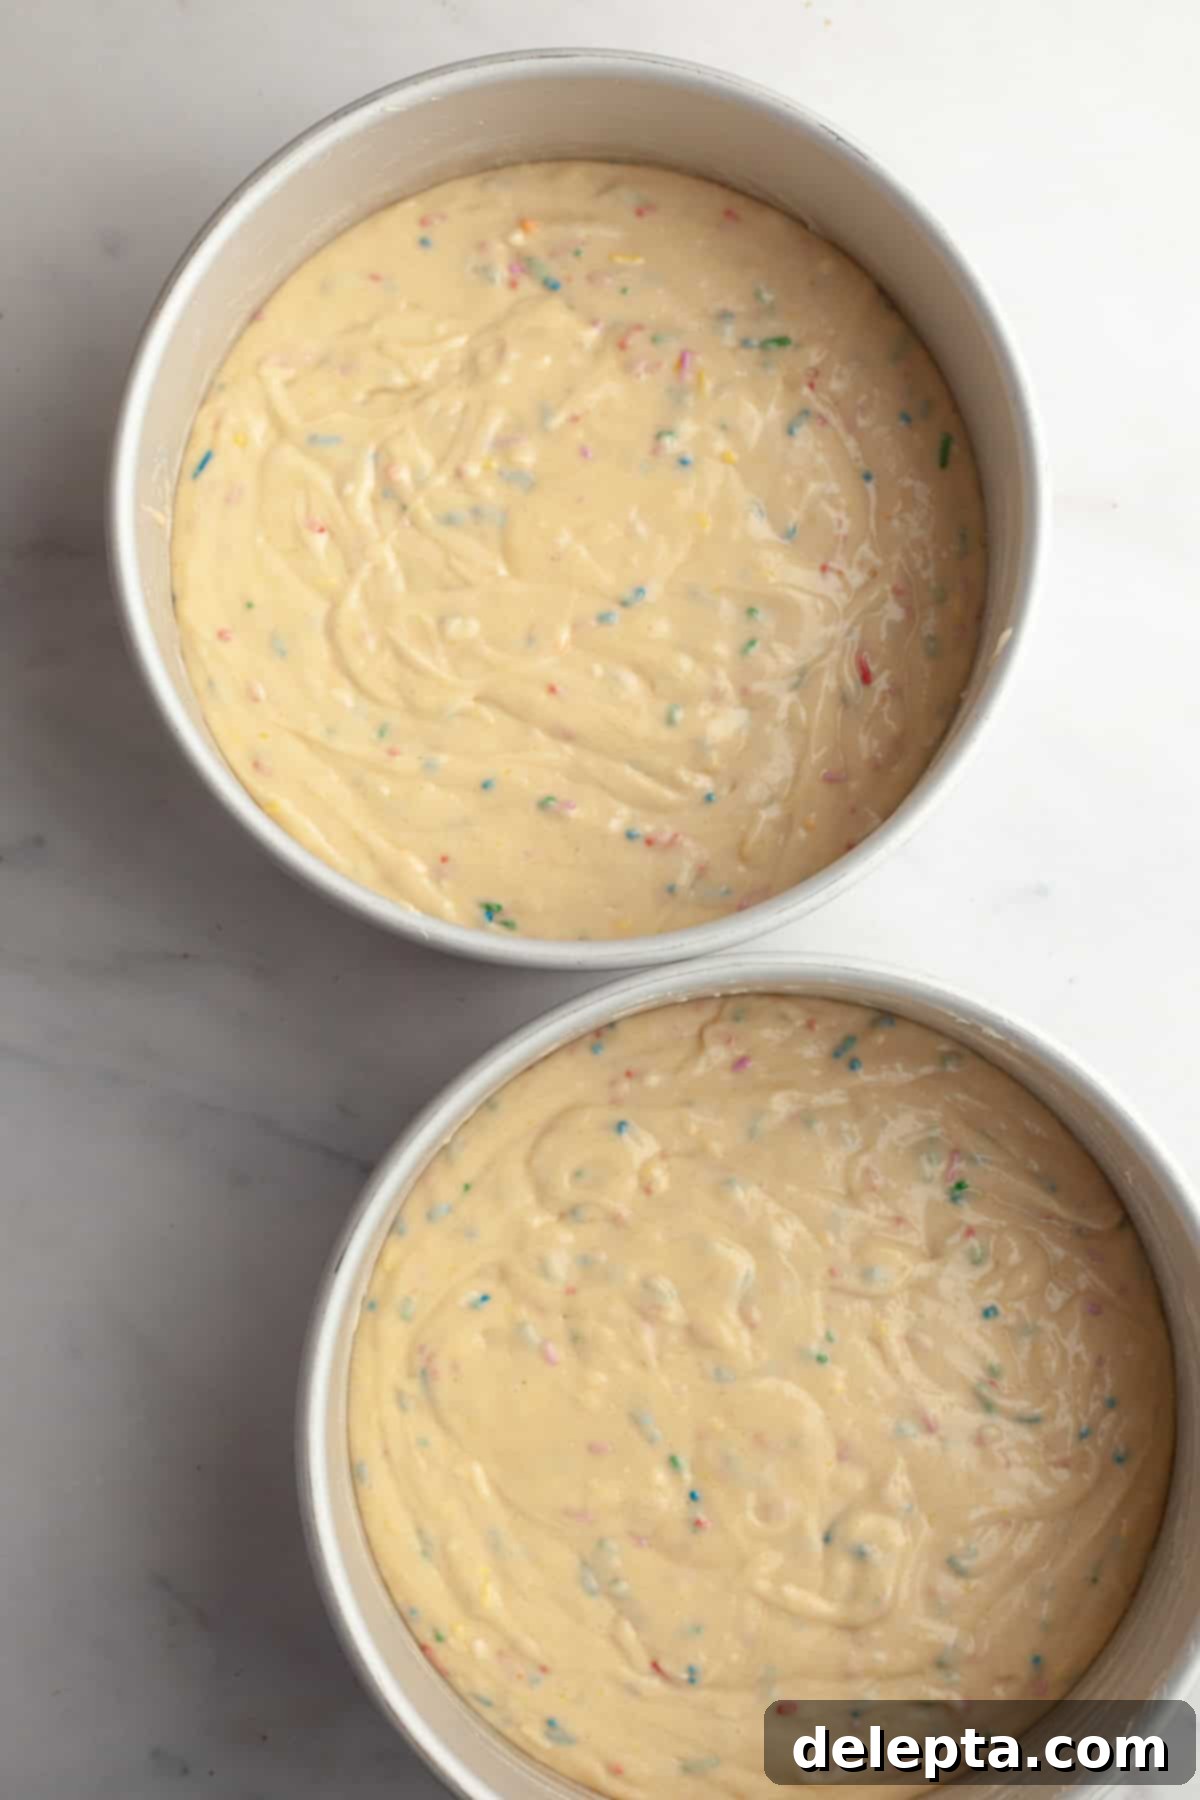
- Step 4: Bake and Cool the Cake Layers. Evenly divide the vibrant funfetti cake batter between your two prepared 8-inch cake pans. Place the pans in the preheated oven and bake for approximately 30-35 minutes. To check for doneness, insert a toothpick into the center of a cake layer; if it comes out clean or with a few moist crumbs, the cake is ready. Allow the baked cake layers to cool in their pans on a wire rack for about 10-15 minutes. This cooling period helps them firm up slightly before you attempt to remove them. After this initial cooling, carefully invert the cakes onto the wire rack to cool completely. It’s crucial that the cakes are entirely cool before frosting, otherwise, your buttercream will melt!
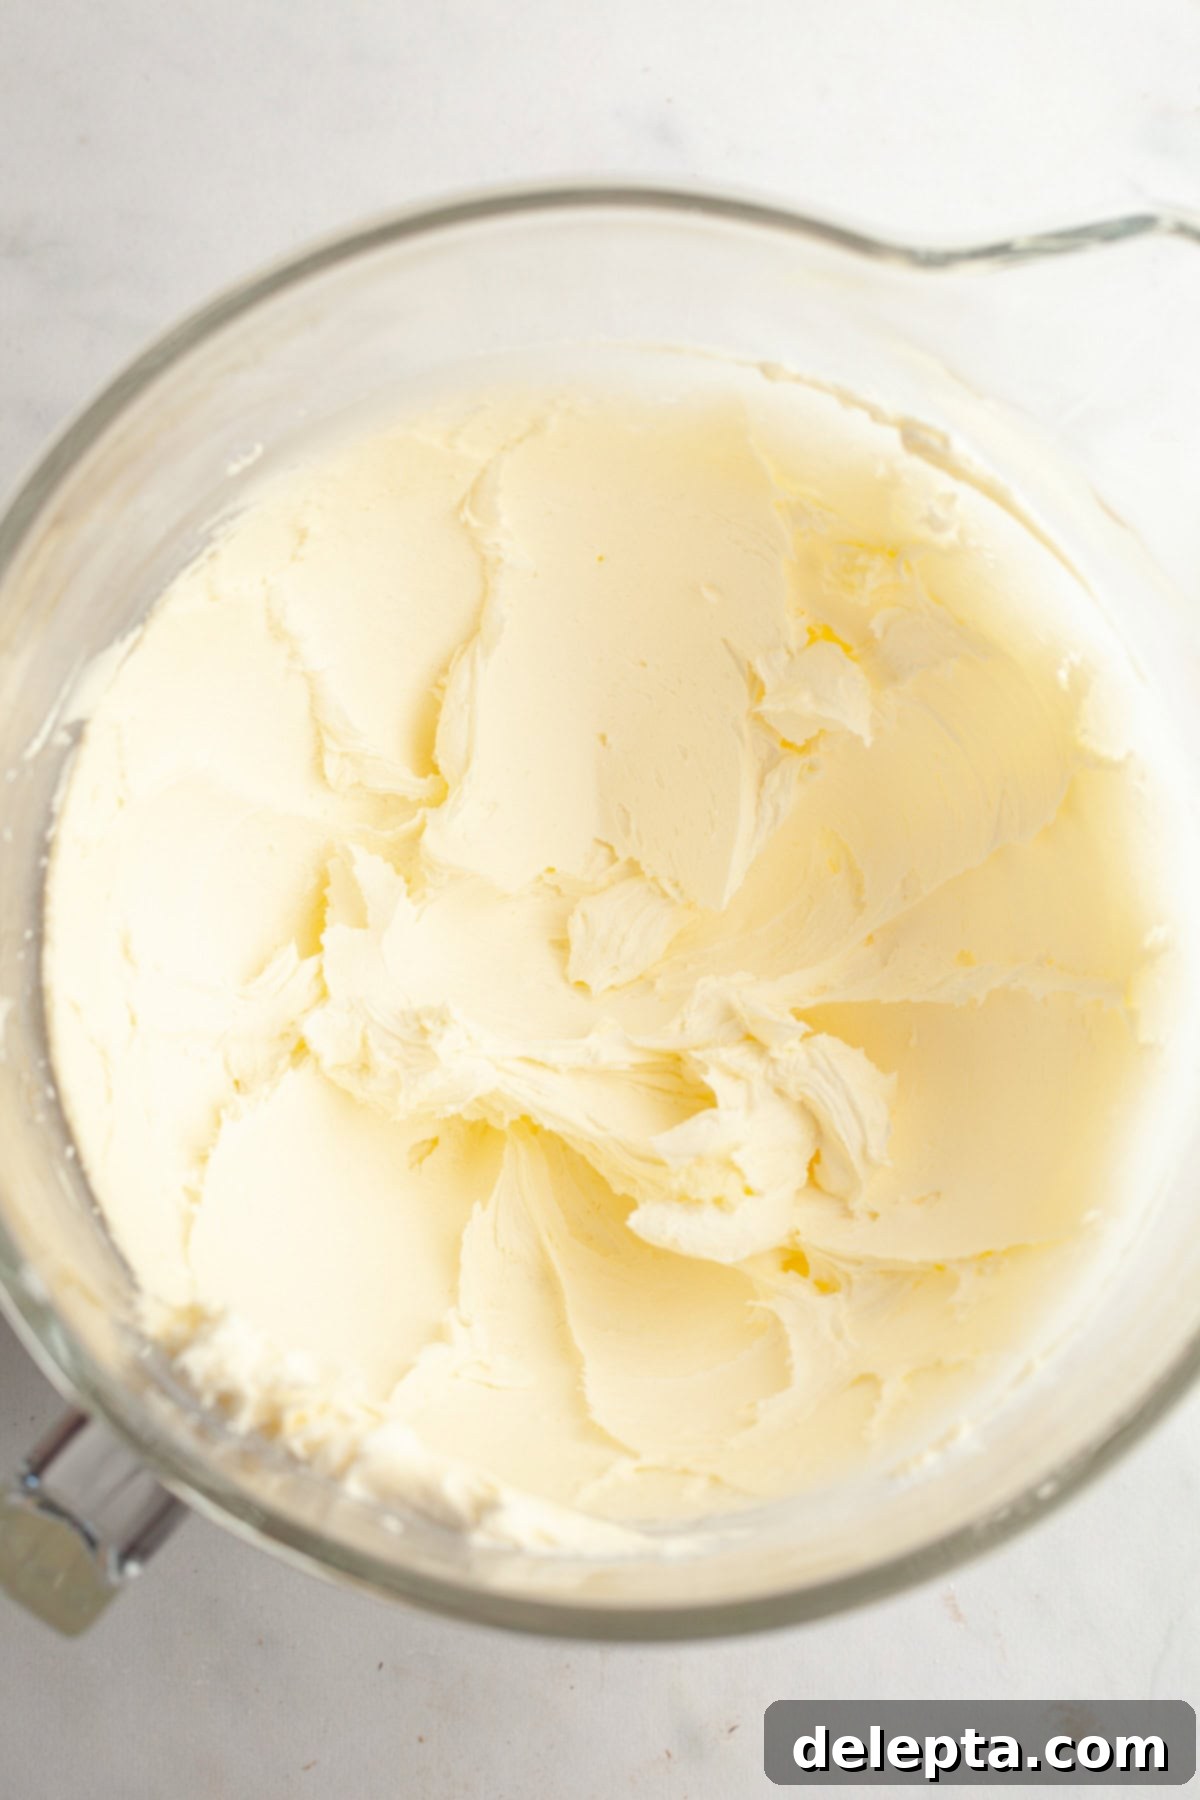
- Step 5: Prepare the Oreo Buttercream Base. While your cake layers are cooling, you can start on the star of the frosting: the creamy Oreo buttercream. In the bowl of a stand mixer fitted with the paddle attachment, or with a handheld mixer, combine the softened room temperature unsalted butter with the confectioners’ sugar. Start beating on a very low speed to prevent a cloud of sugar from forming, then gradually increase the speed to medium. Beat until these two ingredients are well combined and somewhat thick. This process can take a few minutes as you’re incorporating air and dissolving the sugar into the butter.
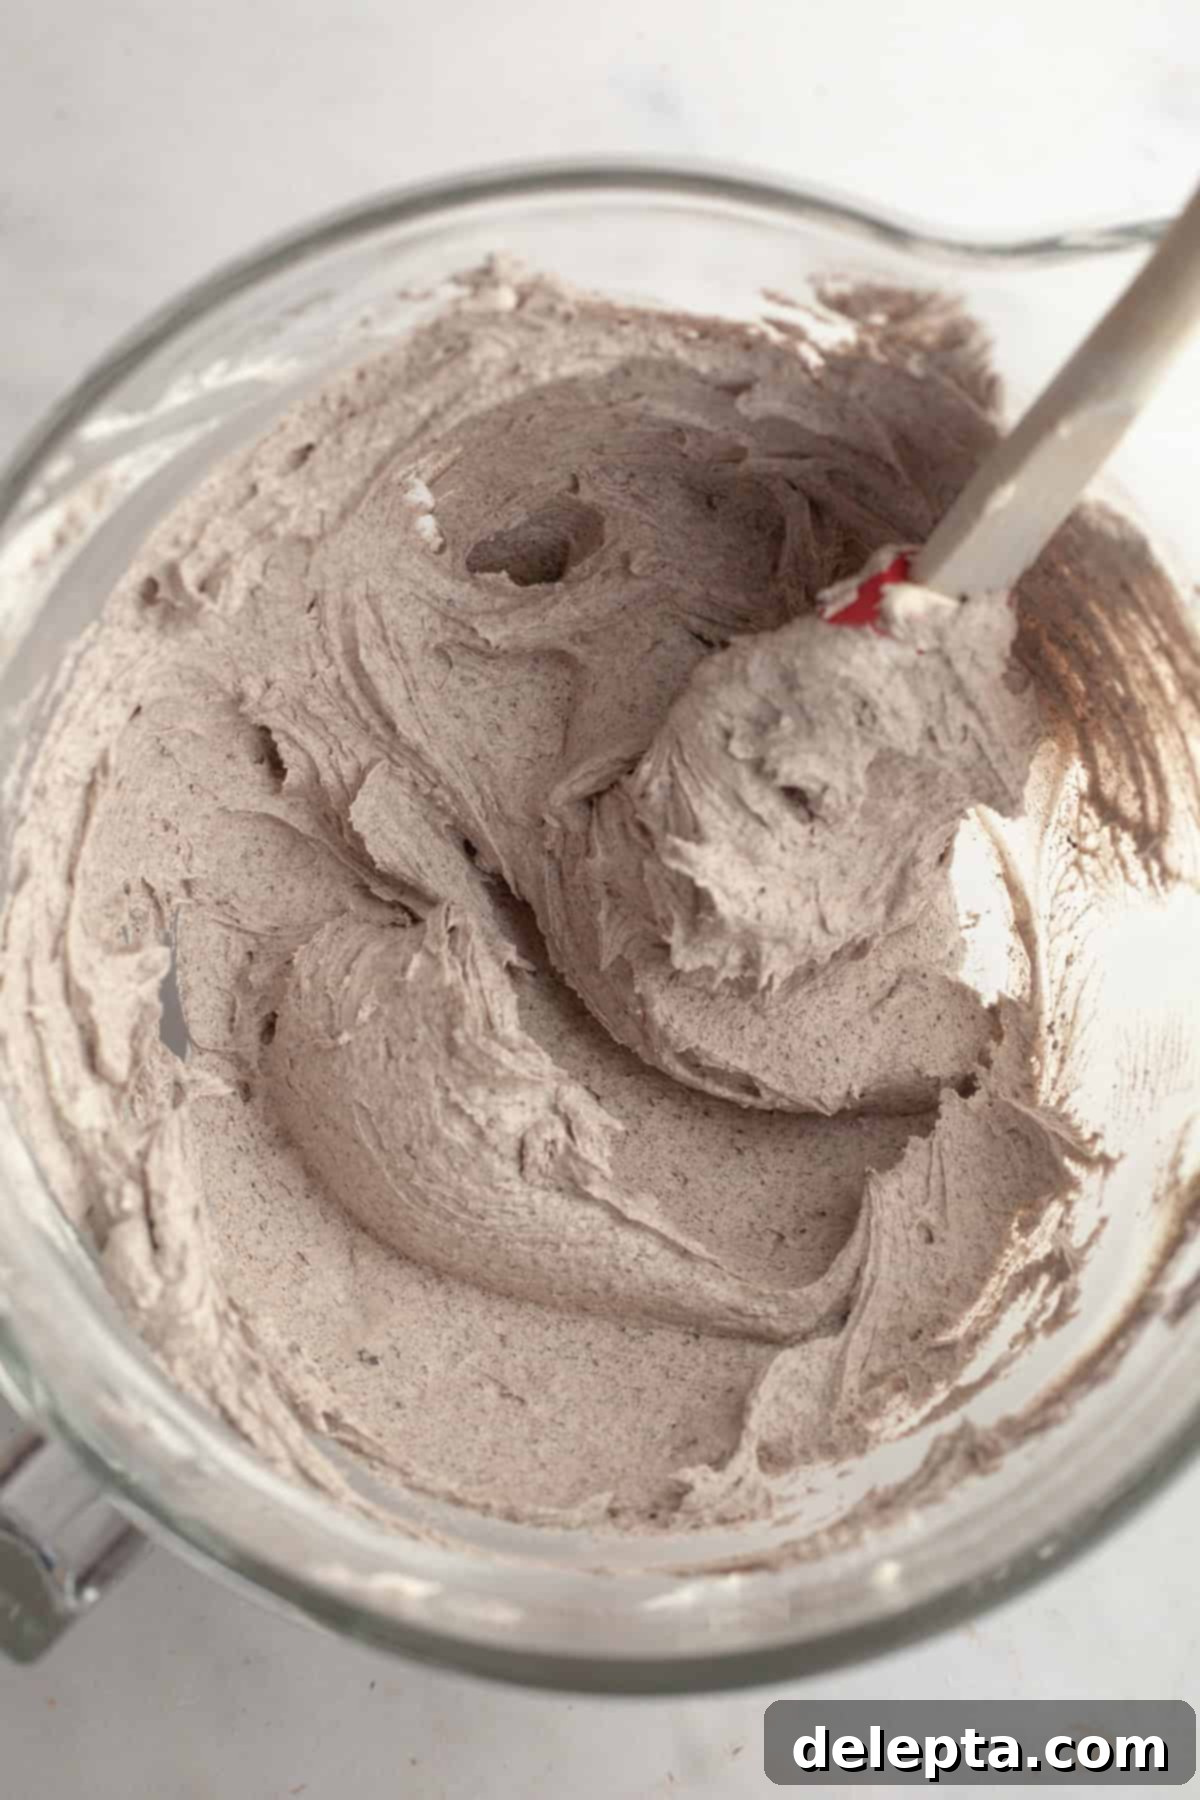
- Step 6: Flavor the Buttercream and Achieve Perfect Consistency. Stop the mixer and add the vanilla extract and a pinch of kosher salt to enhance the flavors. Give it another quick beat. Now, introduce the star flavor: pour in the finely processed Oreo cookie crumbs. Mix on medium speed until the crumbs are evenly distributed throughout the buttercream, giving it that characteristic speckled appearance and rich chocolatey taste. With the mixer still on its lowest speed, slowly drizzle in the heavy cream, a tablespoon at a time. Continue mixing until the frosting reaches your desired creamy, spreadable consistency. You might not need all of the cream, so add it gradually until the buttercream is smooth, fluffy, and easy to work with.
Mastering the Art of Decorating Your Funfetti Oreo Cake
Now that your cake layers are cool and your Oreo buttercream is perfectly prepared, it’s time for the creative fun of decorating! Here’s how to assemble and adorn your beautiful Funfetti Oreo Cake:
- Level Your Cake Layers: For a professional-looking, even cake, it’s essential to level the tops of your cooled cake layers. Use a long bread knife, a large serrated knife, or a dedicated cake leveler to carefully trim any domed tops, making them flat and uniform. This creates stable layers and prevents your cake from leaning.
- Apply a Crumb Coat (Optional but Recommended): Place one leveled cake layer on your serving plate or cake stand. Spread a thin, even layer of Oreo buttercream over the top using an offset spatula. This first, thin layer is known as a “crumb coat” and its purpose is to trap any loose crumbs, preventing them from mixing into your final frosting layer. Place the second cake layer on top, and then repeat with another thin layer of frosting. Chill the cake in the refrigerator for about 15-20 minutes to set the crumb coat. This step results in a much cleaner, smoother final finish.
- Frost the Cake: Once the crumb coat is set, apply a thicker, more generous layer of Oreo buttercream over the entire cake – on top and all around the sides. Use your offset spatula to spread the frosting smoothly and evenly. For extra smooth sides, you can use a cake scraper.
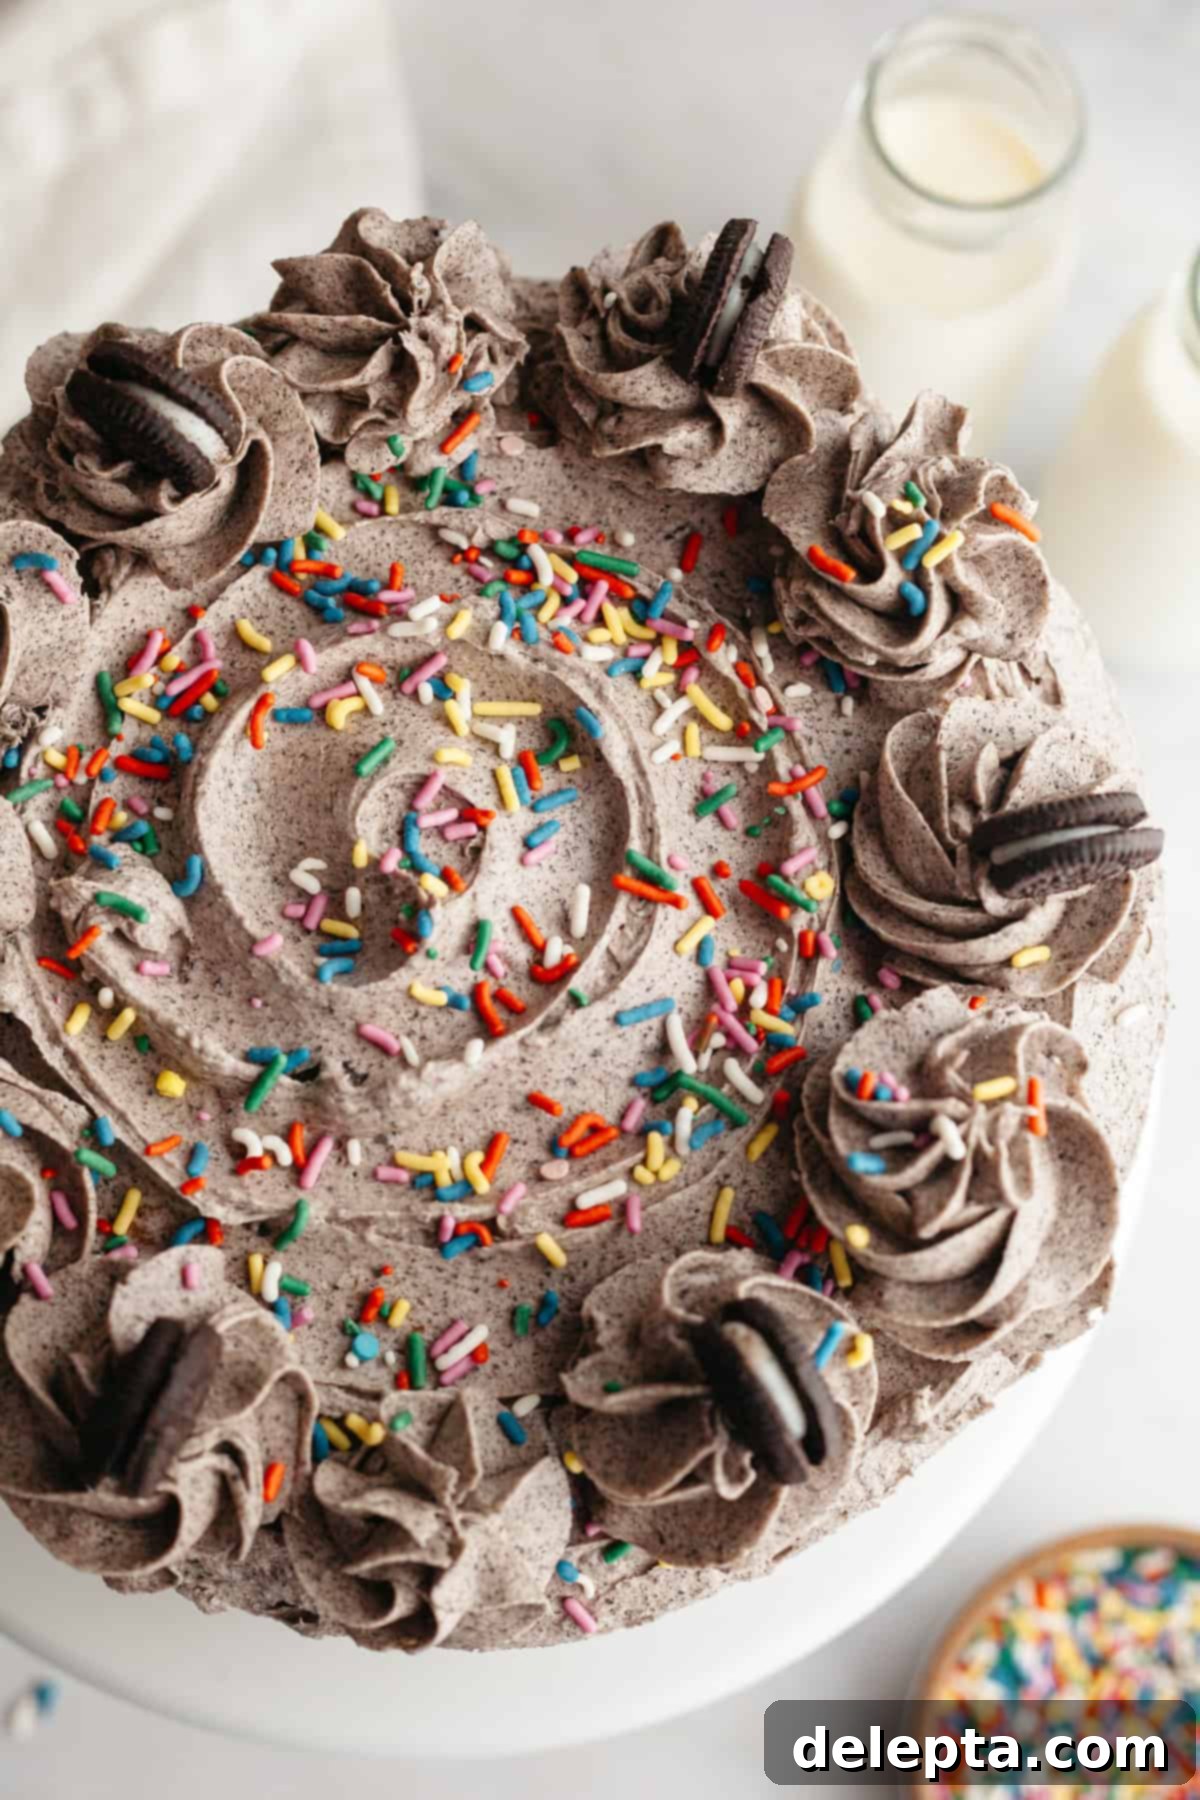
- Create a Beautiful Top Swirl: To achieve an elegant swirl design on the top of your cake, place the frosted cake on a cake turntable. Hold the tip of a small offset spatula gently on the outer edge of the top surface of the cake, with the tip slightly angled towards the center. Slowly rotate the turntable, keeping the spatula steady, and gradually move the spatula inward towards the center of the cake. Continue this motion until you reach the very middle, creating a beautiful spiral pattern.
- Pipe Decorative Borders and Garnish: For a charming finish, I used a Wilton 1M piping tip (a star tip) to pipe decorative swirls around the top edge of the cake. This adds a lovely texture and border. For an extra touch of Oreo goodness, carefully place a mini Oreo cookie on top of every other piped swirl, or arrange them creatively around the edge. Finish by scattering extra rainbow sprinkles over the entire top of the cake, letting some fall down the sides for a festive cascade.
Expert Baking Tips for a Perfect Funfetti Oreo Cake!
- Make sure the Oreo cookie crumbs are really finely chopped up, almost like a powder. This is incredibly important, especially if you plan on decorating your cake using a piping bag and tip. Larger chunks will inevitably get stuck in the piping tip, interrupting your flow and creating a messy finish. A food processor is your best friend here!
- Always ensure that ingredients like the eggs, butter, and buttermilk are at room temperature before you begin baking. This is not just a suggestion; it’s a fundamental rule for successful baking! Room temperature ingredients emulsify much better, meaning they blend together smoothly and evenly, creating a uniform batter. I highly recommend taking these items out of the fridge at least an hour or two before you plan to start your recipe. Otherwise, cold ingredients can cause the batter to curdle or become lumpy, affecting the final texture of your cake.
- To get rid of any pesky air bubbles in the frosting, which can make your final frosting job look less smooth, use a large rubber spatula to mix the buttercream by hand for a couple of minutes after it’s fully made. Stirring vigorously and pressing the frosting against the sides of the bowl helps to release trapped air. Yes, this can be a bit of an arm workout, but trust me, the silky-smooth finish on your cake will be worth it!
- Don’t Overmix the Cake Batter: Once you add the flour, mix only until just combined. Overmixing develops gluten, which can lead to a tough, chewy cake rather than a tender, plush one.
- Measure Flour Accurately: For the most consistent results, weigh your flour using a kitchen scale. If you don’t have one, spoon the flour into your measuring cup and level it off with a straight edge rather than scooping directly from the bag, which can compact the flour and lead to using too much.
- Know Your Oven: Oven temperatures can vary significantly. If you suspect your oven runs hot or cold, consider using an oven thermometer to ensure accuracy. Proper baking temperature is key to evenly baked, moist cake layers.
- Cool Cakes Completely: Resist the urge to frost warm cakes! Even slightly warm cake layers will melt your beautiful buttercream, leading to a runny, messy disaster. Ensure your cake layers are thoroughly cooled to room temperature before you even think about applying frosting.
Storage & Make Ahead Tips for Your Funfetti Oreo Cake
To keep your delicious Funfetti Oreo Cake fresh and enjoyable for as long as possible, proper storage is key. Here are my best tips for storing your cake and making parts of it ahead of time:
Once your cake is frosted and decorated, I highly recommend storing it in an airtight container in the refrigerator. This will keep the buttercream firm and the cake layers moist, preserving their texture and flavor. Don’t have a container large enough for the whole cake? No problem! Once you’ve sliced into the cake, gently press a piece of parchment paper or plastic wrap directly onto the exposed cut surfaces of the cake slices. This acts as a barrier, preventing the cake from drying out and absorbing fridge odors. Always allow the cake to come to room temperature for about 30-60 minutes before serving. This brings the buttercream to its optimal creamy consistency and enhances the cake’s flavors and moistness.
For convenience, you can prepare the cake layers up to 3 days in advance. Once baked and completely cooled, tightly wrap each individual cake layer in several layers of plastic wrap. This prevents air from reaching the cake and drying it out. Store these tightly wrapped layers at a cool room temperature until you are ready to assemble and frost your cake. If you need to store them for longer, the wrapped cake layers can also be frozen for up to 2 months. When ready to use, simply thaw them overnight in the refrigerator, then let them come to room temperature before unwrapping and frosting.
The Oreo buttercream can also be made ahead of time. Prepare the frosting as directed, then transfer it to an airtight container. It can be stored in the refrigerator for up to 5 days. Before using, let it come to room temperature, then re-whip it with your stand mixer or handheld mixer for a few minutes until it’s light, fluffy, and smooth again. You might need to add a splash of heavy cream if it feels too stiff.
Explore More Irresistible Oreo Recipes!
If you’re an Oreo enthusiast and simply can’t get enough of that iconic cookie flavor, you’re in luck! Here are some other fantastic Oreo-inspired recipes that are just as delightful and perfect for satisfying your sweet cravings:
- Homemade Oreo Chocolate Chip Cookies (1-Bowl)These one-bowl wonders combine two classic treats into one ultimate cookie. Soft, chewy, and packed with chocolate chips and crunchy Oreo pieces, they’re incredibly easy to make and impossible to resist.
- Oreo Drip CakeElevate your dessert game with this stunning Oreo Drip Cake. Featuring rich chocolate cake layers, creamy Oreo frosting, and an eye-catching chocolate ganache drip, it’s a showstopper perfect for any special occasion.
- Chocolate Oreo CupcakesIndulge in these rich chocolate cupcakes crowned with fluffy, decadent Oreo frosting. They’re individual portions of pure bliss, perfect for parties or a sweet personal treat.
- Red Velvet Oreo Cheesecake (No Bake)For a lighter, yet equally indulgent dessert, try this no-bake Red Velvet Oreo Cheesecake. It’s creamy, tangy, and features a delightful Oreo crust and chunks of Oreo throughout, offering a fantastic textural contrast.
If you’ve made this incredibly fun and delicious recipe, make sure to leave a ⭐️ rating and a thoughtful review below! I absolutely adore seeing your creations and hearing about your baking adventures. So, please tag me on Instagram @alpineella so I can admire what you’ve made! You can also stay updated with my latest recipes and tips by following along on Pinterest, Facebook, and TikTok!
Recipe
Easy Funfetti Oreo Cake with Creamy Oreo Frosting
Ella Gilbert
Pin Recipe
Save RecipeSaved!
Equipment
-
2 8-inch cake pans
-
Stand Mixer
-
Kitchen Scale
-
Measuring Spoons
-
Bowl
-
Whisk
-
Rubber Spatula
-
Piping Bag
-
small offset spatula
Ingredients
Funfetti Cake
- ⅓ cup unsalted butter room temperature
- 1 ⅔ cup white sugar
- ¼ cup neutral oil
- 4 large eggs room temperature
- 3 teaspoons vanilla extract
-
2
teaspoons baking powder
- 1 ½ teaspoons kosher salt
- 2 ¾ cups all-purpose flour
- 1 cup buttermilk room temperature
- ½ cup sprinkles
Oreo Buttercream
- 2 sticks unsalted butter room temperature
- 3 cups confectioner’s sugar
- 1 teaspoons vanilla extract
- ¼ teaspoon kosher salt
- ¼ cup heavy cream
- 10 Oreo cookies pulsed into a fine powder
Instructions
-
Preheat your oven to 350℉ (175℃). Prepare two 8-inch baking pans by greasing them thoroughly and lining their bottoms with parchment paper. Set aside.
-
In the bowl of a stand mixer fitted with a paddle attachment (or using a large bowl and a handheld mixer), beat the room temperature unsalted butter, neutral oil, and white sugar together. Mix on medium speed for 2-3 minutes, until the mixture is light, fluffy, and a pale yellow. It should resemble soft clouds.⅓ cup unsalted butter, 1 ⅔ cup white sugar, ¼ cup neutral oil
-
Add the large eggs one at a time, beating well after each addition. Make sure to scrape down the sides and bottom of the bowl with a rubber spatula after each egg to ensure everything is fully incorporated.4 large eggs
-
Mix in the vanilla extract until just combined.3 teaspoons vanilla extract
-
In a separate small bowl, whisk together the all-purpose flour, baking powder, and kosher salt until well combined. This ensures the leavening and salt are evenly distributed.2 teaspoons baking powder, 2 ¾ cups all-purpose flour, 1 ½ teaspoons kosher salt
-
With the mixer on low speed, add approximately one-third of the dry flour mixture to the wet ingredients and mix until just incorporated. Then, add half of the buttermilk and mix again until just combined. Repeat this process once more, adding another third of the dry ingredients, mixing, then the remaining buttermilk, and mixing. Finish by adding the final third of the dry ingredients and mixing only until no dry streaks of flour are visible. Be careful not to overmix!1 cup buttermilk
-
Gently fold in the rainbow sprinkles by hand using a rubber spatula, ensuring they are evenly distributed without overworking the batter.½ cup sprinkles
-
Evenly divide the smooth, vibrant funfetti cake batter into your two prepared 8-inch cake pans.
-
Bake for 30-35 minutes, or until a wooden toothpick inserted into the center of the cakes comes out clean or with a few moist crumbs. Let the cakes cool in their pans on a wire rack for 10-15 minutes. Then, carefully invert them onto the wire racks to cool completely to room temperature. This is crucial before frosting!
-
(Skip this step. This step was for strawberry funfetti and is not applicable to the Oreo Funfetti Cake.)
-
Now, let’s make the Oreo Buttercream! In the bowl of a stand mixer fitted with the paddle attachment, or in a large bowl with a handheld mixer, beat the room temperature unsalted butter with the confectioners’ sugar on low speed until they are just combined and the sugar is mostly incorporated into the butter.2 sticks unsalted butter, 3 cups confectioner’s sugar
-
Once combined, increase the mixer speed to medium-high and beat for several minutes until the mixture becomes very thick and visibly lightens in color. This incorporates air, making the buttercream fluffy.
-
Stop the mixer and add the vanilla extract, kosher salt, and the finely pulsed Oreo cookie crumbs. Beat on medium-high speed again until the frosting is light, fluffy, and the Oreo crumbs are evenly distributed, creating that signature speckled look.1 teaspoon vanilla extract, ¼ teaspoon kosher salt, 10 Oreo cookies
-
Turn the mixer to its lowest speed and slowly pour in the heavy cream, a little at a time, until the frosting reaches a creamy, smooth, and easily spreadable consistency. You may not need all of the cream, so add it gradually until you achieve your desired texture.¼ cup heavy cream
-
Once your cake layers are completely cooled and your Oreo buttercream is ready, assemble and frost your cake as desired. Don’t forget to add extra sprinkles and mini Oreos for that ultimate festive finish! Enjoy every delightful slice!
Video
Notes
Room Temperature Ingredients Are Key: Achieving the perfect cake texture and smooth buttercream relies heavily on using room temperature ingredients. Always ensure that your eggs, butter, and buttermilk are at room temperature before you begin the recipe. I suggest pulling them out of the refrigerator at least 1 to 2 hours before you plan to start baking. This allows them to emulsify properly, creating a uniform, lump-free batter and fluffy, cohesive frosting.
Choosing the Right Sprinkles: For the funfetti cake layers, I wholeheartedly recommend using long strand sprinkles (also known as “jimmies”) or confetti sprinkles. These types of sprinkles maintain their shape and vibrant colors beautifully during baking. I do not recommend using nonpareils (the little ball-shaped sprinkles) as they tend to bleed their colors into the batter, resulting in a duller, less appealing appearance.
Salt Matters: The type of salt you use can impact the flavor balance. If you don’t have kosher salt, you should halve the amount of salt called for in the recipe when using fine table salt. As a general rule, 1 teaspoon of Diamond Crystal kosher salt (which I typically use) is equivalent to about ½ teaspoon of fine table salt. Be mindful that Morton Salt is even saltier than Diamond Crystal, so adjust accordingly.
Oreo Crumbs for Piping: If your decorating plans involve using a piping bag and tip for your Oreo buttercream, it is absolutely crucial that your Oreo cookie crumbs are processed into an extremely fine powder. Any larger pieces will inevitably get stuck in the piping tip, causing frustration and interrupting your decorating flow. A food processor is ideal for achieving this ultra-fine consistency.
Nutrition
