Irresistible Homemade S’mores Pop Tarts with Gooey Marshmallow Glaze
Who else fondly remembers the sheer excitement of begging their parents for a box of Pop Tarts at the grocery store? The vibrant packaging promised a sugary, frosted delight, a perfect morning treat. You’d rush home, carefully pop one into the toaster, and wait for that satisfying *ding*. Then, with anticipation, you’d bite into the still-too-hot pastry, only to often be met with a slight disappointment. Was it a little dry? Did the frosting ever truly look as thick and sprinkled as it did on the box? For many, the reality of store-bought toaster pastries rarely lived up to the idealized image. But don’t despair! These homemade S’mores Pop Tarts are here to redefine your toaster pastry experience, delivering on all the promise and nostalgia with a rich, decadent twist.
For a long time, I steered clear of Pop Tarts. While the *idea* of a warm, fruit-filled, or chocolatey pastry for breakfast or a snack always appealed, I knew from past experiences that they likely wouldn’t live up to the marketing hype. The sprinkles would be sparse, and the flavors often muted. It felt like an “Instagram vs. Reality” scenario, but for toaster pastries. However, a glimmer of hope appeared during a trip to America when I tried Trader Joe’s Hot Cocoa Toaster Pastries. They were surprisingly good, proving that a truly delicious toaster pastry could exist. This revelation, coupled with watching the Pop Tart episode of Gourmet Makes at the beginning of lockdown, ignited a spark. I knew then that it was time to take matters into my own hands and create a homemade version that genuinely satisfied that childhood craving, but with a grown-up twist: S’mores!
This recipe might appear to have several components at first glance, but I promise it’s more approachable than it seems. The beauty of these homemade S’mores Pop Tarts lies in their flexibility. You can easily break down the preparation into manageable chunks. For instance, both the chocolate fudge and marshmallow fillings can be made a day or two in advance, allowing you to spread out the work. The same goes for the chocolate pastry dough, which actually benefits from a good chill in the fridge. Plus, I’ve got a few handy shortcuts up my sleeve, especially when it comes to the fillings, to make your baking journey even smoother and more enjoyable. So, get ready to ditch the disappointment of the past and embrace the utterly delicious world of homemade toaster pastries!
Crafting the Irresistible S’mores Fillings
For these ultimate homemade S’mores Pop Tarts, I was absolutely committed to capturing the classic combination of gooey chocolate and fluffy marshmallow. This meant creating two distinct, yet perfectly complementary fillings: a rich chocolate fudge and a dreamy marshmallow fluff. The good news is, both are surprisingly simple to achieve, especially with a few tips and tricks.
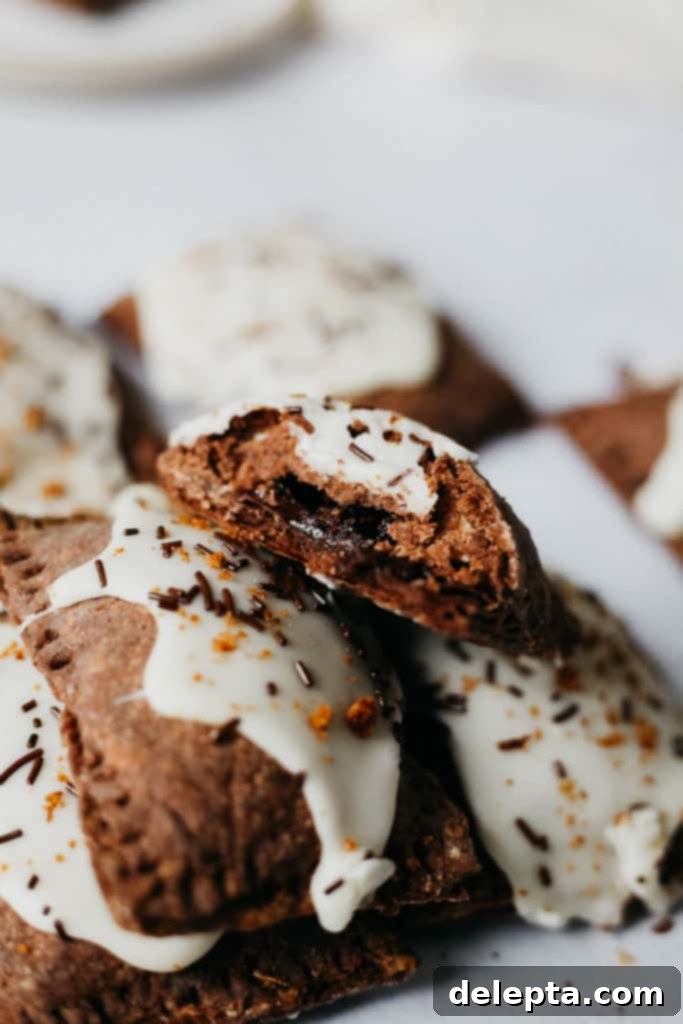
The chocolate fudge component is incredibly straightforward. It’s a delightful blend of cocoa powder, high-quality chopped chocolate, milk, and sugar. This mixture is gently heated, stirring frequently, until the chocolate melts and the whole concoction begins to thicken into a luxurious, glossy fudge. Once it reaches the desired consistency, a knob of butter is stirred in for extra richness and shine, and a touch of vanilla for depth of flavor. The key here is patience; allow it to cool thoroughly until it becomes wonderfully thick and pipeable. This ensures it stays contained within the pastry and provides that satisfying bite of rich chocolate. You’ll want to transfer it to the fridge to speed up the thickening process and ensure it’s ready when your dough is.
Next up is the marshmallow filling, and this is where you have a couple of fantastic options. Initially, I decided to make my own marshmallow fluff. Now, the thought of homemade fluff might sound a bit daunting, conjuring images of sticky messes and complex candy thermometers. However, I can assure you that it literally took me about 20 minutes from start to finish! I followed a reliable recipe (which I’ll link in the full recipe card below) and simply substituted golden syrup for corn syrup, and the results were spectacular. The homemade fluff offers an unparalleled light, airy texture and a pure vanilla-marshmallow taste that’s truly next level.
However, if you’re thinking, “Yeah, I’m not making my own fluff right now,” absolutely no fear! You have two perfectly acceptable and delicious alternatives. Firstly, you can simply purchase a jar of store-bought marshmallow fluff. This is a fantastic shortcut that saves time without sacrificing too much on flavor or texture. Secondly, and this is a hack I’ve reflected on and think might be an even better choice for that authentic S’mores experience, you could just add a few mini marshmallows directly into the pop tarts. As they bake, these mini marshmallows will melt into pockets of glorious gooeyness, perfectly replicating the campfire S’mores sensation. I haven’t personally tried this method with this specific recipe, but the idea of warm, melted mini marshmallows inside the pastry sounds utterly divine and incredibly convenient.
Once the rich chocolate fudge and fluffy marshmallow (whether homemade fluff, store-bought, or mini marshmallows) are piped onto the pastry, the final touch for that authentic S’mores flavor is a generous sprinkling of crushed graham crackers. These add a wonderful texture and that signature honey-graham flavor that completes the S’mores profile. If graham crackers aren’t readily available where you live, don’t worry! You can easily skip this step, or crush up some digestive biscuits (or even vanilla wafers) for a similar crunchy, biscuity element. The goal is to layer those classic S’mores flavors, and these crunchy additions truly elevate the experience.
The Perfect Chocolate Pastry Dough
The foundation of any great toaster pastry is its dough, and for these S’mores Pop Tarts, we’re using a chocolate-infused pastry that’s remarkably similar to a classic pie dough. The key ingredients are familiar: flour, sugar for a touch of sweetness, cold butter for flakiness, salt to balance the flavors, and of course, cocoa powder to give it that beautiful chocolate hue and subtle flavor. However, unlike traditional pie dough which typically calls for ice water, our recipe incorporates milk. This slight change gives the dough a tender texture that perfectly complements the rich S’mores filling, making it more akin to a shortcrust pastry with a delightful hint of chocolate.
Working with pastry dough can sometimes be a bit intimidating, but with a few simple tools and techniques, you’ll master it in no time. When it’s time to roll out the dough and cut those neat rectangles, having a ruler on hand will be your best friend. Precision here isn’t just about aesthetics; it ensures your S’mores Pop Tarts are uniform in size, which helps them bake evenly and seal properly. Measuring them to approximately 8x10cm (or the equivalent of a standard Pop Tart) will definitely save you a lot of headaches and give you professional-looking results. Alternatively, if you happen to have an actual store-bought Pop Tart handy, you can use it as a convenient template – just lay it over your rolled-out dough and cut around it! Remember to keep your butter cold when making the dough, as this is crucial for achieving that desirable flaky texture. If the dough gets too warm while you’re working with it, don’t hesitate to pop it back into the fridge for 10-15 minutes to firm up again. This prevents it from becoming sticky and difficult to handle, ensuring a smooth rolling and cutting process.
Decadent Marshmallow Icing and Finishing Touches
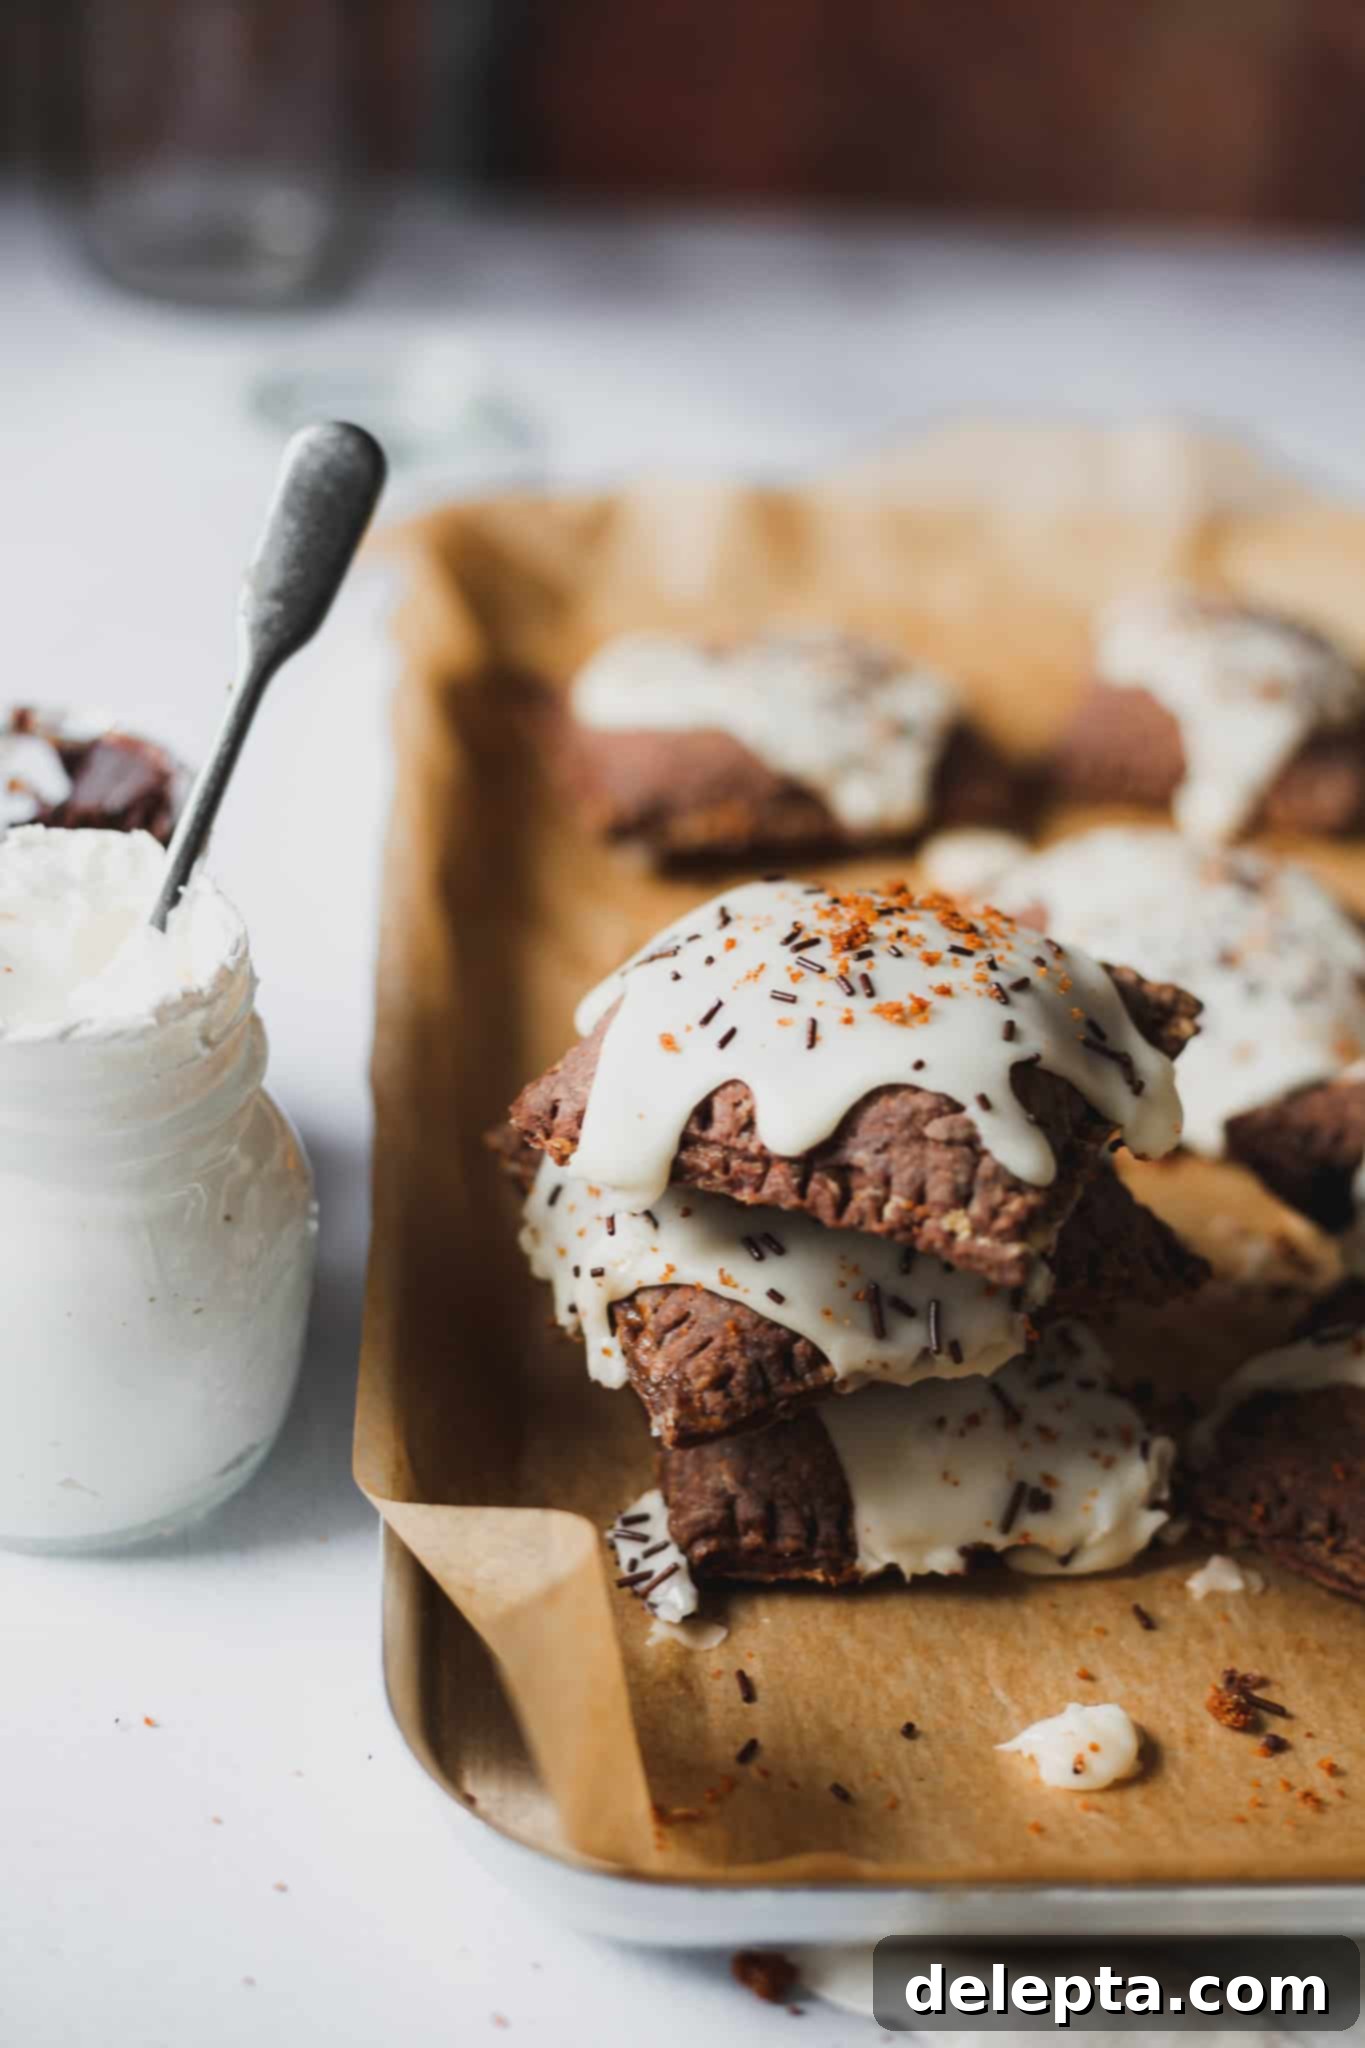
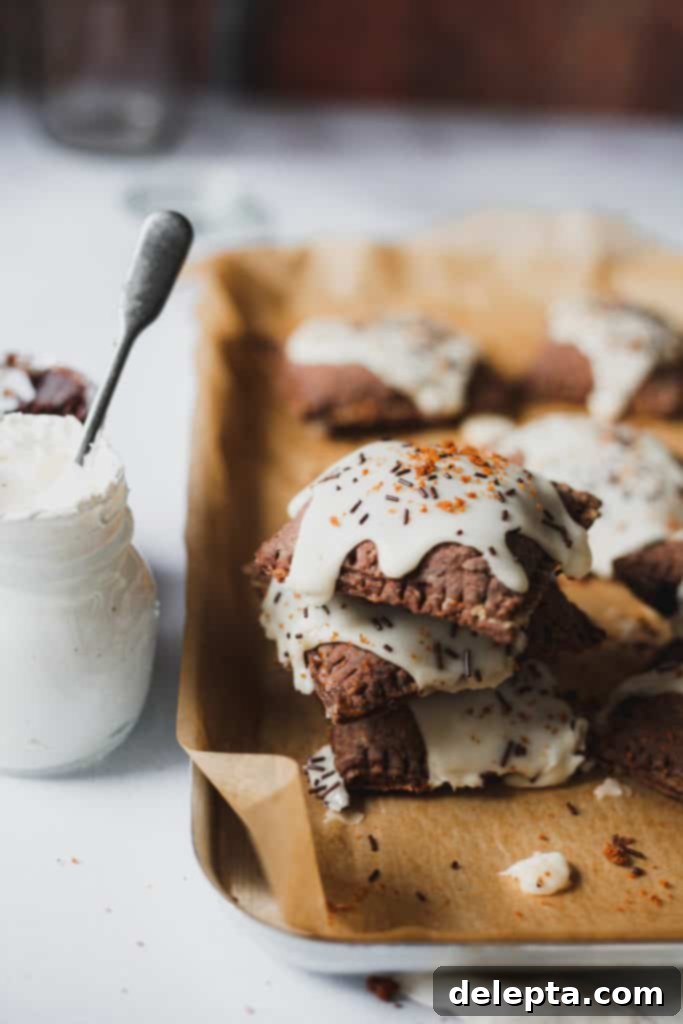
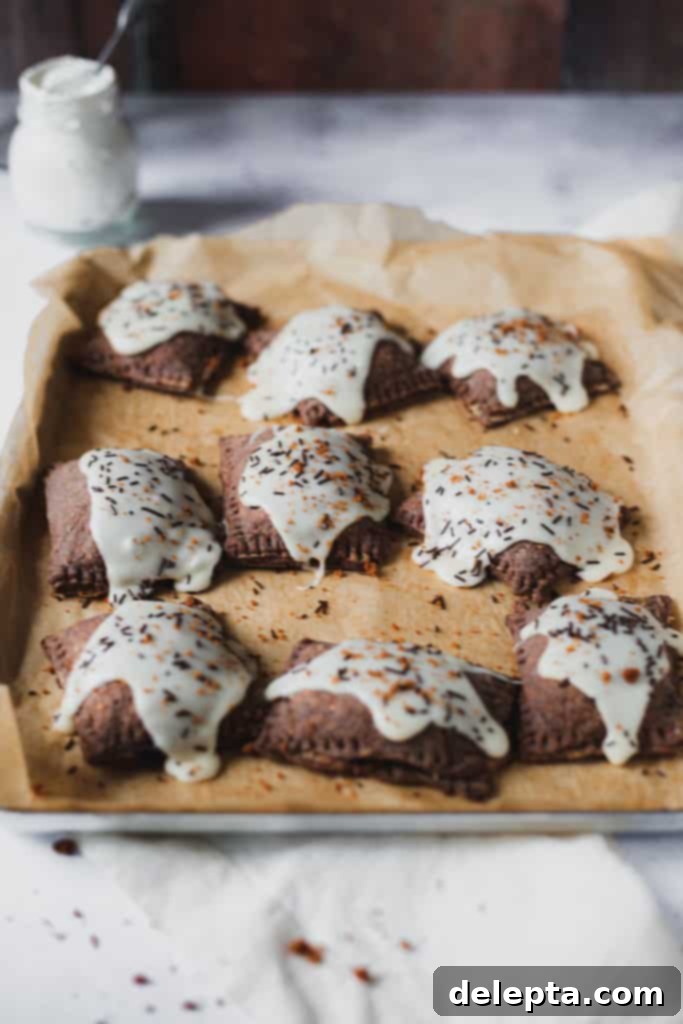
After all the effort put into the dough and fillings, I wanted the topping for these S’mores Pop Tarts to be quick, simple, and utterly delicious – a final flourish that truly brings home the S’mores experience. This recipe already involves a bit of love and attention, so the icing should be a straightforward reward! Our marshmallow icing is exactly that: incredibly easy to prepare and absolutely irresistible.
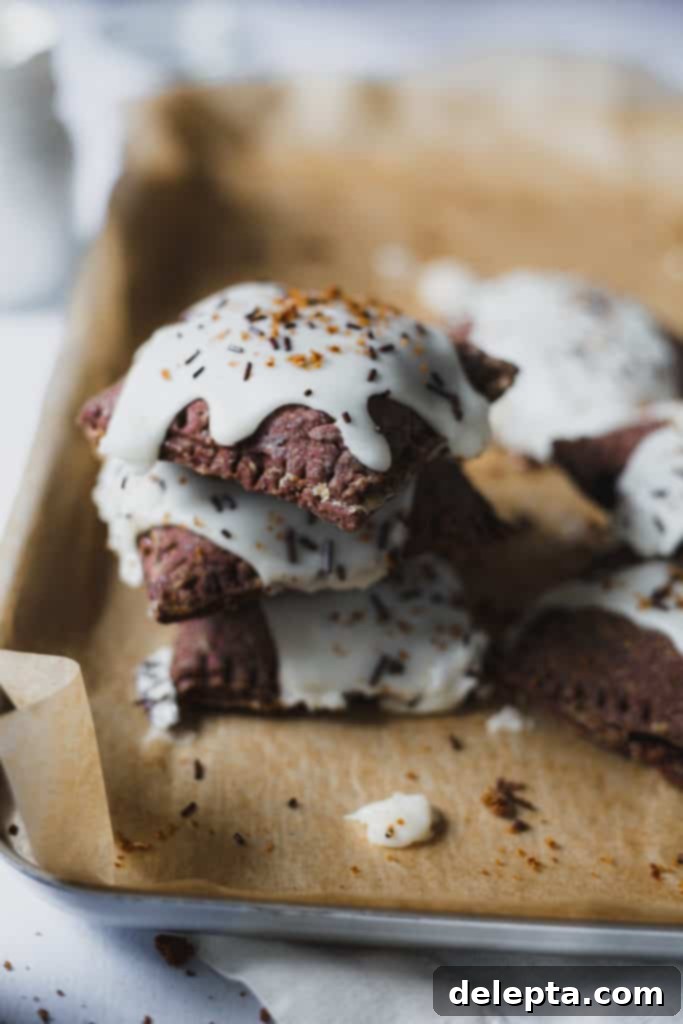
All it takes is melting down mini marshmallows with a bit of butter, a splash of vanilla extract for aroma, and icing sugar to create a smooth, pourable glaze. The magic happens quite quickly; once the marshmallows are melted and combined with the other ingredients, this icing sets fairly fast. Therefore, once you begin to ice your freshly baked and cooled S’mores Pop Tarts, make sure you have your sprinkles and any other toppings ready to go! Speed is key to ensuring those decorations adhere beautifully before the icing firms up.
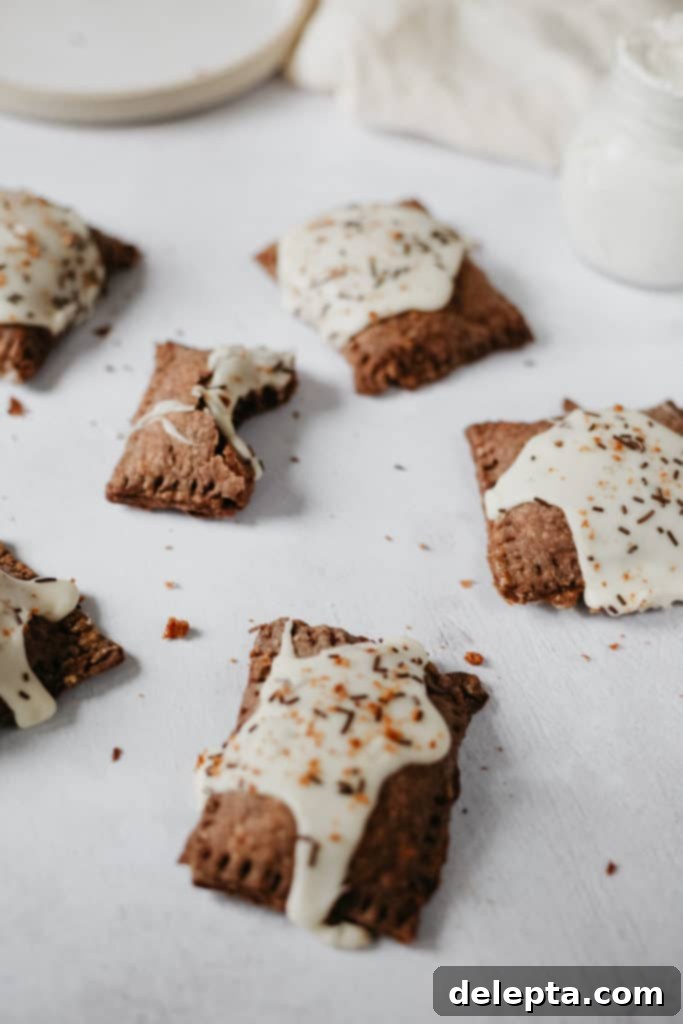
To finish mine, I went with classic chocolate sprinkles, which add a lovely visual contrast and another layer of chocolatey goodness. For an extra nod to the S’mores theme and a delightful textural crunch, I also sprinkled on some additional graham cracker crumble. This not only enhances the flavor but also gives a pleasant, contrasting texture to the soft pastry and gooey filling. Don’t feel limited by my choices, though! Feel free to get creative with your toppings. Crushed nuts, a drizzle of chocolate sauce, or even a sprinkle of sea salt could all be fantastic additions to make these homemade S’mores Pop Tarts uniquely yours. The beauty of homemade treats is that you can customize every detail to your heart’s content.
Tips for Success and Make-Ahead Magic
Creating these homemade S’mores Pop Tarts is a truly rewarding experience, and with a few additional tips, you can ensure your baking adventure is smooth and yields perfect results every time.
**Preparation is Key:** As mentioned, don’t be afraid to break this recipe down. Making the chocolate fudge and marshmallow filling a day ahead, and even preparing the pastry dough and chilling it overnight, can significantly reduce your active baking time. This strategy makes the entire process feel less daunting and more enjoyable, especially if you’re baking for a special occasion or have a busy schedule.
**Working with the Dough:**
* **Keep it Cold:** The most crucial rule for flaky pastry is to use very cold butter and to keep the dough as cold as possible throughout the rolling and cutting process. If your kitchen is warm or the dough starts to feel sticky, don’t hesitate to refrigerate it for 10-15 minutes to firm up.
* **Even Thickness:** Aim for an even thickness when rolling out your dough rectangles. This ensures consistent baking and prevents some parts from being overcooked while others are undercooked.
* **Sealing is Essential:** When assembling your pop tarts, ensure the edges are firmly pressed together to prevent the delicious filling from oozing out during baking. Using a fork to crimp the edges not only creates a classic look but also provides an extra secure seal.
**Filling and Assembly:**
* **Don’t Overfill:** While it’s tempting to load up on the chocolate fudge and marshmallow, resist the urge to overfill. Leaving a clear 1-1.5 cm border around the edge of the pastry is crucial for a good seal.
* **Egg Wash for the Bottom:** Brushing the bottom pastry rectangles with a beaten egg helps create a barrier, preventing the filling from making the bottom soggy, and also aids in adhesion when you place the top layer.
* **Ventilation:** Prick the top of each assembled pop tart several times with a fork. These small holes act as vents, allowing steam to escape during baking and preventing the pastries from puffing up excessively or bursting open.
**Baking and Cooling:**
* **Preheat Properly:** Ensure your oven is fully preheated to the specified temperature (350°F/175°C). An accurately heated oven is vital for proper baking and browning.
* **Cool Completely:** Allow the baked pop tarts to cool completely on a wire rack before attempting to ice them. Applying warm icing to warm pastries will result in a messy, runny glaze that won’t set properly.
**Storage Instructions:**
Once baked and iced, these homemade S’mores Pop Tarts are best enjoyed fresh. However, if you have leftovers, store them in an airtight container at room temperature for up to 2-3 days. For a warm treat, you can gently reheat them in a toaster oven (not a conventional toaster, which might melt the icing) for a few minutes until warmed through. You can also freeze the unbaked pastries. Simply assemble them, prick them with a fork, and then flash freeze them on a baking sheet until solid. Once solid, transfer them to a freezer-safe bag or container for up to 1 month. When ready to bake, you can bake them directly from frozen, adding a few extra minutes to the baking time.
Embrace the joy of creating these delightful S’mores Pop Tarts from scratch. They are a testament to how a little effort can transform a nostalgic treat into something truly extraordinary.
Recipe

S’mores Pop Tarts
Ella Gilbert
Pin Recipe
Save RecipeSaved!
Ingredients
Dough
- 240 grams flour
- 25 grams cocoa powder
- 1 tablespoon sugar
- 226 grams unsalted butter, cubed
- 2 tablespoon milk
- 2 teaspoon salt
- 2 eggs
Chocolate fudge
- 88 ml milk
- 13 grams cocoa powder
- 135 grams chocolate, chopped
- 14 grams butter
- 1 teaspoon vanilla
Marshmallow filling
- ½ cup marshmallows or fluff
- 35 grams graham crackers, crushed
Marshmallow Icing
- 134 grams icing sugar
- ½ teaspoon vanilla
- ⅛ teaspoon salt
- 21 grams unsalted butter
- 30 grams mini marshmallows
Instructions
Pop Tart Dough
-
Whisk flour, sugar, salt and cocoa powder in a medium bowl. Take the butter and work it into the flour, until you have walnut sized pieces of butter. In a small jug, whisk 1 egg and the milk together. Pour it into the dough, and knead.
-
Divide dough in half. If you’re not using it immediately, wrap in clingfilm and shape into discs. Put in fridge.
-
If you had the dough in the fridge, take it out 30 minutes before using. Place on disc on a floured surface and roll out into a rectangle. Repeat with second disc. You want rectangles to be about 23x30cm. Cut each rectangle into thirds, to make rectangles approximately 8x10cm.
Chocolate Fudge
-
In a small saucepan, add cocoa powder, milk and 68g of the chocolate. Over medium heat, cook for 3-5 minutes, stirring frequently, until the chocolate is melted and it has thickened slightly. Remove from heat, stir in the remaining chocolate, butter, and vanilla. Transfer to the fridge to thicken.
Marshmallow Icing
-
Mix sugar, vanilla and salt in a medium bowl.
-
Melt butter and 30ml of water in a small saucepan over medium-high heat. Add the marshmallows and stir until completely melted.
-
Pour into the sugar mixture, whisking until combined.
Assembly
-
Lay half of the rectangles on a parchment lined tray. Take the second egg and beat it in a small bowl. Brush the inside of half of the rectangles, this will be the bottom of the pop tart.
-
Put the chocolate fudge into a ziplock bag or pastry bag, pipe a line of chocolate on each rectangle on the tray. Make sure to keep 1-1.5cm border around the rectangle. Place mini marshmallows/fluff next to chocolate, and sprinkle with graham crackers.
-
Place the ‘top’ of the pop tart on each rectangle, use your fingers to press firmly around the rectangle to seal the dough. Using a fork, press the tines all around the edges.
-
Prick the top of each pop tart with a fork multiple steams. Refrigerate them for 30 minutes.
-
Preheat oven to 350°F/175°C
-
Bake for 20-25 minutes. Let them cool completely
-
Make the icing while the tarts are cooling. Using a spoon to add icing to each pop tart, and decorate with sprinkles.
