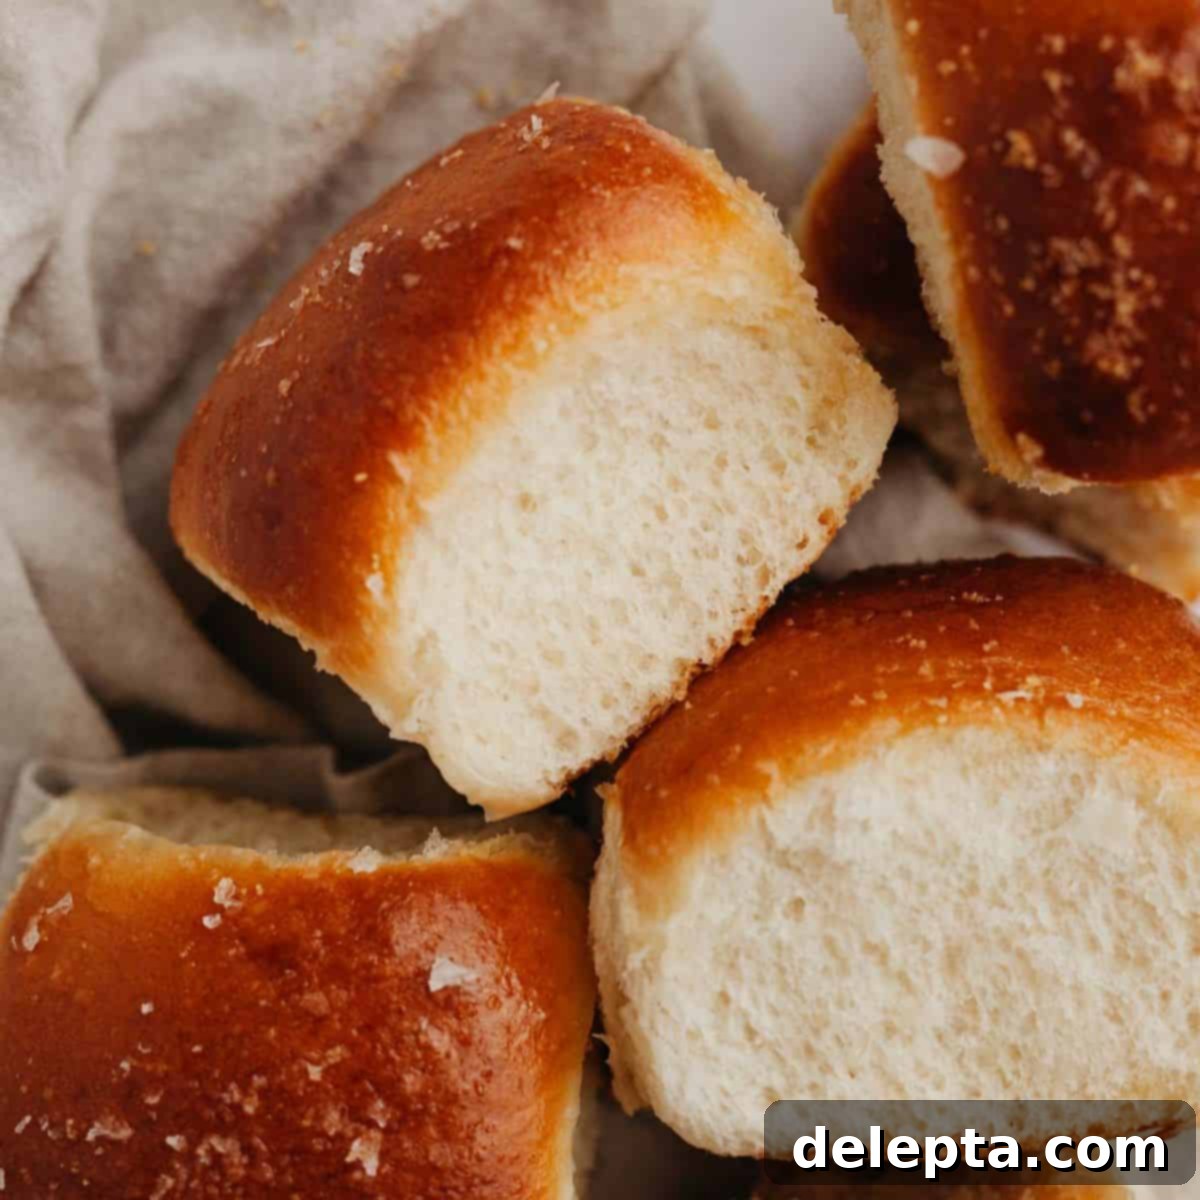
Irresistibly Soft & Buttery Brioche Dinner Rolls: Your Ultimate Homemade Guide
Prepare to be amazed by these incredibly soft and buttery brioche dinner rolls. Requiring just 8 simple ingredients (or 7 if you skip the garlic!), this homemade recipe delivers an unparalleled experience of rich flavor and tender texture. Freshly baked, they are lovingly brushed with a tantalizing mixture of melted butter and fragrant garlic, then finished with a delicate sprinkle of flaky sea salt. These aren’t just any dinner rolls; they’re an essential addition to your holiday table, a comforting side for a cozy soup, or simply a delightful treat any day of the week.
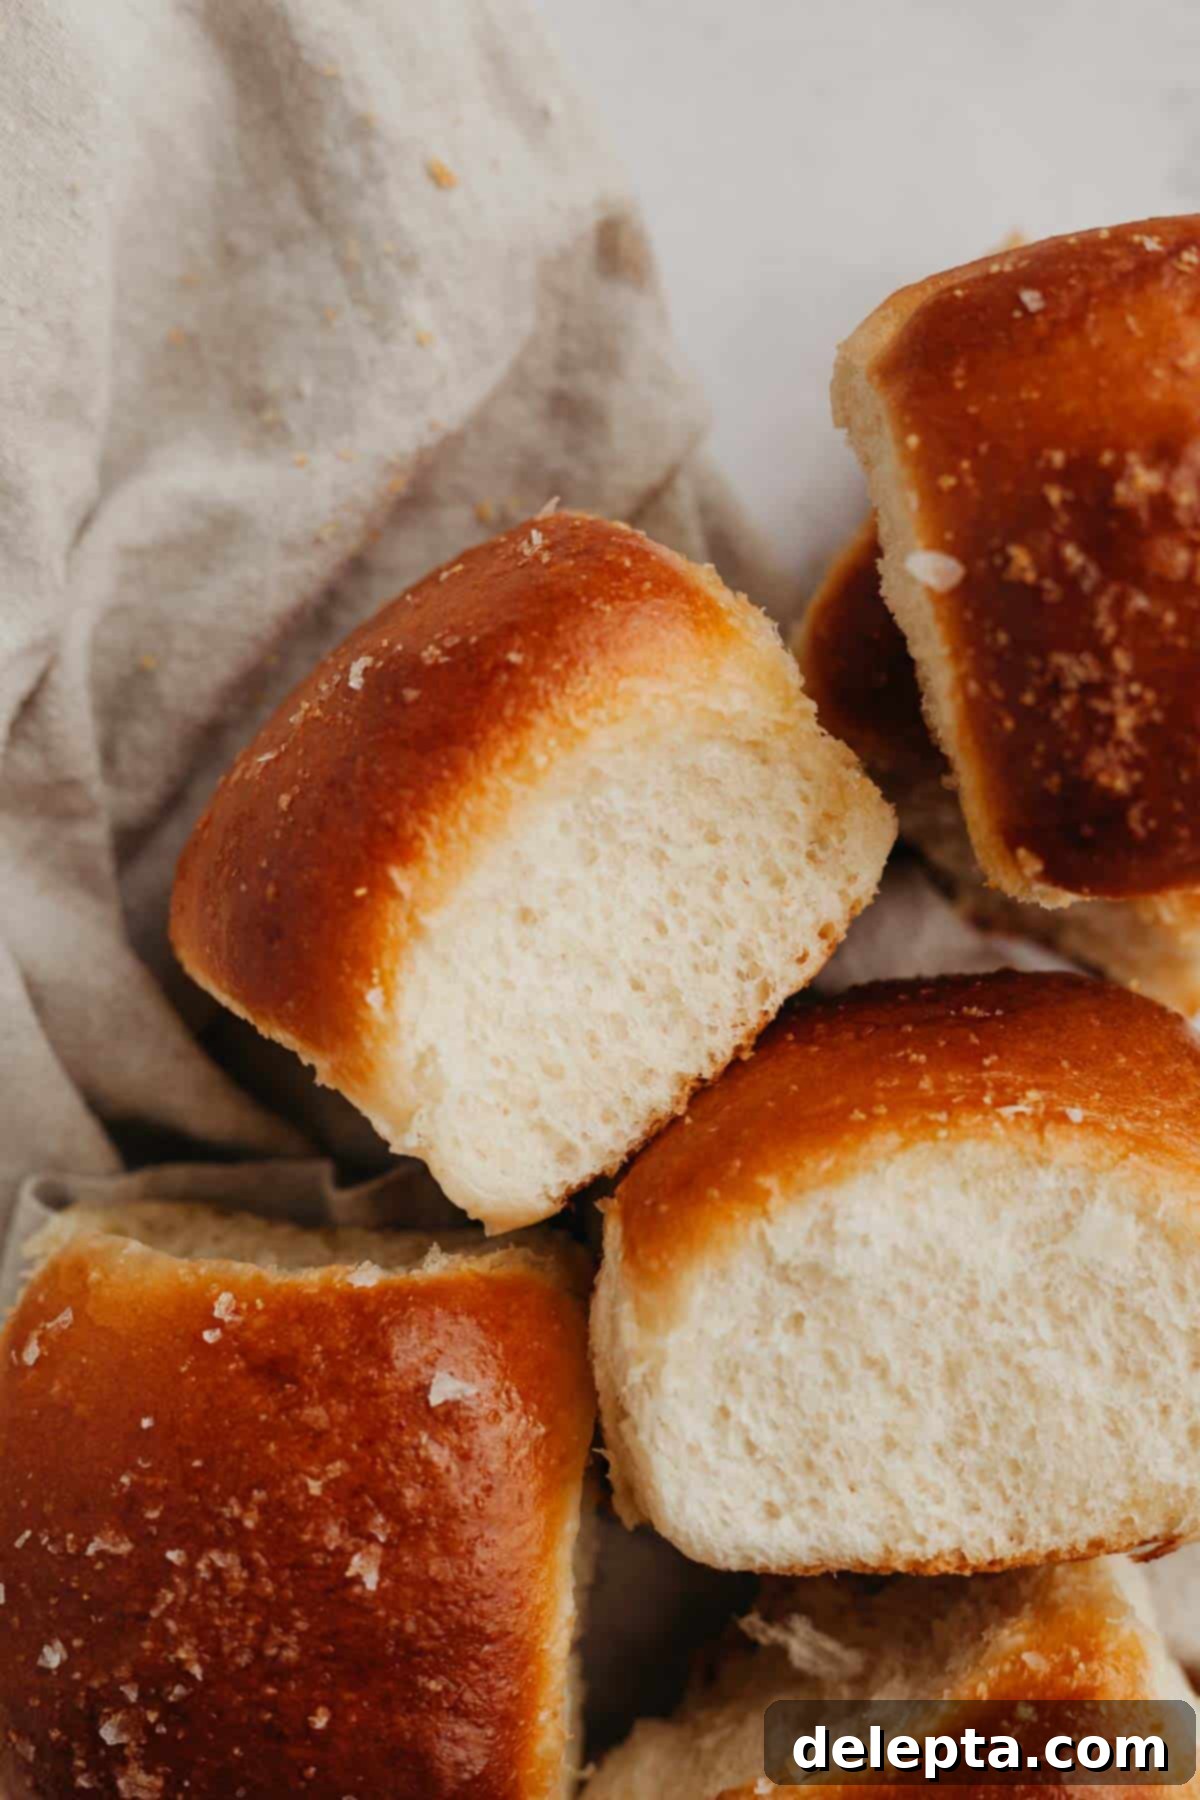
Honestly, I found it impossible to stop at just one of these brioche rolls! Each bite offers a harmonious blend of buttery richness, incredible softness, and a satisfying chewiness, all elevated by the aromatic garlic butter topping. Their exquisite flavor and texture make them truly versatile. Imagine them gracing your Thanksgiving feast, soaking up the savory broth of a hearty stew, or complementing a warm bowl of your favorite soup. These rolls are designed to impress and comfort, making every meal feel a little more special.
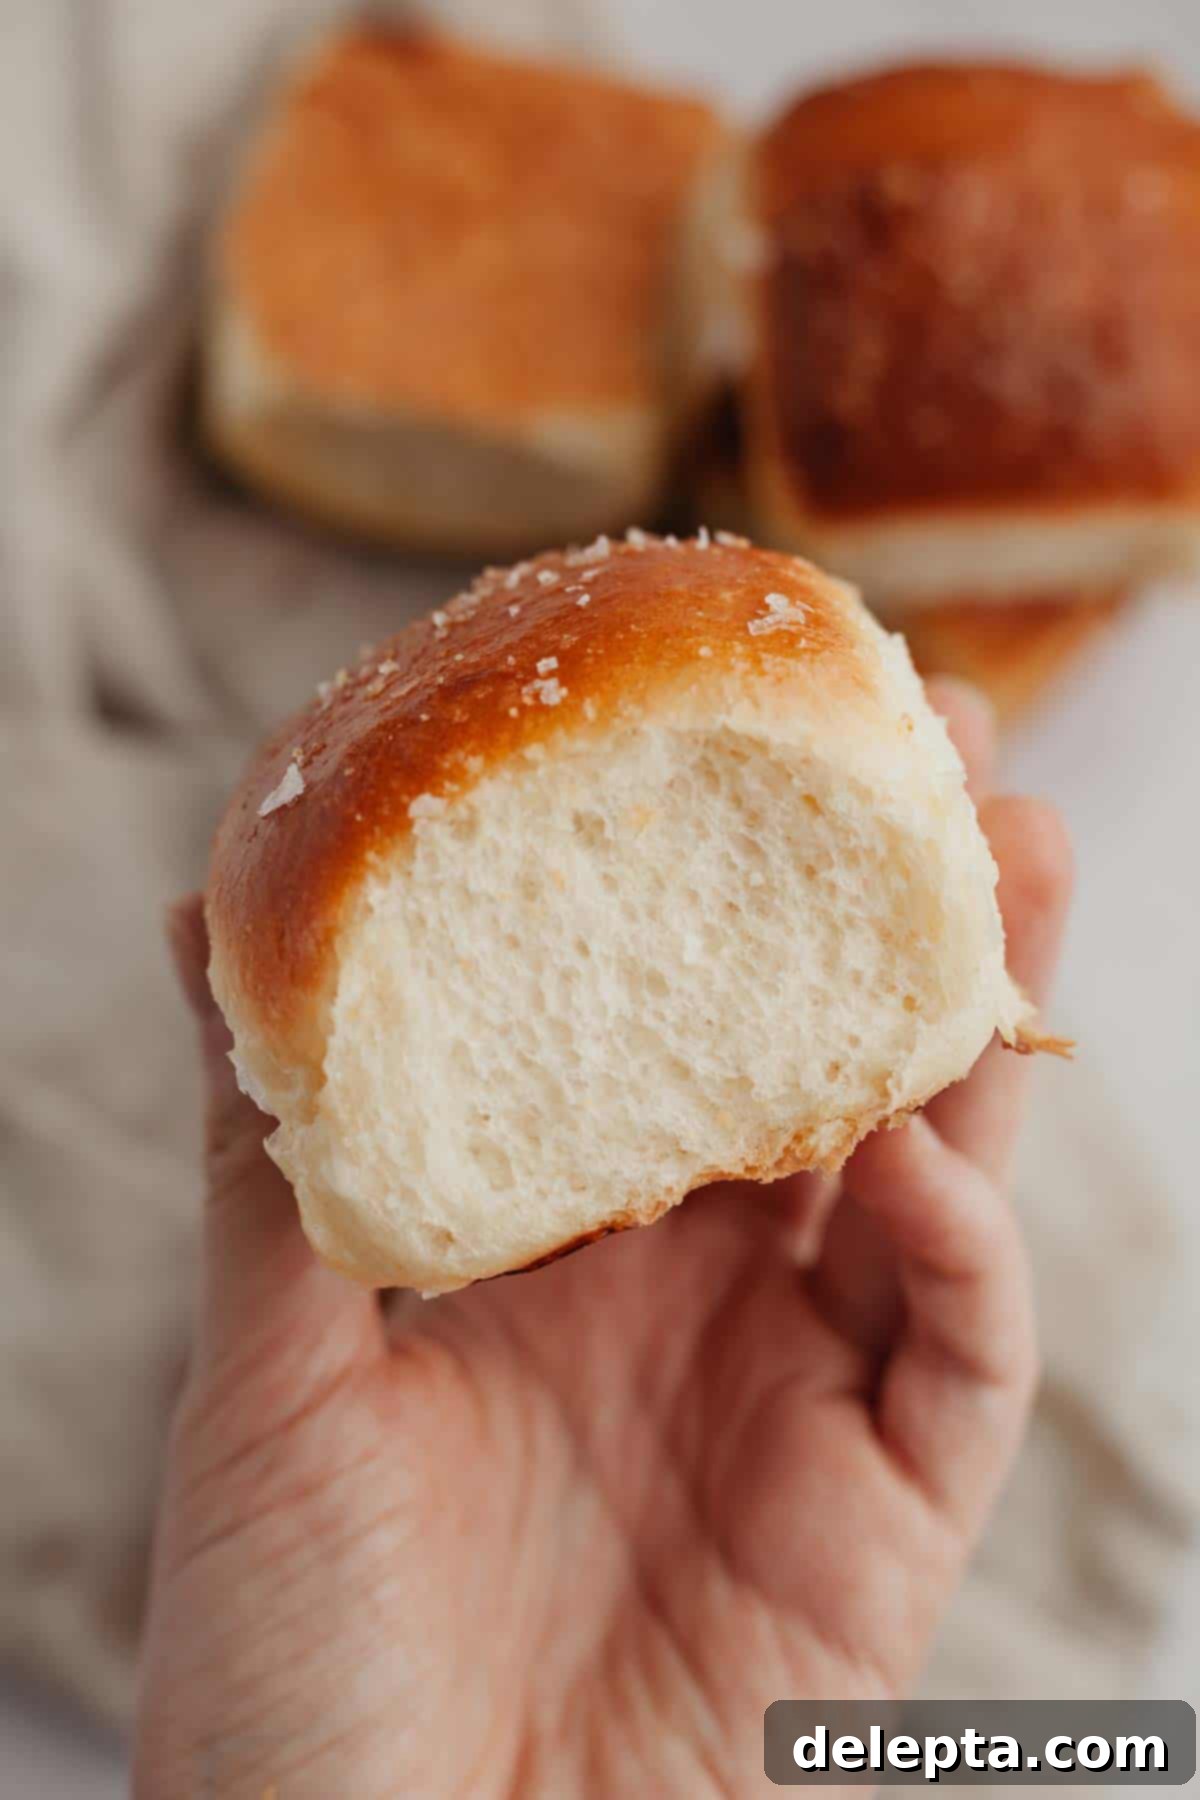
What sets these soft brioche dinner rolls apart is their rich brioche base, a classic French bread renowned for its tender crumb and luxurious taste. Unlike standard dinner rolls, brioche incorporates key ingredients like sugar, eggs, and a generous amount of butter, which contribute to its distinctive golden hue, delicate texture, and slightly sweet flavor. Don’t be intimidated by working with yeast; I promise it’s an incredibly straightforward process that yields incredibly rewarding results. If you’re looking for another fantastic garlic butter creation, be sure to try my garlic dinner rolls!
[feast_advanced_jump_to]
The Magic of Brioche: Why It Stands Out
Brioche is more than just bread; it’s a celebration of rich ingredients and careful technique. Originating in France, this pastry-like bread is distinguished by its high butter and egg content, which gives it a remarkably tender crumb and a subtly sweet, buttery flavor. Unlike lean doughs, which rely primarily on flour, water, salt, and yeast, brioche embraces richness, resulting in a bread that’s exceptionally moist, soft, and almost cake-like. This unique composition makes brioche rolls perfect for pairing with both sweet and savory dishes, offering a sophisticated touch that regular dinner rolls simply can’t match. The golden crust and airy interior are a testament to the quality of ingredients and the simple art of baking.
Tell Me About This Recipe!
- This recipe is wonderfully straightforward, requiring only 8 core ingredients. If you prefer to omit the garlic butter topping, you’ll find yourself needing just 7, making it an accessible baking project even for beginners.
- While baking bread involves some waiting, the actual hands-on preparation time is surprisingly minimal. You’ll primarily need to factor in two crucial rising periods, which allow the yeast to work its magic and develop incredible flavor and texture. These periods are where patience pays off!
- For ultimate convenience, these brioche dinner rolls can be prepared in advance. You have the option to make the dough the day before, allowing the second rise to happen slowly and beautifully in the refrigerator overnight. This cold proofing technique can even enhance the flavor complexity.
- The final touch is truly decadent: as soon as they emerge golden brown and warm from the oven, these rolls are generously brushed with a rich melted butter and garlic mixture. This not only adds an irresistible aroma but also imparts a savory, glistening finish that makes them utterly delectable.
Ingredient Notes: Essential Components for Perfect Brioche
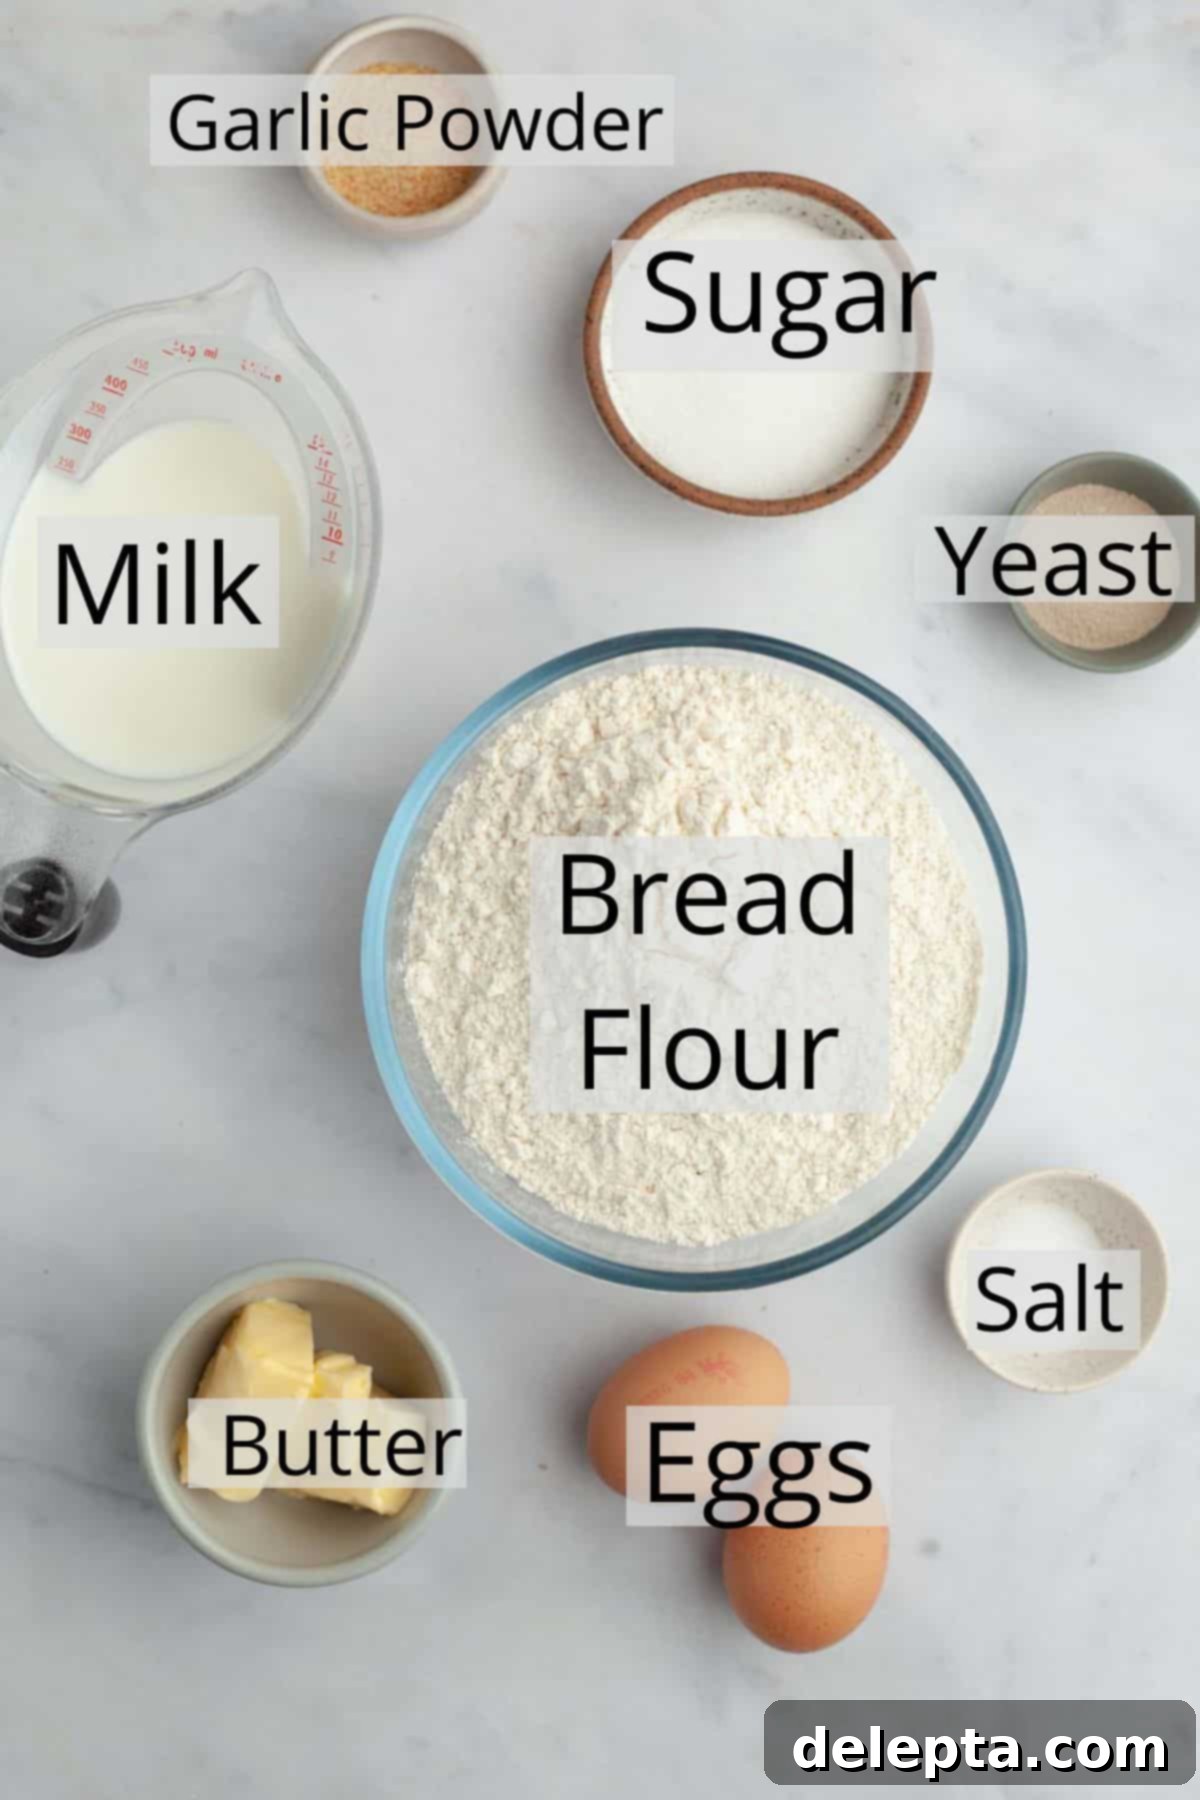
- Bread Flour: For this brioche recipe, I highly recommend using bread flour over all-purpose flour. The reason is simple: bread flour has a higher protein content, which translates to more gluten development. This extra gluten is what gives these rolls their characteristic chewy texture and structural integrity, preventing them from becoming too cake-like. While you *can* substitute all-purpose flour if absolutely necessary, be aware that your rolls may be less chewy and slightly softer.
- Milk: I tested this recipe with full-fat whole milk, which contributes significantly to the richness and tender crumb of the brioche. The fats in whole milk also help to tenderize the dough and add moisture. If you prefer or need a dairy-free option, you can certainly use a dairy-free milk substitute like almond milk or soy milk, though the richness might slightly vary. Ensure it’s lukewarm for activating the yeast effectively.
- Unsalted Butter: Butter is a star ingredient in brioche, providing flavor, tenderness, and richness. I consistently use European-style unsalted butter in my baking. This type of butter typically has a higher fat content and lower water content compared to American butter, resulting in a more luxurious and richer end product. Always ensure your butter is at room temperature for optimal incorporation into the dough.
- Eggs: Large eggs are specified for this recipe. Eggs add richness, structure, and a beautiful golden color to the brioche dough. The protein in eggs strengthens the dough, while the fat contributes to its tenderness. I have not tested this recipe with vegan egg alternatives, so I cannot guarantee similar results with substitutes. Using both a whole egg and an egg yolk further enhances richness and a tender crumb.
- Sugar: A small amount of white sugar isn’t just for sweetness; it plays a vital role in activating the yeast and tenderizing the dough. It feeds the yeast, helping it produce carbon dioxide for a good rise, and also contributes to the golden-brown crust.
- Salt: Essential for flavor, salt also plays a crucial role in controlling yeast activity and strengthening the gluten network. Don’t skip it, as it balances the sweetness and richness of the brioche.
- Dry Active Yeast: This is the leavening agent that makes your rolls light and fluffy. Ensuring your yeast is active and not expired is crucial for a successful rise. Lukewarm milk provides the perfect environment for it to bloom.
- Garlic Powder / Fresh Garlic: For the irresistible garlic butter topping, you have options! Garlic powder or garlic granules offer convenience and a consistent flavor distribution. However, if you’re a fan of fresh, potent garlic flavor, finely minced fresh garlic can be used. Just be mindful of potential browning if baking it directly.
Step-by-Step Instructions: Crafting Your Perfect Brioche Rolls
Creating these delightful brioche dinner rolls is a rewarding process. Follow these detailed steps to ensure a perfect batch every time. Patience during the rising stages is key!
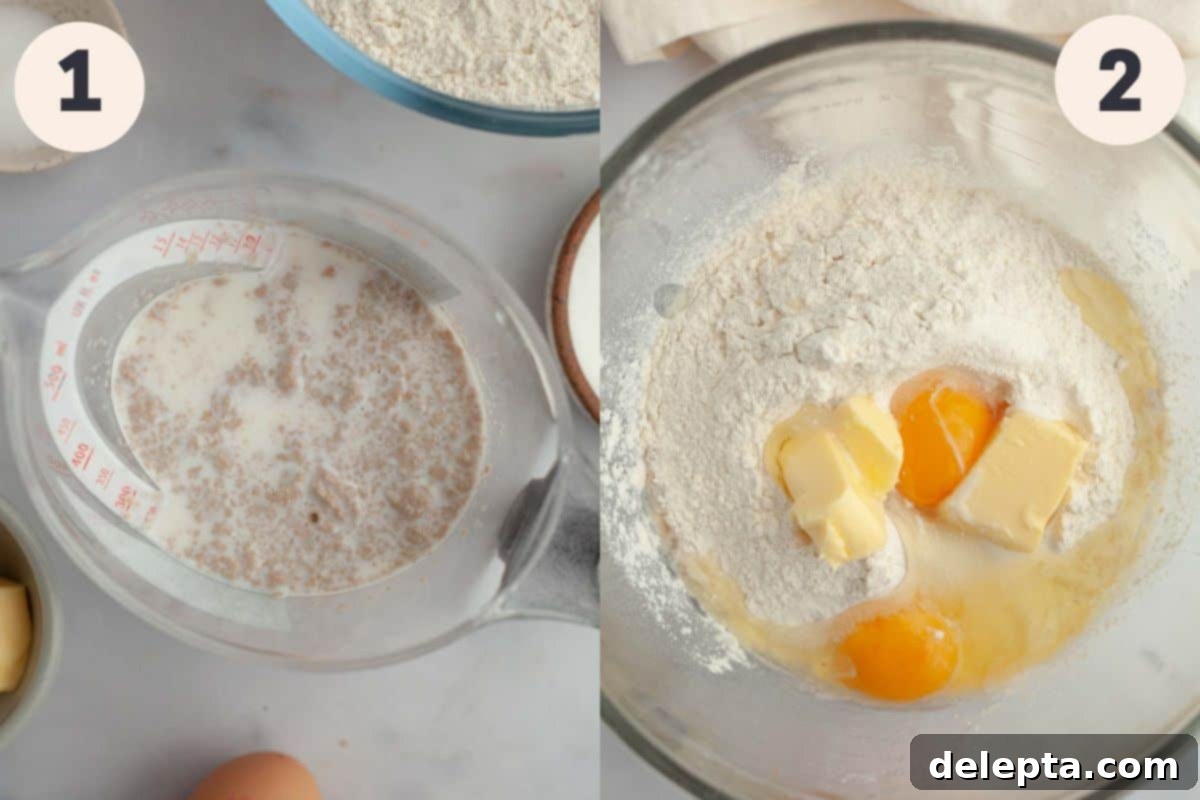
Step 1: Activate the Yeast. In a small jug or bowl, gently mix together the lukewarm whole milk with the dry active yeast and 1 tablespoon of white sugar. Stir it well and then set it aside for about 5-10 minutes. You’re looking for a frothy, bubbly surface to appear, which indicates your yeast is active and ready to make your rolls rise beautifully.
Step 2: Combine Wet and Dry Ingredients. In the bowl of a stand mixer fitted with the paddle attachment (or dough hook, if you prefer, but paddle works well for initial mixing), combine the activated milk-yeast mixture, the remaining tablespoon of sugar, the large egg, the large egg yolk, the room-temperature unsalted butter, fine salt, and finally, the bread flour. Ensure all ingredients are at room temperature for optimal mixing and dough development.
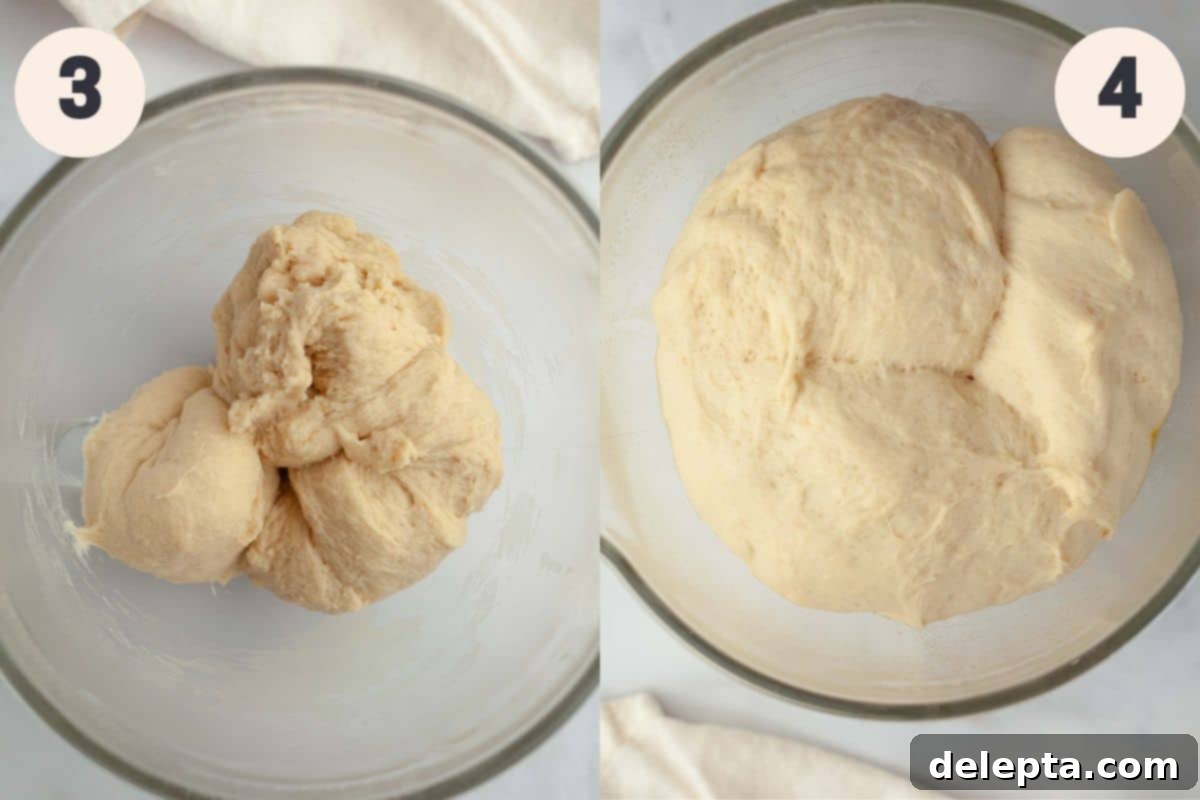
Step 3: Knead the Dough. Begin by beating the mixture on a low speed for about 2 minutes. This initial mixing helps to bring all the ingredients together into a shaggy dough. After 2 minutes, increase the speed to medium and continue beating for another 2-3 minutes. At this point, the dough should come together, becoming soft, pliable, and slightly sticky to the touch. It might still stick to the sides of the bowl a little, but it should clear the bottom. If it’s excessively sticky, add a tiny bit more bread flour, one tablespoon at a time, until it reaches the desired consistency. Avoid over-flouring!
Step 4: First Rise (Bulk Fermentation). Carefully remove the dough from the mixer bowl. Lightly oil the bowl (or use a separate clean bowl for this step) with a neutral vegetable oil. Place the dough back into the oiled bowl, turning it once to coat all sides. Cover the bowl tightly with a clean kitchen towel or plastic wrap. Allow the dough to rise in a warm, draft-free place for 60-90 minutes, or until it has visibly doubled in size. The exact time will depend on your kitchen’s ambient temperature – it might take closer to 90 minutes in a colder environment and perhaps a little over 60 minutes in a warmer one.
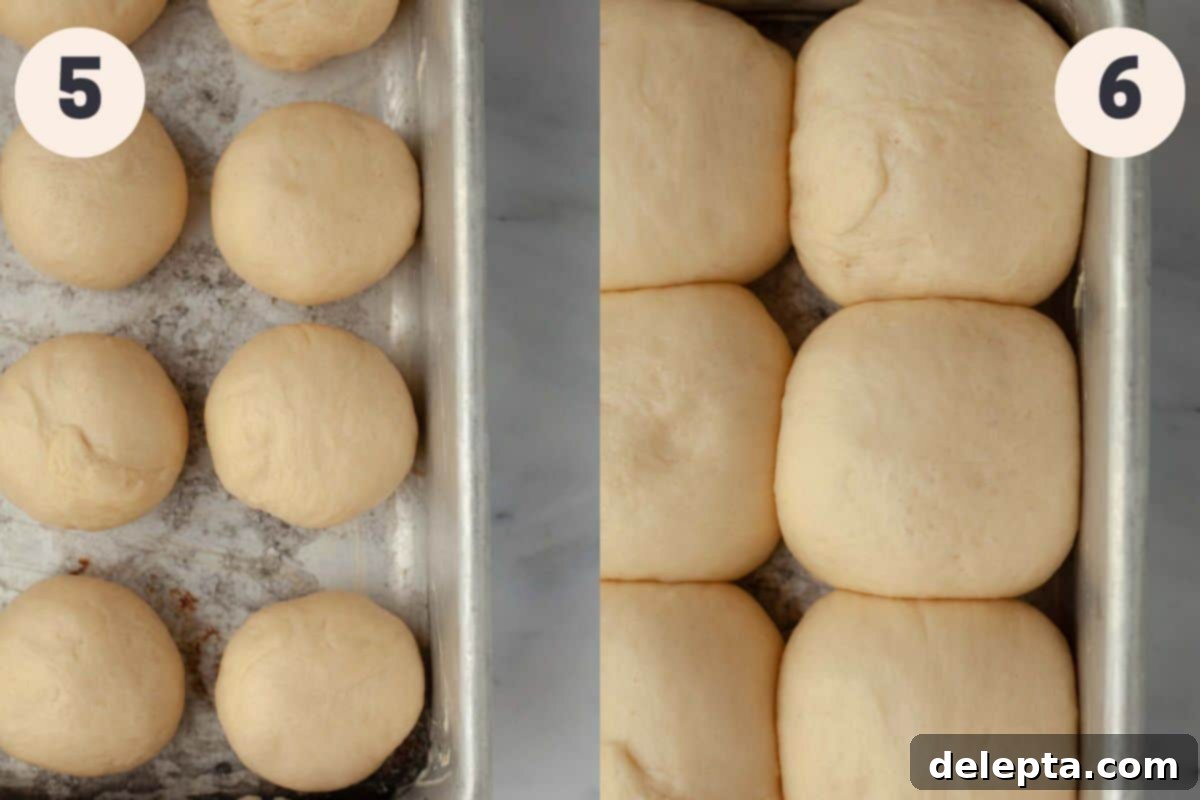
Step 5: Shape the Rolls. Lightly grease a 9×13 inch baking pan with butter. Once the dough has completed its first rise, gently remove the plastic wrap or towel. Deflate the dough by lightly pressing down with your fist to release the air. Transfer the dough onto a clean, *unfloured* countertop. Divide the dough into 12 equal pieces. For consistent sizing, I highly recommend using a kitchen scale to weigh each piece; they should be approximately 76 grams each. Now, shape each piece into a smooth, tight ball. A great technique involves pinching the corners of the dough to the bottom, then cupping your hand around the dough ball on the counter and rolling it in small circles. This creates tension on the surface and seals the seams at the bottom. Arrange the perfectly shaped dough balls in your buttered baking dish, leaving a small space between each one.
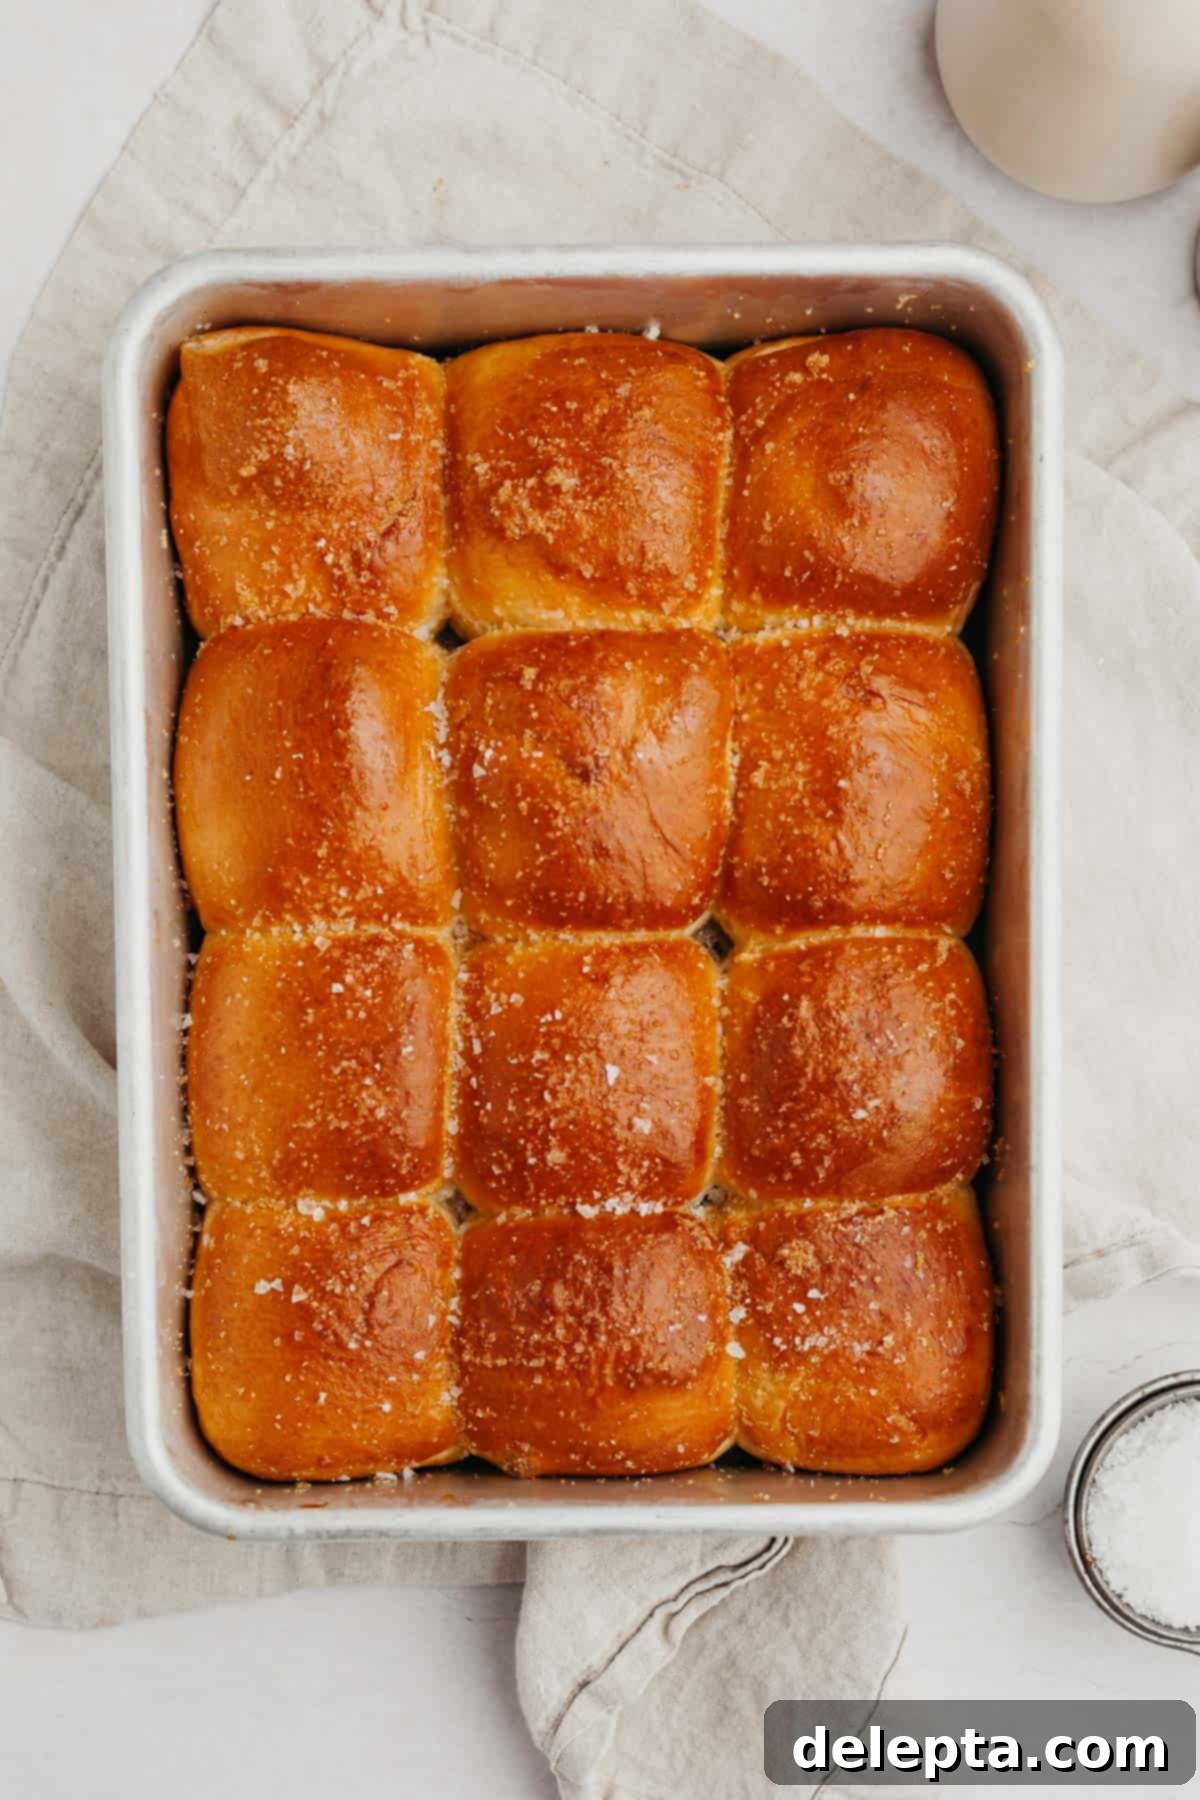
Step 6: Second Rise (Proofing) and Bake. Cover the baking dish loosely with plastic wrap or a clean kitchen towel and let the rolls undergo their second rise for approximately 1 hour in a warm place. They should expand significantly and lightly touch each other. To test for readiness, gently poke a roll with a floured finger; if it springs back slowly but leaves a slight indent, it’s ready to bake. Meanwhile, preheat your oven to 350°Fahrenheit (175°Celsius). Prepare an egg wash by whisking one large egg with a tablespoon of water. Just before baking, gently brush the tops of the risen rolls with this egg wash; this will give them a beautiful golden-brown color and a lovely sheen. Bake for 23-28 minutes, or until deeply golden brown and cooked through. While the rolls are baking, melt the remaining butter and whisk it together with the garlic powder (and any optional herbs, if using). As soon as the golden-brown rolls come out of the oven, immediately brush them generously with the fragrant melted garlic butter. Finish with a sprinkle of flaky sea salt for an extra touch of flavor and texture. Serve warm and enjoy!
Recipe Tips & Tricks for Brioche Baking Success
- Embrace a Kitchen Scale: For truly consistent and professional-level baking results, I cannot stress enough the importance of using a kitchen weighing scale. Measuring ingredients the metric way (grams) is far more accurate than using volume measurements (cups), especially for flour. This precision makes a huge difference in the final texture and consistency of your brioche rolls.
- Master Flour Measurement (if not using a scale): If you absolutely must use cups for flour, please use the “fluff and sprinkle method.” First, fluff the flour in its container with a spoon. Then, gently spoon the flour into your measuring cup, without packing it down. Finally, level off the top with a straight edge. Never scoop directly from the bag, as this compacts the flour and can add up to 25% more flour than intended, leading to dry, dense rolls instead of light, fluffy ones.
- Verify Your Yeast’s Vitality: Before you even start mixing, take a moment to check the expiration date on your yeast packet or jar. Using expired or inactive yeast is a common pitfall that can lead to a dough that simply won’t rise. Ensure your yeast is fresh and active for optimal results. The initial step of blooming the yeast in lukewarm milk also helps confirm its activity.
- Avoid Excessive Flour on Your Work Surface: When it comes time to divide and shape your dough balls, resist the urge to heavily flour your countertop. Too much extra flour can be incorporated into the dough, making it stiff and difficult to handle, and ultimately yielding a less tender roll. I’ve found that shaping the dough on a clean, *lightly oiled* or completely unfloured surface works best for creating smooth, sealed dough balls.
- Room Temperature is Your Friend: Always ensure your butter, eggs, and milk are at room temperature. This allows them to emulsify and incorporate more smoothly into the dough, creating a homogenous mixture and a finer crumb. Cold ingredients can shock the yeast and hinder proper dough development.
- The Poke Test for Proofing: When checking if your dough has risen enough (especially for the second rise), gently press a floured finger into the side of a roll. If the indentation slowly springs back but still leaves a slight mark, your rolls are perfectly proofed. If it springs back immediately, they might need a little more time. If it collapses, they are over-proofed.
Frequently Asked Questions About Brioche Dinner Rolls
Absolutely! This is a fantastic make-ahead option that also deepens the flavor of the brioche. After the first rise and shaping the rolls (Step 5), cover the pan tightly with plastic wrap and place it in the refrigerator overnight (up to 12-18 hours). The cold temperature will significantly slow down the second rise. The next day, take the pan out of the fridge and let the rolls come to room temperature (keeping the plastic wrap on) for at least 1-2 hours before brushing with egg wash and baking as directed. This allows them to finish proofing and ensures even baking.
While these brioche dinner rolls are undeniably best enjoyed fresh from the oven, you can certainly store them. Place any leftover rolls in an airtight container at room temperature for 1-2 days, or in the refrigerator for up to 3 days. To reheat, simply warm them gently in the microwave for a few seconds or in an oven preheated to 300°Fahrenheit (150°Celsius) for 5-10 minutes until soft. Yes, you can also freeze the baked dinner rolls! Once completely cooled, wrap them individually in plastic wrap, then place them in a freezer-safe bag or container for up to 2 months. To serve from frozen, let them defrost overnight in the fridge, then warm them up as described above.
Yes, you can substitute all-purpose flour for bread flour if that’s all you have on hand. However, it’s important to note that your brioche rolls will likely not be as chewy or have the same robust structure. Bread flour’s higher protein content contributes to a stronger gluten network, which is key for the distinctive texture of these rolls. If using all-purpose flour, you might notice a slightly softer, more tender (and less chewy) result, which is still delicious, just different!
There are a few common culprits if your brioche dough isn’t rising. The most frequent reason is inactive or expired yeast. Always check the expiration date! Another reason could be the temperature of your milk or environment; liquid that’s too hot can kill the yeast, while liquid that’s too cold won’t activate it. Ensure your milk is lukewarm (around 105-115°F or 40-46°C). Also, ensure your rising environment is warm and free of drafts. If your kitchen is cold, try placing the dough in a slightly warmed (but turned off!) oven, or near a warm spot in your home.
While a stand mixer makes the process much easier, especially with a sticky dough like brioche, you can absolutely mix it by hand! It will require more effort and time for kneading. Expect to knead the dough vigorously for about 10-15 minutes by hand to develop sufficient gluten, compared to the 4-5 minutes in a stand mixer. The dough will be sticky initially, but resist adding too much flour; keep at it until it becomes smoother and more elastic.
Perfect Pairings: Serving Suggestions for Your Brioche Rolls
These versatile brioche dinner rolls aren’t just for holidays! Their rich, buttery flavor and tender texture make them an ideal accompaniment to a wide array of dishes. Serve them warm alongside a comforting bowl of French onion soup or a hearty beef stew, where they can soak up all the delicious broth. They’re also magnificent with roasted chicken or turkey, and they truly shine as part of a lavish holiday spread, like Thanksgiving or Christmas dinner. For a simpler meal, they can elevate a weeknight pasta dish or even be enjoyed on their own with a smear of extra butter and a sprinkle of herbs. Consider them as mini sliders for gourmet sandwiches, or even as a base for a sweet treat with jam or honey. Their adaptability is one of their greatest strengths!
Expand Your Baking Repertoire: Try These Next!
If you loved making these brioche dinner rolls, you might enjoy exploring other delightful recipes from my kitchen. Here are a few recommendations to inspire your next culinary adventure:
- Whipped Ricotta Dip with Hot Honey
- Cornbread (without buttermilk)
- Apple Crisp Cheesecake
- Maple Cupcakes
Have you made this recipe? Please rate the recipe below! Don’t forget to follow me on Instagram @alpineella and Pinterest!
Brioche Dinner Rolls Recipe Card

Perfect Homemade Brioche Dinner Rolls
Ella Gilbert
Pin Recipe
Save RecipeSaved!
Equipment
-
9×13″ baking pan
-
Stand Mixer with Paddle/Dough Hook Attachment
-
Kitchen Scale (highly recommended)
Ingredients
Brioche Dinner Rolls
- 1 cup whole milk lukewarm
- 2 ¼ teaspoons dry active yeast
- 2 tablespoons white sugar
- 4 tablespoons unsalted butter room temperature
- 1 large egg room temperature
- 1 large egg yolk room temperature
- 1 ½ teaspoons fine salt
- 4 ⅛ cups bread flour
Topping
- 1 large egg room temperature (for egg wash)
- 2 tablespoons unsalted butter melted
- 1 teaspoon garlic powder
- flakey sea salt for sprinkling
Instructions
-
In a small bowl, whisk together the lukewarm whole milk, dry active yeast, and 1 tablespoon of white sugar. Let this mixture sit for 5-10 minutes until it becomes frothy and bubbly, indicating the yeast is active.1 cup whole milk, 2 ¼ teaspoons dry active yeast, 2 tablespoons white sugar
-
In the bowl of a stand mixer fitted with the paddle attachment (or dough hook), combine the activated yeast mixture, the remaining 1 tablespoon of sugar, the large egg, egg yolk, room-temperature unsalted butter, fine salt, and bread flour. Beat on low speed for 2 minutes until the dough comes together. Increase speed to medium and beat for another 2-3 minutes until soft and slightly sticky. If too sticky, add 1 tablespoon of flour at a time.4 tablespoons unsalted butter, 1 large egg, 1 large egg yolk, 1 ½ teaspoons fine salt, 4 ⅛ cups bread flour
-
Remove the dough, lightly oil the bowl, and place the dough back in. Cover with a clean kitchen towel or plastic wrap. Let rise in a warm, draft-free place for 60-90 minutes, or until doubled in size.
-
Grease a 9×13 inch baking pan with butter.
-
Gently deflate the risen dough with your fist and transfer it to a clean, unfloured surface. Divide the dough into 12 equal pieces, ideally weighing about 76 grams each for consistency.
-
Shape each piece into a smooth, tight ball by pinching the edges to the bottom. Place the dough ball seam-side down on the counter, cup your hand around it, and roll in small circles to seal the seams. Arrange the shaped rolls in the buttered baking pan.
-
Cover the pan with plastic wrap or a kitchen towel and let rise for another 1 hour, or until visibly expanded and touching. Preheat the oven to 350°F (175°C). Whisk 1 large egg with a tablespoon of water for an egg wash. Gently brush the tops of the risen rolls with the egg wash.1 large egg
-
Bake for 23-28 minutes, until deep golden brown. While baking, whisk 2 tablespoons of melted butter with 1 teaspoon of garlic powder. Immediately upon removing the rolls from the oven, brush them generously with the garlic butter mixture and sprinkle with flaky sea salt. Serve warm.2 tablespoons unsalted butter, flakey sea salt, 1 teaspoon garlic powder
Notes
To achieve the best dough texture and rise, it’s crucial to ensure all your brioche ingredients — milk, butter, and eggs — are at room temperature before you begin baking. Plan ahead by taking them out of the fridge at least 30-60 minutes before you start.
Butter Choice: I always opt for European-style butter, such as Kerrygold, in my baking. Its higher fat content and richer flavor significantly enhance the creaminess and overall richness of these brioche bread rolls, contributing to their superior taste and tender crumb.
Freezing Baked Rolls: Once your brioche rolls have cooled completely, you can freeze them for later enjoyment. Wrap each roll individually in plastic wrap, then place them in a heavy-duty freezer bag or an airtight container. They will keep well in the freezer for up to 3 months. To serve, transfer them to the refrigerator overnight to defrost. The next morning, reheat them in an oven preheated to 350°F (175°C) for about 8-10 minutes, or gently warm in the microwave.
Make-Ahead Option: This recipe is perfect for preparing in advance. Follow the instructions up to Step 6, just after you’ve shaped the rolls and placed them in the baking dish. Allow them to rise for only about 30 minutes at room temperature, then cover the pan tightly with plastic wrap and refrigerate overnight. On baking day, remove the pan from the fridge and let the rolls come to full room temperature for at least 1 hour (while still covered) before proceeding with the egg wash and baking. This slow, cold proofing can actually develop more complex flavors!
Shaping Perfection: The key to beautiful, evenly risen rolls is proper shaping. Make sure to create a smooth surface on top and pinch all the seams securely at the bottom. This tension on the surface helps the rolls hold their shape and creates a better rise.
Nutrition Information
