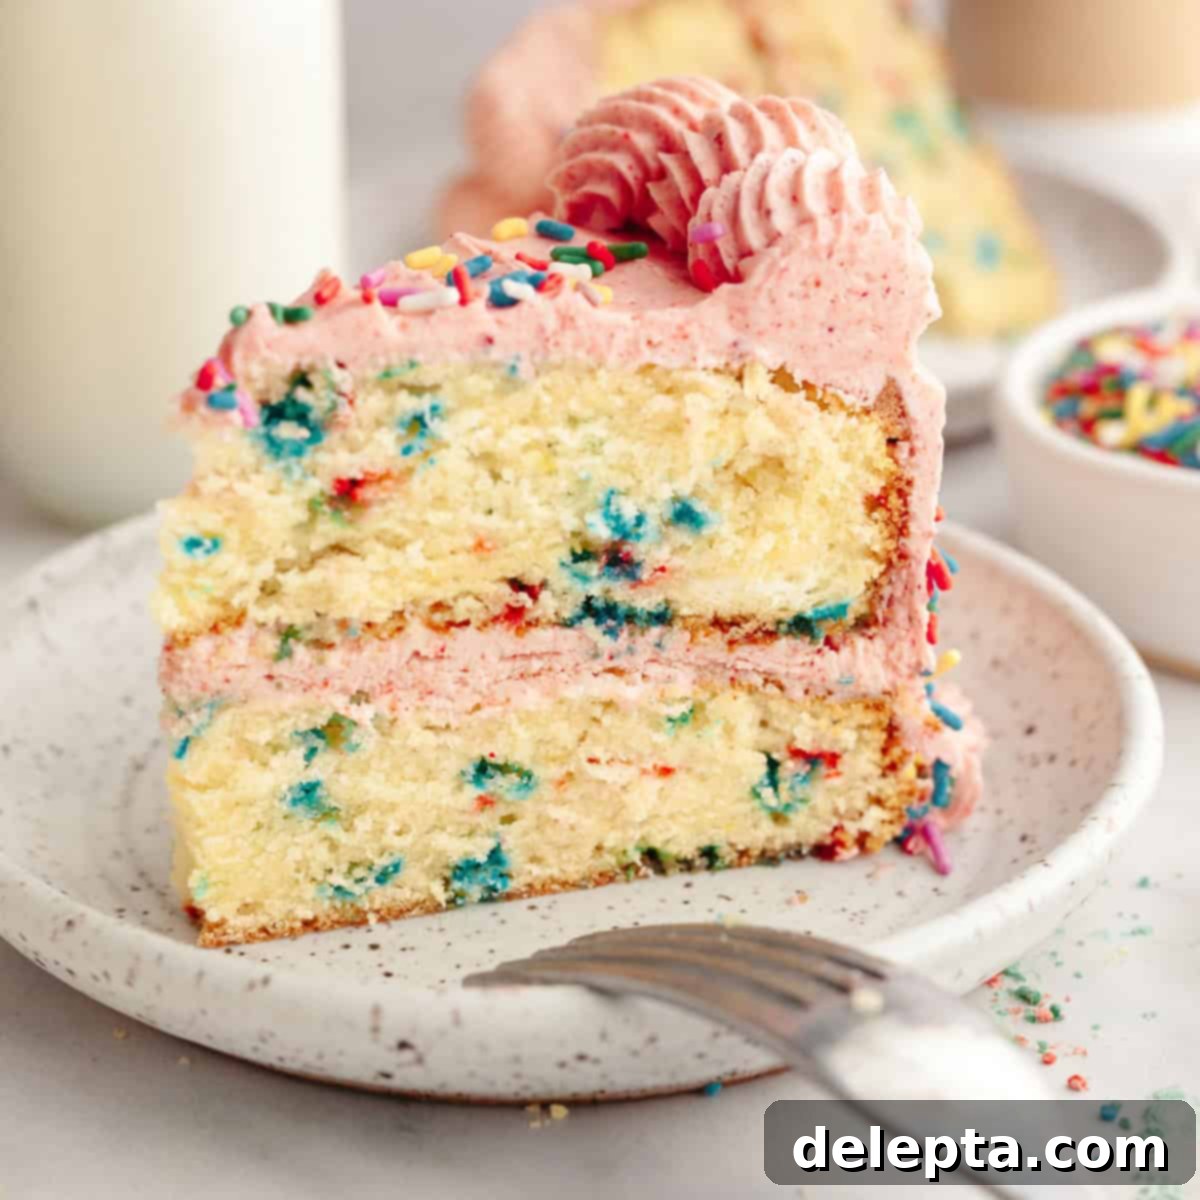
The Ultimate Strawberry Funfetti Cake: A Moist, Naturally Pink Celebration Dessert
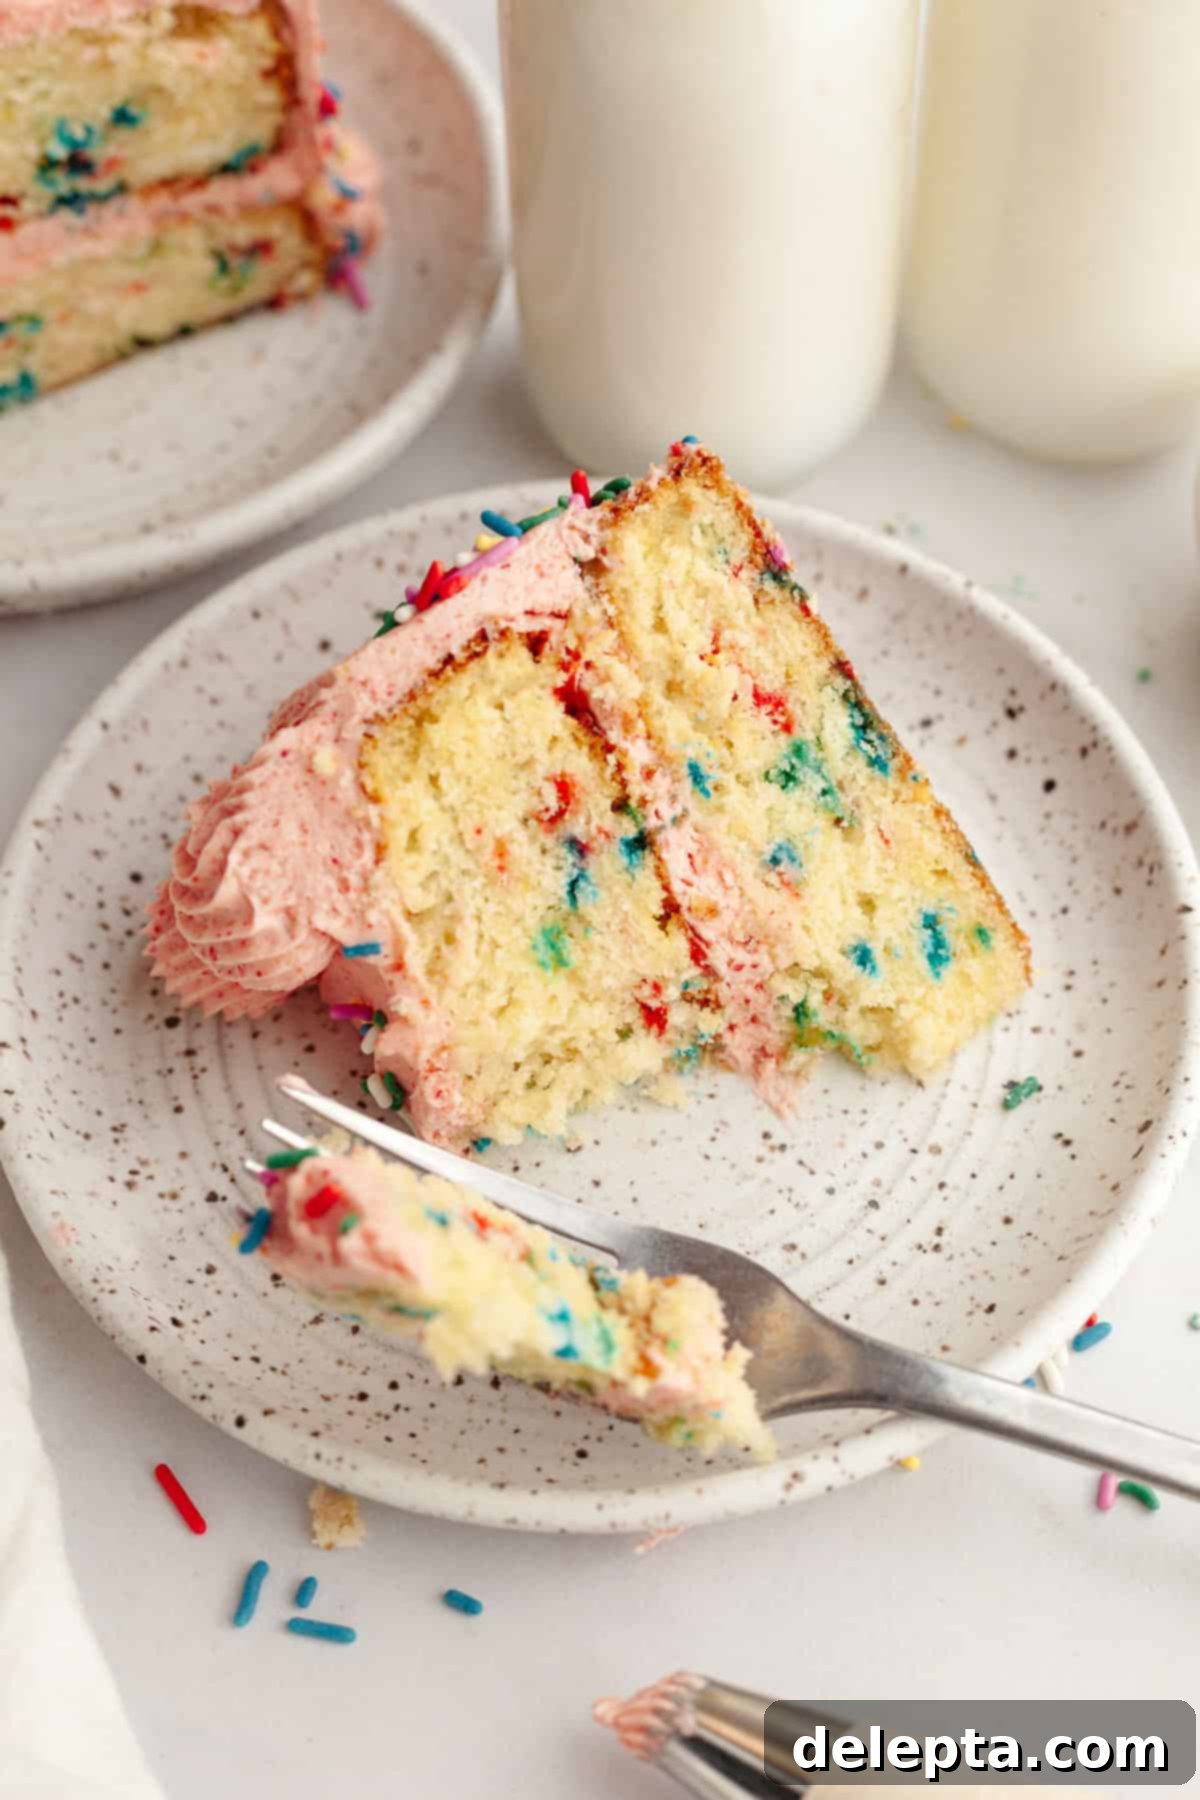
Prepare to delight your taste buds and impress your guests with this incredible strawberry funfetti cake! Imagine layers of moist, tender funfetti cake, generously dotted with vibrant rainbow sprinkles, all lovingly enveloped in a luxurious, naturally pink strawberry buttercream. This isn’t just a cake; it’s a celebration in every slice, perfect for birthdays, special occasions, or simply to add a touch of cheerful sweetness to your day. What makes this particular strawberry confetti cake stand out is its effortless charm and the magic of freeze-dried strawberries, which provide an intense, authentic strawberry flavor and a stunning, dye-free pink hue to the frosting. Say goodbye to artificial colors and hello to pure, delicious joy!
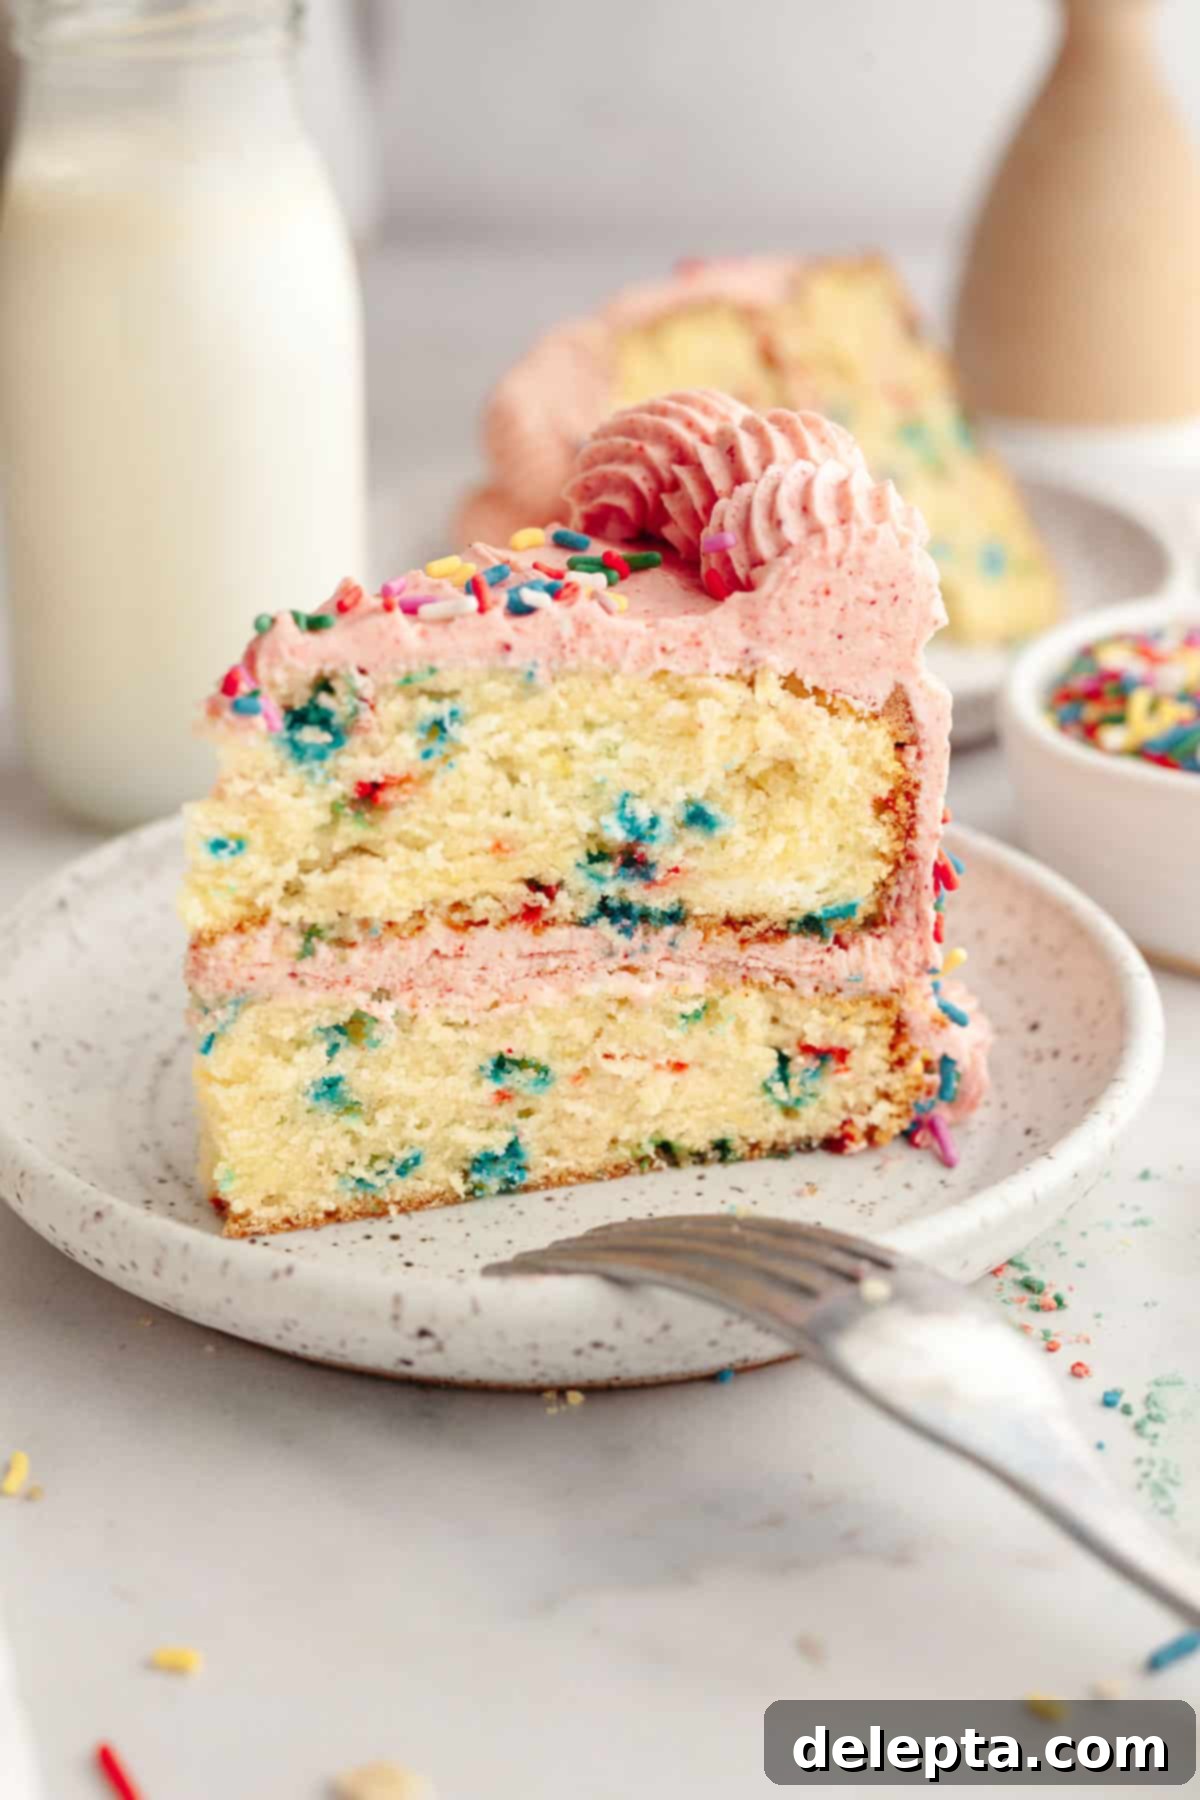
While my heart often beats for rich chocolate desserts, I confess this strawberry funfetti cake has completely won me over. Just one look at its vibrant colors and fluffy frosting, and you’ll understand why it’s pure bliss on a plate. It’s more than just a dessert; it’s an experience that brings a smile to everyone who tries it.
The foundation of this delightful creation comes from my favorite vanilla cake recipe, meticulously adapted to ensure those playful rainbow sprinkles stay suspended throughout the batter, creating that iconic funfetti look without sinking to the bottom. During testing, I found that a slight adjustment to the flour content was key to achieving this perfect distribution. The rich, creamy strawberry buttercream, inspired by my popular strawberry filled cupcakes, gets an extra flavor boost with a hint of fresh lemon juice. This small addition brightens the natural strawberry notes, making the frosting even more irresistible. It’s a secret weapon for amplifying that sweet, tangy berry taste!
This versatile cake base has even inspired other creations, such as my delectable mini chocolate chip sheet cake. It’s a testament to the robust and delicious nature of this core recipe.
If you’re looking for more show-stopping layer cakes for your next celebration, don’t miss my decadent red velvet cake with chocolate chips, or the equally charming vanilla cake with strawberry filling. For those who adore cookies and cream, my Oreo Funfetti layer cake offers a fun, crunchy twist on the classic funfetti theme!
Why You’ll Adore This Strawberry Funfetti Cake!
- Surprisingly Simple to Make: Despite its impressive appearance, this layer cake is remarkably straightforward to assemble. Don’t let the “layer cake” title intimidate you! With clear instructions and a trusty stand mixer (or a powerful handheld mixer) for both the cake batter and the frosting, you’ll find the process much easier than you think. It’s a truly rewarding baking project, perfect for bakers of all skill levels.
- Naturally Pink and Flavorful: One of my favorite aspects of this cake is the vibrant, natural pink hue of the buttercream. We achieve this gorgeous color, along with an intense strawberry flavor, by using freeze-dried strawberries. This means no artificial food dyes are needed, keeping your hands, counters, and clothing free from accidental stains! The pure strawberry powder infuses the frosting with genuine fruit essence, a far superior taste to artificial flavorings.
- Luxuriously Buttery, Exceptionally Moist Cake: The funfetti cake layers are based on my most beloved vanilla cake recipe, ensuring a tender crumb and rich flavor. The combination of unsalted butter provides that classic, deep buttery taste, while the addition of a neutral oil guarantees an unbelievably moist texture that stays fresh for days. Furthermore, buttermilk adds a touch of acidity, contributing to the cake’s softness and subtly enhancing its overall flavor profile.
Gather Your Key Ingredients!
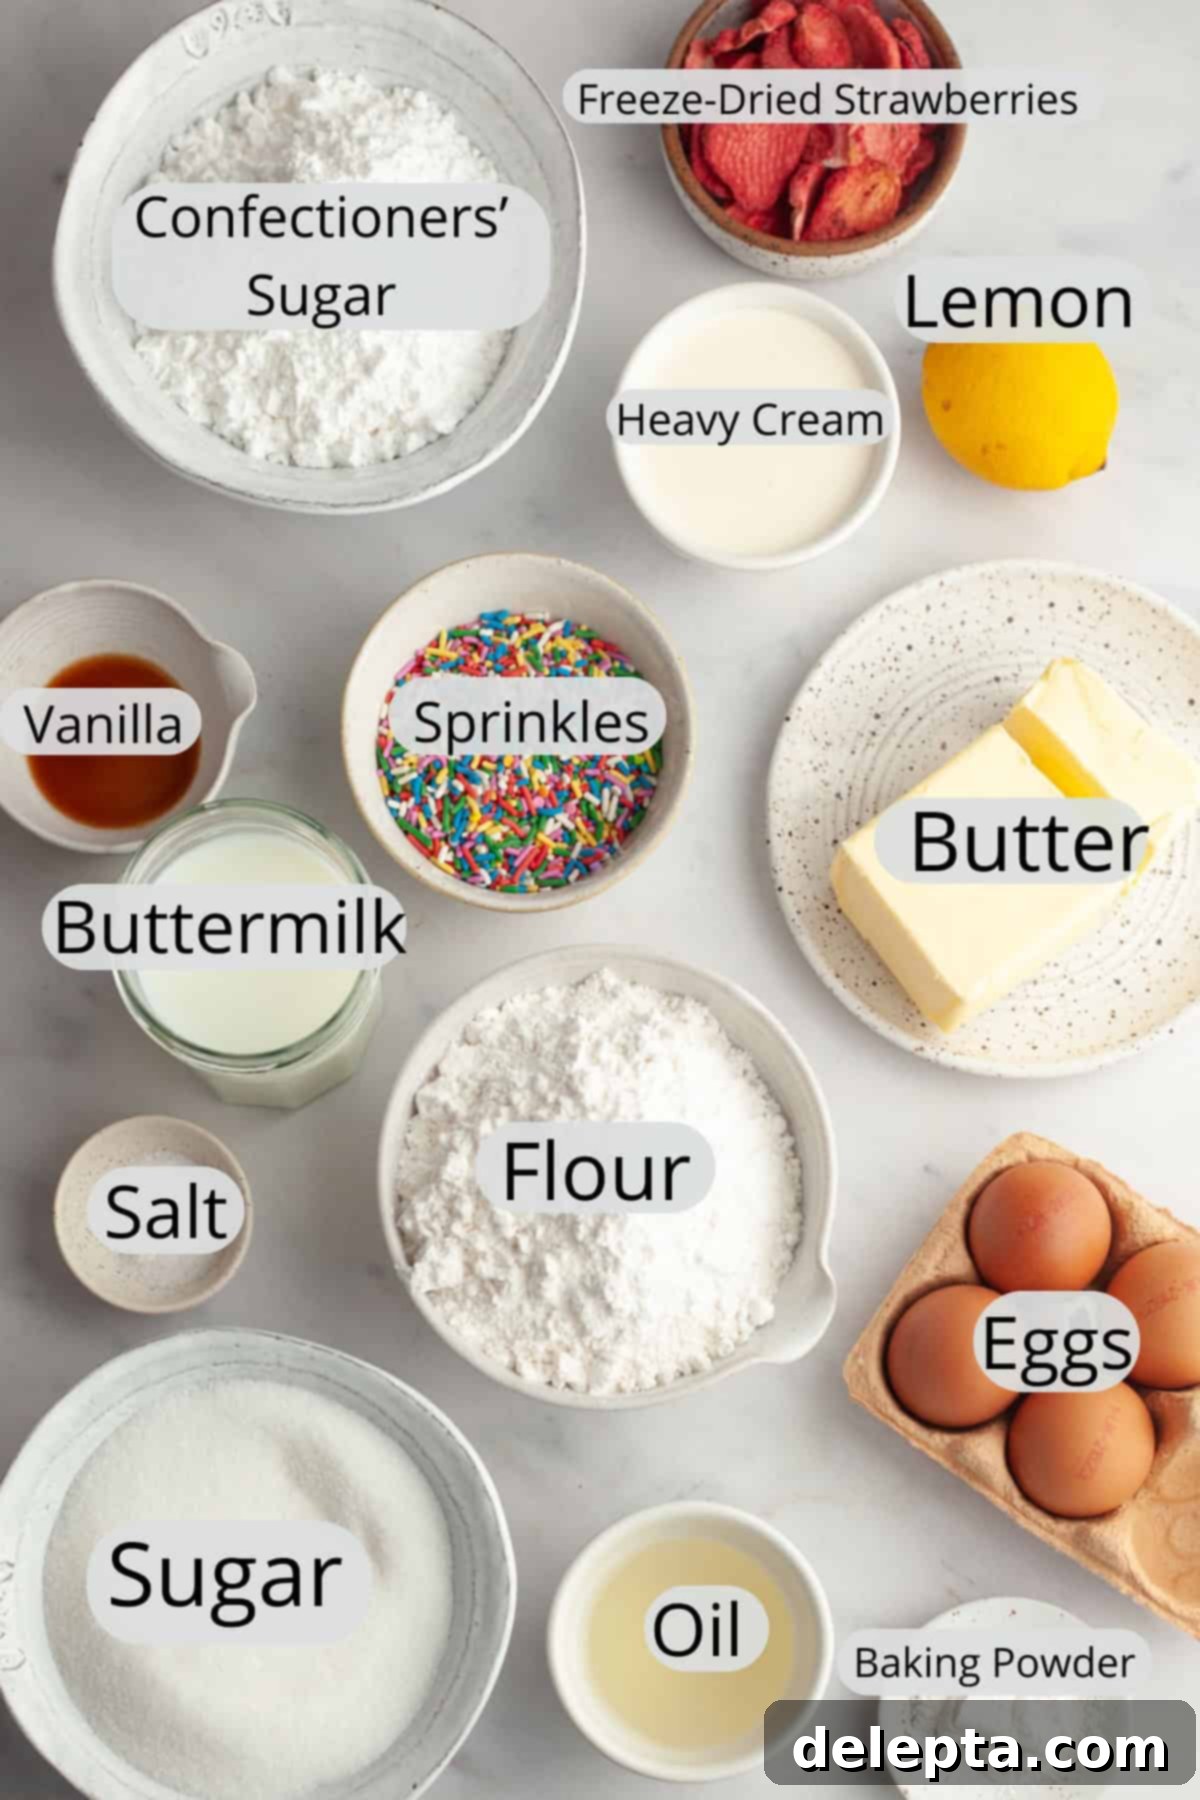
- All-Purpose Flour: This is my go-to flour for consistent results, providing a perfectly structured yet tender cake. If you prefer, you can also use cake flour for an even finer crumb, as I’ve tested the recipe successfully with both. Always remember to measure flour by spooning it into the measuring cup and leveling it off, rather than scooping, to avoid a dense cake.
- Buttermilk: A crucial ingredient for tender, flavorful cakes. The acidity in buttermilk reacts with the baking powder, promoting a light and airy texture, and also adds a subtle tang that complements the sweet flavors. If you don’t have buttermilk, you can easily make a substitute by adding 1 tablespoon of lemon juice or white vinegar to a measuring cup, then filling the rest with regular milk to reach 1 cup. Let it sit for 5-10 minutes until it slightly curdles.
- Premium Vanilla Extract: Since vanilla forms the backbone of the funfetti cake’s flavor, using a high-quality, pure vanilla extract makes a noticeable difference. Avoid artificial vanilla if possible for the best taste.
- Bright Rainbow Sprinkles: These are essential for the “funfetti” aesthetic! I highly recommend using long-stranded sprinkles (jimmies) or confetti-style sprinkles, as they hold their shape and color beautifully during baking. Avoid nonpareils (the tiny ball sprinkles), as they tend to melt and bleed their colors into the batter, or disappear altogether, detracting from the visual appeal.
- Unsalted Butter: You’ll need unsalted butter for both the cake and the creamy strawberry buttercream. Ensuring your butter is at proper room temperature (soft enough to indent easily but not melted) is vital for achieving a light and fluffy cake batter and a smooth, well-emulsified frosting.
- Neutral Oil: Incorporating a neutral-flavored oil, such as vegetable oil, sunflower oil, or canola oil, alongside butter is key to making this cake extra moist and keeping it soft for longer. Choose an oil that won’t impart any strong flavors to your delicate cake.
- Freeze-Dried Strawberries: This is the star ingredient for our naturally pink and intensely flavored strawberry buttercream! You’ll need to blend these until they form a fine powder using a food processor or blender. It’s absolutely critical that you do NOT substitute these with fresh or frozen strawberries, as their high moisture content would destabilize the buttercream and result in a watery, unusable frosting. Freeze-dried strawberries provide concentrated flavor and vibrant color without adding any excess liquid.
- Fresh Lemon Juice: While optional, a small squeeze of fresh lemon juice in the buttercream works wonders. The acidity brightens and amplifies the natural strawberry flavor, making it pop even more. It’s a simple addition that truly elevates the taste!
Creative Substitutions & Delicious Additions
- Different Freeze-Dried Fruit: Feel free to get creative with the frosting! You can easily swap out the freeze-dried strawberries for other freeze-dried fruits like raspberries for a tarter, vibrant pink frosting, or even blueberries for a lovely purple hue. Just ensure they are blended into a fine powder for the best results.
- Tangy Strawberry Cream Cheese Frosting: If you’re a fan of the slight tang and richness of cream cheese frosting, consider using my strawberry cream cheese frosting recipe instead. It offers a different, yet equally delicious, flavor profile. However, be aware that cream cheese frosting tends to be softer and less stable than traditional buttercream, which can make intricate piping a bit more challenging.
- Classic Vanilla Buttercream: Not a big fan of strawberries, or perhaps someone in your celebration isn’t? No problem! You can easily replace the strawberry buttercream with my smooth and flavorful vanilla bean American buttercream. This classic option ensures everyone can enjoy a slice of this funfetti delight.
Your Step-by-Step Guide to Baking This Delightful Cake
Baking this stunning strawberry funfetti cake is a straightforward process that yields incredibly rewarding results. Follow these steps carefully for a perfectly moist cake and luscious, naturally pink buttercream.
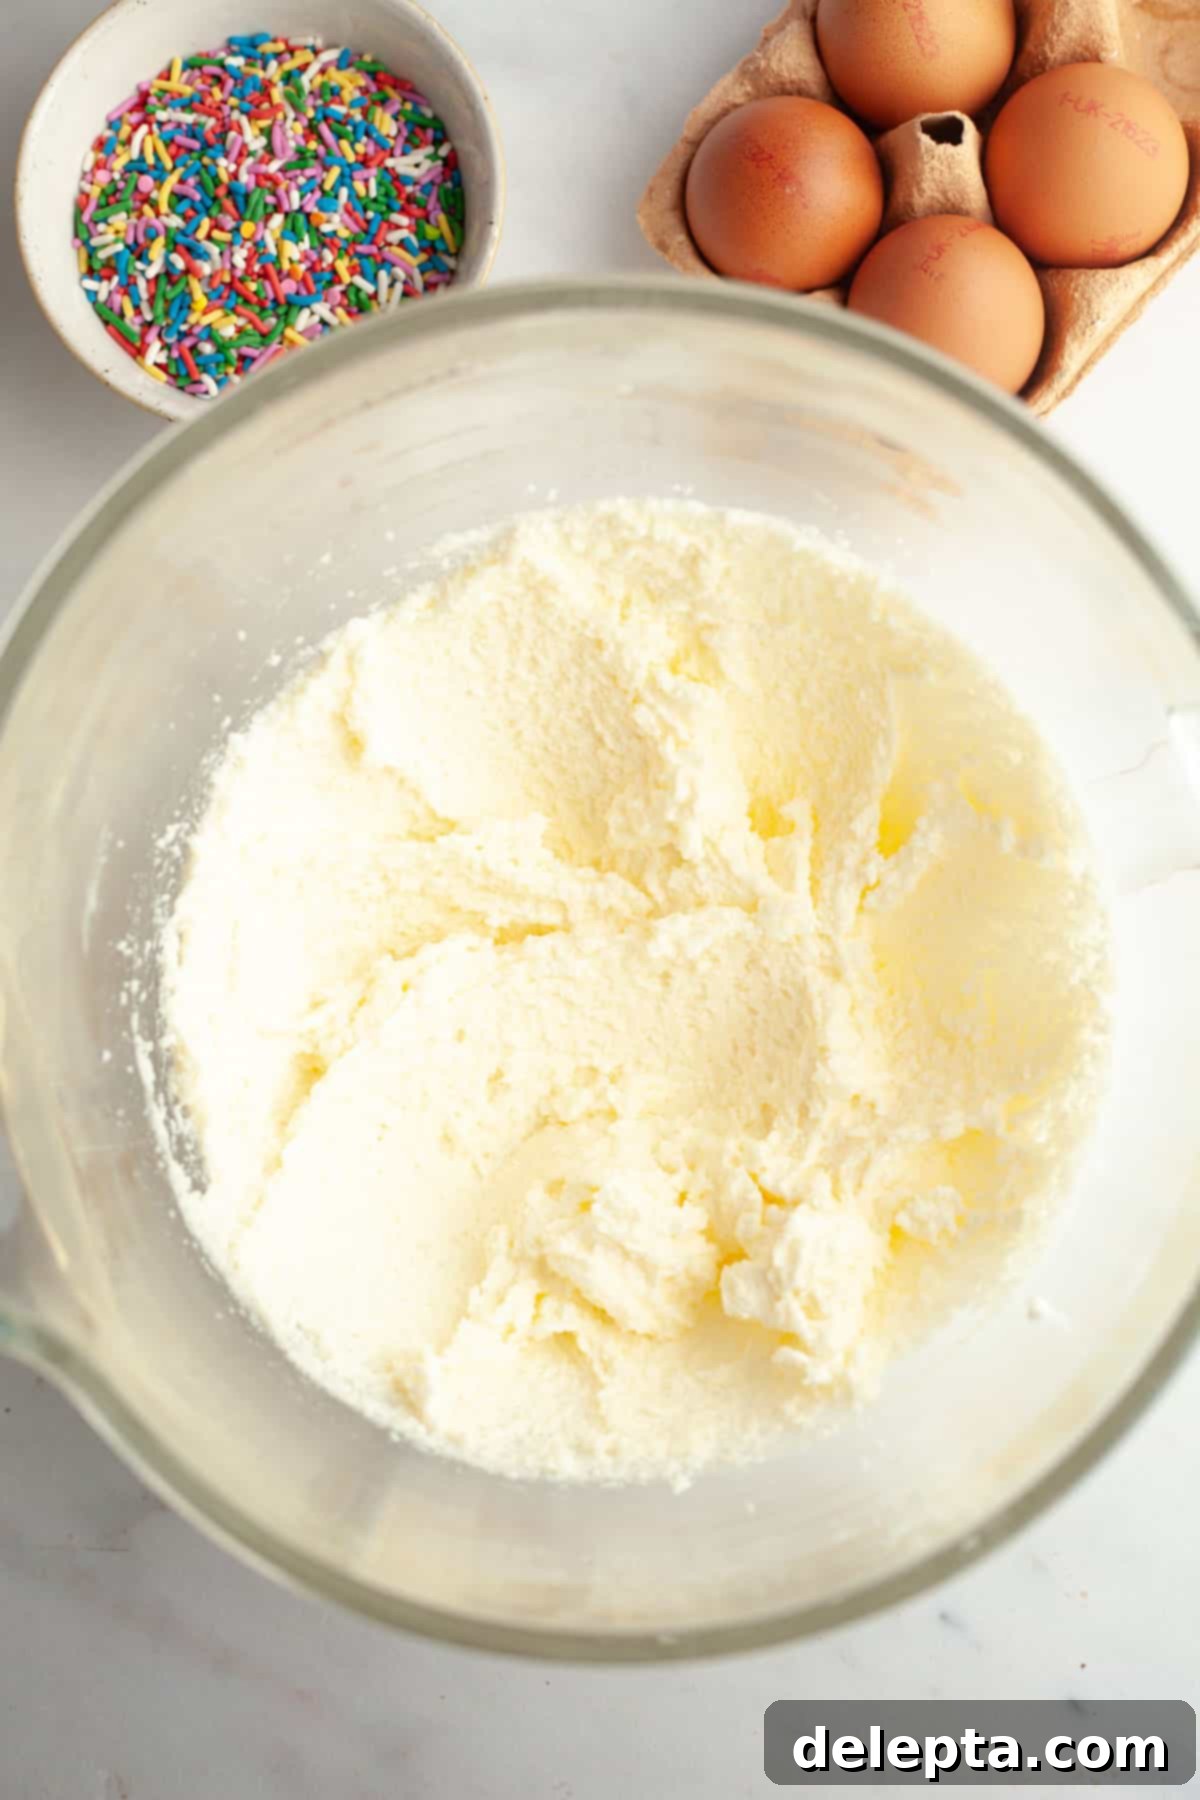
- Step 1: Begin by preheating your oven to 350ºF (175ºC). Generously grease and line the bottoms of two 8-inch cake pans with parchment paper to prevent sticking. In the bowl of a stand mixer fitted with the paddle attachment, or using a large bowl and a handheld mixer, beat together the room temperature unsalted butter, white sugar, and neutral oil until the mixture is visibly lightened in color and fluffy. This usually takes about 2-3 minutes on medium speed.
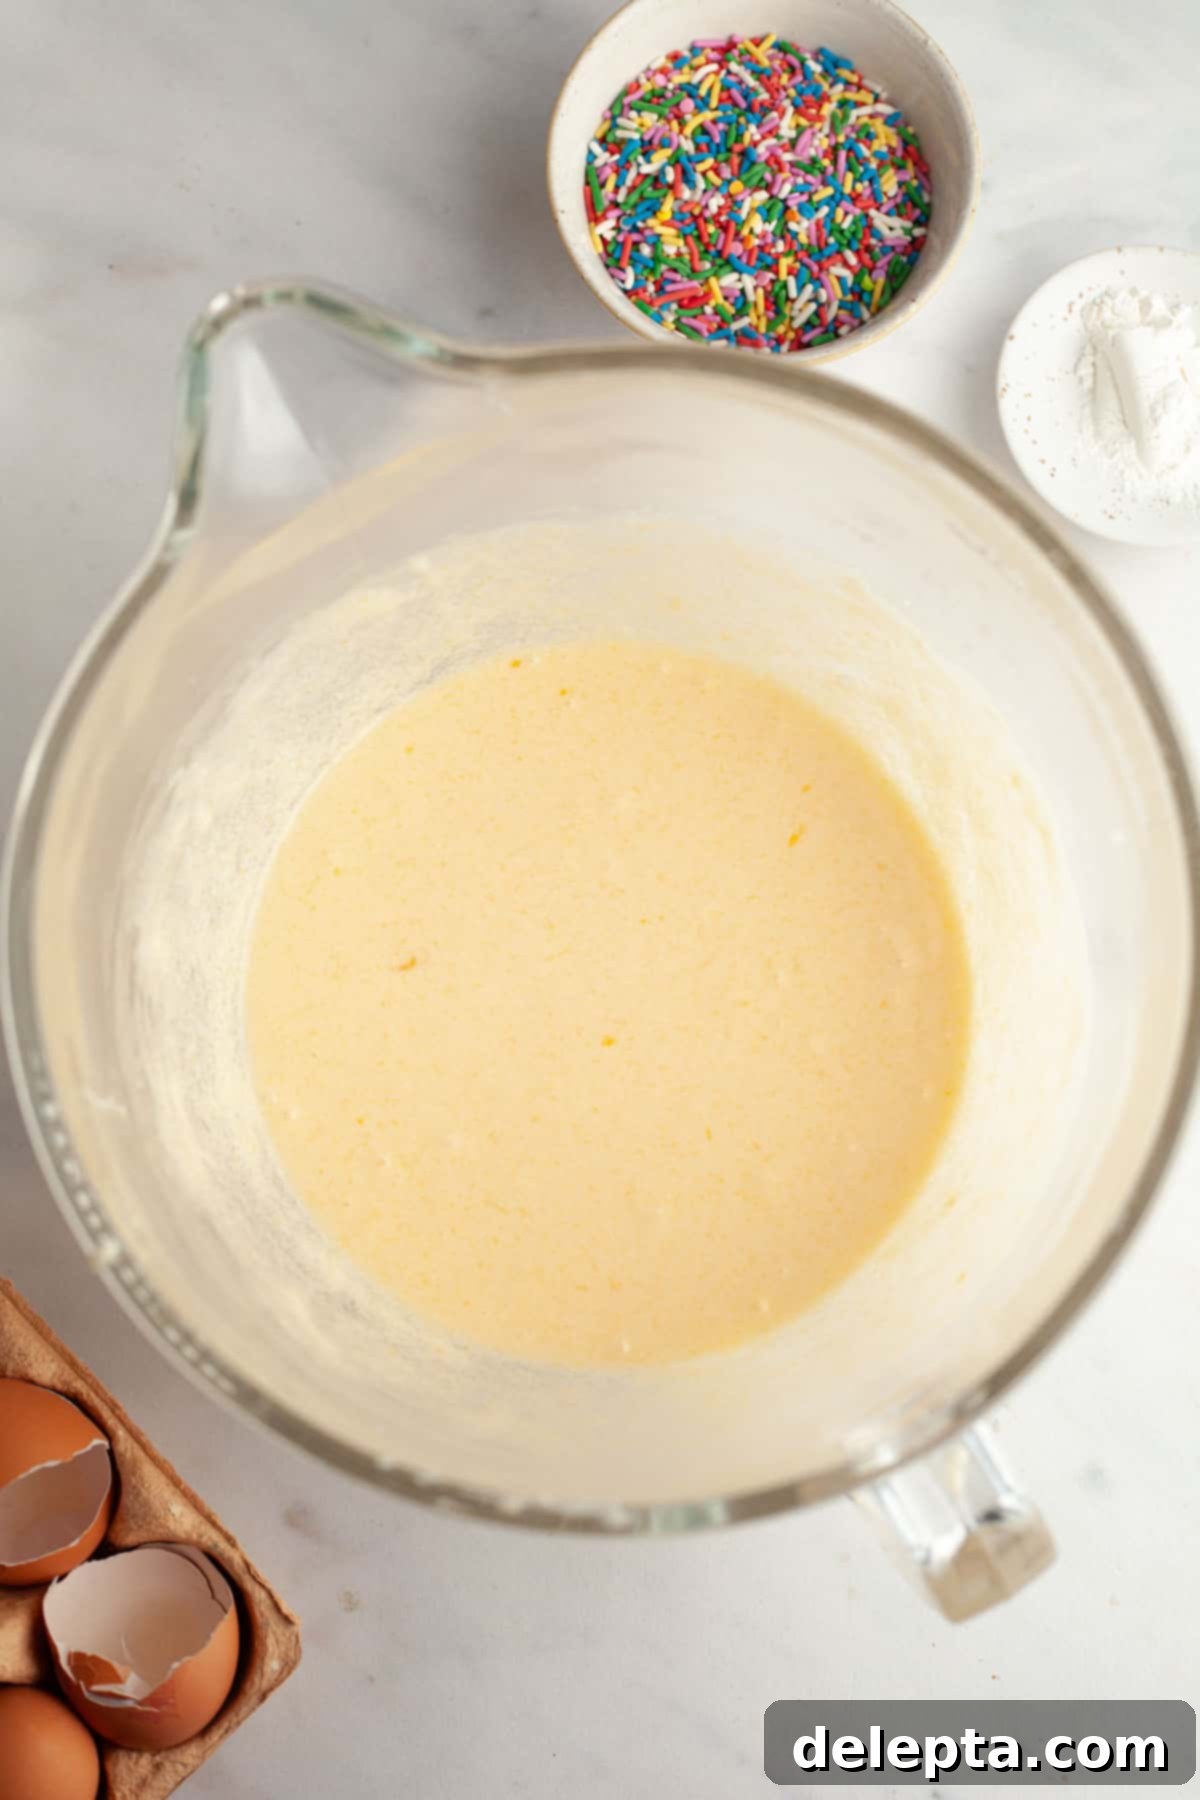
- Step 2: Add the large eggs one at a time, ensuring each egg is fully incorporated into the butter mixture before adding the next. After each addition, use a rubber spatula to scrape down the sides and bottom of the bowl. This ensures all ingredients are thoroughly combined, leading to a smooth and consistent cake batter.
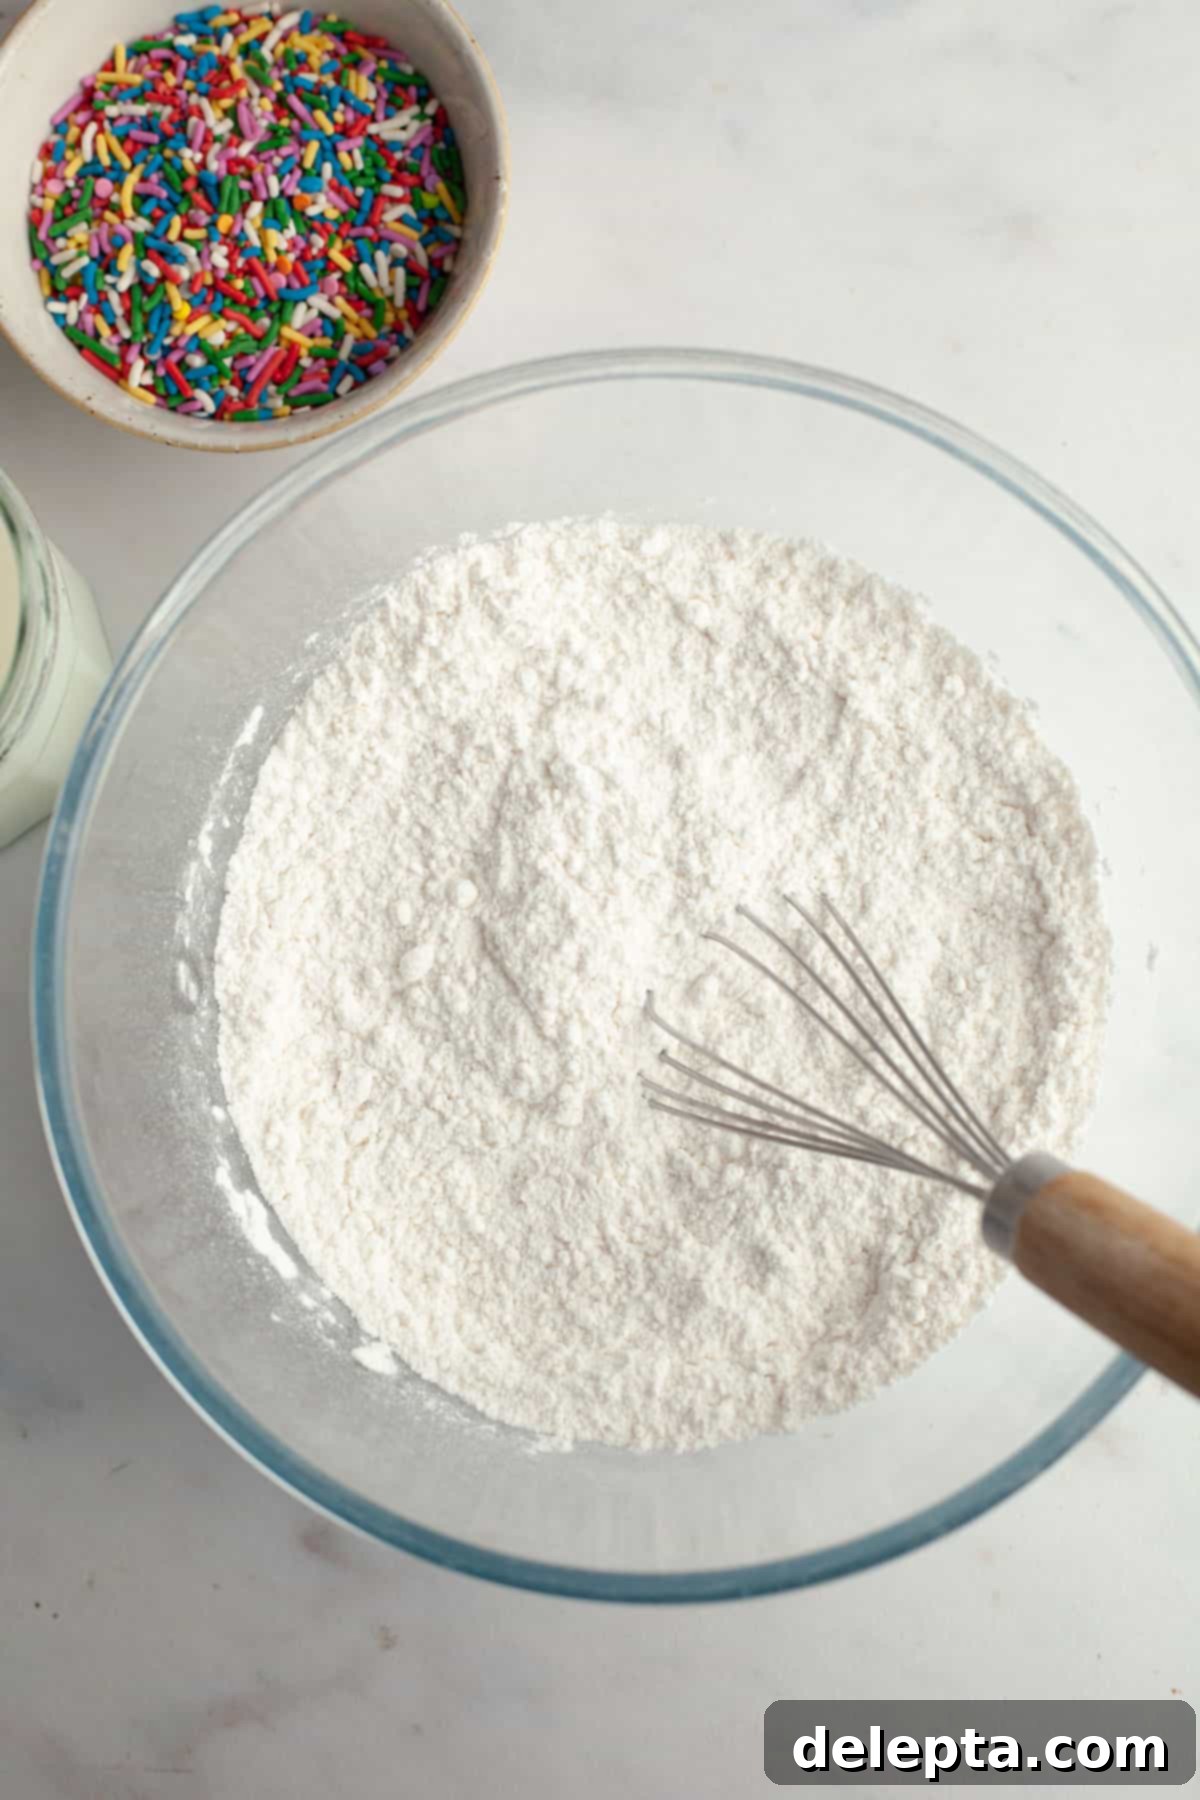
- Step 3: In a separate medium bowl, whisk together the all-purpose flour, baking powder, and kosher salt until well combined. This step ensures the leavening agents and salt are evenly distributed throughout the dry ingredients, which is crucial for uniform rise and flavor in the cake.
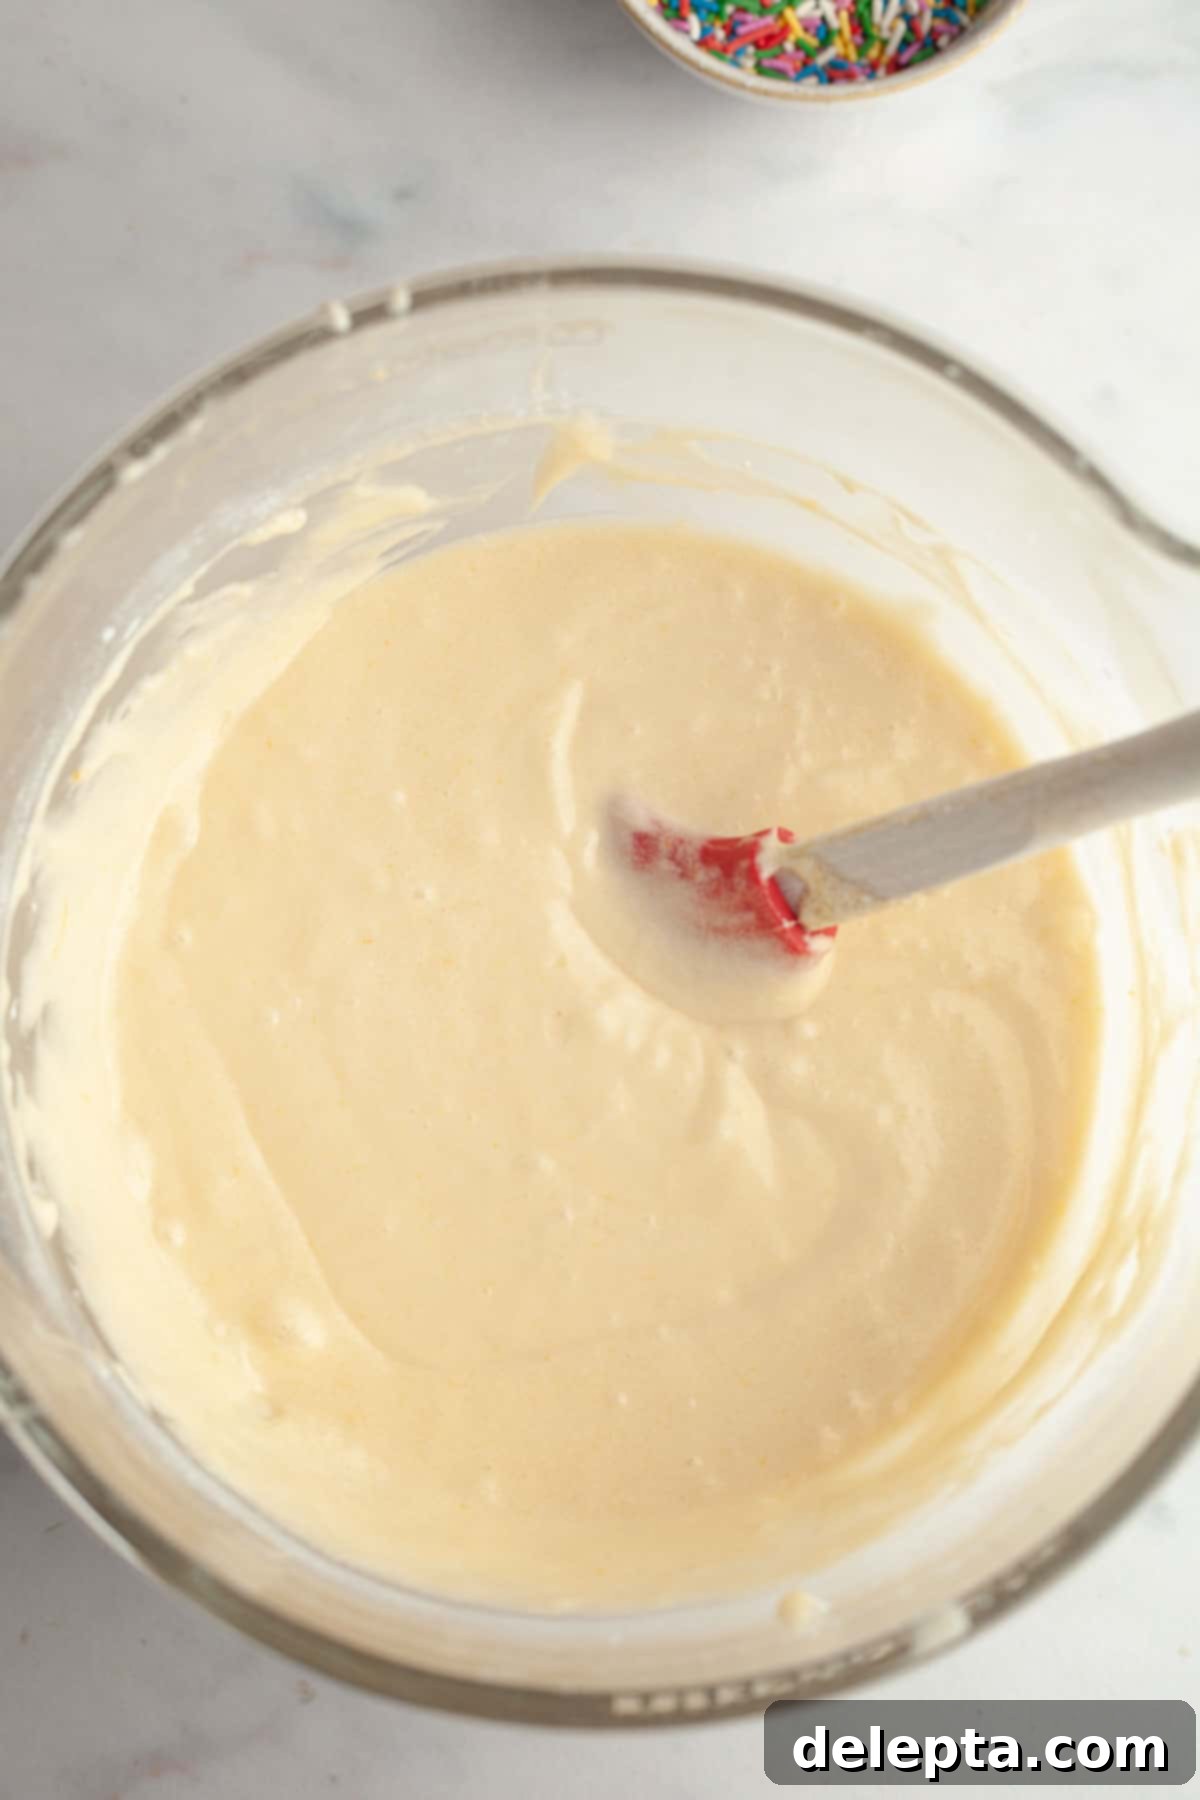
- Step 4: Gradually add the dry ingredients to the wet ingredients in three additions, alternating with the buttermilk. Begin and end with the flour mixture, mixing on low speed only until just combined after each addition. Be careful not to overmix, as this can lead to a tough cake. At this point, your cake batter should be smooth and velvety.
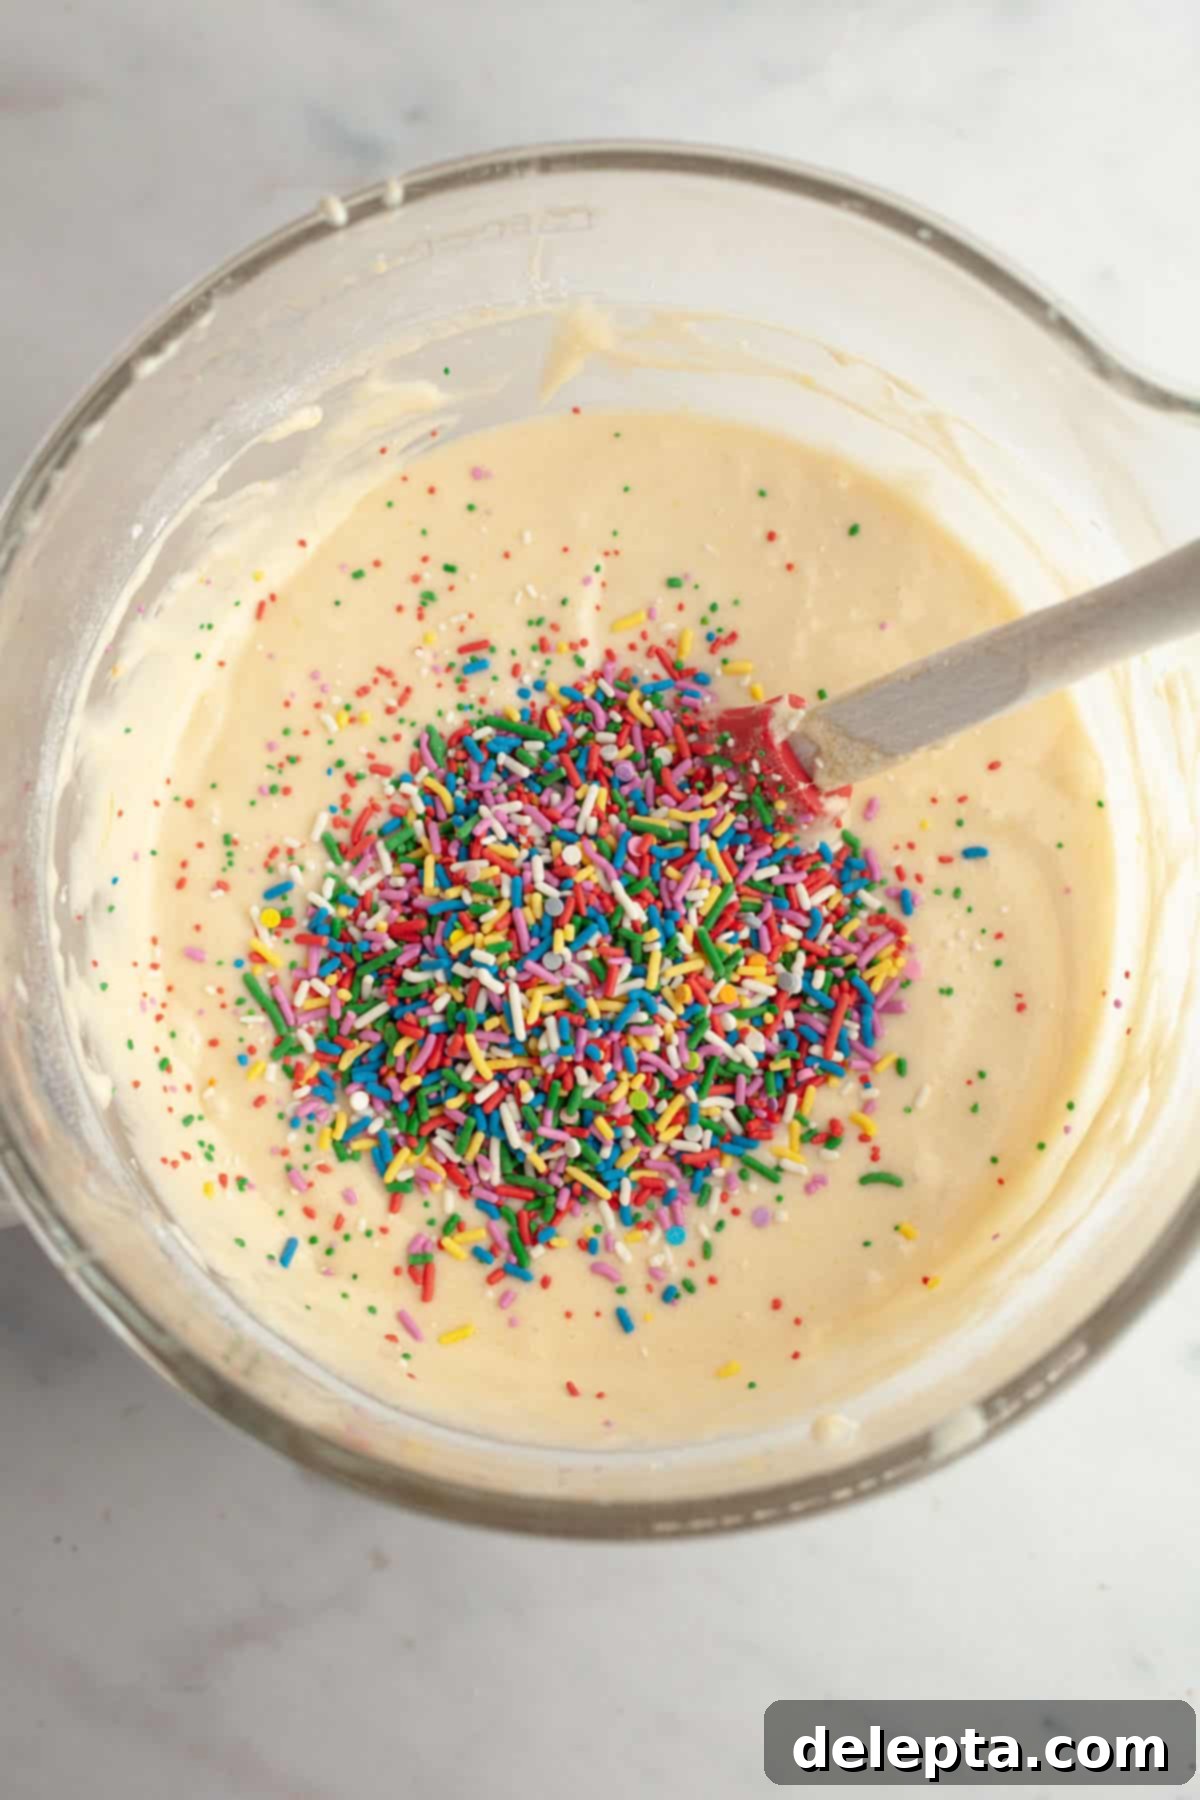
- Step 5: Once the batter is smooth, gently fold in the rainbow sprinkles using a rubber spatula. Stir just enough to distribute them evenly throughout the batter. Overmixing the sprinkles can cause their colors to bleed, so a light touch is best here.
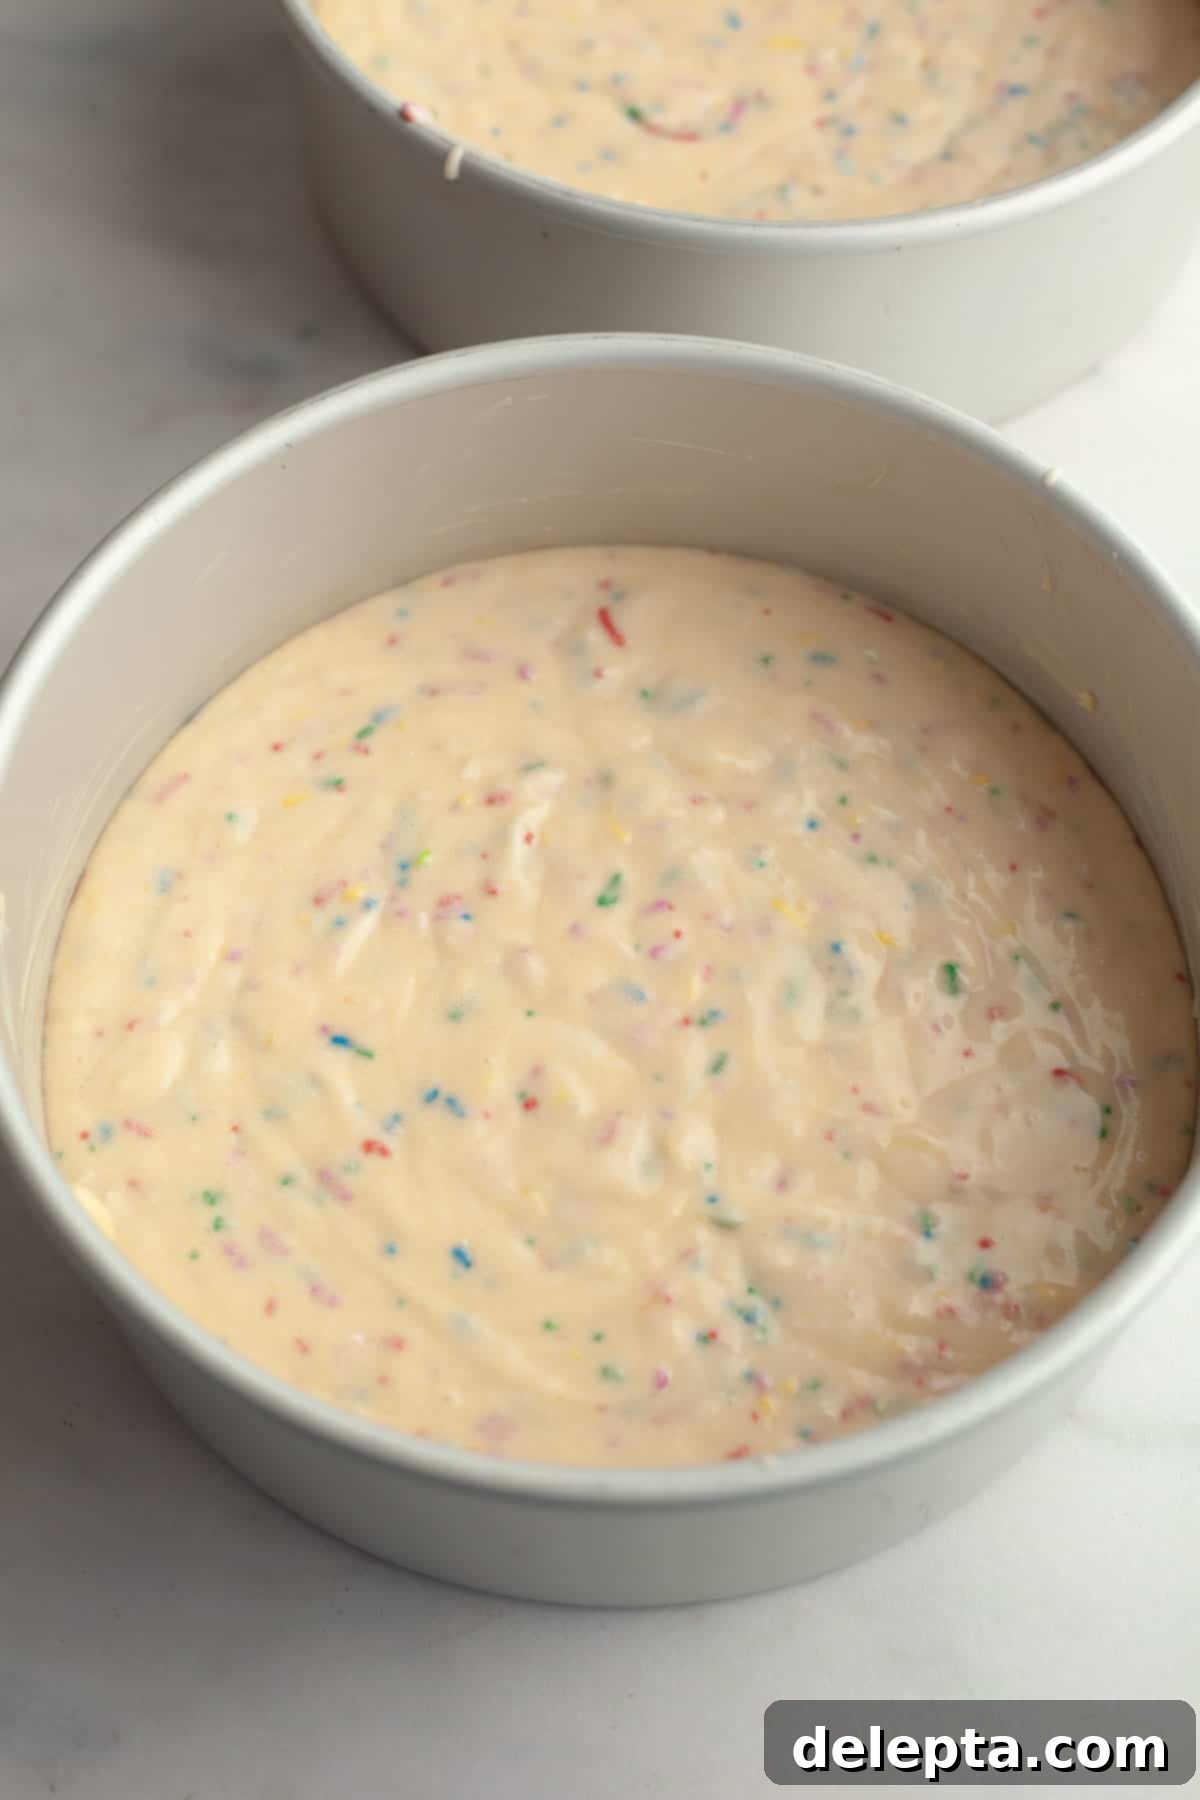
- Step 6: Divide the funfetti cake batter evenly between the two prepared cake pans. Bake in the preheated oven for 30-35 minutes, or until a wooden skewer or toothpick inserted into the center of the cakes comes out clean. Let the cakes cool in their pans for about 10-15 minutes before carefully inverting them onto a wire cooling rack to cool completely. Ensure they are entirely cool before frosting to prevent the buttercream from melting.
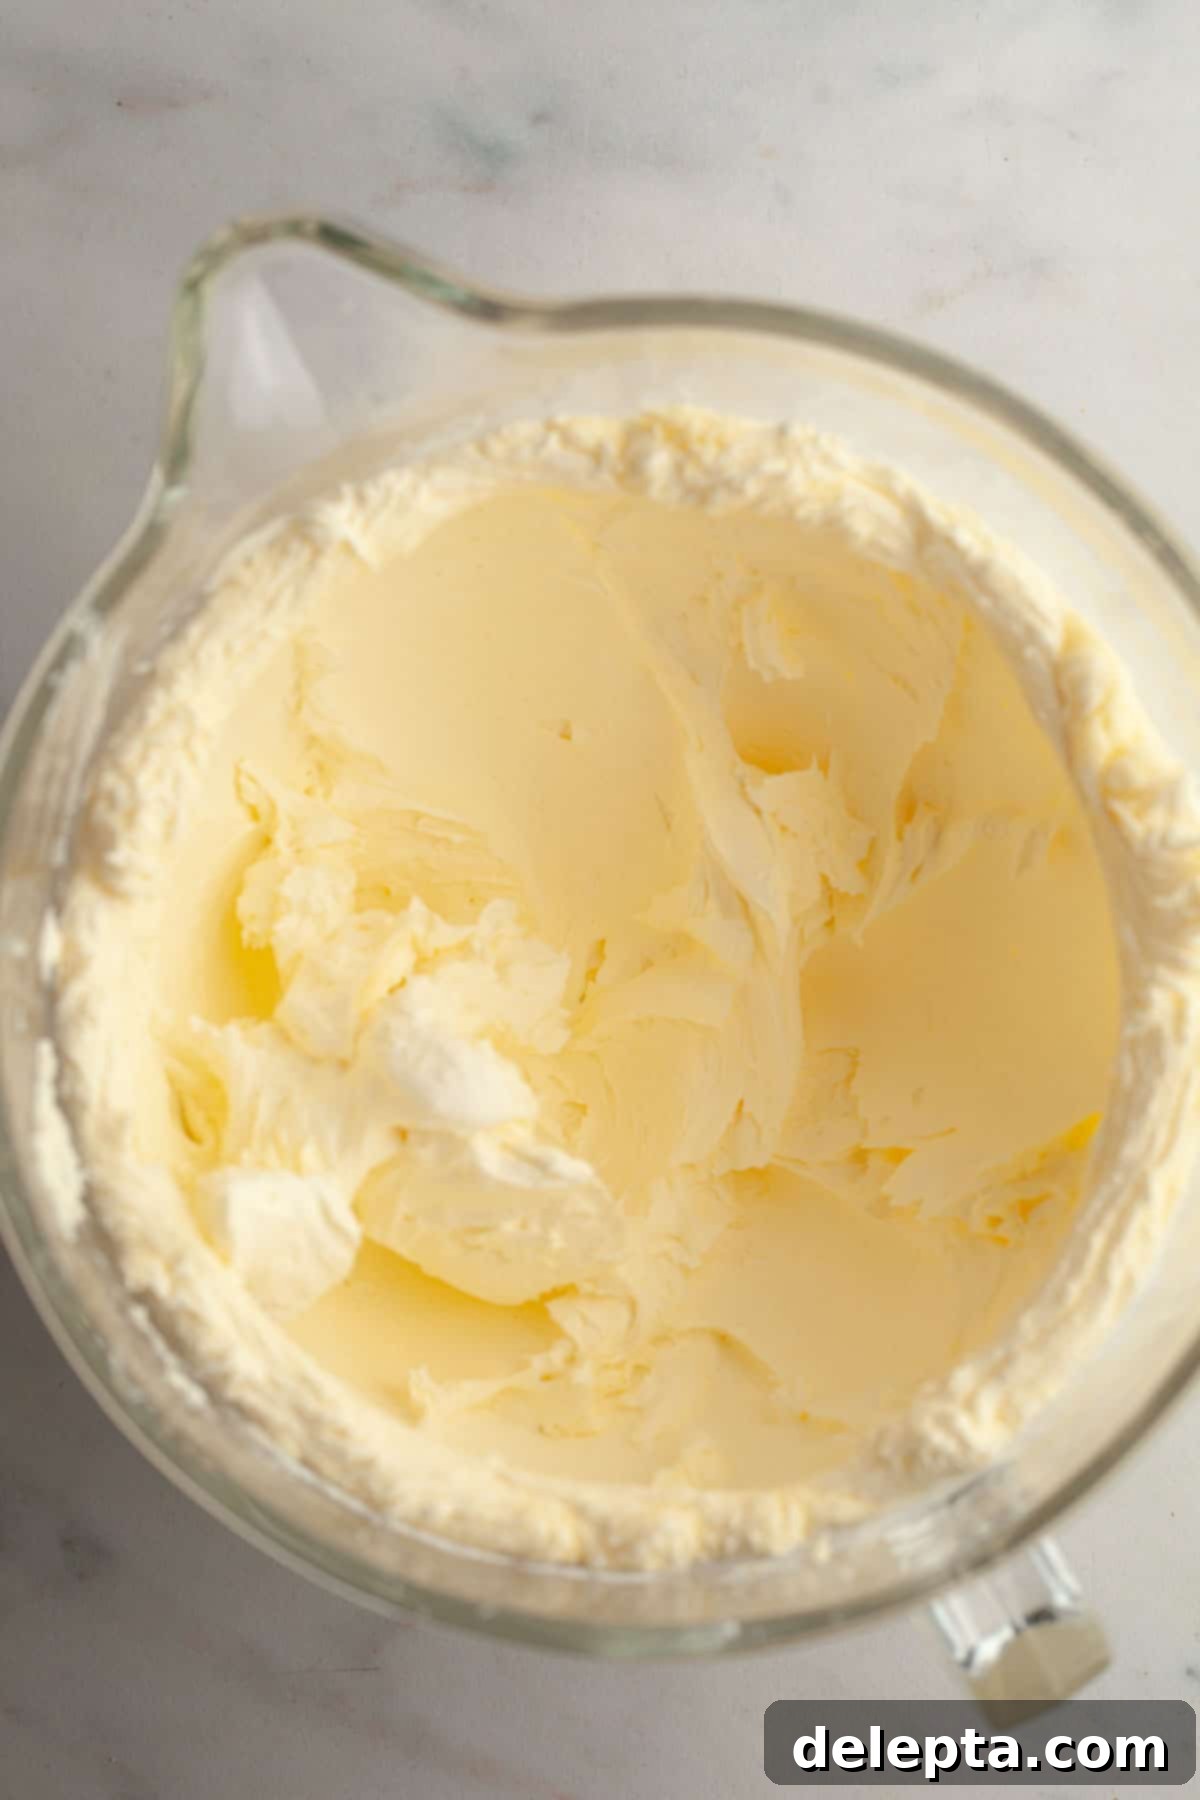
- Step 7: Once your cake layers have cooled completely (this is crucial!), it’s time to prepare the luscious strawberry buttercream. In a large bowl with a handheld mixer or in a stand mixer fitted with the paddle attachment, beat the room temperature unsalted butter with the confectioners’ sugar on low speed until they are just combined and no dry sugar remains. Then, increase the speed to medium-high and beat until the mixture is light, fluffy, and significantly increased in volume.
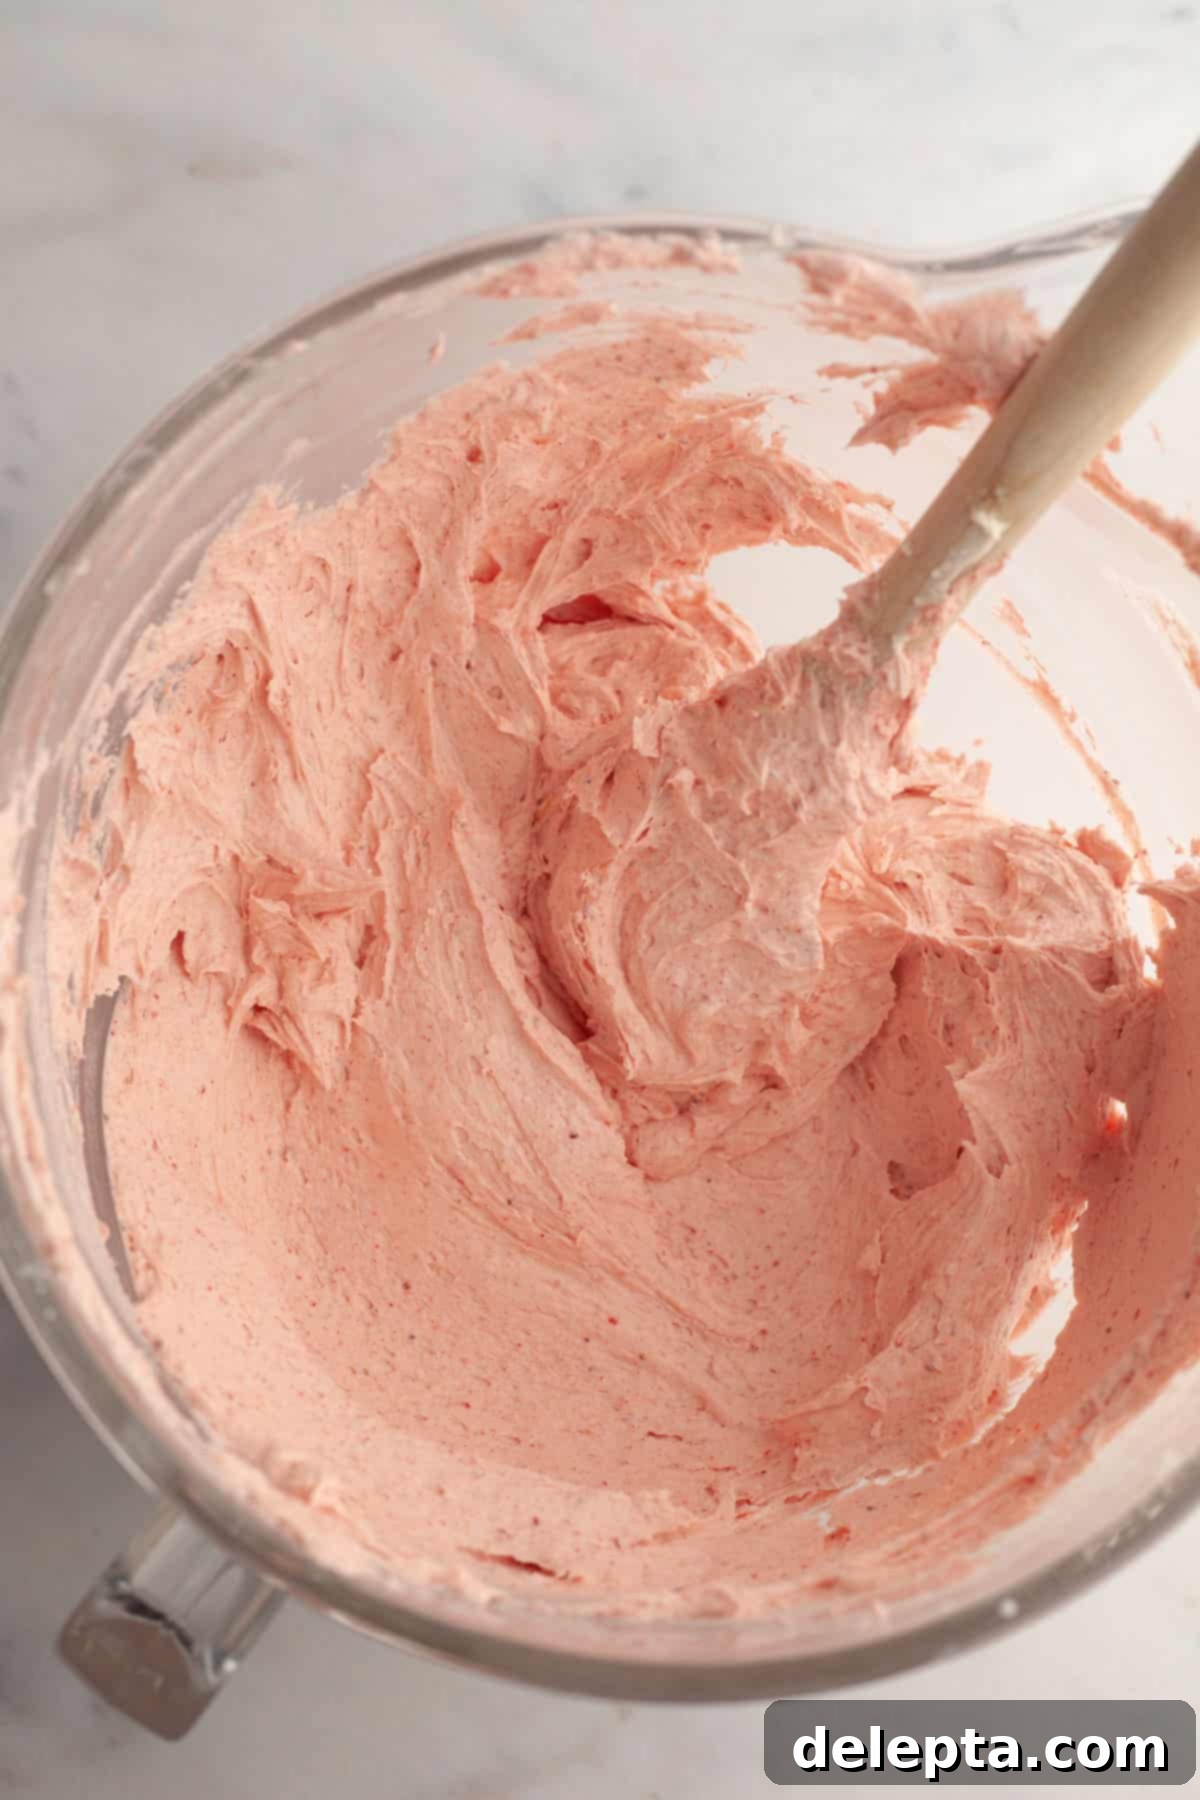
- Step 8: Stop the mixer and add the finely powdered freeze-dried strawberries, fresh lemon juice, kosher salt, and vanilla extract. Beat on medium-high speed until all ingredients are thoroughly combined and the frosting has a beautiful, uniform pink color and is light and airy. Finally, with the mixer on its lowest speed, slowly pour in the heavy cream until the frosting reaches your desired creamy, spreadable consistency. You might not need all the cream, so add it gradually.
Mastering the Art of Cake Decoration
Decorating your strawberry funfetti cake is where you can truly let your creativity shine! Here’s how to achieve a beautifully finished cake, from a smooth crumb coat to charming piped details.
- The Essential Crumb Coat: Begin by placing one (absolutely, completely cooled!) cake layer onto your chosen cake plate or stand. Using a large cookie scoop or spoon, dollop about three balls of frosting evenly over the top. Spread this frosting around with a small offset spatula, creating a thin, even layer. Place the second cake layer on top, aligning it carefully. Scoop out another 3-4 balls of frosting and use your spatula to cover both the top and sides of the entire cake with a very thin layer. This initial layer, known as the “crumb coat,” is crucial for trapping any loose crumbs and creating a smooth, stable base for your final frosting layer. Once applied, transfer the cake to the fridge and chill for at least 20 minutes to allow the crumb coat to set firm.
- The Flawless Frosting Layer: After the crumb coat has chilled and hardened, take your cake out of the fridge. Now you’re ready to apply the main, thicker layer of strawberry buttercream. You can opt for a beautifully simple look by using your offset spatula to create elegant swoops and swirls across the top and sides of the cake. For a more polished, smooth finish, apply a generous amount of frosting, then use a bench scraper held perpendicular to the cake to smooth out the sides as you rotate the cake stand. For the top, a final pass with an offset spatula will create a clean surface.
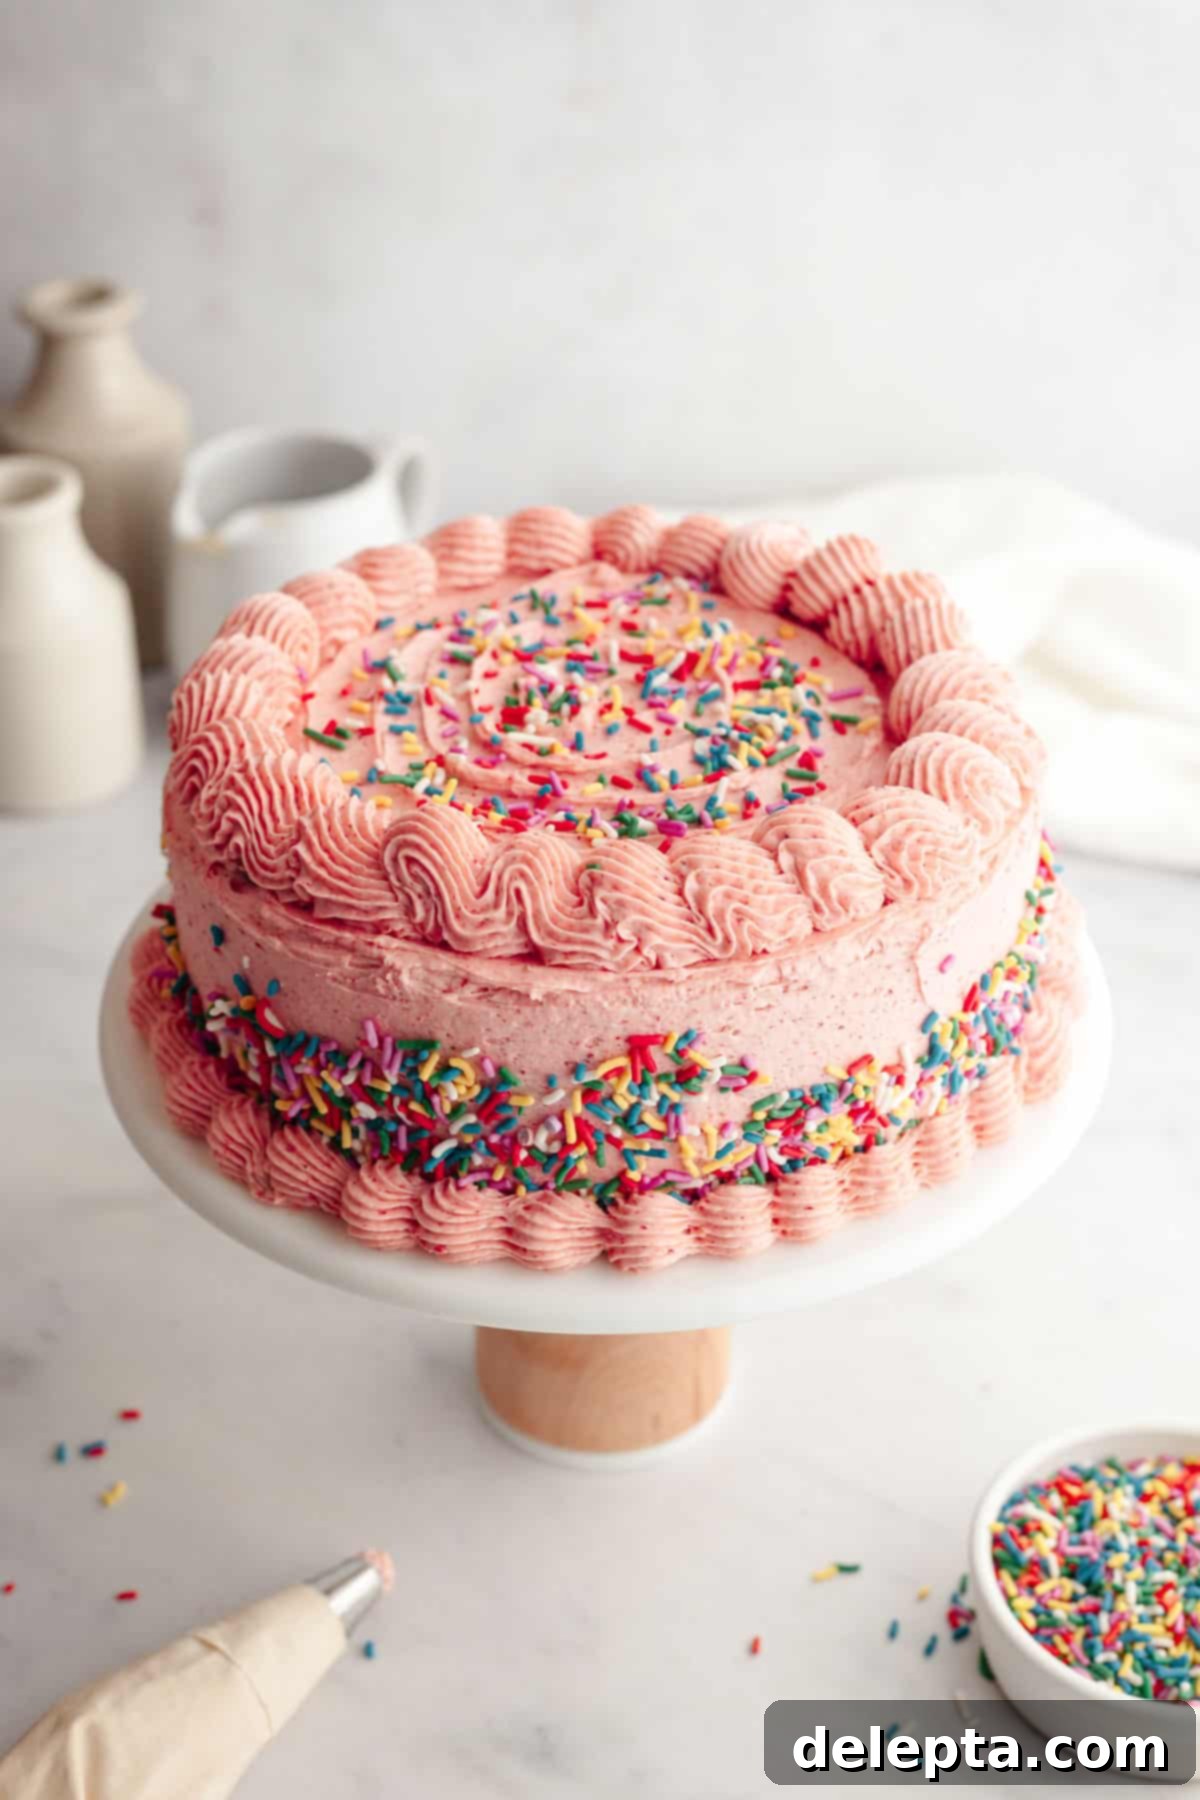
- Adding Festive Sprinkle Edges: Confession time – I slightly regret not fully covering the sides of my cake with sprinkles for maximum fun! But even a partial sprinkle application adds delightful texture and color. To apply sprinkles to the sides, grab a large baking sheet and place your cake stand on top. Scoop up a handful of sprinkles and gently press them onto the sides of the cake as you rotate it. For a more comprehensive coating or if you need a visual guide, this video from Cupcake Jemma at the 2-minute mark offers a fantastic demonstration! Whether you go for a light dusting or full coverage, sprinkles always elevate the festive feel.
- Charming Piped Edges & Garnish: To achieve that lovely, nostalgic retro birthday cake vibe, I used a Wilton 4M piping tip (a popular star tip) to pipe decorative shells along both the top and bottom edges of the cake. This adds a charming, classic touch. After piping, I sprinkled some extra rainbow sprinkles on top for an added pop of color. Alternatively, for a fresh and elegant finish, you could swap the sprinkles for beautifully arranged fresh strawberries or even thinly sliced strawberry fans!
Expert Cake Baking Tips for Success
- Always Let the Cake Cool Completely: This is perhaps the most crucial tip! Before you even think about applying frosting, ensure your cake layers are stone-cold. Attempting to frost a warm or even slightly warm cake will result in a messy, melted frosting disaster that slides right off. Patience is key here, and it ensures your hard work pays off with a beautiful finish.
- Plan Ahead with Make-Ahead Layers: One of the best time-saving tricks for layer cakes is to prepare the cake layers in advance. Once baked and completely cooled, tightly wrap each individual cake layer in several layers of plastic wrap. You can then store them at room temperature for up to one day, in the fridge for up to two days, or even freeze them for up to two months! This allows you to break up the baking process and reduces stress on the day of your event.
- Achieve Ultra-Smooth Frosting: For a professional-looking, silky-smooth buttercream, you might find that you need to add a little more heavy cream than specified, especially if your kitchen is cool or dry. Add it gradually until you reach a consistency that is easy to spread but still holds its shape. To eliminate any tiny air bubbles in your frosting (which can make it appear less smooth), after all ingredients are combined, switch to a rubber spatula and vigorously mix the frosting by hand against the sides of the bowl for about two minutes. Yes, it’s a bit of an arm workout, but the resulting velvety texture is absolutely worth it!
Storage & Freezing Guidelines
Once your beautiful strawberry funfetti cake is frosted and ready, I highly recommend storing it in an airtight cake carrier or container in the refrigerator. Properly stored, it will remain fresh and delicious for up to 5 days. For the best flavor and texture, always allow the cake to come to room temperature for at least 30-60 minutes before serving. A cold cake can have a firmer, less enjoyable texture and muted flavors, whereas a room-temperature slice highlights all its lovely moistness and vibrant taste!
To freeze, either individual slices or the entire unfrosted cake layers (as mentioned in the tips) work well. Wrap slices tightly in plastic wrap and then foil, or place them in freezer-safe airtight containers. Freeze for up to 2 months. When you’re ready to enjoy, let the cake thaw overnight in the refrigerator, and then allow it to come to room temperature before serving for optimal enjoyment.
Discover More Celebration Cakes!
If you loved this strawberry funfetti cake, be sure to explore these other fantastic birthday and celebration cake recipes from my collection!
- Easy Vanilla Cake with Chocolate FrostingA perfect classic for any occasion.
- Easy & Simple Chocolate Cake with Vanilla FrostingA crowd-pleasing combination of rich chocolate and sweet vanilla.
- Chocolate Covered Strawberry Cake with Strawberry GanacheIndulgent layers for serious chocolate and strawberry lovers.
- Moist & Easy Chocolate Cake with Chocolate GanachePure chocolate bliss in every moist bite.
If you’ve made this incredibly fun and flavorful strawberry funfetti cake recipe, make sure to leave a ⭐️ rating and a thoughtful review below! I absolutely adore seeing your culinary creations, so please tag me on Instagram @alpineella so I can admire what you’ve baked! You can also follow along for more delicious recipes and baking inspiration on Pinterest, Facebook, and TikTok!
Recipe
Strawberry Funfetti Cake with Strawberry Buttercream
Ella Gilbert
Pin Recipe
Save RecipeSaved!
Equipment
-
2 8-inch cake pans
-
Stand Mixer
-
Kitchen Scale
-
Measuring Spoons
-
Bowl
-
Whisk
-
Rubber Spatula
-
Piping Bag
-
small offset spatula
Ingredients
Funfetti Cake
- ⅓ cup unsalted butter room temperature
- 1 ⅔ cup white sugar
- ¼ cup neutral oil
- 4 large eggs room temperature
- 3 teaspoons vanilla extract
- 2 teaspoons baking powder
- 1 ½ teaspoons kosher salt
- 2 ¾ cups all-purpose flour
- 1 cup buttermilk room temperature
- ½ cup sprinkles
Strawberry Buttercream
- 1 ½ cups unsalted butter room temperature
- 4 ¼ cups confectioner’s sugar
- 1 ½ teaspoons vanilla extract
- ¼ teaspoon kosher salt
- ¼ cup heavy cream
- 1 ½ cups freeze dried strawberries blended into a fine powder
- 1 tablespoon lemon juice
Instructions
-
Preheat the oven to 350℉/175℃. Grease and line two 8-inch baking pans with parchment paper and set aside.
-
In a stand mixer fitted with the paddle attachment, beat the room temperature butter with the oil and sugar until creamy and light in color on medium speed. This will take about 2-3 minutes, and it’ll look a bit grainy but fluffy.⅓ cup unsalted butter, 1 ⅔ cup white sugar, ¼ cup neutral oil
-
Add the eggs one at a time, beating well after each addition and scraping the bowl with a rubber spatula to ensure proper mixing and no unincorporated batter.4 large eggs
-
Mix in the vanilla extract, ensuring it’s fully incorporated into the wet mixture for a fragrant cake.3 teaspoons vanilla extract
-
In a small bowl, thoroughly whisk together the all-purpose flour with the baking powder and salt. This step ensures that the leavening agents are evenly distributed.2 teaspoons baking powder, 2 ¾ cups all-purpose flour, 1 ½ teaspoons kosher salt
-
Add one-third of the flour mixture to the wet ingredients, then mix on low speed until just combined. Next, add half of the buttermilk and mix until just incorporated. Repeat this process once more, and then finish with the final third of the flour mixture. This ensures a smooth batter without overmixing.1 cup buttermilk
-
Gently fold in the sprinkles using a rubber spatula. Mix minimally to ensure they are evenly distributed without causing their colors to bleed into the batter.½ cup sprinkles
-
Divide the smooth funfetti cake batter evenly between the two prepared pans, spreading it gently to the edges.
-
Bake for 30-35 minutes, or until a toothpick inserted into the middle of the cake comes out clean. Let the cakes cool in the pans for 10-15 minutes before carefully removing them to a wire cooling rack to cool completely.
-
While the cakes cool, prepare your freeze-dried strawberries. Blend the freeze-dried strawberry pieces in a food processor or high-speed blender until they are transformed into a fine, vibrant powder. Set this aside for the frosting.1 ½ cups freeze dried strawberries
-
To make the strawberry buttercream, in a stand mixer fitted with the paddle attachment, or in a large bowl with a handheld mixer, beat the room temperature unsalted butter with the confectioners’ sugar on low speed until combined. This helps prevent a cloud of powdered sugar!1 ½ cups unsalted butter, 4 ¼ cups confectioner’s sugar
-
Once the butter and sugar are combined, increase the speed to medium-high and beat until the mixture becomes very thick, light, and airy, usually for about 3-5 minutes.
-
Stop the mixer and add the vanilla extract, fresh lemon juice, kosher salt, and the prepared freeze-dried strawberry powder. Beat on medium-high speed until all ingredients are well combined, and the frosting is beautifully light pink and fluffy.1 ½ teaspoons vanilla extract, ¼ teaspoon kosher salt, 1 tablespoon lemon juice, 1 ½ cups freeze dried strawberries
-
Turn the mixer to its lowest speed and slowly pour in the heavy cream, a tablespoon at a time, until the frosting reaches a creamy, smooth, and easily spreadable consistency. You might not need all the cream, so add gradually and stop when it’s perfect.¼ cup heavy cream
-
Now for the best part: frost your perfectly cooled cake layers with the luscious strawberry buttercream, decorate as desired, and get ready to enjoy this delightful creation!
Video
Notes
Room Temperature Ingredients: For a smooth, emulsified batter and fluffy frosting, it is absolutely essential that all your perishable ingredients, especially butter, eggs, and buttermilk, are at proper room temperature before you begin. Plan ahead and pull them out of the fridge at least 1-2 hours before you start baking. This ensures they blend together seamlessly.
Choosing the Right Sprinkles: For the best visual impact in your funfetti cake, I strongly recommend using long-stranded sprinkles (often called jimmies) or flat confetti sprinkles. These types hold their shape and vibrant colors well during the baking process. I do not recommend using nonpareils (those tiny, round ball sprinkles!) as they tend to melt and bleed their colors into the batter, or simply disappear once baked.
A Note on Salt: The type of salt you use can significantly impact the final taste. If you don’t have kosher salt on hand, please halve the amount of salt called for in the recipe. As a general rule, 1 teaspoon of Diamond Crystal kosher salt (which I primarily use for recipe development) is equivalent to about ½ teaspoon of fine table salt. Morton Salt is much too salty and should be used cautiously.
Baking Ahead: This recipe is perfect for making ahead! You can bake the cake layers up to 2 days in advance. Once they are completely cooled, wrap each layer tightly in several layers of plastic wrap to prevent them from drying out. Store these wrapped layers in the refrigerator. For longer storage, the cooled and wrapped cake layers can be frozen for up to 2 months. If frozen, allow them to thaw completely overnight in the refrigerator before unwrapping and frosting the cake. Always ensure the cake is at room temperature before frosting.
Nutrition
