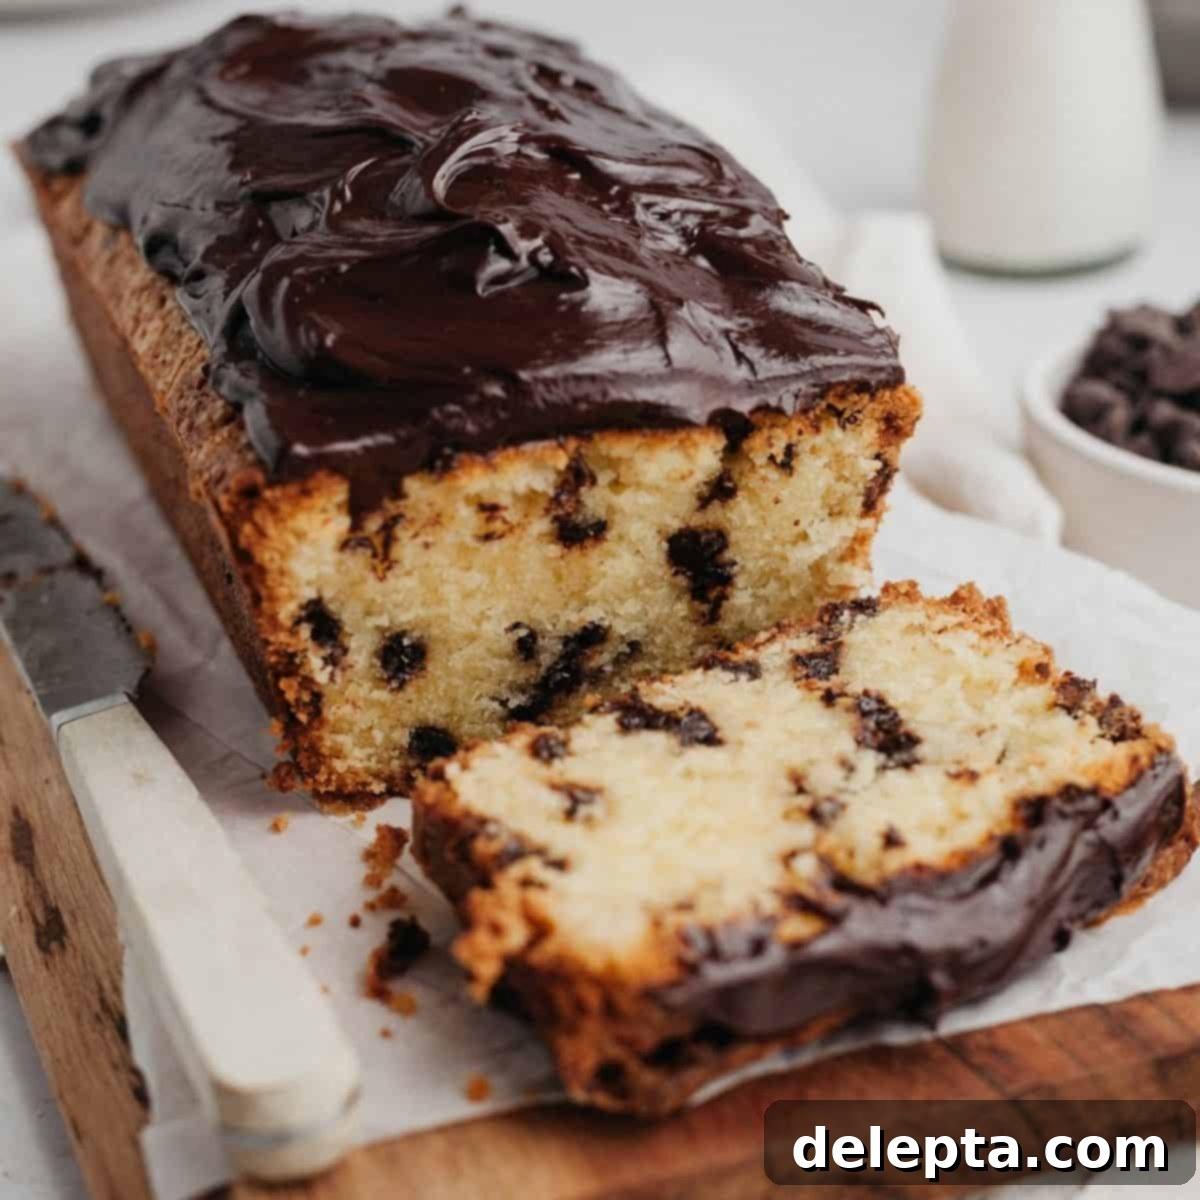
The Ultimate Moist Chocolate Chip Loaf Cake with Decadent Ganache
Prepare to fall in love with this incredibly moist and tender chocolate chip loaf cake! This easy-to-make dessert requires just 9 simple ingredients, transforming pantry staples into a buttery, soft masterpiece. Each slice is generously studded with mini chocolate chips, ensuring a burst of chocolate in every bite. To elevate this delightful cake, it’s crowned with a luscious, homemade chocolate ganache that adds an irresistible richness and a beautiful finish. Perfect for any occasion, from a casual breakfast treat to an elegant dessert, this loaf cake is sure to become a family favorite.
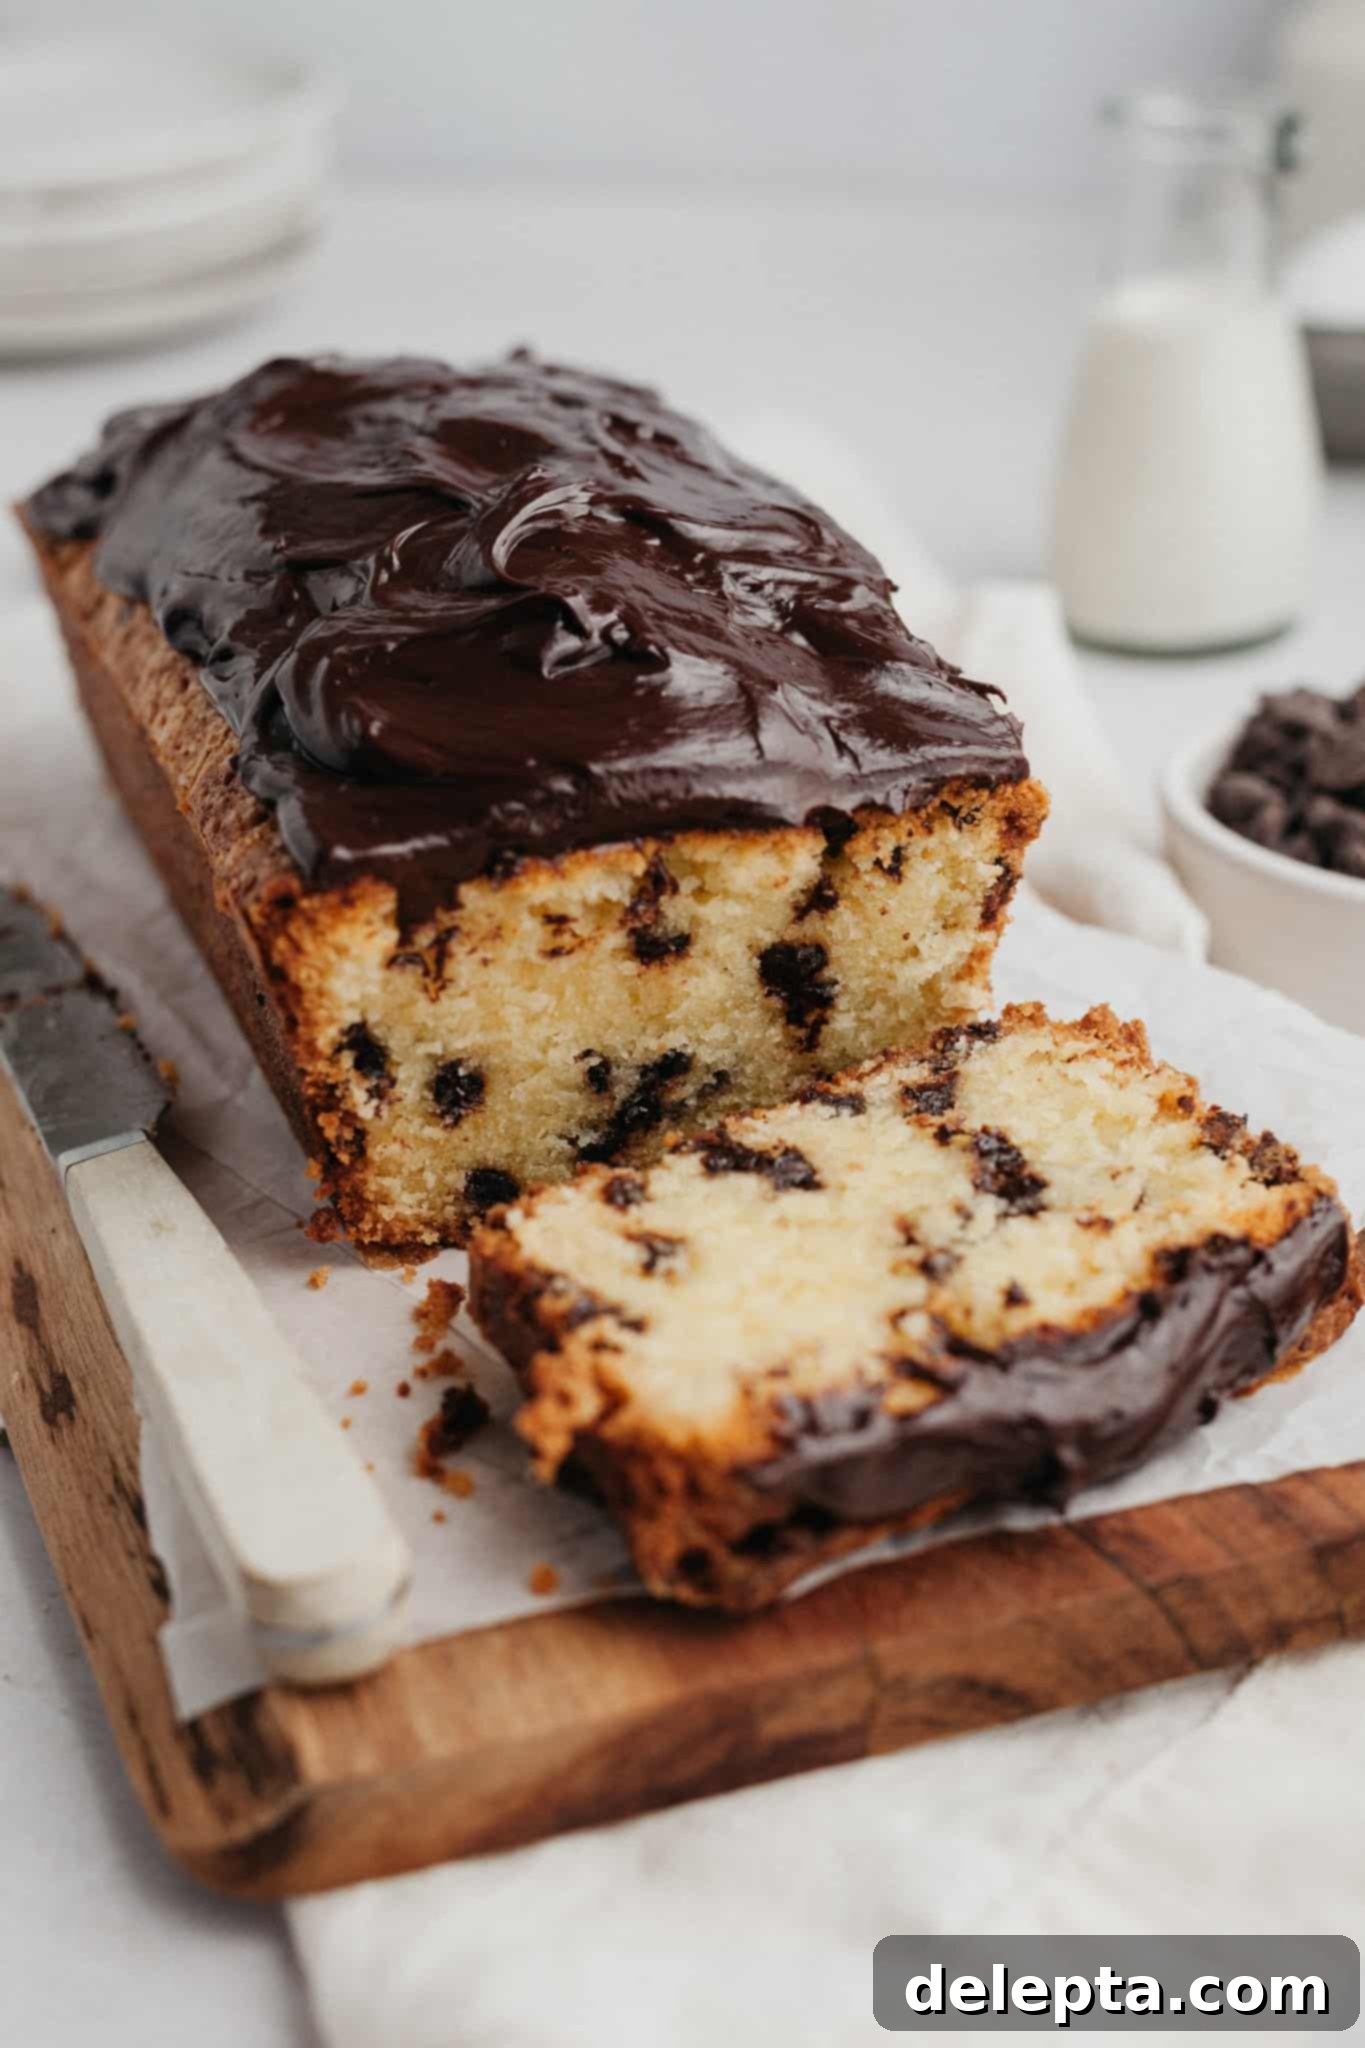
This beloved recipe was originally shared in April 2021. It has since undergone a significant update, featuring an improved, even more delicious recipe formulation and brand new, stunning images to inspire your baking!
This effortless chocolate chip loaf cake draws its inspiration from my highly-rated marble loaf cake recipe. It’s a classic pound cake at heart, built on the foundation of perfectly creamed butter and sugar, which yields an incredibly fine, tender crumb. Its straightforward preparation makes it an ideal choice when you desire a comforting and easy dessert that the entire family will adore. The addition of sour cream takes its moisture to the next level, making it stand out from typical loaf cakes.
Why You’ll Adore This Chocolate Chip Loaf Cake!
- A Decadent Twist on Classic Pound Cake: This isn’t just any pound cake; it’s a celebration of flavor, generously packed with an abundance of chocolate chips throughout the batter, ensuring chocolate in every single bite. It transforms a traditional favorite into an extraordinary treat.
- Unbelievably Soft and Moist Texture: The secret to this homemade chocolate chip loaf cake’s unparalleled softness and moisture lies in the addition of sour cream to the batter. Sour cream not only enhances the texture but also provides a subtle tang that beautifully complements the sweetness of the chocolate.
- Surprisingly Simple Ingredients: You’ll only need 9 basic ingredients for this recipe, making it incredibly accessible. These are likely items you already have stocked in your pantry and refrigerator, allowing you to whip up this delicious cake on a whim without a special grocery run.
- Mini Chocolate Chips for Perfect Distribution: We specifically recommend using mini chocolate chips for this recipe. Their smaller size is crucial as it significantly reduces the likelihood of them sinking to the bottom of the pan during baking, ensuring even chocolate distribution in every slice.
- Elevated with Homemade Chocolate Ganache: Once the loaf cake has cooled to perfection, it’s crowned with a rich, silky-smooth homemade chocolate ganache. This luxurious topping adds another layer of deep chocolate flavor and a beautiful, glossy finish, making it truly irresistible.
- Effortless Preparation: Despite its impressive appearance and taste, this loaf cake is remarkably easy to prepare. The steps are straightforward, making it a fantastic baking project for both novice and experienced bakers alike.
- Versatile for Any Occasion: Whether you’re looking for a delightful breakfast bread, a satisfying afternoon snack, an elegant dessert, or a thoughtful homemade gift, this chocolate chip loaf cake fits the bill perfectly.
Ingredient Notes for Your Perfect Chocolate Chip Loaf Cake
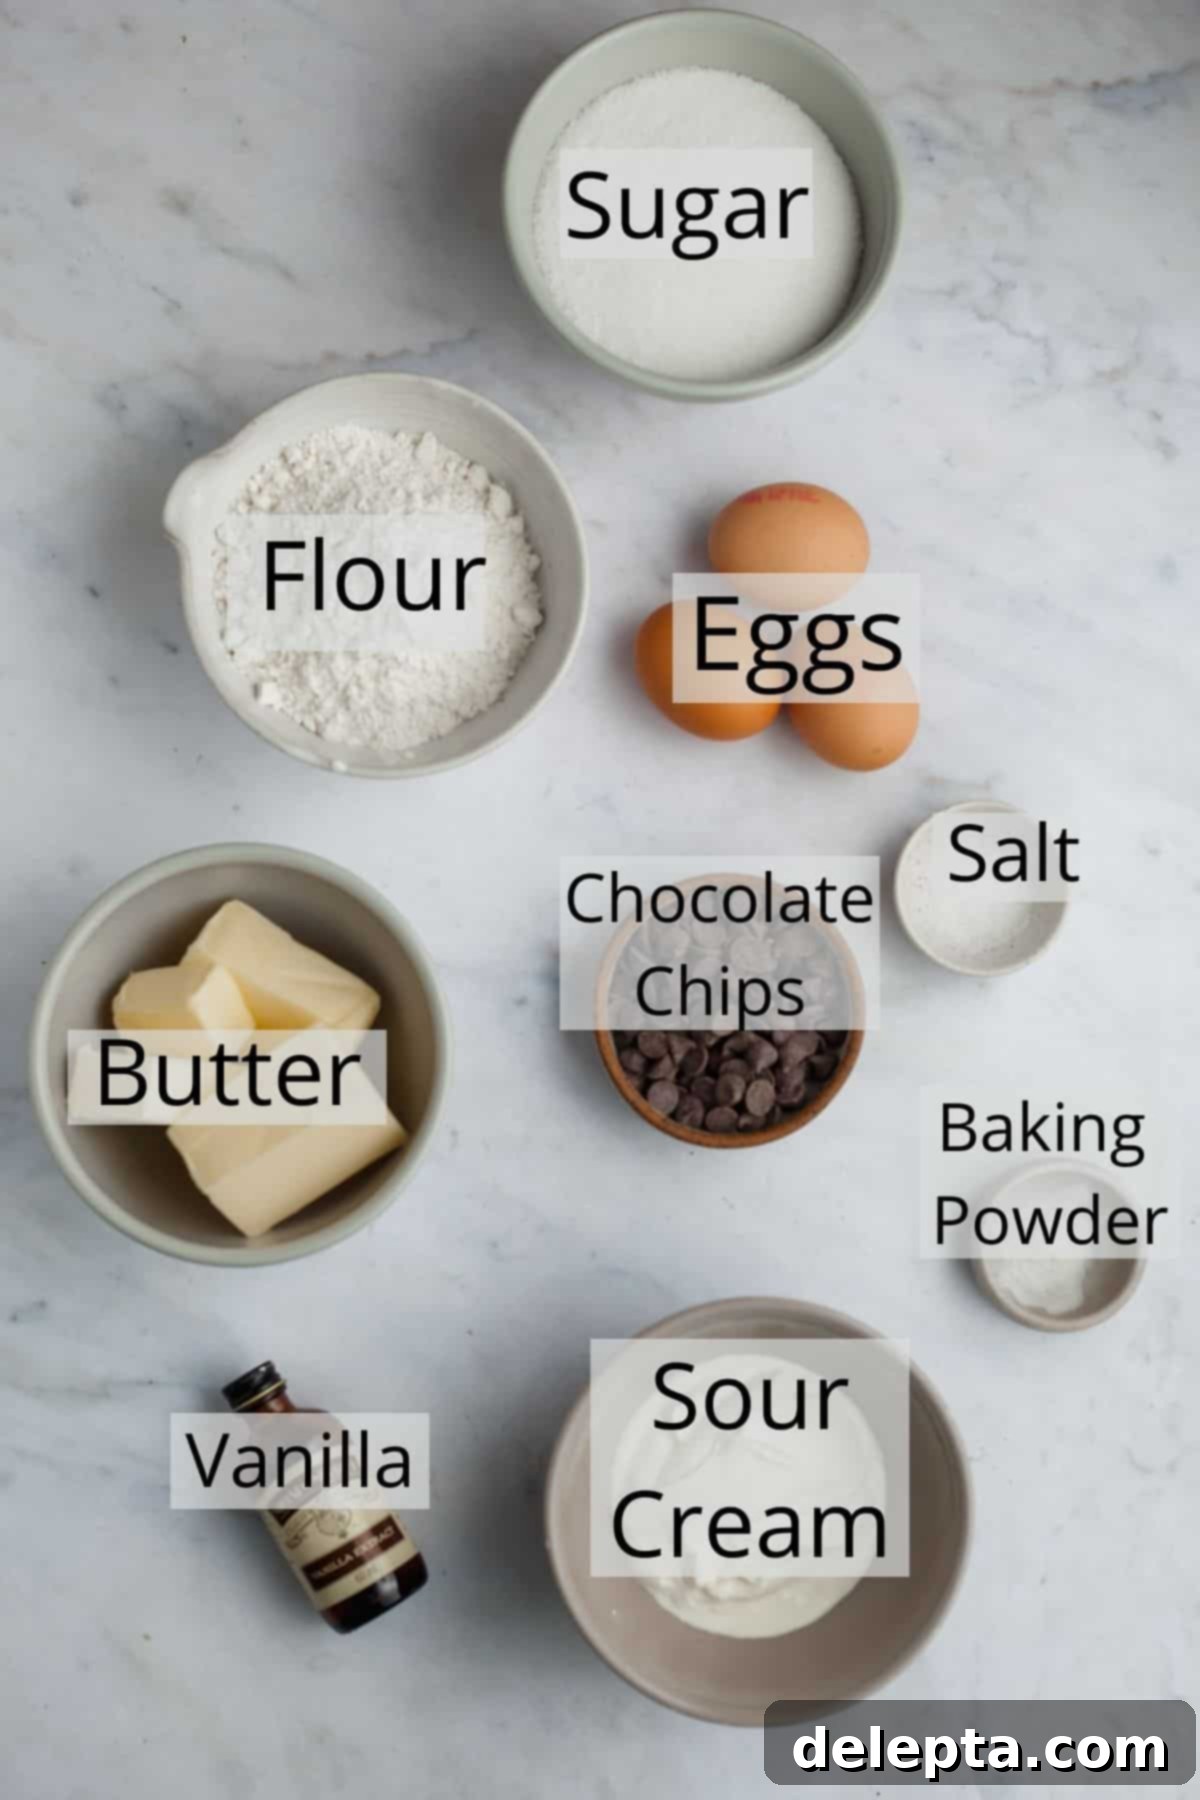
Using high-quality ingredients and understanding their role is key to achieving a truly exceptional chocolate chip loaf cake. Here’s a closer look at the components that make this recipe shine:
- Sour Cream: This is our secret weapon for an extra moist and incredibly soft crumb. The acidity in sour cream tenderizes the gluten in the flour, resulting in a wonderfully tender cake. If sour cream isn’t available, full-fat plain yogurt can be used as a direct substitute. Ensure it’s at room temperature for the best emulsion with the other ingredients.
- Unsalted Butter: We use unsalted butter to have complete control over the salt content in the recipe. For an even richer, more luxurious flavor and texture, I often opt for European-style butter, such as Kerry Gold, which boasts a higher butterfat content. It’s crucial that your butter is at **room temperature** for proper creaming with the sugar. Cold butter will not incorporate air effectively, leading to a denser cake.
- All-Purpose Flour: This recipe has been meticulously tested and perfected using standard all-purpose flour. While other flours might work, for guaranteed results, stick to all-purpose. Proper measurement is vital – refer to our tips below on how to measure flour accurately to avoid a dry cake.
- Mini Chocolate Chips: The choice of chocolate chips makes a difference! Mini chocolate chips are highly recommended for this loaf cake. Through extensive testing, we’ve found that regular-sized chocolate chips tend to sink to the bottom during baking, leading to an uneven distribution. Mini chips stay suspended better in the batter, ensuring chocolate in every single bite. While dark chocolate chips were tested and are delicious, milk chocolate chips would also provide a wonderful, sweet contrast. You can even try a mix of both!
- Granulated Sugar: Beyond sweetness, sugar plays a crucial role in tenderizing the cake and creating that beautiful light and airy texture when creamed with butter.
- Eggs: Eggs act as a binder, adding structure, richness, and moisture to the cake. Like the butter and sour cream, ensure your eggs are at room temperature for optimal emulsification.
- Vanilla Extract: A good quality vanilla extract enhances all the other flavors, especially the chocolate. Don’t skip it!
- Baking Powder & Kosher Salt: Baking powder is our leavening agent, giving the cake its lift and tender crumb. Kosher salt balances the sweetness and brings out the depth of the chocolate flavor. If using fine table salt, remember to halve the amount specified in the recipe.
How to Bake This Luscious Chocolate Chip Loaf Cake: Step-by-Step
Baking this chocolate chip loaf cake is a rewarding experience, and following these steps carefully will ensure a perfect result every time.
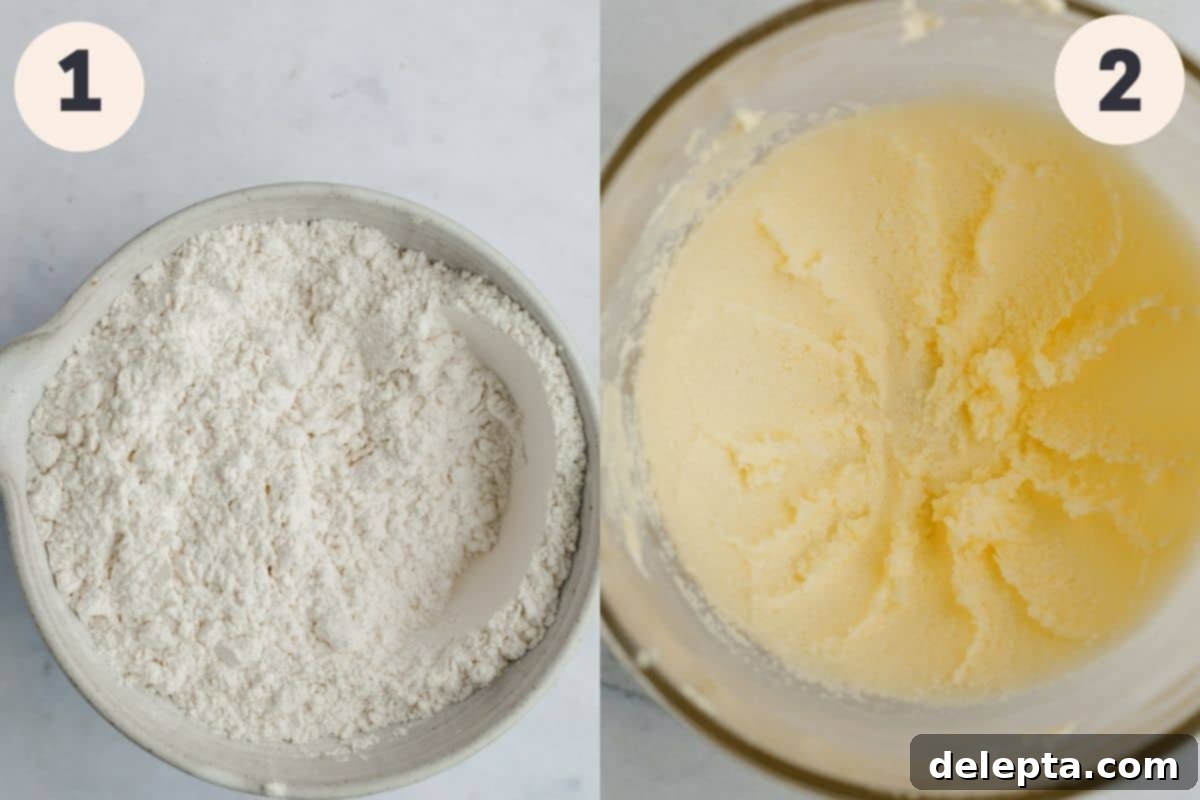
Step 1: Prepare Your Dry Ingredients. In a medium-sized bowl, thoroughly whisk together your all-purpose flour, baking powder, and kosher salt. Whisking ensures that the leavening agent and salt are evenly distributed throughout the flour, preventing pockets of unmixed ingredients. Set this flour mixture aside while you prepare the wet ingredients.
Step 2: Cream Butter and Sugar. In the bowl of a stand mixer fitted with the paddle attachment, or using a large mixing bowl and a hand mixer, beat your room temperature unsalted butter on medium-high speed until it becomes visibly soft and creamy. This should take about 1 minute. Next, add your granulated sugar to the creamed butter. Continue to beat on high speed for a full 4 minutes. This extended creaming time is crucial; it incorporates air into the mixture, resulting in a light and fluffy base for your cake. The mixture should become pale in color and significantly increased in volume. Finally, stir in the vanilla extract until just combined.
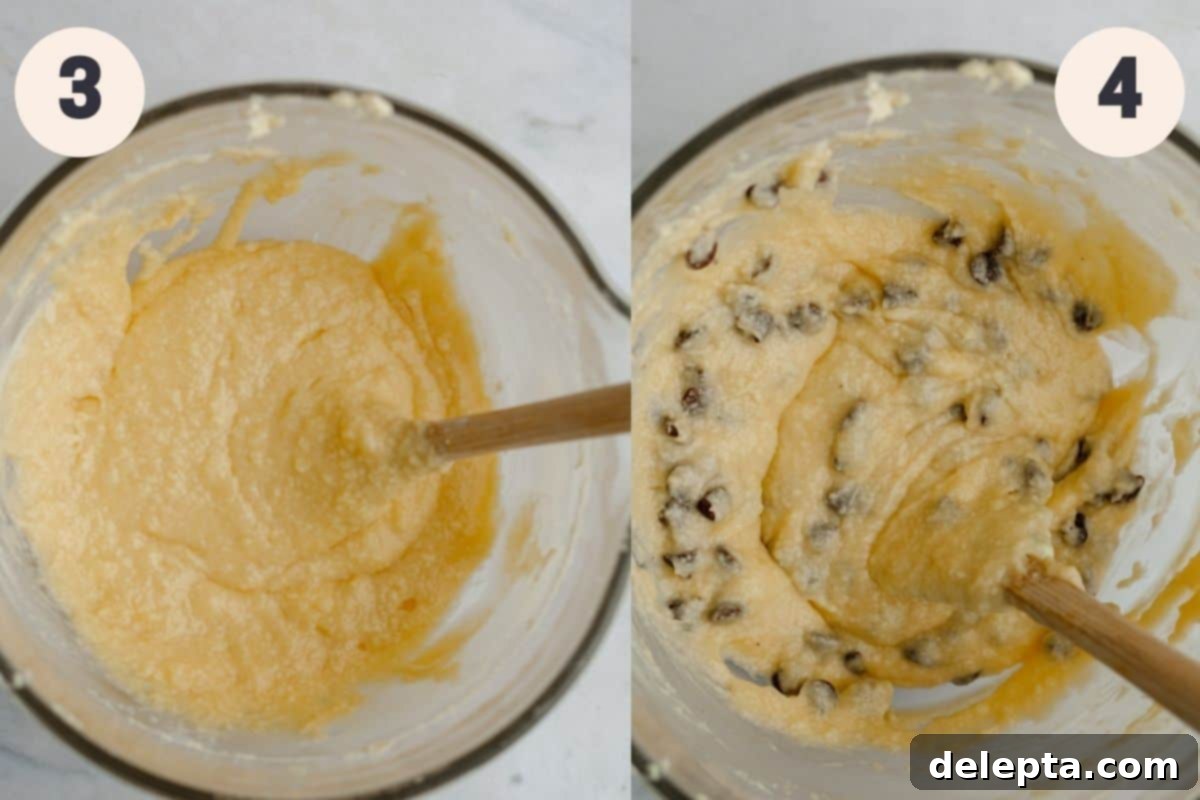
Step 3: Incorporate the Eggs. With the mixer on medium speed, add your eggs one at a time. It’s vital to beat well after each individual egg addition, allowing each egg to fully incorporate into the batter before adding the next. This prevents the batter from curdling and ensures a smooth, cohesive mixture. Remember to frequently scrape down the sides of the bowl with a rubber spatula to ensure all ingredients are thoroughly mixed.
Step 4: Mix Wet and Dry Ingredients. Reduce the mixer speed to low. Gradually add your whisked dry ingredients to the wet mixture. Beat until the dry ingredients are just combined, stopping as soon as you see only a few streaks of flour remaining. Overmixing at this stage can lead to a tough cake. Next, add your room temperature sour cream and beat briefly until it is just combined into the batter. Finally, remove the bowl from the mixer and, using a rubber spatula, gently fold in your mini chocolate chips by hand. This ensures they don’t get crushed and remain evenly distributed.
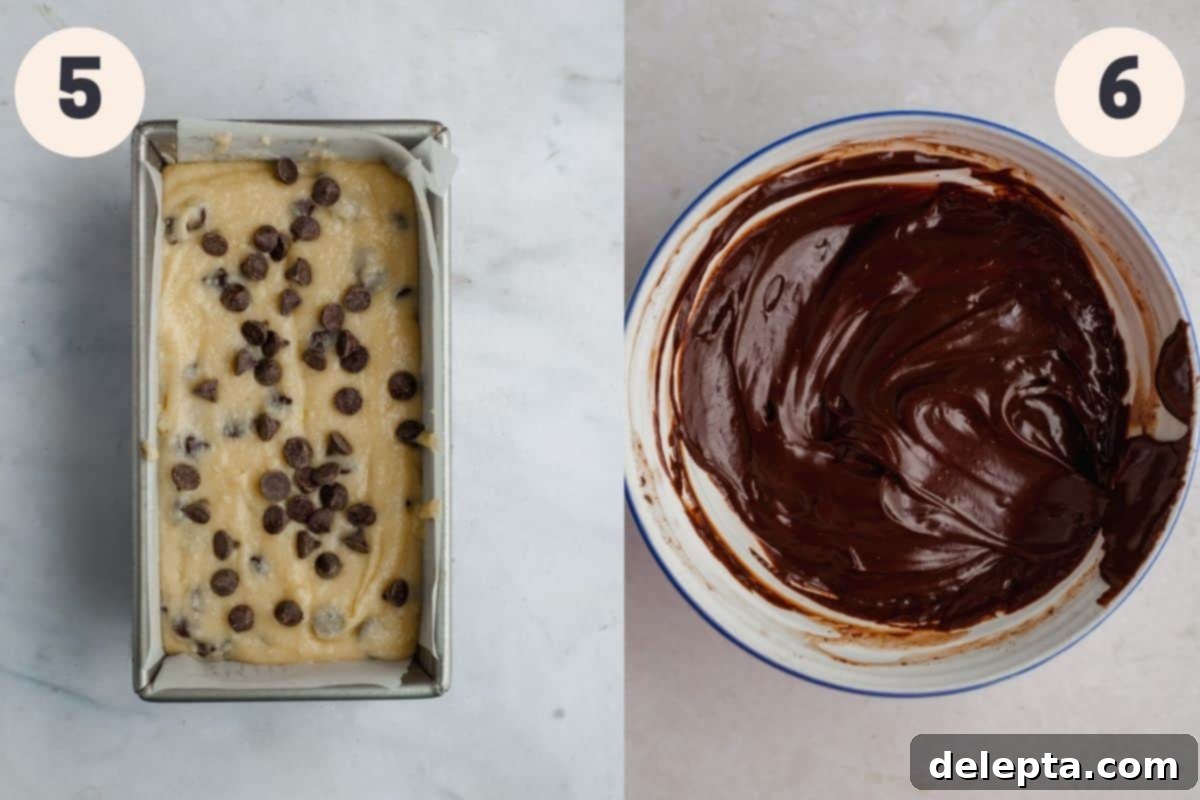
Step 5: Bake to Golden Perfection. Carefully pour the prepared batter into your loaf pan, which should be generously greased and lined with parchment paper. Gently tap the loaf pan a few times on your kitchen counter. This action helps to release any trapped air bubbles, ensuring a smooth top and preventing large pockets from forming in the finished cake. For an extra touch of visual appeal and more chocolatey goodness, sprinkle a few additional mini chocolate chips over the top of the batter. Bake the loaf cake in your preheated oven at 325°F (167°C) for 75-85 minutes. The cake is done when a wooden toothpick or skewer inserted into the center comes out with just a few moist crumbs attached, or completely clean. Let the cake cool in the pan for about 15 minutes before carefully removing it and transferring it to a wire rack to cool completely. This prevents the bottom from becoming soggy.
Step 6: Prepare the Decadent Chocolate Ganache. While the cake cools, prepare your ganache. In a heatproof medium bowl, microwave your heavy cream until it is steaming hot but not boiling. Alternatively, you can heat it in a small saucepan over medium heat until it just begins to simmer. Once hot, remove the cream from the heat and immediately add your finely chopped semisweet chocolate. Let the mixture sit undisturbed for 2-3 minutes; this allows the hot cream to melt the chocolate. After sitting, gently whisk the mixture until it becomes completely smooth and glossy. For a touch of balance, stir in a tiny pinch of salt. Allow the ganache to sit at room temperature, stirring occasionally, until it reaches a spreadable consistency – thick enough to cling to the cake but still pourable. This usually takes about 15-25 minutes, but timing can vary depending on your kitchen’s temperature. Once it’s the right consistency, generously spread it over your cooled chocolate chip loaf cake.
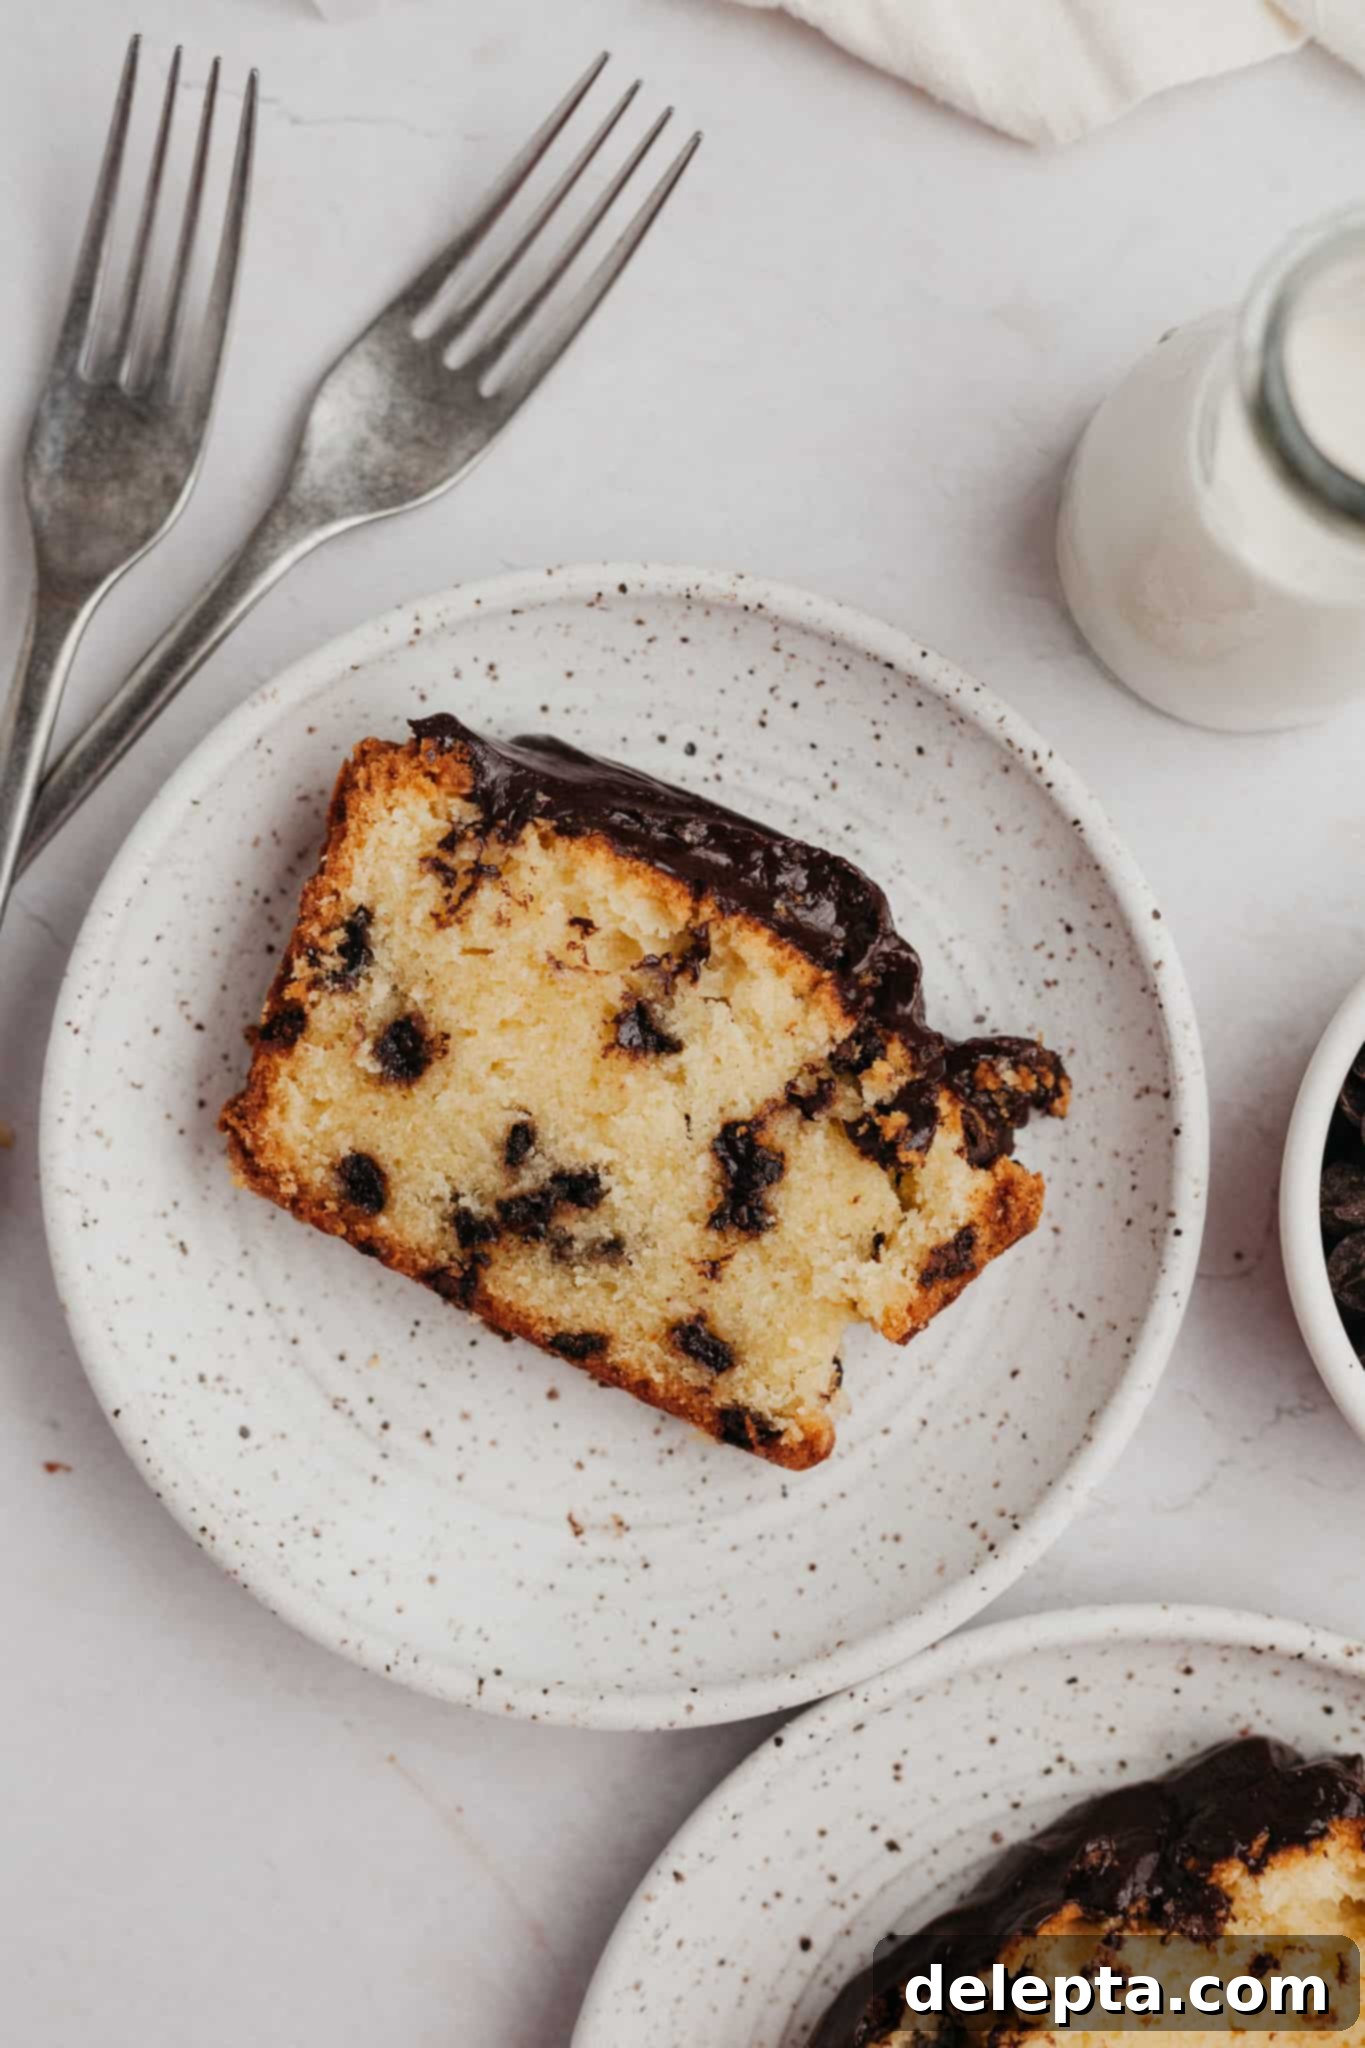
Expert Baking Tips & Tricks for Your Best Chocolate Chip Loaf Cake
Achieving a bakery-worthy chocolate chip loaf cake is all about precision and understanding a few key baking principles. These tips will help you bake a consistently perfect, moist, and flavorful loaf every time:
- Embrace the Metric System for Accuracy: For the most consistent and accurate baking results, I cannot stress enough the importance of using a kitchen scale to measure your ingredients, especially flour. Measuring in grams (the metric way) eliminates variables like how densely flour is packed into a measuring cup, making a huge difference in the final texture and success of your bake.
- Master the “Fluff and Sprinkle” Method for Flour: If you don’t have a kitchen scale and are relying on measuring cups, ensure you’re measuring your flour correctly. Use the “fluff and sprinkle” method: first, fluff up the flour in its container with a spoon. Then, lightly spoon the fluffed flour into your measuring cup until it’s overflowing. Finally, level it off with the back of a knife or a straight edge. Never scoop directly from the bag, as this compacts the flour and can result in using too much, leading to a dry, dense, and less moist cake. Learn more about this technique here.
- Room Temperature is Non-Negotiable: Make sure all your cold ingredients, including butter, eggs, and sour cream, are at room temperature before you begin mixing. Room temperature ingredients emulsify much more effectively, creating a smoother, more uniform batter that traps air better. This leads to a lighter, more tender, and consistently textured cake.
- The Critical Role of Room Temperature Butter: This is especially vital! If your butter is too cold, it won’t properly cream with the sugar, meaning air won’t be adequately incorporated, and the sugar crystals won’t dissolve as they should. This can result in a tougher, denser loaf and a batter that isn’t thick enough to prevent those precious chocolate chips from sinking to the bottom during baking. Aim for butter that gives slightly when pressed but isn’t melted or greasy.
- Prevent Over-Browning with Aluminum Foil: Loaf cakes bake for a relatively long time. If you notice your chocolate chip loaf cake is browning too quickly or becoming too dark on top before the inside is fully cooked, simply cover it loosely with a piece of aluminum foil. This acts as a shield, preventing further browning while allowing the inside to continue baking to perfection.
- Don’t Overmix the Batter: Once you add the dry ingredients, mix only until just combined. Overmixing develops the gluten in the flour too much, leading to a tough and chewy cake rather than a tender one. A few streaks of flour are acceptable; a little hand-folding at the end will take care of them.
- Preventing Chocolate Chip Sinkage (The Flour Toss): While mini chocolate chips are less prone to sinking, an extra layer of prevention can be achieved by tossing your chocolate chips in about 1 teaspoon of the all-purpose flour from your measured amount before folding them into the batter. This light coating helps them adhere to the batter and prevents them from falling to the bottom.
- Cool Properly for Best Texture: After baking, allowing the cake to cool for about 15 minutes in the pan before transferring it to a wire rack is important. This allows the cake to set and prevents it from breaking when removed. Then, cooling completely on a wire rack ensures air circulates around the entire cake, preventing condensation and a soggy bottom.
Frequently Asked Questions: Chocolate Chip Loaf Cake
This is a common challenge with any cake or bread that has mix-ins! This particular chocolate chip loaf cake recipe features a relatively thick batter, which naturally helps. However, for added insurance, I highly recommend tossing your mini chocolate chips with about 1 teaspoon of all-purpose flour (taken from the total amount in the recipe) before gently folding them into the batter. This light flour coating helps the chips cling to the batter and stay suspended during baking, ensuring a more even distribution.
Absolutely! If you don’t have sour cream on hand, you can successfully substitute it with an equal amount of full-fat plain yogurt. The consistency and acidity are very similar, and it will provide the same wonderful moisture and tenderizing effect. However, I do not recommend using whole milk as a substitute, as the resulting batter will be too thin, increasing the likelihood of the chocolate chips sinking.
To maintain its incredible moisture and flavor, store the loaf cake at room temperature in an airtight container or tightly wrapped in plastic wrap. It will remain wonderfully fresh and delicious for up to 4 days. If your kitchen is very warm, you might consider storing it in the refrigerator, but allow it to come to room temperature before serving for the best texture.
Yes, this loaf cake freezes beautifully! To freeze, ensure the cake is completely cooled. You can either freeze the entire loaf or slice it first. For individual slices, wrap each slice tightly in plastic wrap, then place them in a freezer-safe bag or container. If freezing the whole loaf, wrap it thoroughly in plastic wrap, followed by a layer of aluminum foil. It can be frozen for up to 2 months. To defrost, simply remove it from the freezer the night before and let it thaw slowly in the refrigerator overnight. You can also warm individual slices slightly in the microwave for a fresh-baked taste.
Absolutely! While semisweet mini chocolate chips are recommended, feel free to experiment. Milk chocolate chips or a blend of dark and milk chocolate chips would be delicious. For other mix-ins, consider adding a half cup of chopped nuts (like walnuts or pecans), shredded coconut, or even a swirl of a fruit preserve (like raspberry or apricot) for a delightful variation. Just ensure any additions don’t significantly thin out the batter.
Discover More Delicious Recipes Next!
If you loved this chocolate chip loaf cake, you’ll surely enjoy exploring these other fantastic baking creations. Each recipe is crafted with care to bring joy to your kitchen!
- Blackberry Lemon Bread
- The Best Biscoff Butter Cookies
- Chocolate Sprinkle Donuts
- Chocolate Chip Peanut Butter Oatmeal Bars
Have you tried baking this utterly delicious Chocolate Chip Loaf Cake? I would love to see your creations! Make sure to tag me on Instagram @alpineella and leave a review below to share your experience. Your feedback means the world! For even more baking inspiration and delightful dessert ideas, you can also follow me on Pinterest.
Recipe
Chocolate Chip Loaf Cake
Ella Gilbert
Pin Recipe
Save RecipeSaved!
Equipment
-
8.5″x4.5″ loaf pan
Ingredients
- 1 ¼ cup all-purpose flour
- ½ tsp kosher salt
- ¼ tsp baking powder
- 2 sticks unsalted butter room temperature
- 1 ½ cup granulated sugar
- 3 eggs room temperature
- ½ cup sour cream room temperature
- 2 tsp vanilla extract
- 1 cup mini chocolate chips
Chocolate Ganache
- 4 oz semisweet chocolate chopped
- ½ cup heavy cream
- pinch salt
Instructions
-
Preheat your oven to 325°F (167°C). Generously butter your 8.5″x4.5″ loaf pan and line it with parchment paper, leaving an overhang on the sides for easy removal.
-
In a medium bowl, thoroughly whisk together the all-purpose flour, baking powder, and kosher salt. Set this dry mixture aside.
-
In a stand mixer fitted with a paddle attachment, or using a hand mixer and a large bowl, beat the room temperature unsalted butter on high speed for 1 minute until it’s smooth and creamy.
-
Add the granulated sugar to the creamed butter and beat on high speed for a full 4 minutes. The mixture should become very light, fluffy, and pale in color. Stir in the vanilla extract until just combined.
-
Add your eggs one at a time, beating for 1 minute after each new addition on medium speed. Ensure you scrape down the sides and bottom of the bowl well with a rubber spatula before each addition to ensure everything is evenly incorporated.
-
Reduce the mixer speed to low. Add the dry ingredients and beat slowly until just combined, stopping as soon as there are only a few streaks of flour visible. Pour in your room temperature sour cream and beat briefly until just combined. Turn off the mixer and use a rubber spatula to gently fold by hand until there are no more pockets of flour or sour cream left. Be careful not to overmix.
-
Gently fold in most of your mini chocolate chips by hand, reserving a small handful to sprinkle on top later.
-
Pour the batter into your prepared loaf pan. Tap the loaf pan firmly on your countertop a few times to release any trapped air bubbles. Sprinkle your remaining chocolate chips evenly over the top of the loaf.
-
Bake for 75-85 minutes, or until a wooden skewer or toothpick inserted into the center comes out with just a few moist crumbs attached (or completely clean). If the top browns too quickly, loosely tent with aluminum foil. Let the cake cool in the pan for 15 minutes, then carefully remove it using the parchment overhang and transfer to a wire rack to cool completely.
-
For the Chocolate Ganache: In a small saucepan, bring your heavy cream to a simmer over medium heat (do not boil!). Alternatively, microwave the heavy cream in a medium bowl until steaming hot. Place your finely chopped semisweet chocolate in a heatproof medium bowl. Pour the hot heavy cream over the chocolate and let it sit undisturbed for 3 minutes to allow the chocolate to melt. With a rubber spatula, gently swirl the two together until the ganache is completely smooth and glossy. Stir in a tiny pinch of salt to enhance the flavor. Let the ganache sit at room temperature for about 15-25 minutes, stirring occasionally, until it thickens to a spreadable consistency. Once thickened, generously spread it evenly over the cooled chocolate chip loaf cake. Enjoy!
Notes
Salt: If you don’t have kosher salt on hand, you can substitute it with fine table salt. However, remember that fine salt is more potent by volume, so you should halve the amount called for in the recipe. As a general rule: 1 teaspoon kosher salt = ½ teaspoon fine salt.
Storage: To maintain its peak freshness and moist texture, keep the chocolate chip loaf cake at room temperature in an airtight container or tightly wrapped in plastic wrap. It will remain delicious for up to 4 days.
Freezing: This loaf cake is perfect for freezing! Once completely cool, slice up your loaf and wrap each slice tightly in plastic wrap. Then, place the wrapped slices in a freezer-safe bag or container. It can be frozen for up to 2 months. To defrost, simply remove slices (or the entire loaf) from the freezer the night before and let them thaw in the fridge overnight. You can also briefly warm individual slices in the microwave for a just-baked taste.
Nutrition
