Decadent Tiramisu Layer Cake: Your Ultimate Guide to Baking this Italian-Inspired Masterpiece
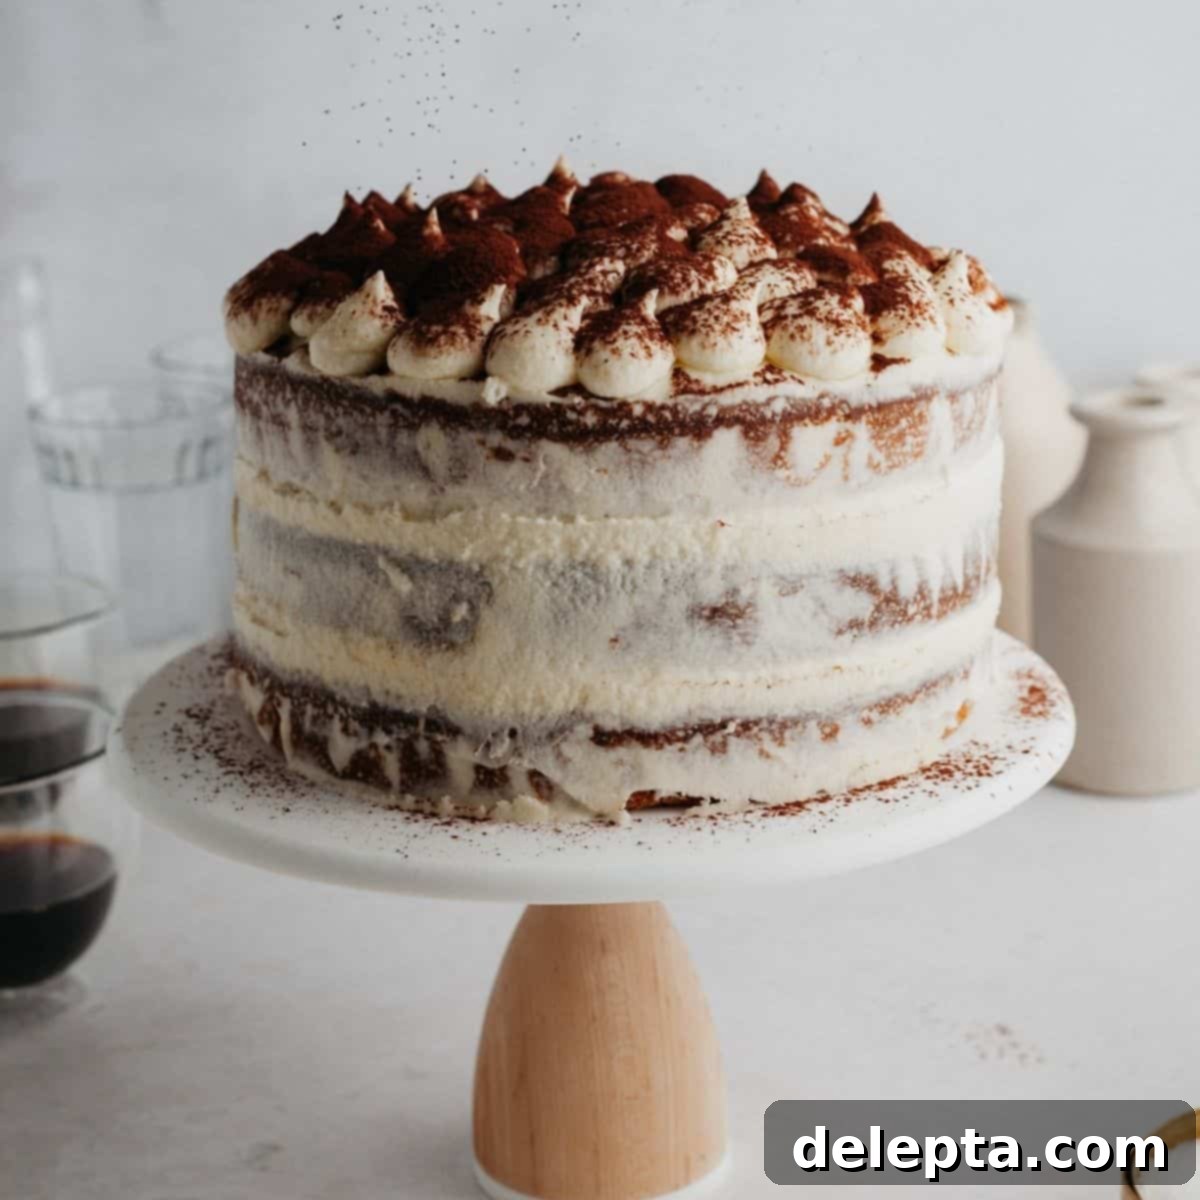
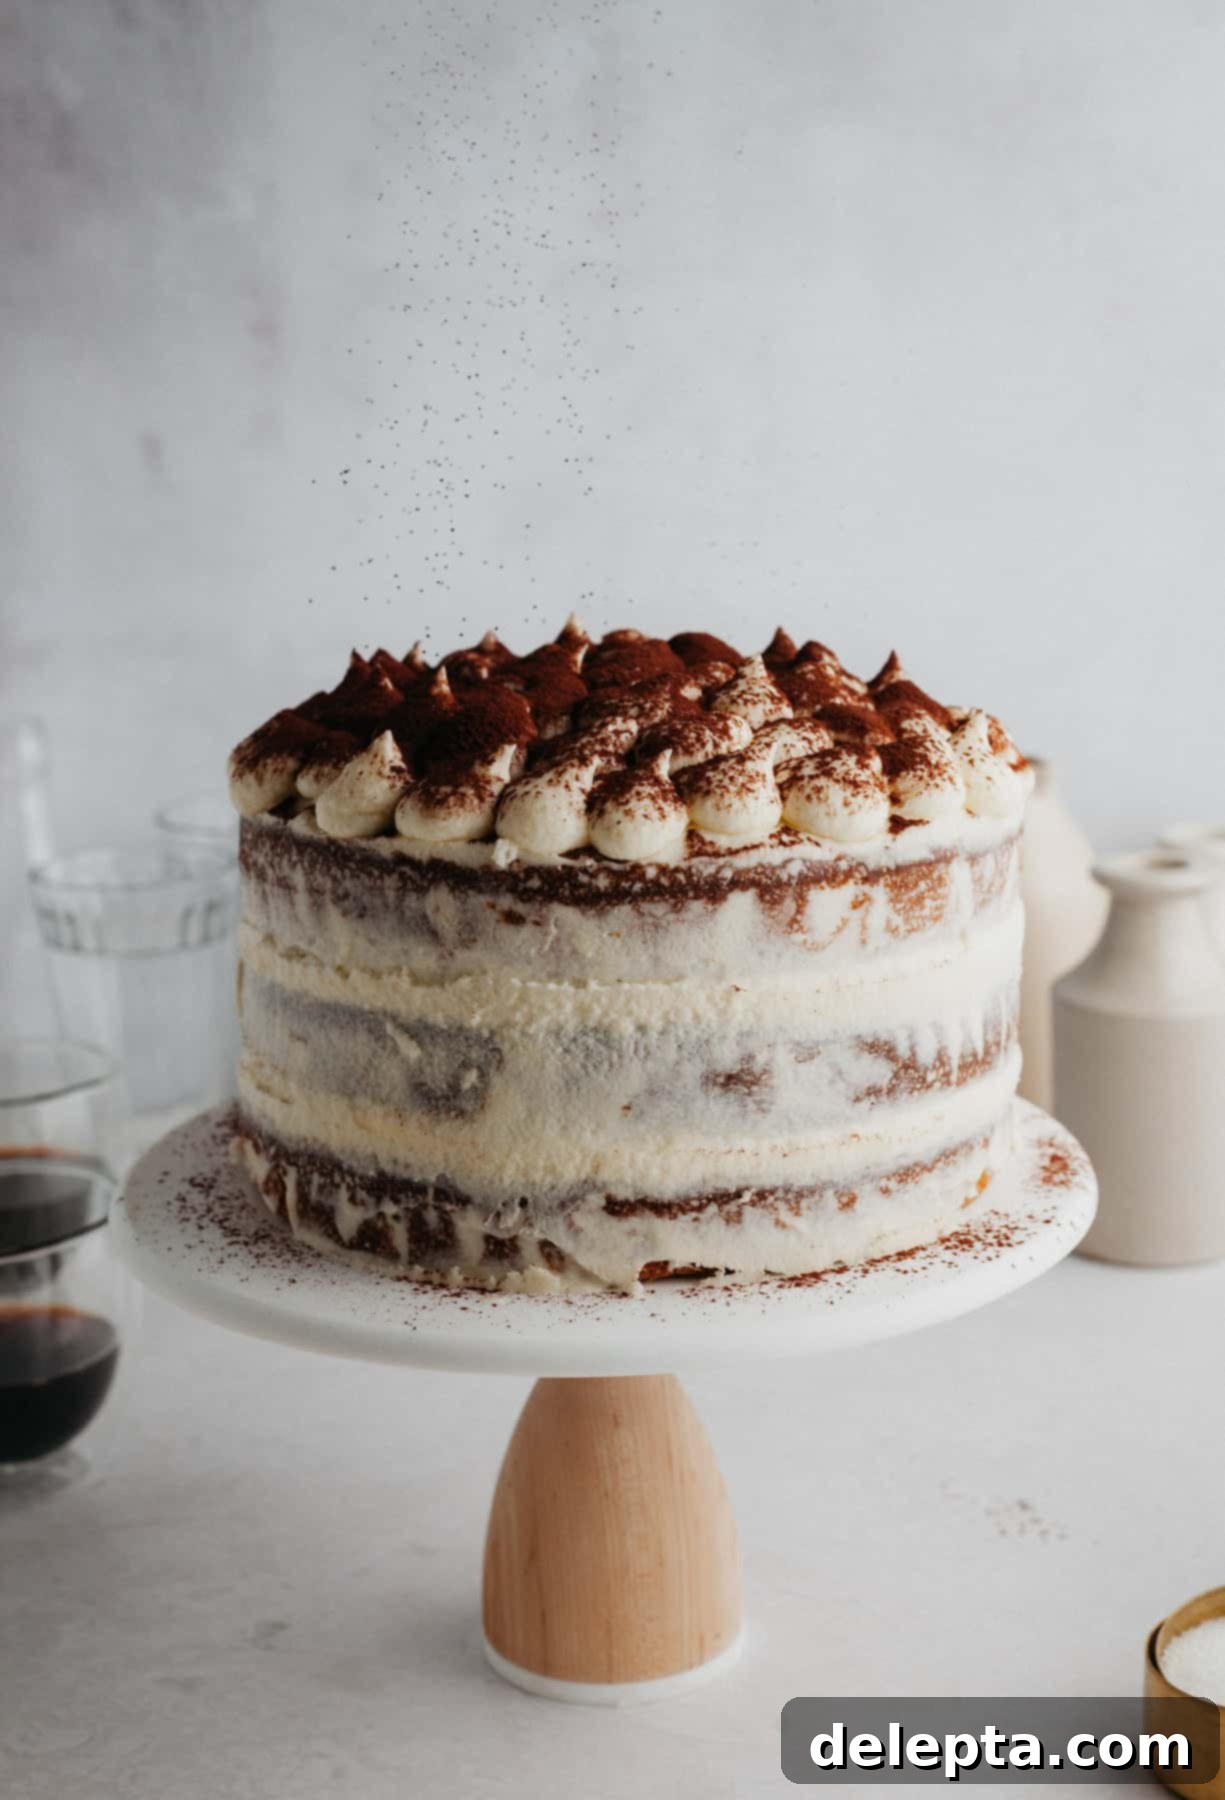
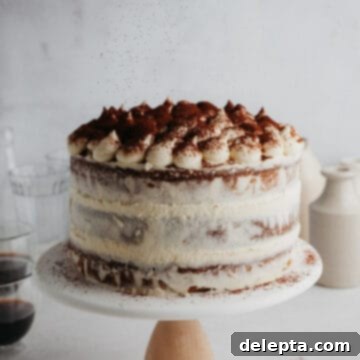
Prepare to impress at any gathering with this truly extraordinary tiramisu layer cake! This isn’t just any cake; it’s a celebration of classic tiramisu flavors reimagined in a stunning layered dessert. Featuring a delicate, golden yellow sponge cake generously soaked in a rich, aromatic coffee syrup, each slice promises that unmistakable tiramisu essence. The layers are then sumptuously filled with a decadent coffee chocolate ganache, offering a deep, intense cocoa and espresso counterpoint. Finally, the entire creation is frosted with a smooth, luxurious almond mascarpone buttercream, culminating in a dessert that is as elegant to look at as it is delightful to taste – a true showstopper for any occasion.
This beloved recipe was originally shared in January 2020 and has since been meticulously updated and refined to bring you an even more foolproof and sensational baking experience, complete with new content, detailed tips, and enhanced instructions to ensure your success in the kitchen.
Discover the Magic of This Tiramisu Layer Cake Recipe!
Crafting a truly memorable cake involves more than just mixing ingredients; it’s about understanding how each component contributes to the overall symphony of flavors and textures. This tiramisu layer cake is meticulously designed to deliver a harmonious experience, blending traditional Italian influences with a classic American layer cake structure. Here’s what makes this recipe an absolute showstopper, setting it apart from typical desserts:
- The Perfectly Soaked Yellow Sponge: Our foundation is a wonderfully light, airy, and moist yellow sponge cake. This simple-to-make cake base is delicately flavored with subtle notes of almond and vanilla extract, creating a nuanced complexity that perfectly complements the robust coffee elements. After baking, each tender layer is generously drenched in a sweetened coffee syrup, ensuring every bite carries that signature, irresistible tiramisu taste and a delightful, melt-in-your-mouth moisture. This thorough soaking process is absolutely key to achieving the authentic “pick-me-up” (the literal meaning of tiramisu) quality and deep flavor profile that makes this dessert so beloved.
- Rich Coffee Chocolate Ganache Filling: Nestled between the aromatic coffee-soaked sponge layers is a luscious, deeply flavorful chocolate ganache. What truly sets this ganache apart and elevates its character is the thoughtful addition of espresso, which intensifies the chocolate’s inherent richness and adds another layer of sophisticated coffee complexity. This velvety smooth, decadent filling provides a wonderful contrast in texture and a powerful burst of intense flavor, making each spoonful utterly indulgent and truly unforgettable. It’s the perfect counterpoint to the light sponge.
- Creamy Almond Mascarpone Buttercream Frosting: The entire cake is beautifully adorned with a light, airy, and incredibly luxurious almond mascarpone buttercream. This frosting is intentionally not overly sweet, allowing the distinct tangy creaminess of the mascarpone cheese to shine through, balanced by a delicate hint of almond. It provides the perfect smooth canvas for decorating, allowing for elegant finishing touches. For the grand finale, we pipe intricate swirls or decorative patterns on top and dust them generously with sifted cocoa powder, mimicking the classic tiramisu presentation. This final flourish not only adds to the visual appeal but also provides an additional layer of bittersweet chocolate flavor that ties all the components together.
Each individual element of this cake has been carefully considered, tested, and perfected to ensure a cohesive and truly delightful tiramisu experience, elevated to a grand, celebratory scale that’s perfect for any special occasion or simply to treat yourself.
Essential Ingredients for Your Tiramisu Masterpiece
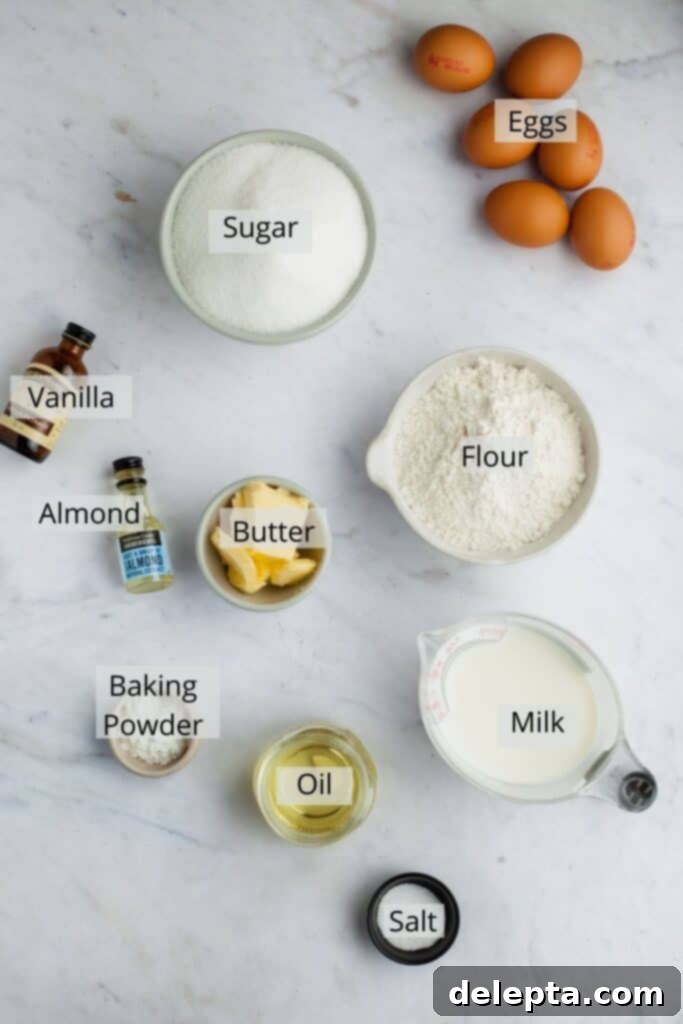
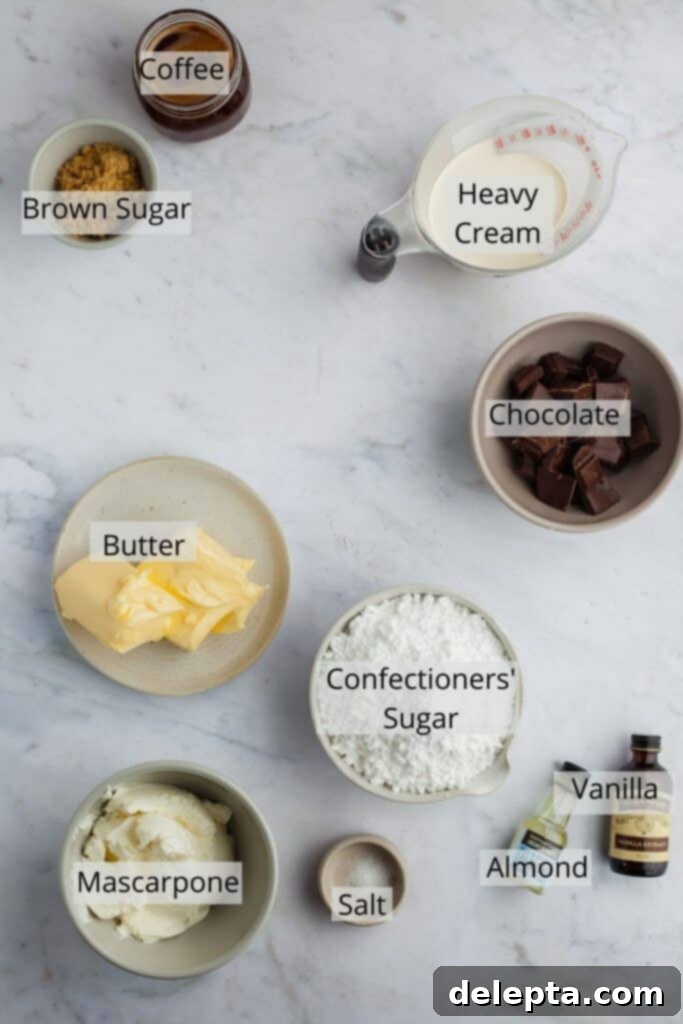
Creating this magnificent Tiramisu Layer Cake requires a selection of high-quality ingredients, carefully chosen to build complex flavors and achieve the perfect texture for each component. Paying attention to the specific types and conditions of these ingredients will make a significant difference in your final result. Below, you’ll find an overview of the key components. For precise measurements and a complete list, please refer to the printable recipe card located at the very bottom of this post, which provides all the details you’ll need.
-

Cake Ingredients -

Frosting and Filling Ingredients
The printable recipe card with the full list of ingredients and detailed instructions can be found at the bottom of this post, making your baking journey even smoother and ensuring you have all the necessary information at your fingertips.
Important Ingredient Notes for Best Results
Paying careful attention to the details of your ingredients can significantly impact the success, flavor, and overall enjoyment of your Tiramisu Layer Cake. Here are some crucial notes and recommendations to ensure your cake turns out absolutely perfect, just like from a professional bakery:
- Oil Selection: For the yellow sponge cake, it’s paramount to use a neutral-flavored oil such as vegetable oil, canola oil, or rapeseed oil. These types of oils contribute significantly to the cake’s wonderfully moist texture without imparting any strong or distinct flavors that could otherwise interfere with the delicate balance of almond, vanilla, and robust coffee notes. Avoid using olive oil or any other strongly flavored oils, which could overpower the subtle nuances of the tiramisu profile.
- Almond Extract: While the almond extract is listed as optional in the recipe, I highly recommend including it. It truly elevates the flavor profile of this cake, contributing to that distinctive, slightly nutty and sophisticated essence often found, or subtly hinted at, in a traditional tiramisu. It adds a wonderful depth that harmonizes beautifully with the rich coffee and sweet vanilla. If you’re not an almond fan, or if you simply don’t have it on hand, rest assured the cake will still be utterly delicious without it, with the vanilla taking a more prominent role.
- High-Quality Butter: For both the cake layers and especially for the luxurious buttercream, I strongly recommend using a high-quality, European-style unsalted butter, such as Kerrygold. European butters typically boast a higher butterfat content and often a richer flavor profile compared to their American counterparts. This higher fat content yields a noticeably richer, creamier flavor and a superior, more tender texture in your cake layers, and makes the mascarpone buttercream exceptionally smooth, stable, and luxurious. Always ensure your butter is at room temperature for the buttercream for optimal whipping and emulsification.
- Room Temperature Eggs: Always use large eggs at room temperature when baking. This isn’t just a suggestion; it’s a critical step. Room temperature eggs emulsify much better with other ingredients (like sugar and fats), leading to a more homogenous, stable batter and ultimately a finer, more tender cake crumb. If you forget to take them out in advance, you can quickly bring them to room temperature by placing them in a bowl of warm (not hot) water for 5-10 minutes.
- Mascarpone Cheese Condition: For the buttercream, ensure your mascarpone cheese is also at room temperature. This crucial step helps it blend smoothly and seamlessly with the butter and other ingredients, preventing lumps and ensuring a light, airy, and consistent frosting texture. Mascarpone adds a distinctive tang and unparalleled richness that is absolutely key to delivering an authentic tiramisu experience in your frosting.
- Coffee Quality: The quality of your coffee significantly impacts the flavor of this cake. Use freshly brewed, strong coffee for both the syrup and the ganache. Espresso is highly recommended for the most robust and authentic coffee flavor. For the coffee syrup, ensure the coffee is hot enough initially to fully dissolve the sugar, but then allow the syrup to cool completely to room temperature before you use it to soak the cake layers. Applying warm syrup to cool cakes can lead to an overly soggy cake that might break apart.
- Salt Type and Conversion: Salt is a crucial flavor enhancer in almost all baking, balancing sweetness and amplifying other tastes. This recipe specifies kosher salt. If you only have fine table salt available, remember that it is much denser and saltier by volume. To prevent over-salting, always halve the amount of fine salt called for in the recipe when substituting (e.g., if the recipe calls for 1 teaspoon of kosher salt, use ½ teaspoon of fine table salt).
Step-by-Step Guide: Crafting Your Tiramisu Layer Cake
Baking this tiramisu layer cake is a truly rewarding process, and by meticulously following these detailed steps, you’ll achieve a stunning dessert every single time. We’ll break down the preparation into manageable stages: first, making the tender yellow cake layers; next, preparing the flavorful coffee syrup and rich ganache; and finally, the exciting process of assembling and frosting your magnificent masterpiece. Remember to read through all instructions completely before you begin for the smoothest baking experience!
-

Step One: Prepare Dry Ingredients -

Step Two: Whip Wet Ingredients
Part 1: Crafting the Yellow Sponge Cake Layers
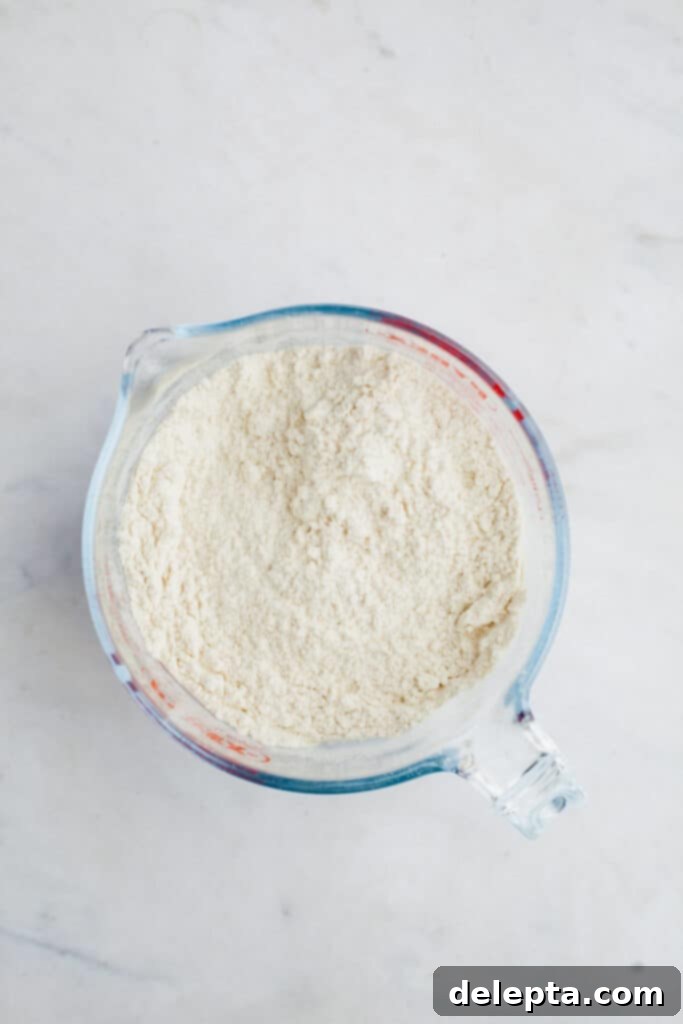
One: Begin by combining your dry ingredients. In a medium-sized bowl, thoroughly whisk together the all-purpose flour, salt, and baking powder. Whisking ensures these leavening agents and the salt are evenly distributed throughout, which is absolutely crucial for a consistent rise and balanced flavor in your finished cake. Once combined, set this dry mixture aside for later use.
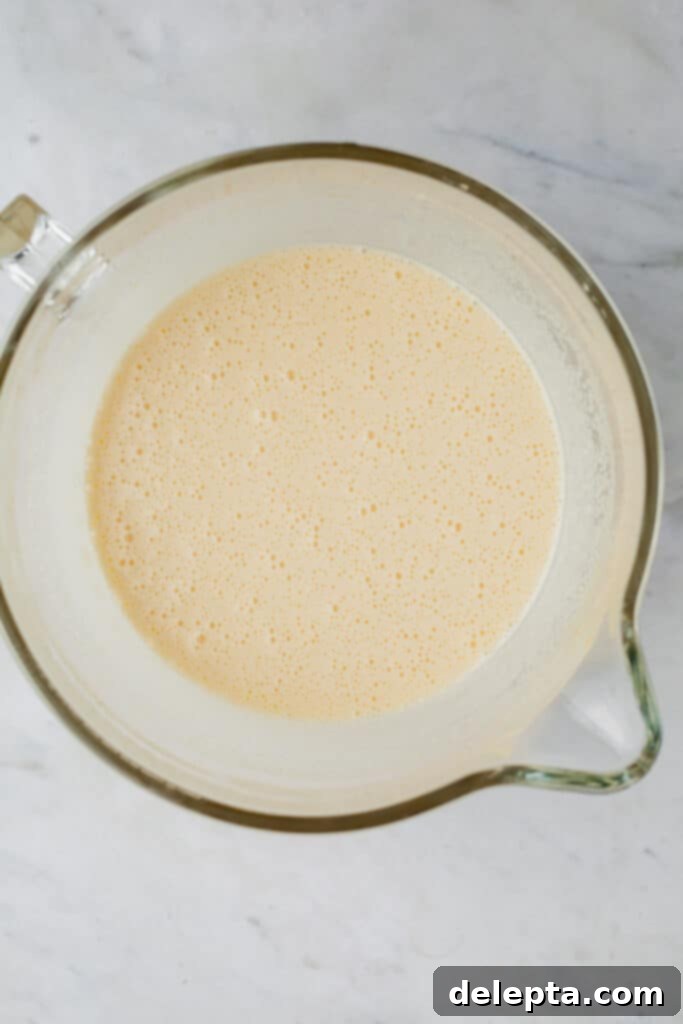
Two: Next, in the bowl of a stand mixer fitted with the whisk attachment (or using a reliable hand-held electric mixer), combine the large eggs, vanilla extract, granulated sugar, and almond extract. Beat these ingredients together on medium-high speed for a good 2-3 minutes. This step is vital: you are aiming for the mixture to become very thick, pale yellow, and almost ribbon-like in consistency. This extensive whipping incorporates a significant amount of air, which is fundamental in giving the sponge its signature light, airy, and delicate texture.
-

Step Three: Incorporate Dry Ingredients -

Step Four: Prepare Warm Liquid
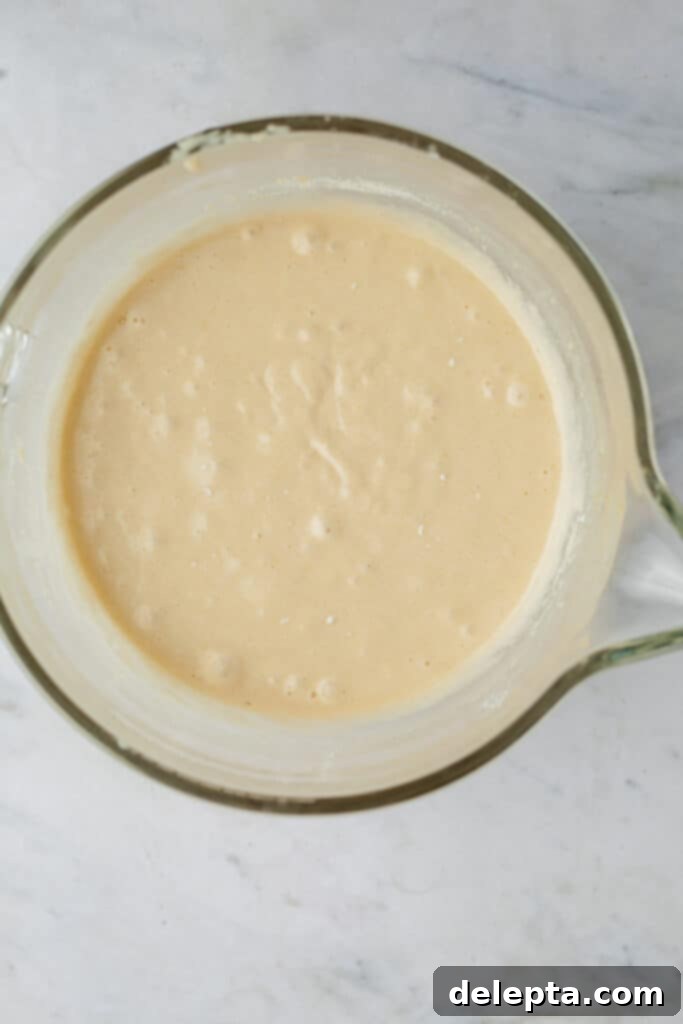
Three: Gently add the whisked dry ingredients (flour, salt, baking powder) to the fluffy egg mixture in the stand mixer bowl. Mix on a very low speed, or carefully fold by hand with a spatula, until the dry ingredients are just barely incorporated and no visible streaks of flour remain. It is critical not to overmix at this stage, as excessive mixing can develop the gluten in the flour, leading to a tough, less tender cake crumb.
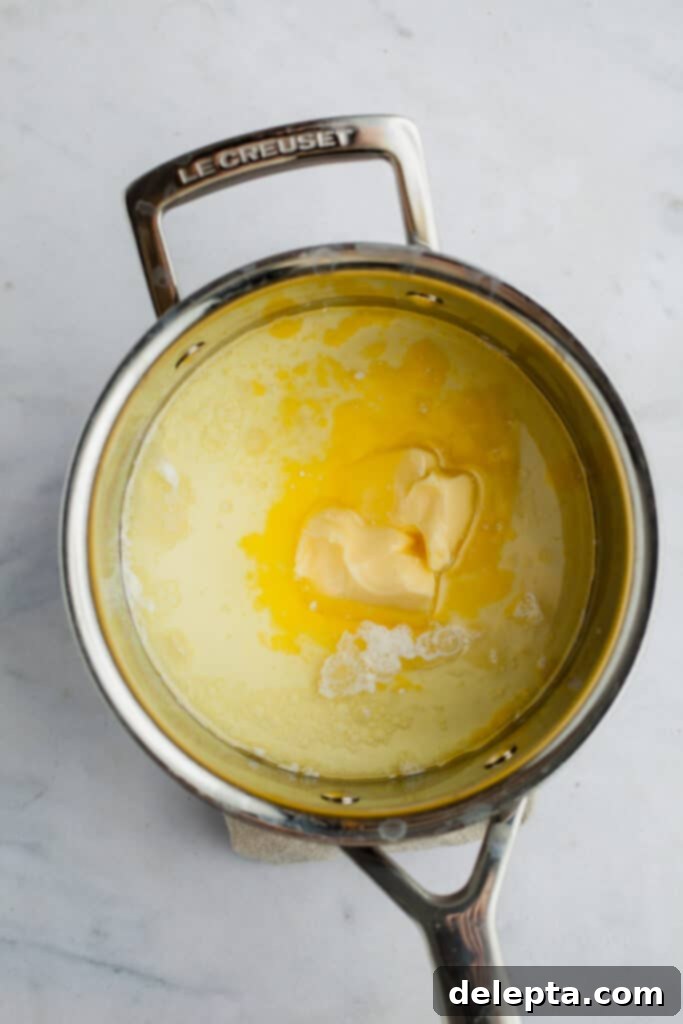
Four: In a small saucepan, gently heat the milk over medium heat until it just begins to simmer around the edges, showing small bubbles. As soon as you observe these bubbles, remove the saucepan immediately from the heat. Promptly add the neutral oil and the room temperature unsalted butter to the hot milk. Stir continuously until all the butter has completely melted and the mixture is well combined and smooth. This warm liquid will be incorporated into the batter to create a unique tender texture.
-

Step Five: Fold in Warm Liquids -

Step Six: Bake the Cake Layers
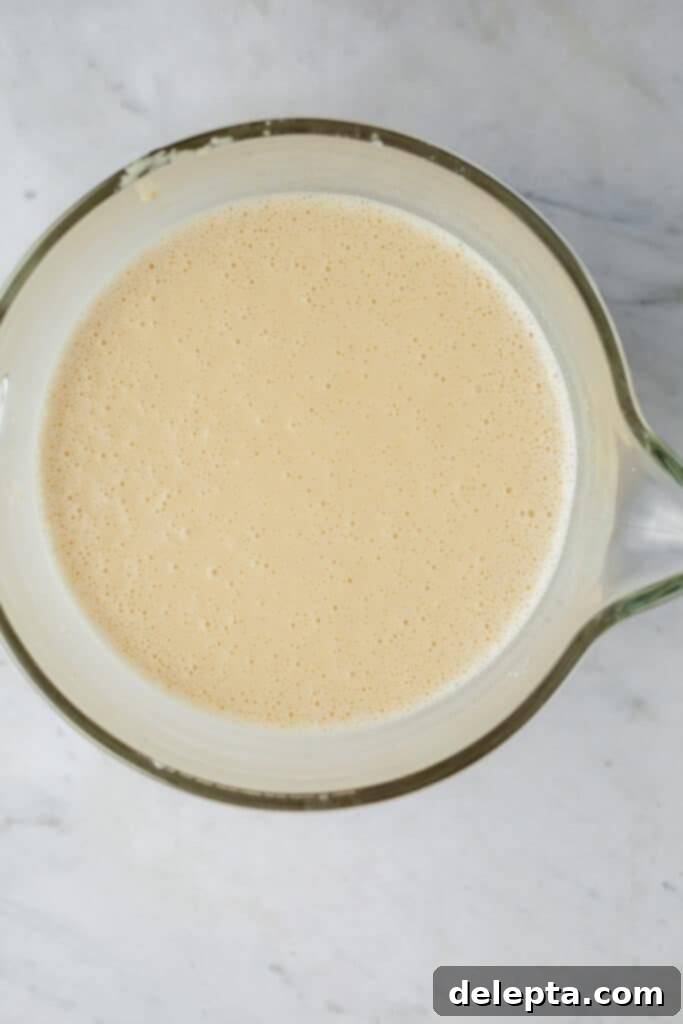
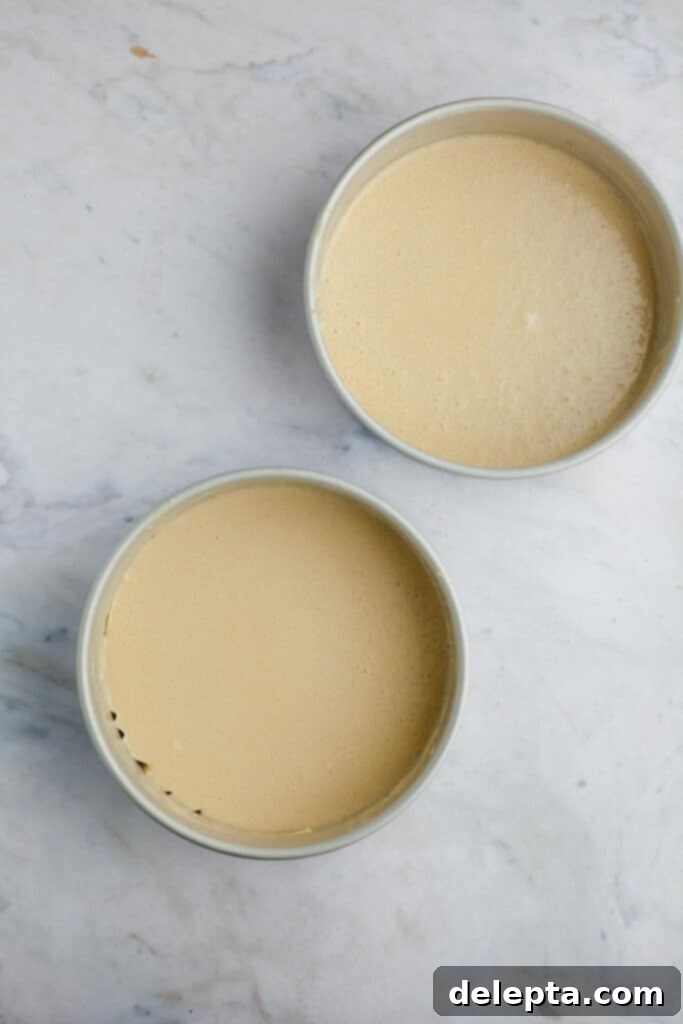
Five: With the mixer running on its very lowest speed, slowly and steadily pour the warm milk, oil, and melted butter mixture into the cake batter. Continue mixing gently just until the batter is completely smooth and uniform in consistency. This method, often referred to as a “hot milk cake” technique, creates a wonderfully tender, moist, and fine-crumbed cake that is exceptionally delicious.
Six: Evenly divide the beautifully smooth cake batter among your three meticulously prepared 8-inch cake pans. It’s recommended to weigh the batter in each pan (approximately 605g each) to ensure consistently sized and baked layers. Bake in a preheated oven at 325°F (165°C) for approximately 35-40 minutes. The cakes are done when a wooden skewer or toothpick inserted into the center comes out clean, and the tops are golden brown and spring back when lightly touched. Allow the cakes to cool in their pans for about 15 minutes before carefully inverting them onto a wire rack to cool completely to room temperature. Cooling completely is absolutely paramount before frosting to prevent your delicate frosting from melting and sliding off.
-

Step Seven: Prepare Coffee Syrup -

Step Eight: Make Coffee Ganache
Part 2: The Aromatic Coffee Syrup and Rich Coffee Ganache
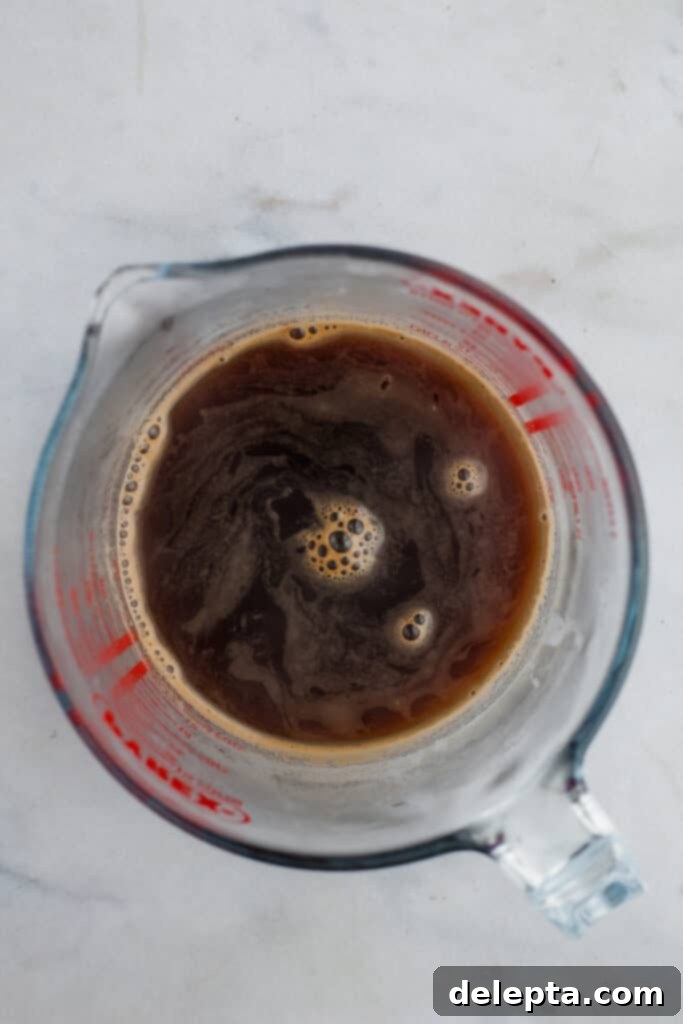
Seven: While your cakes are cooling completely, take this time to prepare the aromatic coffee syrup. In a heatproof jug or bowl, combine your hot, strong brewed coffee (or espresso for a bolder flavor), the dark brown sugar, and, if you choose to use it, the brandy. Stir vigorously and thoroughly until the sugar is completely dissolved into the hot liquid. It’s absolutely crucial to let this syrup cool completely to room temperature before you use it to soak the cake layers. Applying warm syrup to cool cakes can make them excessively soggy and potentially cause them to break apart.
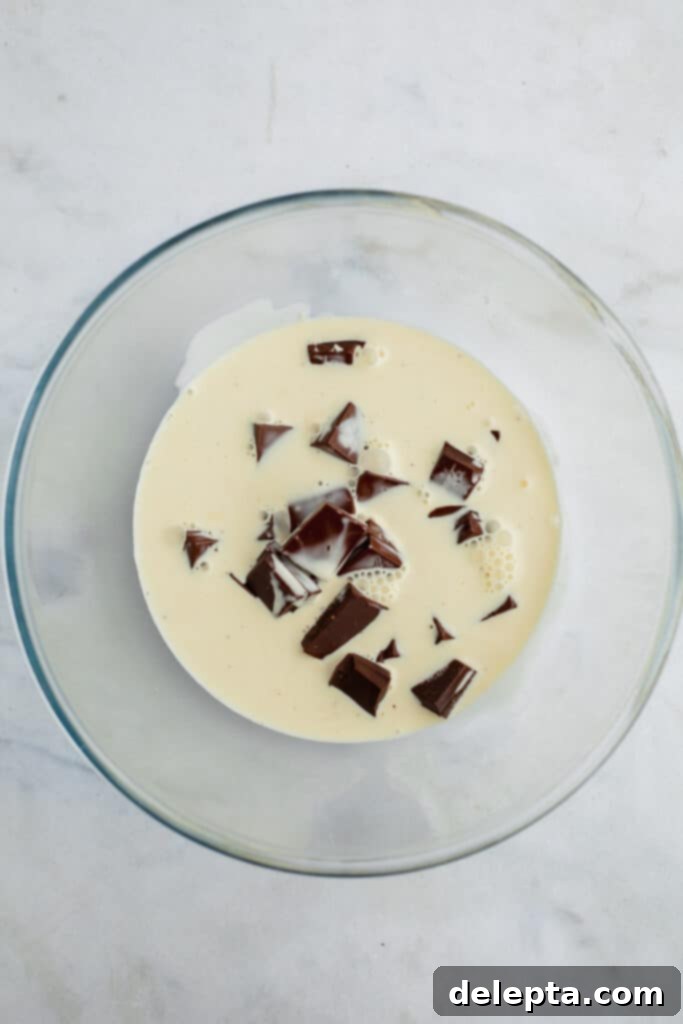
Eight: For the luxurious coffee ganache, place your finely chopped dark chocolate in a clean, heatproof bowl. In a separate small saucepan, bring the heavy cream to a gentle simmer over medium heat – watch for small bubbles just beginning to form around the edges, but do not allow it to boil vigorously. Once simmering, remove the cream from the heat and immediately pour the hot cream over the chopped chocolate, along with the tablespoon of hot coffee (or espresso for an extra kick of coffee flavor). Let the mixture sit undisturbed for 5 to 10 minutes to allow the residual heat to fully melt the chocolate. After this resting period, whisk gently from the center outwards until the ganache is completely smooth, glossy, and beautifully emulsified. Set it aside to cool to room temperature until it reaches a thick, spreadable consistency; it will continue to thicken as it cools. If the ganache is too warm, it will be too runny and will run off the cake layers instead of holding its shape.
-

Step Nine: Cream Butter and Mascarpone -

Step Ten: Finish Buttercream
Part 3: Whipping Up the Almond Mascarpone Buttercream
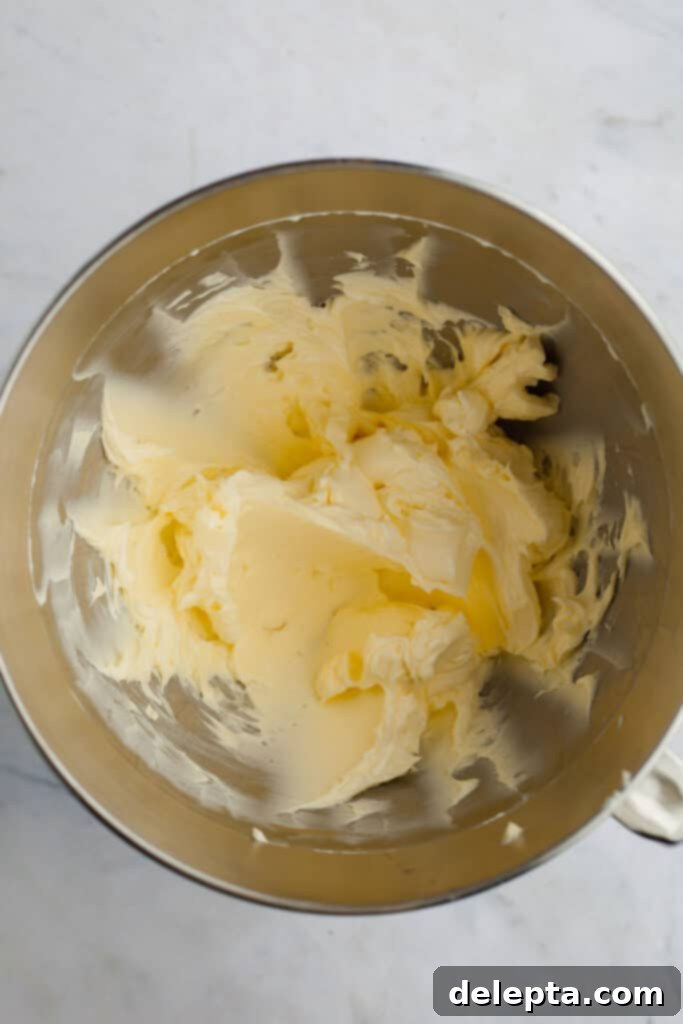
Nine: In the bowl of your stand mixer, fitted with the paddle attachment, combine the softened, room temperature unsalted butter and the equally room temperature mascarpone cheese. Beat them together on medium speed until they are thoroughly well combined, smooth, and homogenous, typically for about 1-2 minutes. It’s important to ensure there are absolutely no lumps of butter or mascarpone remaining for a silky-smooth buttercream.
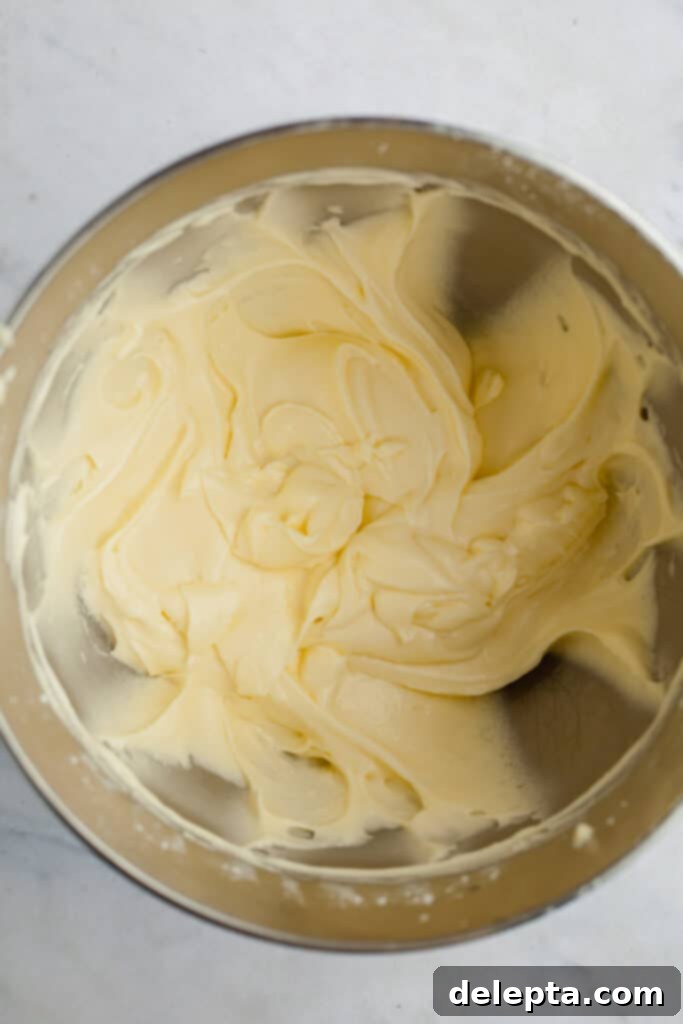
Ten: Gradually add the sifted confectioners’ sugar (also known as icing sugar) to the butter and mascarpone mixture. Begin mixing on a very low speed to prevent a cloud of sugar from escaping, then gradually increase to medium-high speed. Beat until the buttercream is perfectly smooth and creamy. Next, incorporate the vanilla extract, almond extract, and kosher salt. Continue beating on medium-high speed for an additional 2-3 minutes until the buttercream becomes beautifully light, fluffy, and voluminous. This aeration is absolutely key to achieving a silky-smooth, spreadable, and light frosting texture. It’s best to use this buttercream immediately after preparation, as its consistency is ideal when fresh.
Part 4: Assembling Your Show-Stopping Tiramisu Layer Cake
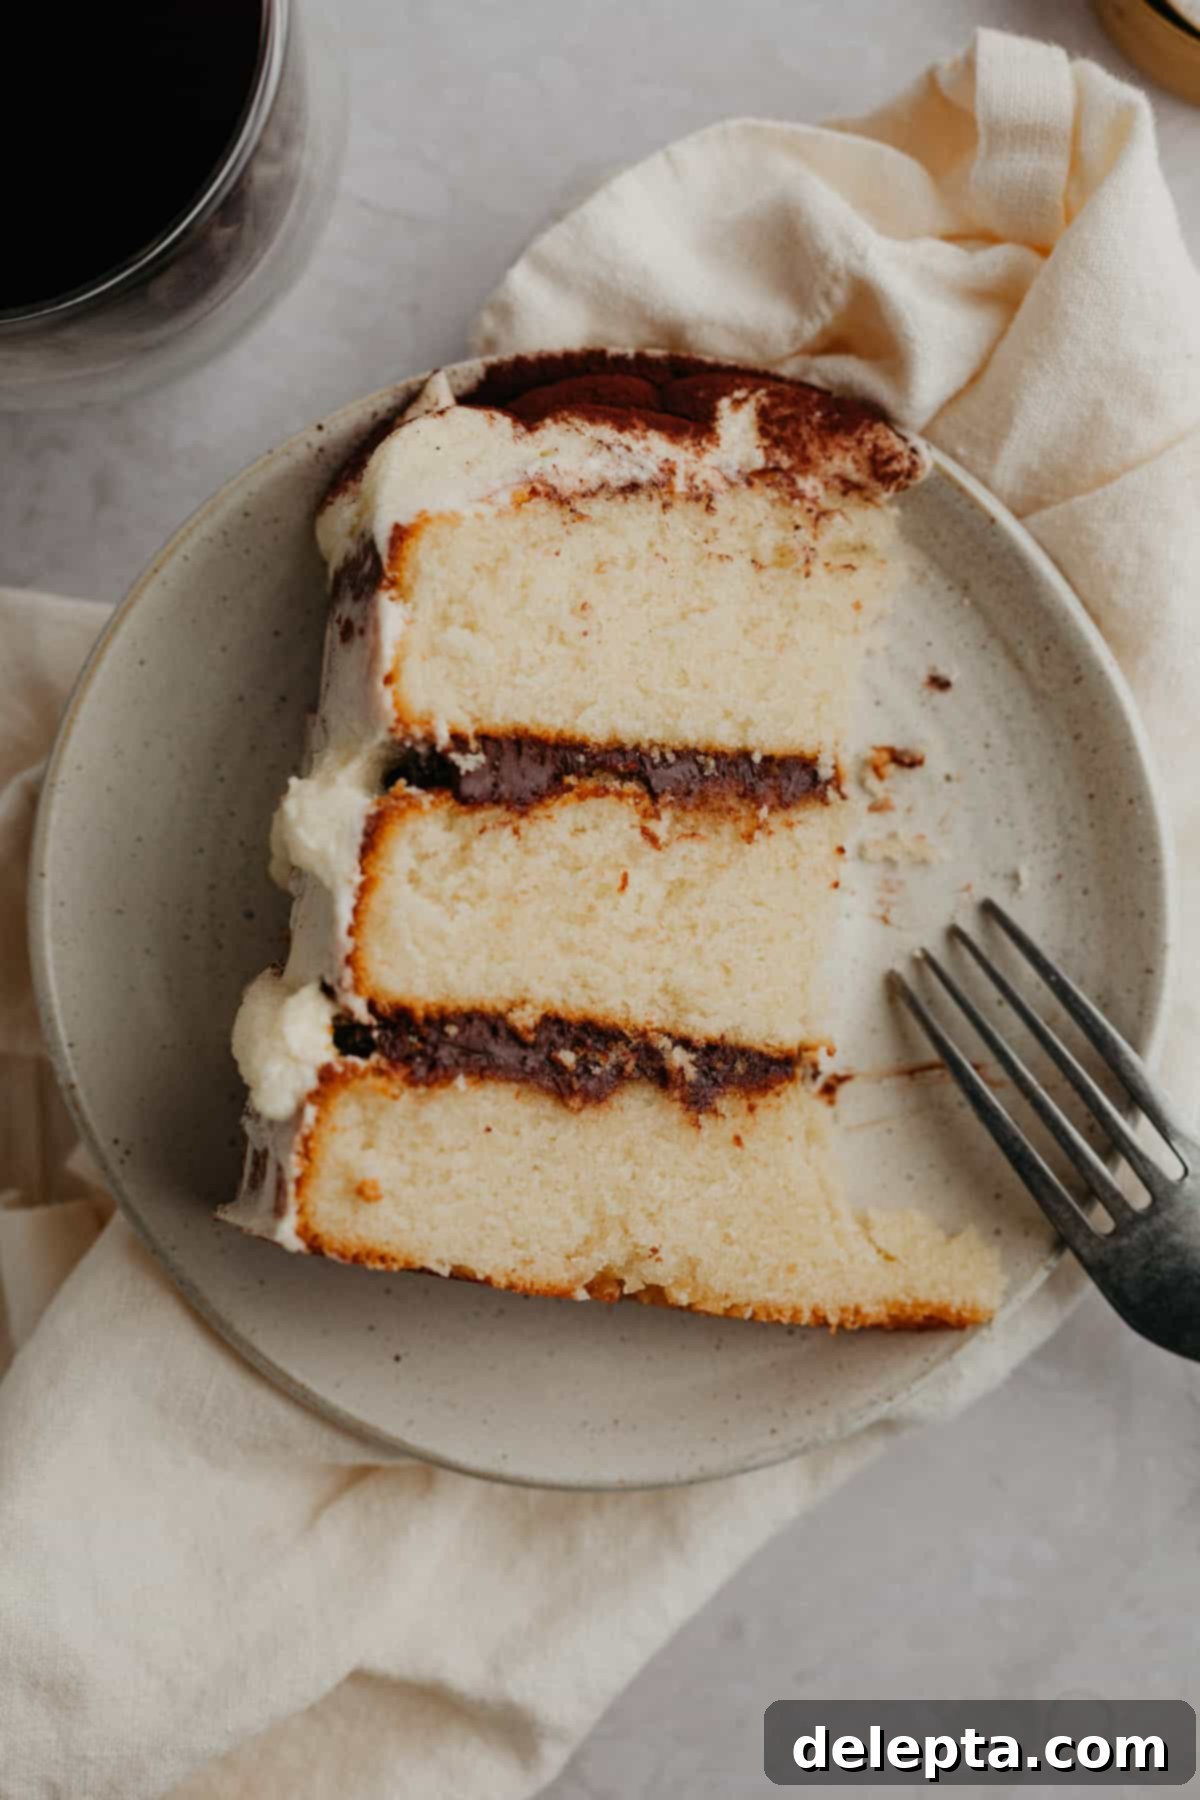
Once all your delicious components are meticulously prepared and cooled to the appropriate temperatures, it’s time for the most exciting part: assembling your breathtaking Tiramisu Layer Cake. This is where all your hard work comes together to create a truly impressive and memorable dessert that will wow your guests.
- **First Layer Setup:** Carefully place the first fully cooled cake layer onto your chosen cake stand, serving plate, or a flat cake board. Using a pastry brush or a spoon, generously soak the entire top surface of this cake layer with a portion of the cooled coffee syrup. Don’t be shy with the syrup; thorough soaking is absolutely crucial for infusing the cake with moisture and that authentic tiramisu flavor.
- **Create a Buttercream Barrier:** Transfer some of your freshly prepared almond mascarpone buttercream into a piping bag fitted with a round tip (or simply snip a small hole off the end of the bag). Pipe a sturdy, even ring of buttercream around the very outer edge of the soaked cake layer. This “buttercream dam” serves a critical purpose: it acts as a barrier, effectively preventing the softer coffee chocolate ganache from oozing out and mixing with your final outer frosting layers, ensuring a clean finish.
- **Ganache Filling Application:** Using an offset spatula, carefully spread half of the cooled, spreadable coffee chocolate ganache evenly within the protective buttercream barrier you just created. Ensure an even layer for consistent flavor distribution.
- **Second Layer and Repeat:** Gently place the second cooled cake layer precisely on top of the ganache filling. Repeat the process: generously soak this layer with another portion of the coffee syrup, pipe another sturdy buttercream barrier around its edge, and then spread the remaining half of the coffee ganache evenly within this barrier.
- **Third Layer and Initial Chill:** Carefully position the third and final cooled cake layer on top of the ganache. Generously soak this top layer with the last of the coffee syrup. Now, place the entire layered cake into the refrigerator for a minimum of 10-15 minutes. This initial chilling period is vital for allowing the fillings to set slightly, which makes the subsequent frosting steps much easier, cleaner, and helps to stabilize the entire cake structure.
- **The Essential Crumb Coat:** Retrieve the chilled cake from the refrigerator. Apply a very thin, even layer of the remaining mascarpone buttercream all over the top and sides of the cake. This is known as a “crumb coat,” and its primary purpose is to trap any loose cake crumbs, preventing them from mixing into your final, pristine frosting layer. Once the crumb coat is applied evenly, return the cake to the fridge for another 15-20 minutes to allow this thin layer to firm up completely.
- **Final Frosting and Decoration:** Once the crumb coat is firm, take the cake out of the fridge. Apply the remaining mascarpone buttercream to the top and sides of the cake, creating your desired smooth and even finish. For a classic and elegant tiramisu look, fit a piping bag with a star tip (or your preferred decorative tip) and pipe intricate concentric circles or beautiful decorative swirls on the top of the cake. For the final, signature tiramisu aesthetic, generously sift unsweetened cocoa powder evenly over the piped buttercream on top of the cake. This not only enhances the visual appeal but also adds that characteristic bittersweet touch that defines tiramisu.
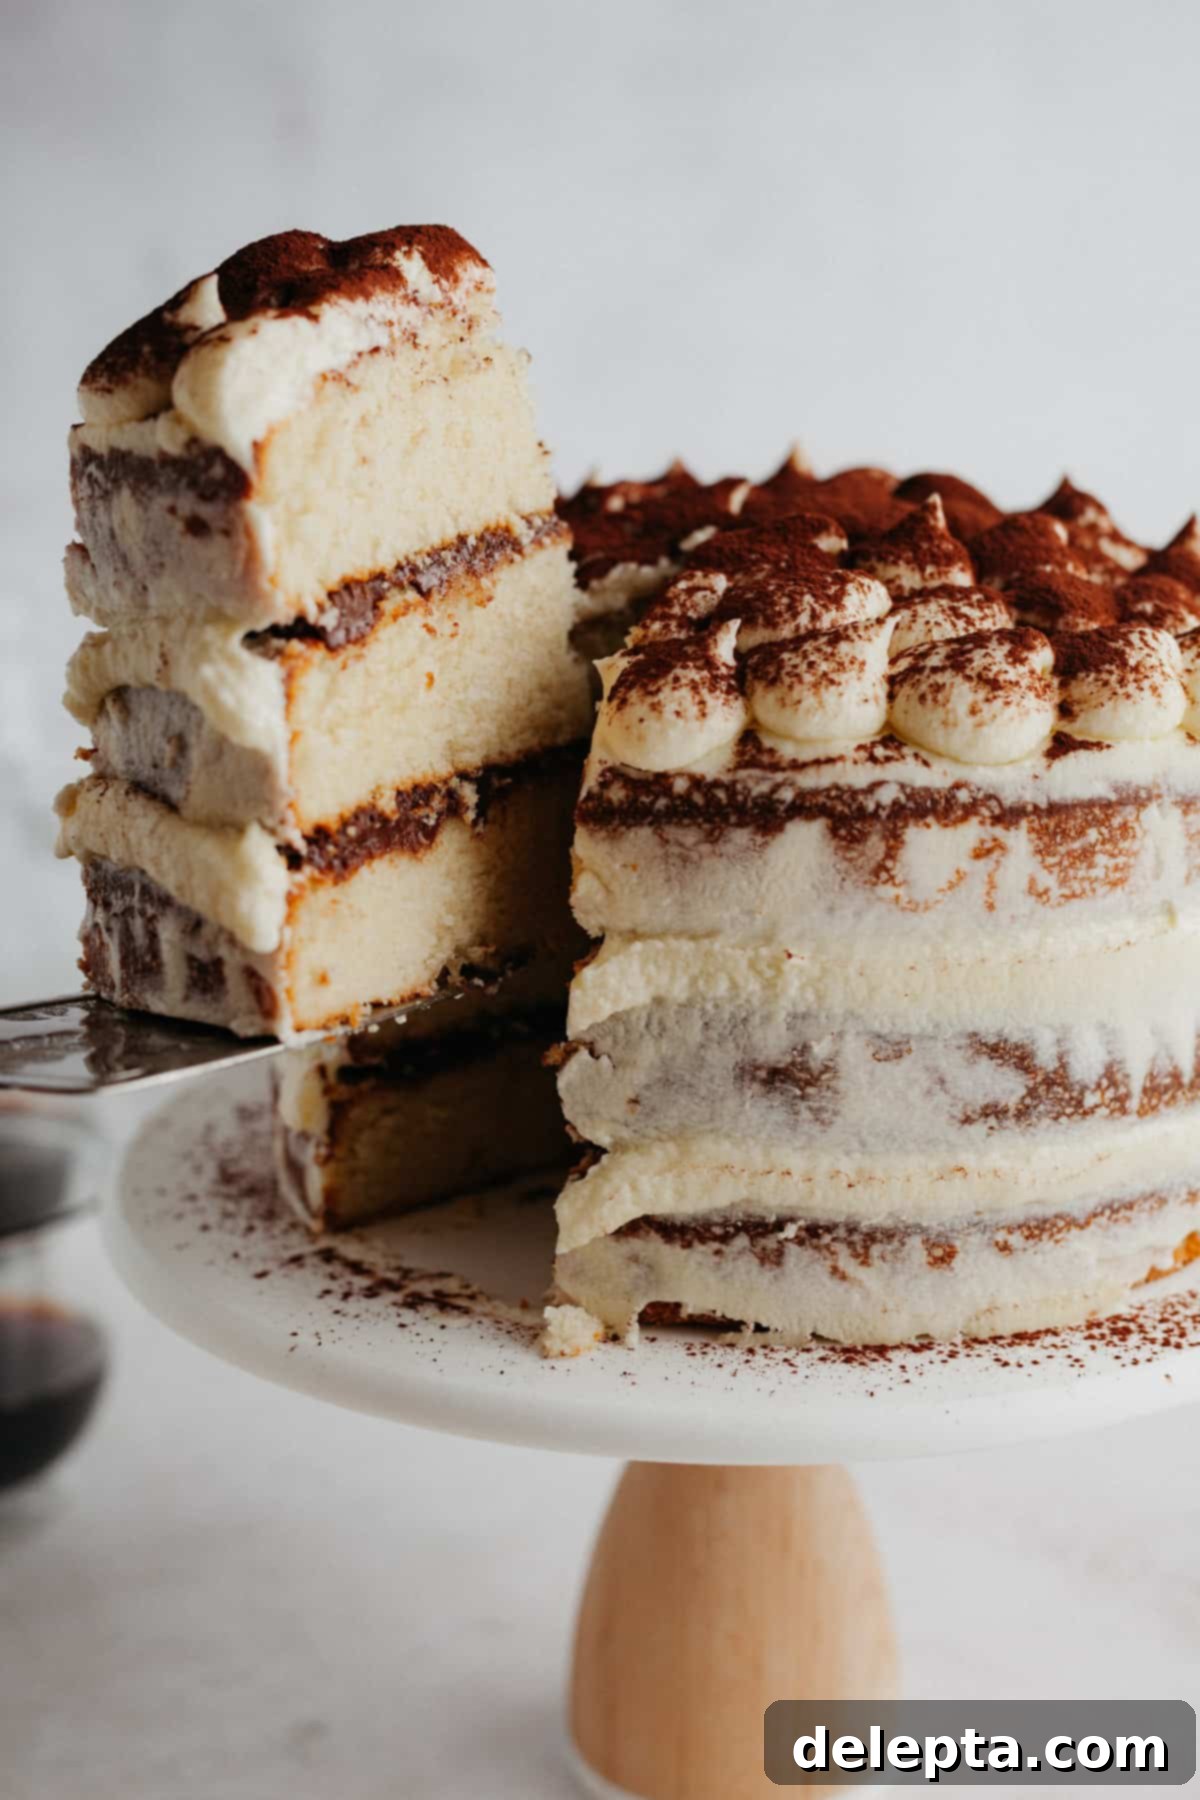
And there you have it! A truly show-stopping Tiramisu Layer Cake, exquisitely crafted and ready to be admired and devoured. For the cleanest, most precise slices and optimal enjoyment, I highly recommend chilling the decorated cake for at least 30 minutes to an hour after decorating before serving. Enjoy the fruits of your labor!
Craving More Layer Cake Delights? Explore These Recipes!
If you’ve fallen in love with the artistry, satisfaction, and sheer deliciousness of baking and enjoying layer cakes, you’re absolutely in for a treat! Our carefully curated collection features a variety of other stunning and incredibly flavorful layered creations that are sure to captivate your palate and become your new go-to favorites. Expand your baking repertoire and delight your family and friends with these irresistible recipes:
- **Zesty Chocolate Orange Cake:** Experience a vibrant and utterly delicious combination of rich, dark chocolate and bright, tangy orange zest, expertly layered for an unforgettable taste experience that’s both comforting and refreshing.
- **Decadent Chocolate Peanut Butter Layer Cake:** Indulge in the ultimate pairing of creamy, savory peanut butter and deep, luxurious chocolate in a multi-layered masterpiece. This cake is an absolute dream come true for any peanut butter enthusiast and a guaranteed crowd-pleaser.
- **Delightful Blueberry Jam Cake:** Discover a charming and beautifully balanced cake featuring sweet and subtly tart blueberry jam nestled between tender, moist layers. This recipe offers a wonderful burst of summery fruit flavor, perfect for any time of year.
We absolutely adore seeing your magnificent baking creations! Once you’ve crafted this incredible Tiramisu Layer Cake, make sure to share your masterpiece by tagging us on Instagram @alpineella and leaving a review below to share your experience and any helpful tips with other passionate bakers. Your feedback is truly invaluable and inspires our community! For even more delectable baking inspiration, creative ideas, and gorgeous food photography, be sure to follow us on Pinterest. Happy baking, and we can’t wait to see what you create!
Printable Recipe Card: Tiramisu Layer Cake
Tiramisu Layer Cake
Ella Gilbert
Pin Recipe
Save RecipeSaved!
Equipment
-
3 x 8″ cake tins
-
Stand mixer or electric hand mixer
-
Saucepans (small and medium)
-
Whisk and spatulas
-
Piping bag and star tip
Ingredients
Yellow Cake
- 383 grams all-purpose flour
- 85 grams unsalted butter
- 340 grams milk
- 6 large eggs room temperature
- 113 grams neutral oil e.g., sunflower, vegetable, canola
- 595 grams granulated sugar
- 1 tablespoon baking powder
- 2 teaspoon kosher salt
- 1 ½ tablespoon vanilla extract
- ¼ teaspoon almond extract
Coffee Syrup
- 35 grams dark brown sugar
- 210 ml hot coffee or espresso, strong brewed
- 1 tablespoon brandy (optional, for added depth)
Coffee Ganache
- 170 grams dark chocolate finely chopped (good quality)
- 180 ml heavy cream
- 1 tablespoon hot coffee or espresso
Mascarpone Buttercream
- 226 grams unsalted butter room temperature, high-quality European style preferred
- 226 grams mascarpone room temperature
- 454 grams confectioners’ sugar sifted, also known as icing sugar
- ½ teaspoon vanilla extract
- 1 teaspoon almond extract
- ¼ teaspoon kosher salt
- 3 tablespoon unsweetened cocoa powder for dusting on top
Instructions
Make the Yellow Cake Layers
-
Preheat your oven to 325°F/165°C. Prepare three 8-inch round cake pans by greasing them thoroughly and lining the bottoms with parchment paper. Lightly grease the parchment paper as well to ensure easy release.
-
In a small bowl, whisk together the measured all-purpose flour, kosher salt, and baking powder until thoroughly combined and lump-free. Set this dry mixture aside.
-
In a larger mixing bowl, using a stand mixer fitted with a whisk attachment (or an electric hand mixer), beat the room temperature eggs, vanilla extract, granulated sugar, and almond extract on medium-high speed for 2-3 minutes. Continue beating until the mixture is thick, pale yellow, and creates ribbons when the whisk is lifted, indicating sufficient aeration.
-
Reduce the mixer speed to low. Gradually add the reserved dry ingredients to the wet mixture, mixing just until they are incorporated and no streaks of flour remain. Be careful not to overmix, as this can lead to a tough cake.
-
In a small saucepan, heat the milk over medium heat until it just begins to simmer around the edges. Remove from heat and stir in the neutral oil and unsalted butter until the butter has completely melted and the mixture is smooth and emulsified.
-
With the stand mixer on low speed, slowly and steadily pour the warm milk mixture into the cake batter. Continue mixing just until the batter is smooth and well combined, taking care not to overmix.
-
Evenly divide the cake batter among the three prepared pans (approximately 605g each for precise layers). Bake for 35-40 minutes, or until a wooden skewer inserted into the center of a cake comes out clean. Let the cakes cool in their pans for 15 minutes before carefully inverting them onto a wire rack to cool completely to room temperature. This is crucial before frosting to prevent any melting.
Prepare the Coffee Syrup
-
In a measuring jug or heatproof bowl, combine the hot coffee (or espresso), dark brown sugar, and optional brandy. Stir thoroughly until all the sugar has completely dissolved. Set aside and allow the coffee syrup to cool completely to room temperature before using on the cake layers.
Make the Coffee Ganache
-
Place the finely chopped dark chocolate in a clean, heat-safe bowl. In a small saucepan, heat the heavy cream to a gentle simmer (small bubbles around the edge). Pour the hot cream over the chopped chocolate, along with the hot coffee (or espresso). Let the mixture sit undisturbed for 5-10 minutes to allow the chocolate to melt. Then, whisk gently from the center until the ganache is smooth, glossy, and fully emulsified. Allow it to cool to room temperature until it reaches a thick, spreadable consistency, perfect for filling your cake.
Whip Up the Mascarpone Buttercream
-
In the bowl of a stand mixer fitted with a paddle attachment, beat the softened room temperature unsalted butter and mascarpone cheese together on medium speed until well combined and smooth, with no lumps (about 1-2 minutes). Reduce the mixer speed to low and gradually add the sifted confectioners’ sugar. Once incorporated, increase the speed to medium-high and beat until the buttercream is smooth. Add the vanilla extract, almond extract, and kosher salt. Continue beating on medium-high speed for another 2-3 minutes until the buttercream is light, fluffy, and voluminous. Use this buttercream immediately for best results.
Assemble Your Tiramisu Layer Cake
-
Place your first fully cooled cake layer onto your desired cake stand or serving plate. Generously brush or spoon a portion of the cooled coffee syrup over the top surface of this layer, ensuring it is well soaked. Using a piping bag filled with some of the mascarpone buttercream, pipe a firm barrier ring around the entire edge of the cake layer. This “dam” will hold the ganache in place. Spread half of the coffee ganache evenly within this buttercream barrier using an offset spatula. Gently place the second cake layer on top and repeat the process of soaking, piping a buttercream barrier, and spreading the remaining half of the coffee ganache. Top with the third and final cake layer, soaking it generously with the last of the coffee syrup. Place the entire layered cake into the refrigerator for at least 10-15 minutes to allow the fillings to set slightly.
-
Retrieve the chilled cake. Apply a thin, even layer of the remaining mascarpone buttercream all over the top and sides of the cake. This is your “crumb coat,” designed to seal in any loose crumbs and create a smooth base for your final frosting. Return the cake to the refrigerator for another 10-15 minutes to allow the crumb coat to firm up completely.
-
Once the crumb coat is firm, apply the final layer of mascarpone buttercream to achieve your desired smooth finish. For decoration, fit a piping bag with a star tip (or your preferred decorative tip) and pipe elegant concentric circles or decorative swirls on top of the cake. For the classic tiramisu aesthetic, generously sift unsweetened cocoa powder over the piped buttercream on top of the cake. Chill the cake for at least 30 minutes before serving for the cleanest slices.
Notes
**Butter Type:** For the best flavor and texture, I use high-quality European-style unsalted butter, such as Kerrygold, in all my recipes. Its higher butterfat content contributes to a significantly creamier and richer finished product.
**Salt Adjustments:** If you do not have kosher salt, you can substitute it with fine table salt, but remember to halve the amount specified in the recipe. A good conversion is 1 teaspoon of kosher salt to ½ teaspoon of fine salt.
**Storage Instructions:** To maintain its exquisite taste and texture, store your Tiramisu Layer Cake in the refrigerator. It will keep well in an airtight container for up to 3-4 days. For optimal serving, allow it to sit at room temperature for about 20-30 minutes before slicing to let the buttercream soften slightly.
