The Ultimate 5-Minute Red Velvet Mug Cake: Your Quick & Easy Microwave Dessert for One
Craving something sweet but don’t want to bake an entire cake? This incredibly easy Red Velvet Mug Cake is the perfect solution for a single serving of pure deliciousness! In just 5 minutes, from gathering your ingredients to the first delightful bite, you can whip up a warm, moist, and perfectly portioned dessert. What makes it even better is that you likely already have all 10 essential ingredients in your pantry, making spontaneous dessert moments a breeze. Say goodbye to complicated recipes and lengthy cleanup – this mug cake is designed for ultimate convenience and instant gratification.

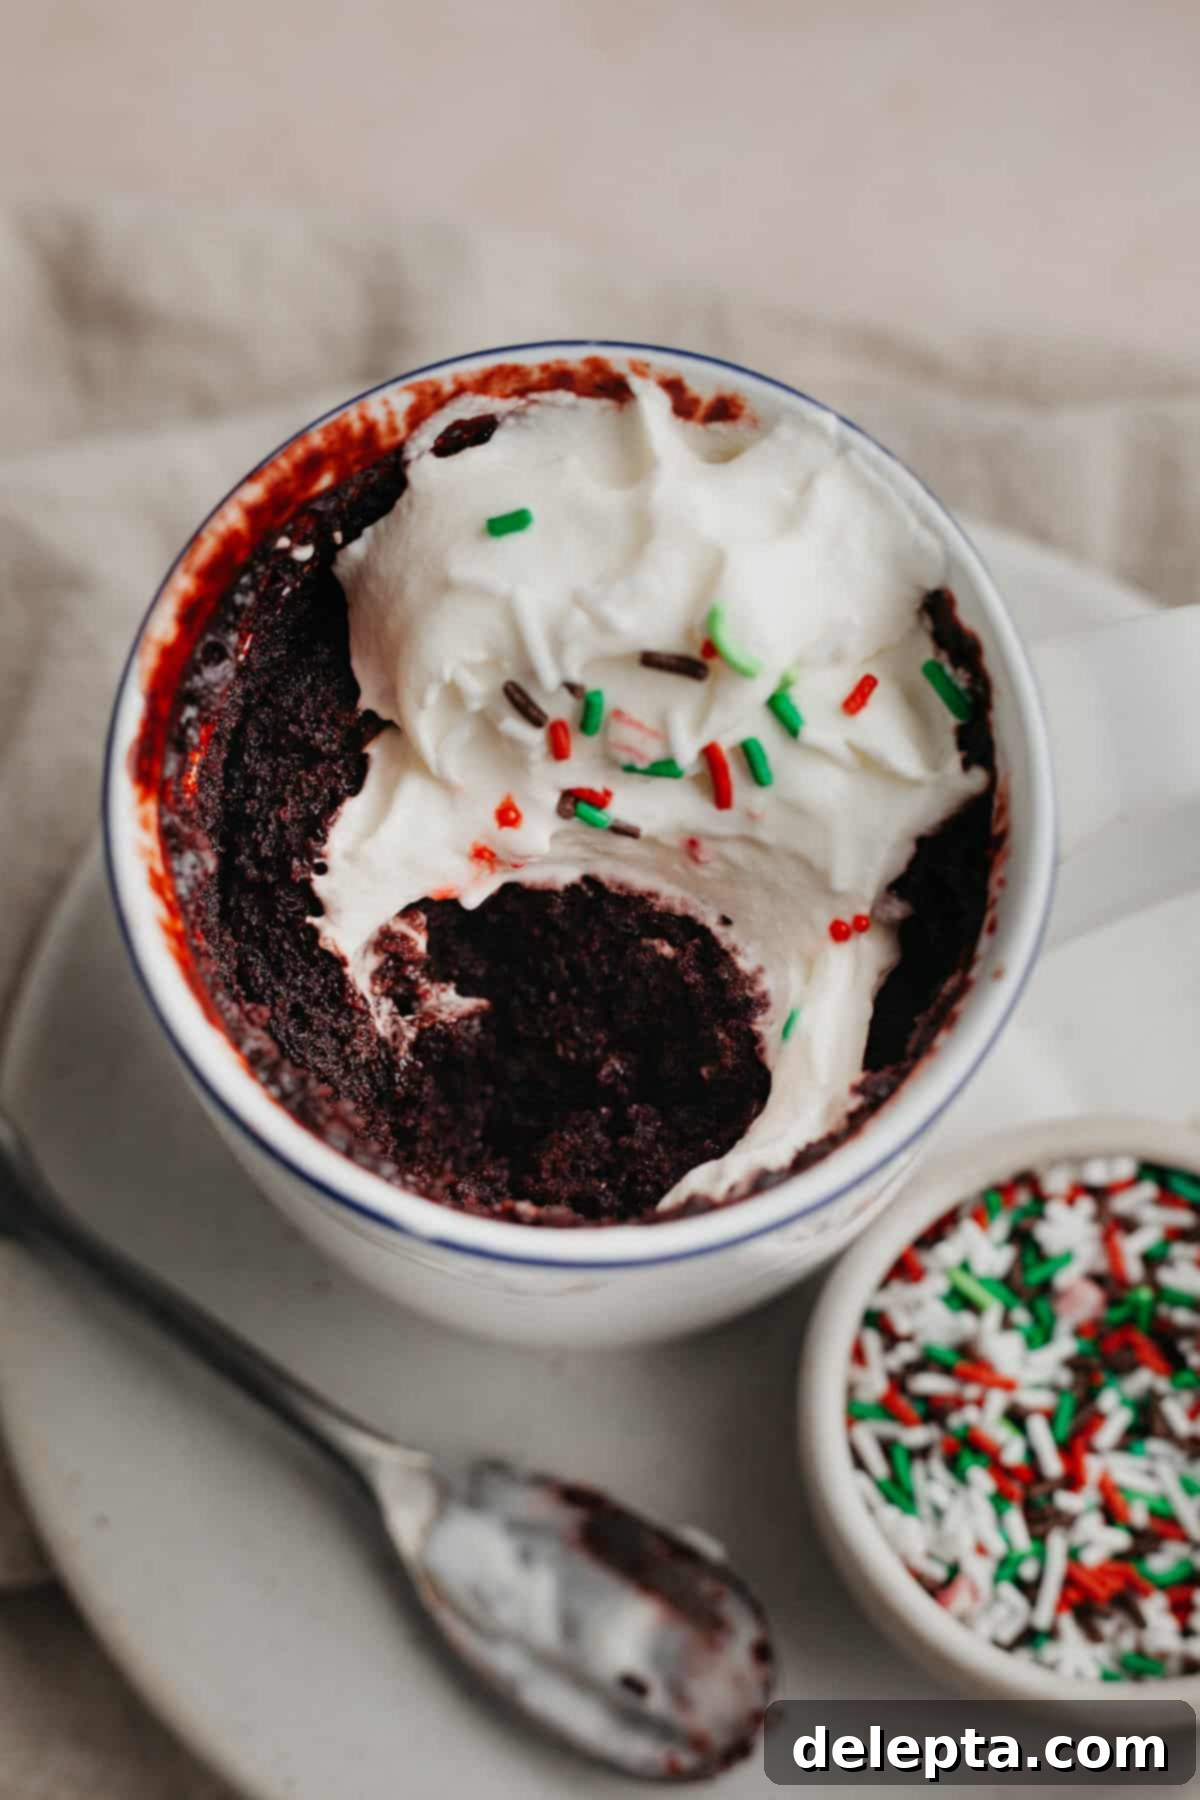
While this red velvet mug cake is fantastic on its own, a generous dollop of whipped cream elevates it to a truly decadent treat. The cool, creamy topping provides a wonderful contrast to the warm, fluffy cake. For those who love a different kind of sweet indulgence, consider adding toasted marshmallows, much like the delightful combination found in a hot cocoa mug cake. The possibilities for customization are endless, allowing you to tailor this quick dessert to your exact preferences.
Discover the Magic of This Red Velvet Mug Cake Recipe!
This red velvet mug cake isn’t just a dessert; it’s a testament to how simple and satisfying baking can be, even for one. Here’s why you’ll love it:
- Effortless Preparation, Minimal Cleanup: One of the standout features of this recipe is its incredible ease. The entire process, from mixing to microwaving, happens directly in your mug. This means no extra bowls to wash, no multiple spatulas to scrub, and virtually no mess. It’s the ideal dessert for busy evenings or when you just want a sweet treat without the hassle of a full baking session.
- Simple Steps for Perfect Results: The method couldn’t be more straightforward. You simply whisk your dry ingredients together in the mug, then incorporate the wet ingredients until a smooth batter forms. There’s no complex folding, no precise timing, just a quick stir and it’s ready for the microwave. This makes it a fantastic recipe for beginner bakers or anyone looking for a foolproof dessert.
- Perfectly Portioned for One: This recipe is specifically designed to yield one ideal serving, making it perfect for solo indulgence. No more worrying about leftover cake going stale or the temptation of an entire dessert sitting on your counter. However, if you’re feeling generous or want a larger treat, the recipe is easily doubled or even tripled to make multiple mug cakes simultaneously.
- Iconic Red Velvet Hue: Achieve that signature vibrant red color by adding a few drops of red food gel to the batter just before cooking. The deep, rich color is not only visually appealing but also adds to the classic red velvet experience, making your microwave cake feel extra special.
- Moist and Fluffy Texture: Despite its quick cooking time, this mug cake boasts an incredibly moist and fluffy texture, characteristic of a well-made red velvet cake. The combination of oil and vinegar in the batter contributes to its delightful tenderness and light crumb.
- Customizable to Your Liking: While delicious as is, this mug cake serves as a fantastic base for various toppings and mix-ins. Whether you prefer a classic cream cheese frosting, a scoop of vanilla ice cream, or a sprinkle of chocolate chips, you can easily personalize your dessert.
Key Ingredients for Your Red Velvet Mug Cake
Find the complete list of ingredients with precise measurements and detailed instructions on the printable recipe card located at the very bottom of this post.

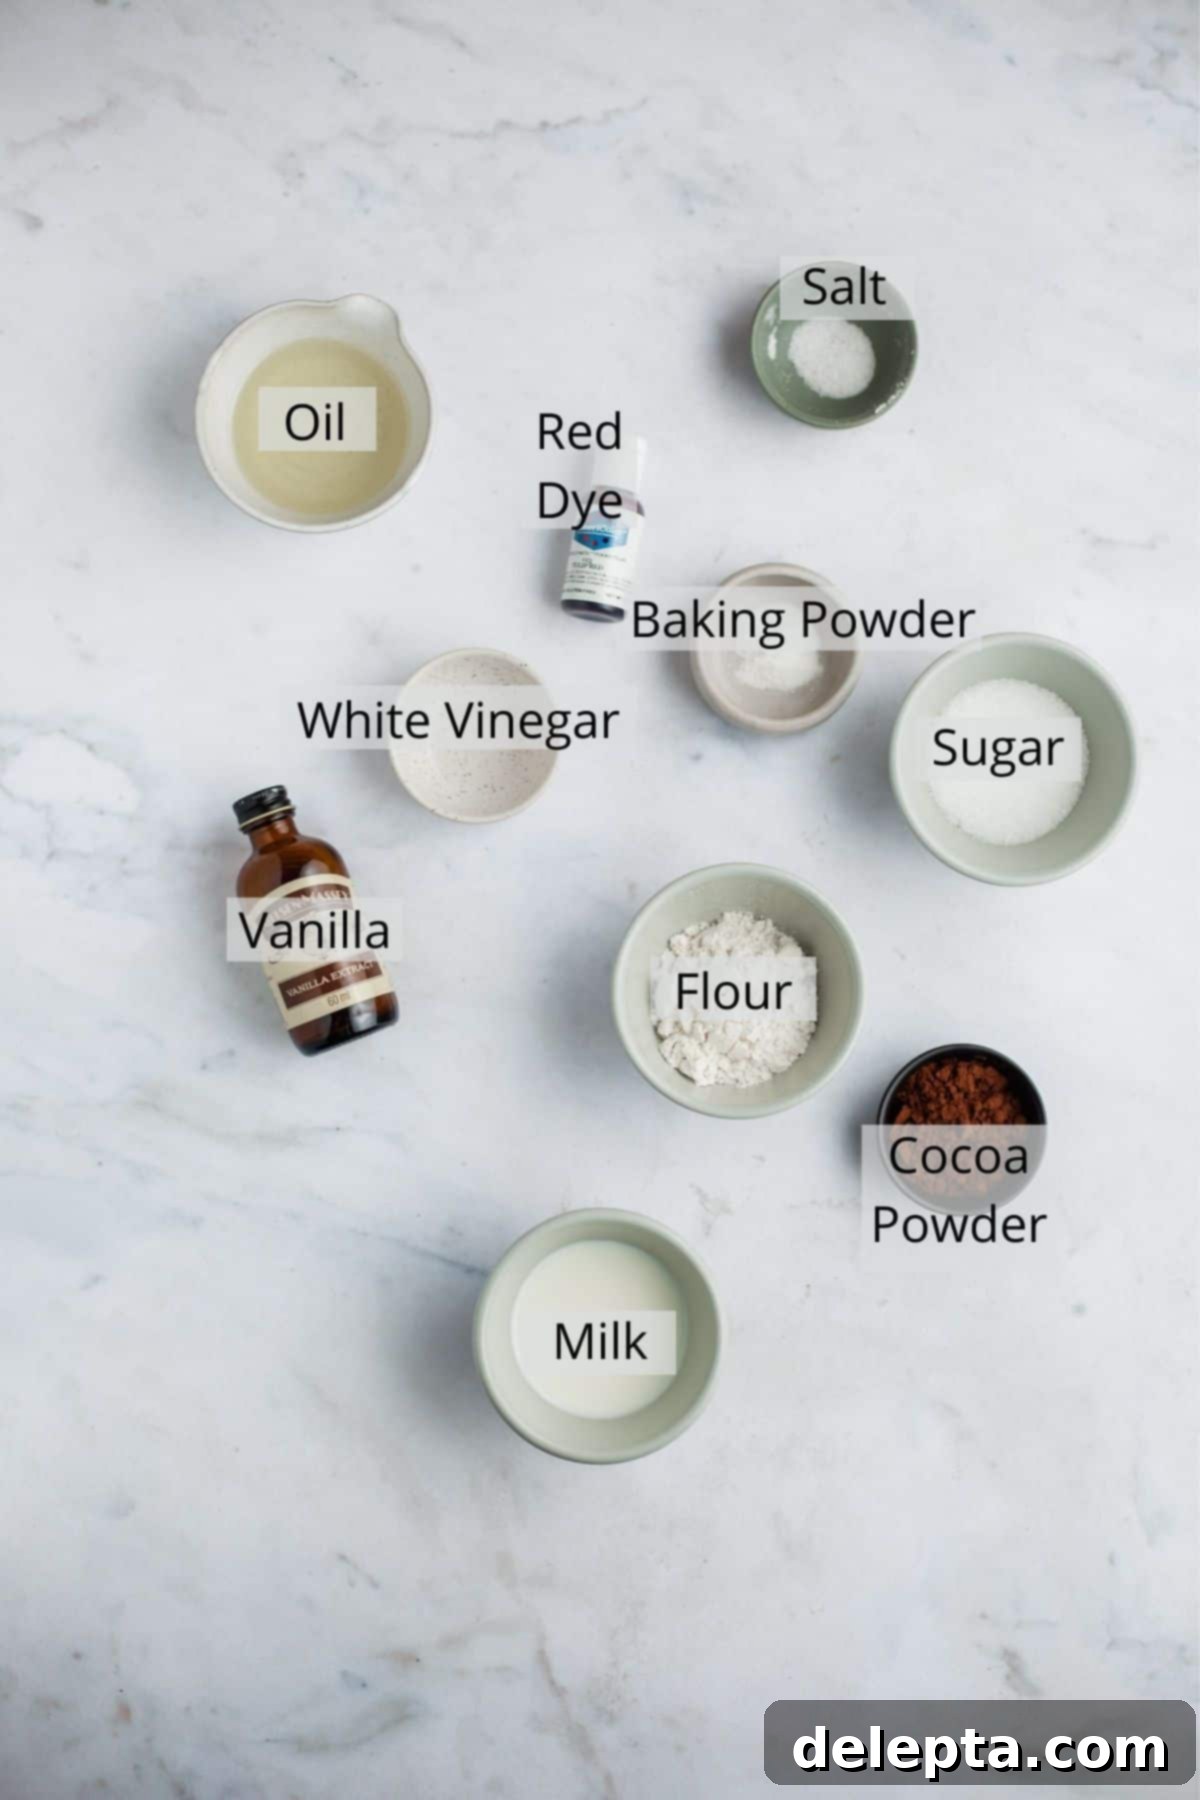
Every ingredient in this red velvet mug cake plays a crucial role in achieving its perfect flavor, texture, and iconic color. Here’s a closer look at what you’ll need and why:
- All-Purpose Flour: This forms the foundational structure of our cake. Regular all-purpose flour works beautifully, providing a tender crumb that holds up well in a microwave cake. For a gluten-free option, a 1:1 gluten-free baking flour blend can often be substituted, though results may vary slightly.
- Neutral Oil: Using a neutral-flavored oil such as vegetable oil, canola oil, or rapeseed oil is key for a super fluffy and moist mug cake. Oil contributes moisture without solidifying when cooled, keeping the cake tender. Unlike butter, which can make microwave cakes dense, neutral oil ensures a light and airy texture.
- Dutch-Processed Cocoa Powder: This recipe specifically calls for Dutch-processed cocoa powder. Dutch-processed cocoa has been treated with an alkali to reduce its acidity, resulting in a darker color and a milder, less bitter chocolate flavor compared to natural cocoa. Not sure what kind you have? Check the ingredient list! If it mentions ‘alkali’ or ‘acidity regulators,’ you’re good to go with Dutch process. This type of cocoa also reacts differently with baking soda, affecting the cake’s rise and overall flavor profile, contributing to the distinct red velvet taste.
- Red Food Dye (Gel Recommended): The vibrant red hue is non-negotiable for a true red velvet cake. While liquid food coloring can work, I highly recommend using a high-quality red food gel, such as Americolor. Gel food dyes are much more concentrated, meaning you only need a couple of drops to achieve an intense, rich color without thinning the batter. Liquid dyes can require more volume, potentially altering the cake’s consistency.
- Baking Powder: This is our primary leavening agent, responsible for giving the mug cake its lift and airy texture, preventing it from becoming too dense.
- Sugar: Provides sweetness, enhances moisture, and helps with the tender crumb. Granulated sugar is perfect for this recipe.
- Pinch of Salt: A small amount of salt is essential for balancing the sweetness and enhancing the overall flavor profile of the cocoa and vanilla.
- Milk: Adds necessary liquid to the batter, contributing to the cake’s moisture. Any type of milk (dairy or non-dairy) will work well here.
- White Vinegar: This might seem like an unusual addition, but it’s a classic red velvet ingredient! The vinegar reacts with the cocoa powder (especially Dutch-processed) and baking powder to create a distinct flavor, and it also contributes to the cake’s signature velvety texture and slight tang. It helps activate the leavening, ensuring a good rise.
- Vanilla Extract: A splash of vanilla extract deepens the flavor profile, complementing the subtle chocolate notes and rounding out the overall taste.
How to Make Your Easy Red Velvet Mug Cake
Making this red velvet mug cake is incredibly straightforward, perfect for a quick dessert. Follow these simple steps for a warm, delicious treat in minutes:

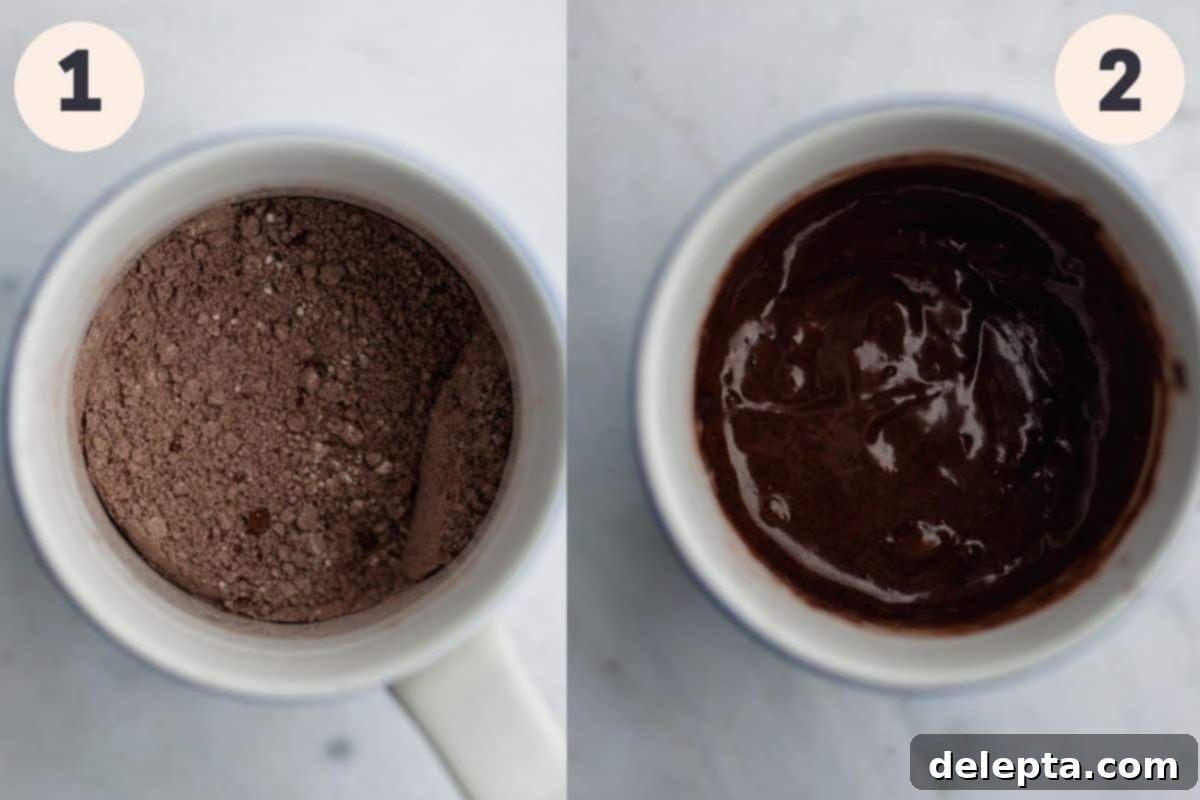
Step 1: Combine the Dry Ingredients
In your chosen microwave-safe mug, add all of the dry ingredients: all-purpose flour, baking powder, sugar, a pinch of salt, and cocoa powder. Use a small whisk or a fork to thoroughly combine these ingredients. It’s crucial to whisk them well to ensure there are no lumps and that the leavening agent (baking powder) is evenly distributed throughout the mixture. This step ensures a consistent texture and rise in your finished cake.
Step 2: Incorporate the Wet Ingredients
Once your dry ingredients are lump-free, add the wet ingredients directly into the mug: milk, neutral oil, white vinegar, and vanilla extract. Gently fold and whisk these into the dry mixture until a smooth batter forms. Be sure to scrape the bottom and sides of the mug to eliminate any hidden pockets of dry flour. Overmixing isn’t ideal for cakes, but for a mug cake, a few extra stirs to ensure no dry spots remain is fine. The batter should be smooth and cohesive.

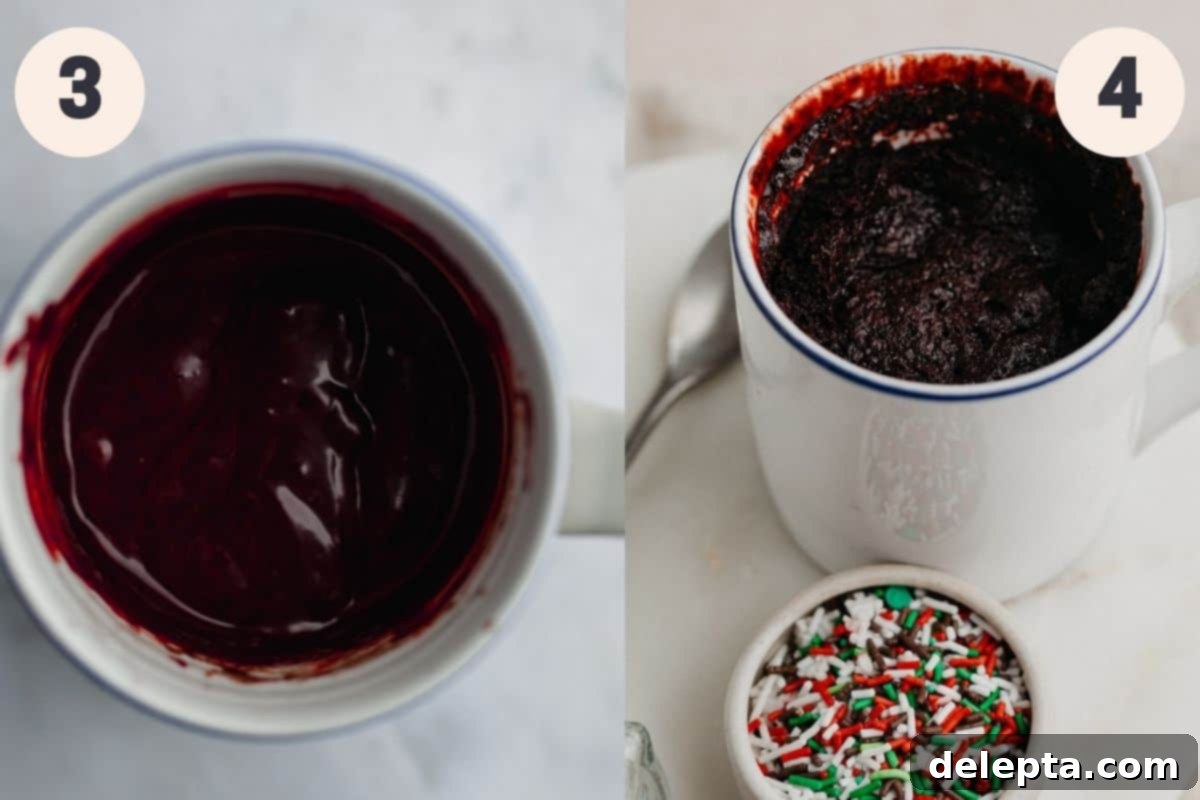
Step 3: Add the Red Food Dye
Now for the signature red velvet color! Add a few drops of your red food gel (or liquid dye) to the batter. Start with a small amount and mix thoroughly until the color is evenly distributed and reaches your desired vibrancy. Depending on the brand and type of food coloring, you might need to add a bit more to achieve that intense, rich red hue. Keep mixing until there are no streaks of uncolored batter.
Step 4: Microwave and Bake
Place your mug containing the batter into the microwave. Cook on high for approximately 1 minute and 30 seconds to 2 minutes. Microwave cooking times can vary significantly based on your microwave’s wattage. Higher wattage microwaves will cook faster, so start with the shorter time and check for doneness. The cake should appear set around the edges and slightly firm to the touch in the center. If it’s still gooey, continue microwaving in 15-second intervals until cooked through. A toothpick inserted into the center should come out clean or with moist crumbs, not wet batter.

Step 5: Cool and Enjoy!
Once cooked, carefully remove the hot mug from the microwave. Allow your red velvet mug cake to cool for about 5 minutes before adding any toppings or taking your first bite. This cooling period allows the cake to set further and prevents your beautiful whipped cream (or other toppings) from melting instantly. Then, top it off with your favorite additions and savor your homemade, quick, and easy red velvet treat!
Essential Recipe Tips for a Perfect Mug Cake
Even though mug cakes are incredibly simple, a few expert tips can ensure your red velvet creation turns out perfectly every time:
- Microwave Wattage Varies Greatly: This is perhaps the most critical factor in mug cake success. Microwave wattages differ, meaning cooking times will vary. A higher wattage microwave will cook your cake much faster, while a lower wattage one will take longer. Always start with the minimum recommended cooking time (e.g., 1:30 minutes) and then add 15-30 second increments as needed, checking for doneness each time. An overcooked mug cake can become dry and rubbery, so keep a close eye on it!
- Choose Your Mug Wisely: Selecting the right mug is crucial to prevent overflows and ensure even cooking. The batter should never fill more than half of your mug; leaving ample space allows the cake to rise without spilling over. A standard 12-14 ounce mug is usually ideal. Also, always double-check that your chosen mug is microwave-safe – avoid mugs with metallic accents, as they can cause sparks.
- Allow for Cooling Before Topping: Patience is a virtue, especially with mug cakes. While tempting to dig in immediately, allowing your mug cake to cool for at least 5 minutes before adding toppings like whipped cream or ice cream is important. If the cake is too hot, your toppings will melt instantly, creating a messy rather than delightful experience. The cooling period also allows the cake’s structure to set, resulting in a better texture.
- Don’t Overmix the Batter: While you want a smooth batter with no flour pockets, avoid overmixing. Overmixing can develop the gluten in the flour too much, leading to a tougher, chewier cake rather than a tender, fluffy one. Mix just until combined.
- Check for Doneness: To confirm your mug cake is fully cooked, insert a toothpick into the center. It should come out clean or with moist crumbs attached. If you see wet batter, continue microwaving in short bursts.
- Serve Immediately: Mug cakes are best enjoyed fresh out of the microwave after a brief cooling period. Their texture can change as they sit, potentially becoming drier or tougher. Fresh is always best!
Frequently Asked Questions About Red Velvet Mug Cakes
While both red velvet and chocolate cake contain cocoa powder, there are distinct differences that set them apart. Red velvet typically uses a smaller amount of cocoa powder compared to a traditional chocolate cake, resulting in a milder chocolate flavor. The key differentiating factor is the addition of an acidic ingredient like vinegar (and often buttermilk, though not in this specific mug cake recipe). This acidity reacts with the baking soda or baking powder, creating a chemical reaction that contributes to the cake’s signature fluffy, tender “velvet” texture and a slight tanginess. Historically, this reaction also enhanced the red hue of natural, non-Dutch-processed cocoa powder, giving rise to the “red” in red velvet.
Absolutely, mug cakes are safe to eat, especially this specific recipe! The main concern with any baked good is typically raw eggs or raw flour. In this red velvet mug cake recipe, no eggs are used, eliminating that common food safety concern. Furthermore, microwaving the batter effectively “heat treats” the flour, ensuring it’s safe for consumption. The rapid cooking process in the microwave cooks the batter thoroughly, making it perfectly safe and delicious to enjoy. Just ensure it’s cooked through by checking with a toothpick!
The beauty of a mug cake is its versatility with toppings! Beyond the classic whipped cream, there are countless delicious options to elevate your red velvet experience. Consider a dollop of cream cheese frosting (the traditional pairing for red velvet!), a scoop of vanilla bean ice cream that will slowly melt into the warm cake, or a drizzle of chocolate fudge sauce. For added texture and flavor, try sprinkles, mini chocolate chips, chopped nuts (like pecans or walnuts), shredded coconut, or even fresh berries (raspberries or strawberries provide a lovely tart contrast). A dusting of powdered sugar is also a simple yet elegant finish.
Try These Other Simple & Delicious Recipes Next!
If you loved the ease and speed of this red velvet mug cake, you’ll definitely want to explore these other fantastic recipes. Perfect for satisfying those quick cravings or trying your hand at more simple bakes!
- Hot Cocoa Mug Cake
- Biscoff Rice Krispie Treats
- Baked Maple Glazed Donuts
- Puff Pastry Cinnamon Twists
Have you tried this irresistible Red Velvet Mug Cake recipe? We’d love to hear from you! Make sure to tag me on Instagram @alpineella and leave a review below to share your delicious creation. If you’re looking for even more simple and delightful baking ideas, don’t forget to follow me on Pinterest for daily inspiration!
Recipe

Red Velvet Mug Cake
Ella Gilbert
Pin Recipe
Save RecipeSaved!
Equipment
-
1 mug
Ingredients
- 3 tablespoons all purpose flour
- ¼ teaspoon baking powder
- 2 tablespoons sugar
- pinch salt
- 3 tablespoons milk
- 1 ½ tablespoons vegetable oil
- ¼ teaspoon white vinegar
- 1 tablespoon cocoa powder
- ¼ teaspoon vanilla extract
- red food coloring
Instructions
-
In a jug or small bowl, whisk together all of the dry ingredients. Make sure there are no lumps.
-
Pour in the wet ingredients and whisk, making sure there are no flour pockets left and the batter is smooth.
-
Pour your batter into your mug. You don’t want the batter to take up over half of the mug, otherwise it will overflow in the microwave.
-
Cook in your microwave for 1-2 minutes, might took about a minute and a half to cook on high but please note that microwaves vary on the wattage.
-
Let cool for about 5 minutes then eat!
Notes
Cooking Time: the cooking time depends on the wattage of your microwave, it can take 1-2 minutes. The higher the wattage, the faster it will cook.
Mug Size: Don’t use a mug that is too small or it will overflow! Ideally the batter should take up about half of the mug before cooking.
Additions: Add sprinkles, whipped cream, or ice cream to your mug cake!
Nutrition
