The Ultimate Comforting Apple Crumble with Homemade Vanilla Custard (A Perfect Fall Dessert)
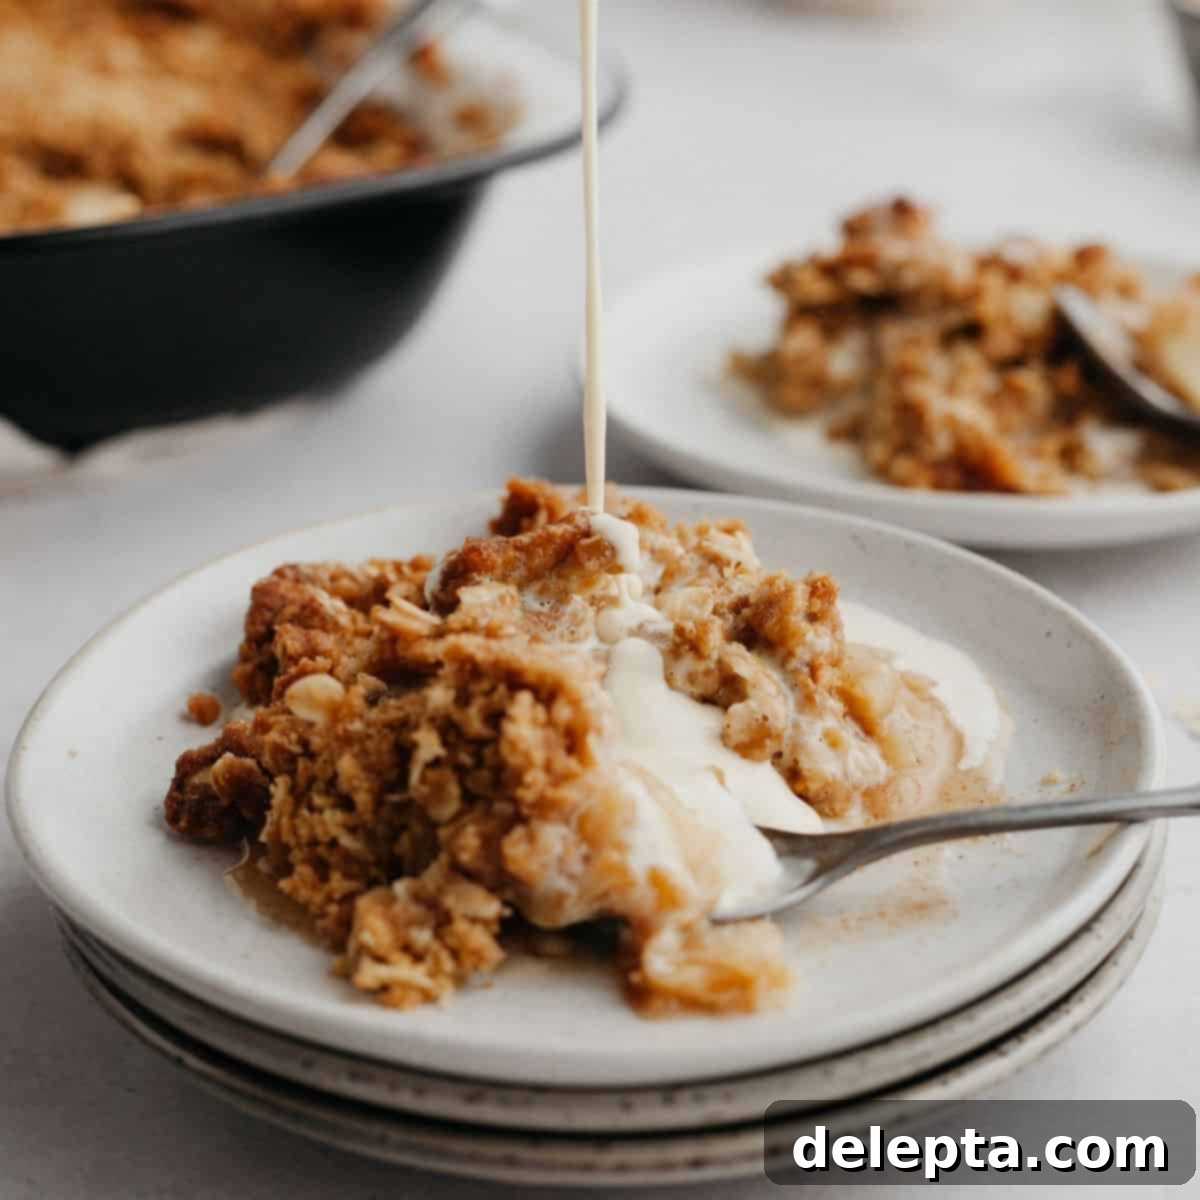
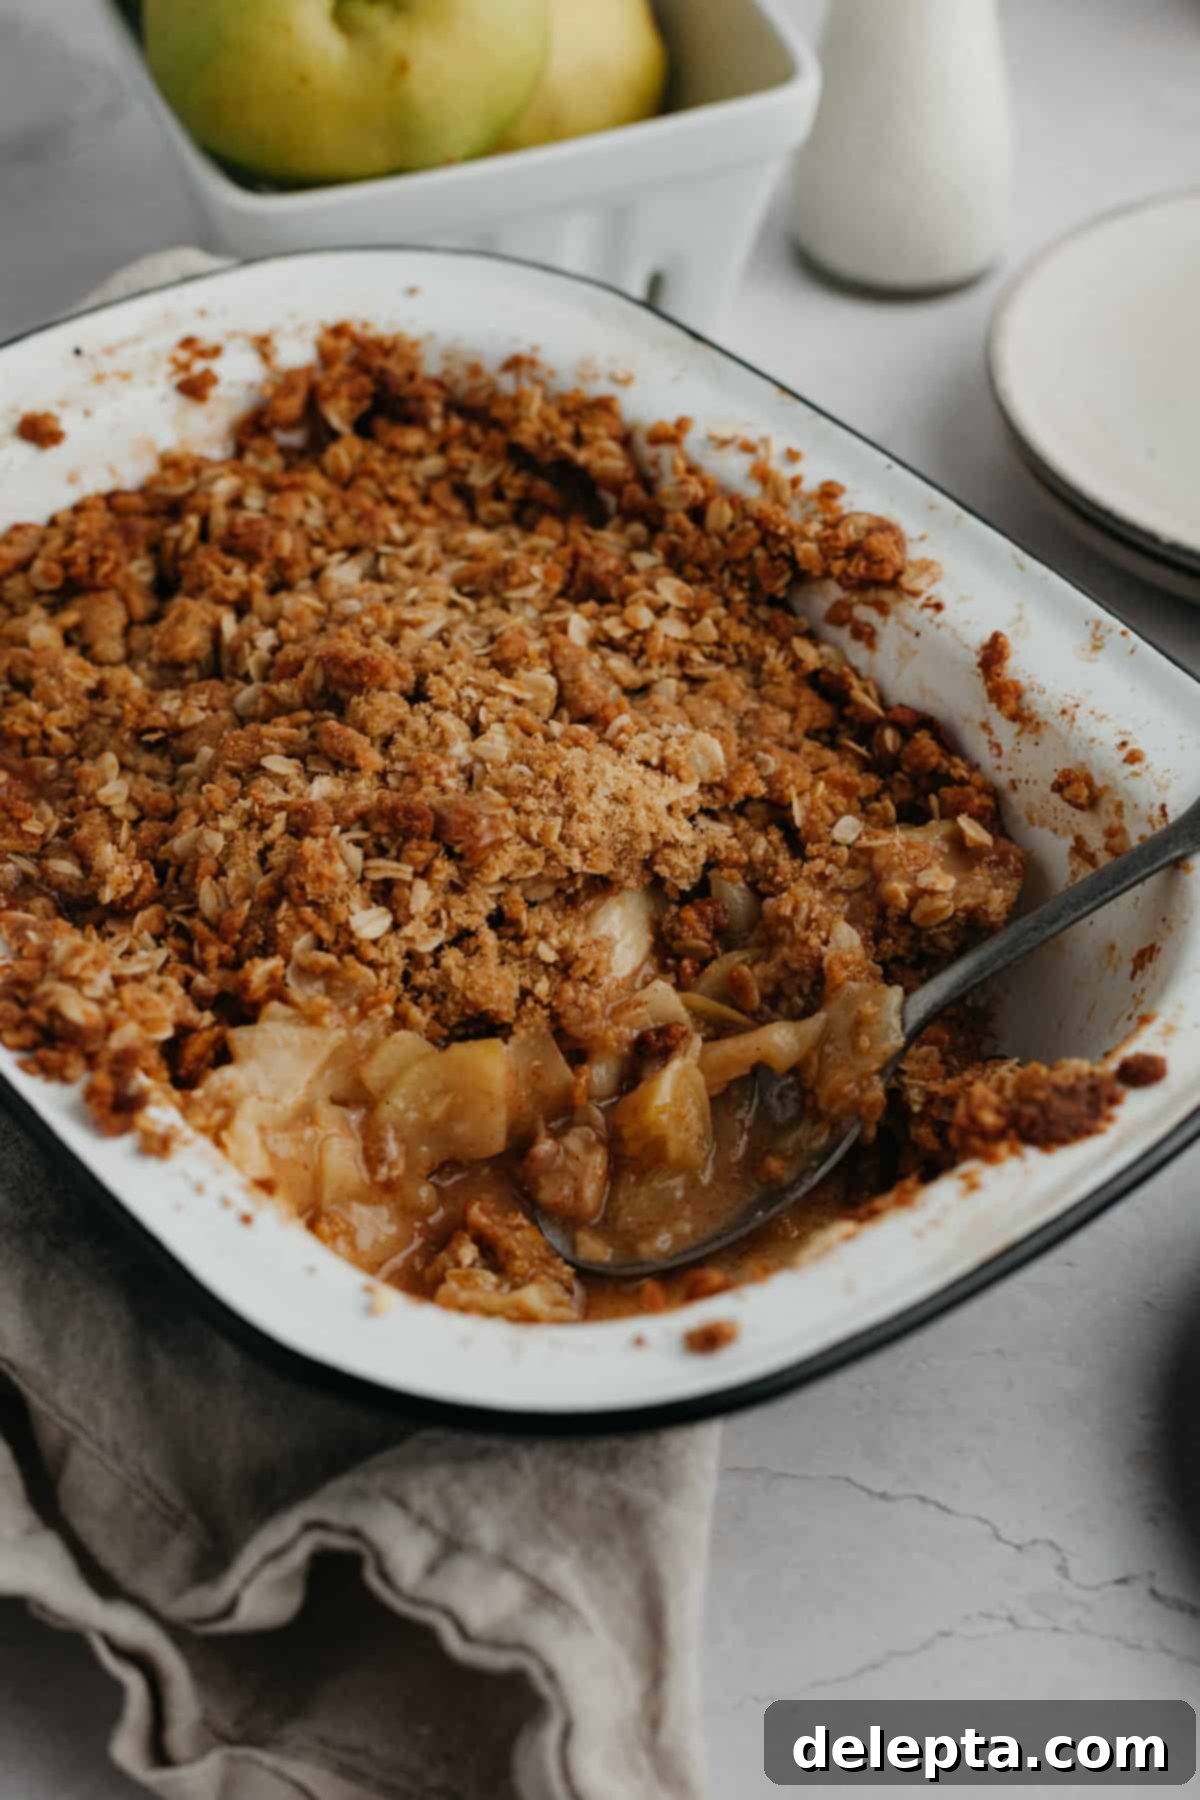
As the leaves begin to turn golden and a crisp chill fills the air, there’s nothing quite like the comforting aroma of a freshly baked apple crumble wafting through your home. This particular recipe for Apple Crumble with Custard is more than just a dessert; it’s an embrace of autumn, a culinary hug that perfectly captures the essence of the season. Featuring tender, spiced apples beneath a gorgeously crunchy oat topping, all generously draped with a silky, homemade vanilla custard, it’s designed to be the ultimate Fall indulgence. The best part? This entire delightful creation can be prepped in just 30 minutes, making it an achievable luxury even on busy days.
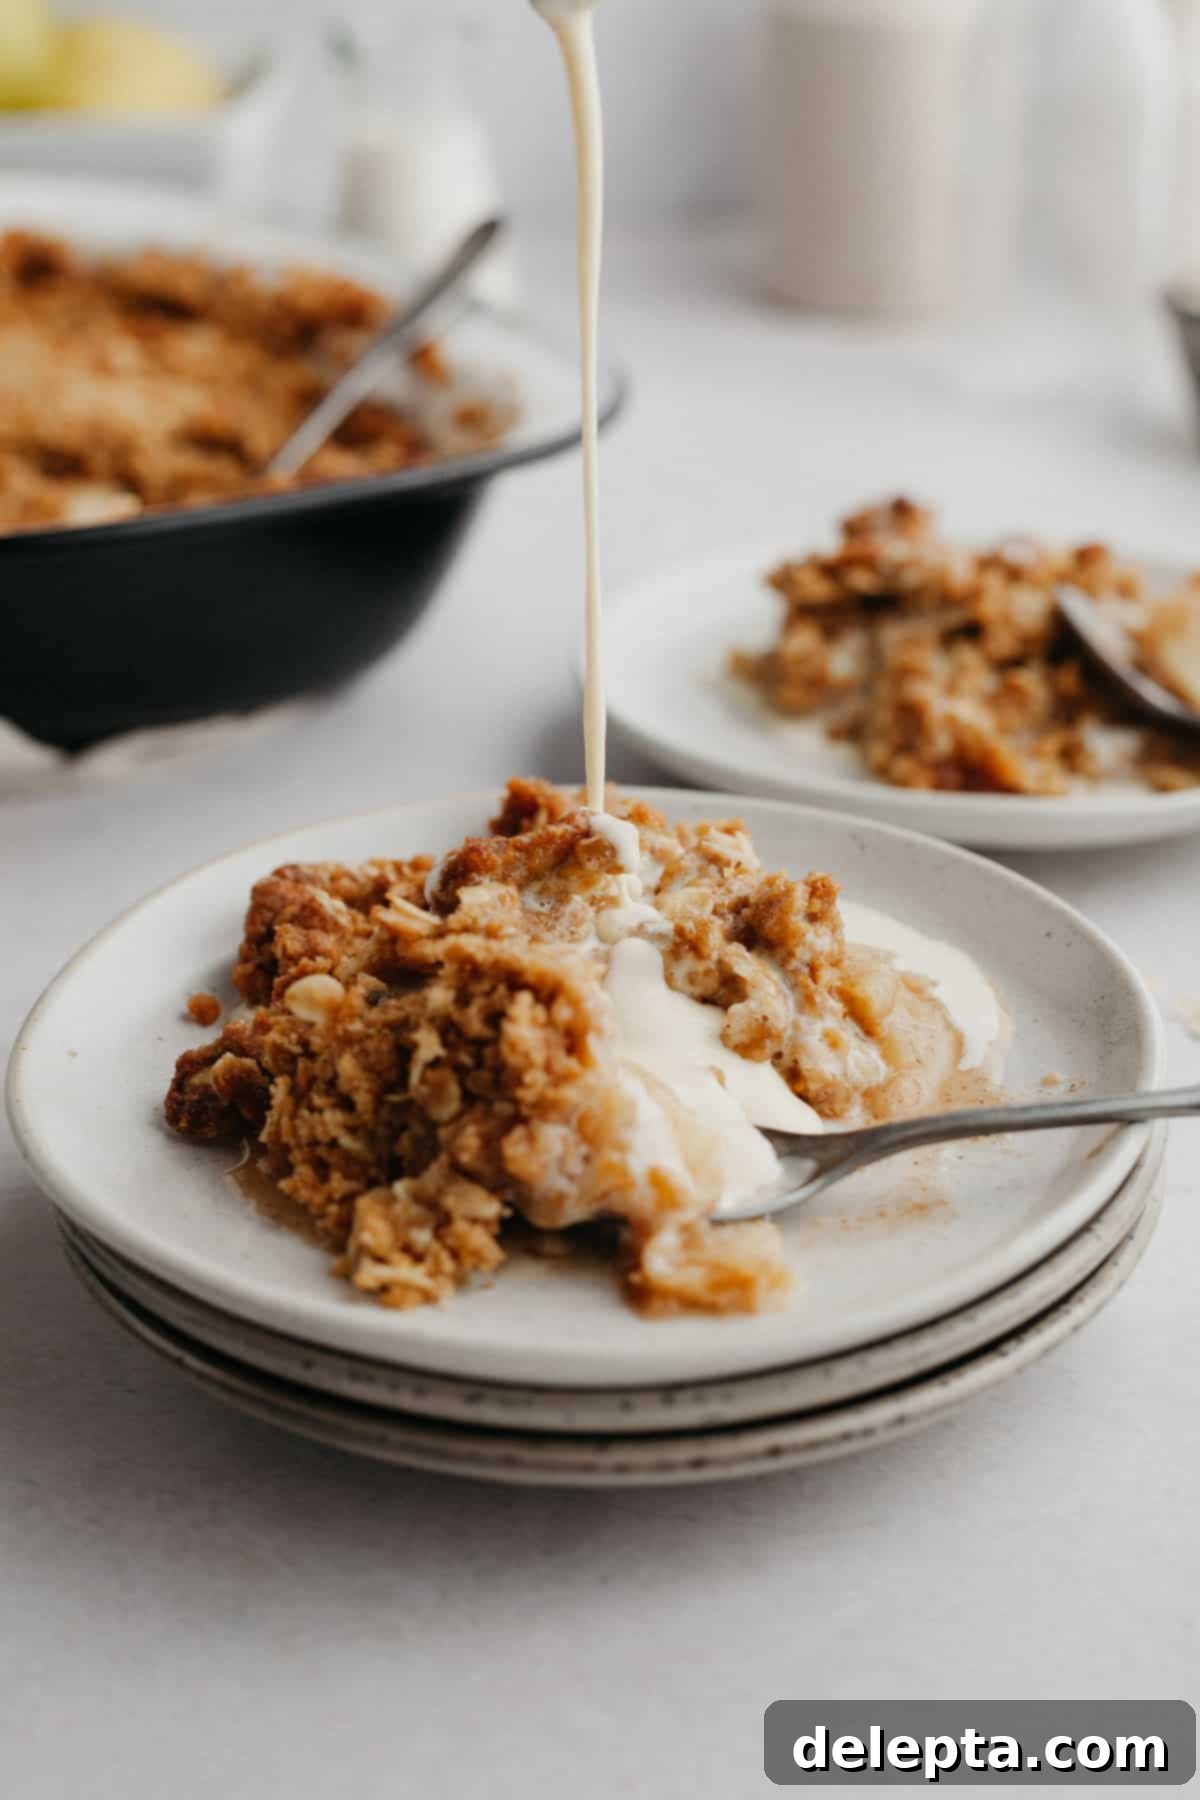
There’s a reason why apple crumble, especially when served with a luscious custard, holds such a special place in the hearts of many, particularly in England. It’s a classic British baking staple, evoking memories of cozy afternoons and family gatherings. This recipe brings that timeless tradition right into your kitchen. The blend of warming cinnamon and fragrant ginger in both the apple filling and the irresistible oat crumble topping creates a harmonious symphony of flavors and textures. Each spoonful offers a perfect balance: the soft, juicy spiced apples, the satisfying crunch of the topping, and the rich, creamy vanilla custard that ties it all together.
Whether you’re a seasoned baker or just starting your culinary journey, you’ll appreciate the simplicity and rewarding outcome of this recipe. It’s designed to be straightforward, allowing you to focus on enjoying the process and the incredible results. Forget complicated techniques or obscure ingredients; this is about wholesome flavors and homemade goodness. Get ready to fill your home with an aroma that epitomizes autumn and create a dessert that will be remembered long after the last bite.
[feast_advanced_jump_to]
Discover the Magic of This Apple Crumble Recipe
This isn’t just another apple crumble recipe; it’s a meticulously crafted guide to creating a truly exceptional dessert. We’ve focused on maximizing flavor, texture, and ease of preparation, ensuring that every component contributes to a truly memorable experience. Here’s a closer look at what makes this recipe stand out:
- Effortless Assembly for Maximum Flavor: The beauty of this apple crumble lies in its incredible simplicity. The apple filling requires nothing more than a quick toss of sliced apples with a blend of aromatic spices. This minimal effort ensures the natural sweetness and tartness of the apples shine through, enhanced by the warming notes of cinnamon and nutmeg. It’s a testament to how simple ingredients can create profound flavors, making it a perfect dessert for any occasion, from a casual weeknight treat to a special holiday gathering.
- The Irresistible Crunchy Oat Topping: A crumble is only as good as its topping, and ours is nothing short of spectacular. Crafted with a generous amount of brown sugar for deep, caramel-like sweetness, combined with fragrant cinnamon and a hint of zesty ginger, this oat topping delivers an unparalleled crunch. The rolled oats provide a wonderful texture and nutty flavor, while the butter binds everything into delightful, irregular crumbs that bake to a golden-brown perfection. It creates a beautiful contrast to the soft apple filling, adding a crucial textural dimension that makes each bite exciting.
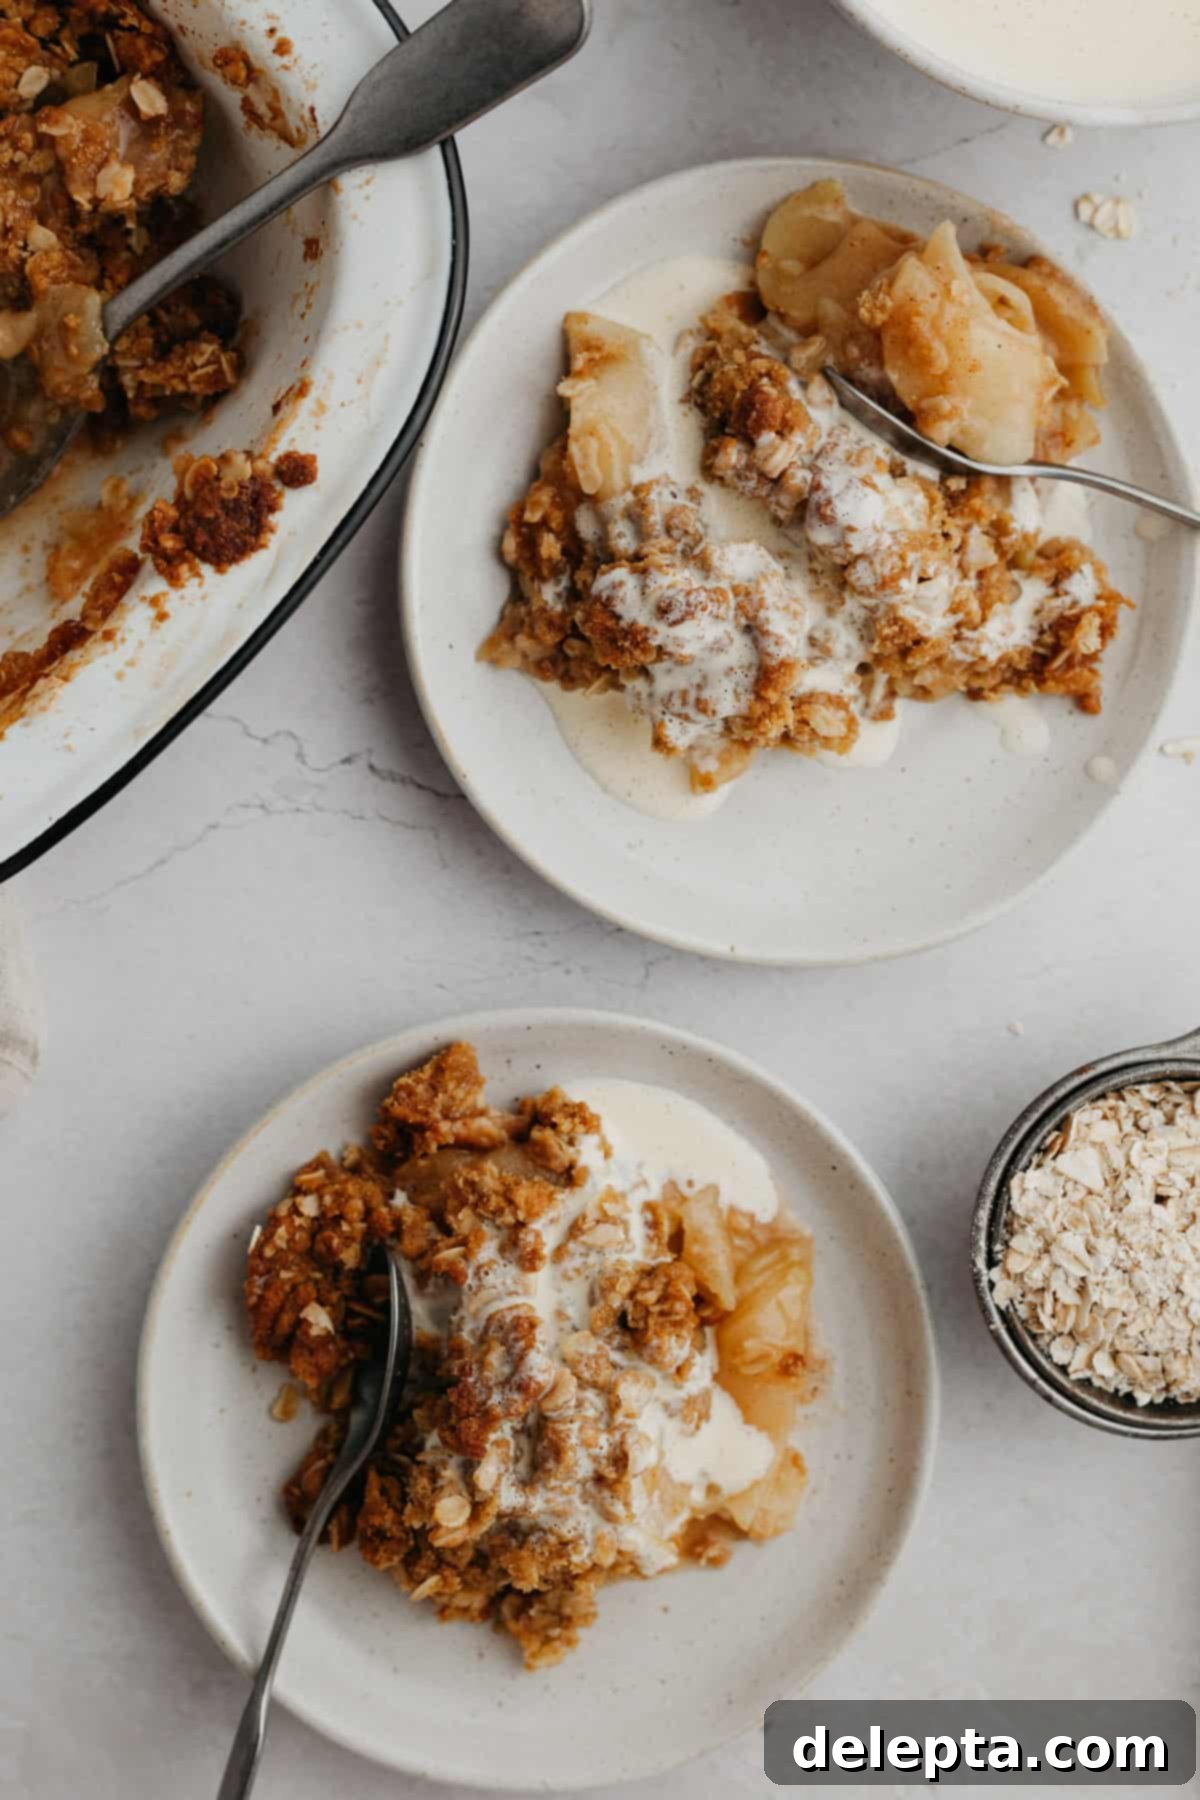
- Versatile Serving Options: While our homemade vanilla custard is undeniably the star pairing for this apple crumble – offering a smooth, creamy counterpoint to the baked fruit and crisp topping – this dessert is incredibly versatile. For those who prefer a different accompaniment, it tastes equally delicious with a scoop of rich vanilla bean ice cream, allowing the warm crumble to melt it into a delightful sauce. Alternatively, a dollop of freshly whipped cream can add a light, airy touch, making it adaptable to various preferences and occasions. No matter your choice, the result is a comforting and satisfying dessert that everyone will adore.
Essential Ingredients for Your Perfect Apple Crumble and Custard
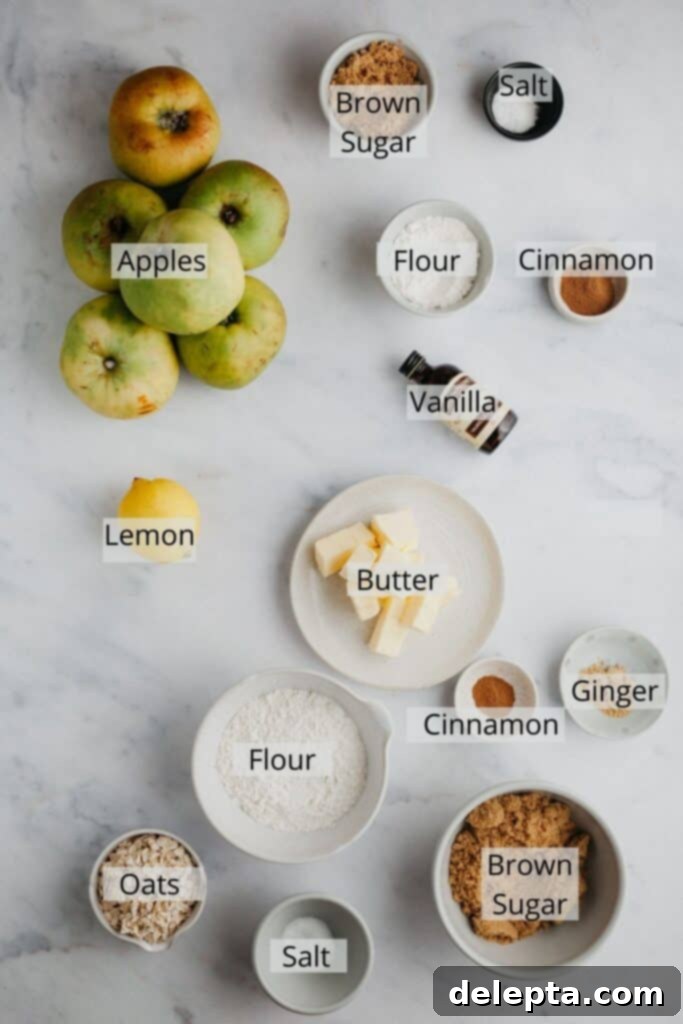
Crafting this delightful apple crumble with custard relies on a few key ingredients, each playing a crucial role in achieving the perfect balance of flavors and textures. We’ve carefully selected components that are readily available and simple to work with, ensuring a successful bake every time. Understanding the purpose of each ingredient will also help you achieve the best results and even inspire variations.
The printable recipe card with the full list of ingredients and instructions can be found at the bottom of this post.
For the Apple Filling:
- Apples: The heart of your crumble! While I often use cooking apples like Bramley for their tartness, which beautifully contrasts with the sweet topping, I’ve also had fantastic results with Granny Smith and Braeburn varieties. Granny Smiths offer a lovely tartness and hold their shape well, while Braeburns provide a sweeter, slightly softer texture. Feel free to experiment with your favorite baking apples; the key is to slice them thinly and evenly for consistent cooking.
- Light Brown Sugar: Adds a subtle molasses flavor and helps to sweeten the apples, creating a rich, caramelized undertone as they bake.
- All-Purpose Flour: A small amount helps to thicken the juices released by the apples during baking, preventing the filling from becoming too watery.
- Vanilla Extract: Enhances the overall aroma and flavor profile of the apple filling, adding a warm, sweet note that complements the spices.
- Spices (Cinnamon, Ginger, Nutmeg): This trio is what truly makes this a “Fall dessert.” Cinnamon is classic, ginger adds a wonderful warmth and slight kick, and nutmeg brings a touch of earthy sweetness. (Apologies that the nutmeg wasn’t pictured above, but it’s definitely included in the recipe for that extra depth!) These spices infuse the apples with an inviting, aromatic warmth.
- Kosher Salt: Just a pinch of salt balances the sweetness and enhances all the other flavors, preventing the crumble from tasting flat.
- Lemon Juice: Brightens the apple flavor, prevents browning, and adds a necessary tart counterpoint to the sweetness of the sugar and topping.
For the Crunchy Oat Topping:
- All-Purpose Flour: Forms the base of the crumble, binding the other ingredients together to create that signature crumbly texture.
- Light Brown Sugar: Essential for a rich, deep sweetness and helps achieve a beautiful golden-brown color and crunchy texture.
- Ground Cinnamon & Ground Ginger: These spices echo the flavors in the apple filling, ensuring a cohesive taste experience. They contribute to the comforting, autumnal profile of the topping.
- Unsalted Butter (cubed and cold): Cold butter is crucial for a crumbly topping. As it bakes, the butter melts, creating pockets of steam that result in a light, crisp texture. Using unsalted butter allows you to control the overall saltiness of the dish.
- Rolled Oats: Adds a fantastic chewy texture and nutty flavor to the topping, making it hearty and satisfying. Old-fashioned rolled oats are preferred for their size and ability to retain texture during baking.
- Kosher Salt: Again, a small amount of salt in the topping enhances its flavor and provides balance.
For the Homemade Vanilla Custard:
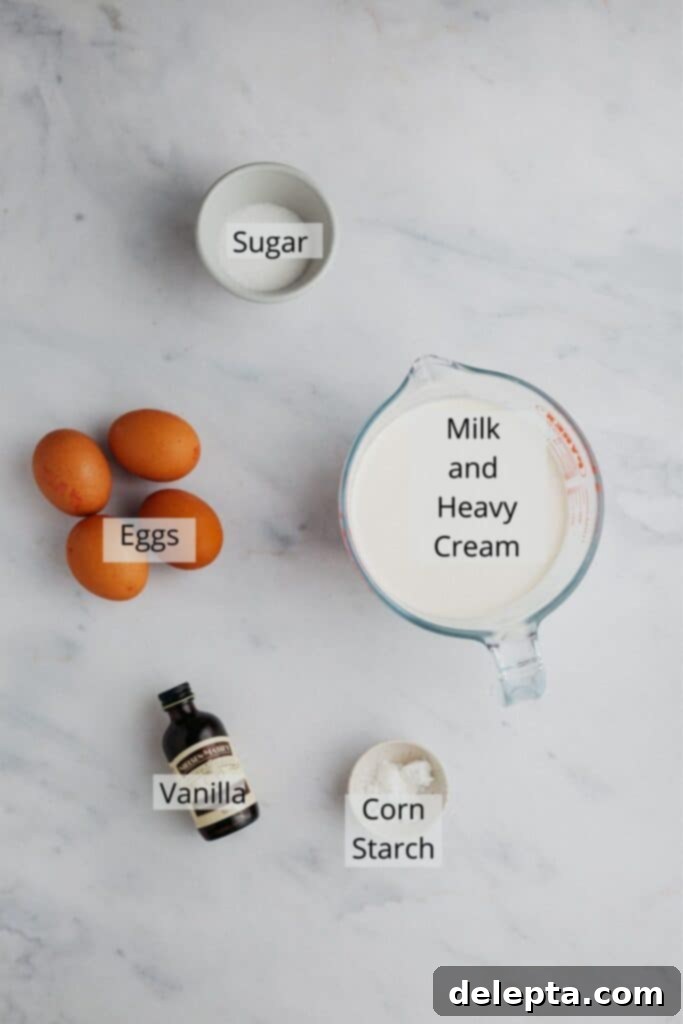
- Egg Yolks (room temperature): These are the foundation of a rich, creamy custard, providing both color and thickening power. Room temperature yolks incorporate more smoothly into the mixture.
- Vanilla Extract: Crucial for infusing the custard with that classic, comforting vanilla flavor. Consider using vanilla bean paste for visible specks and intensified flavor.
- Cornstarch: Acts as a stabilizer and additional thickening agent, ensuring a smooth, consistent custard that holds its shape.
- Granulated Sugar: Sweetens the custard to perfection, balancing the richness of the yolks and cream.
- Milk & Heavy Cream: The combination of these dairy products provides the luxurious creaminess that defines a good custard. Heavy cream adds richness, while milk lightens it slightly.
Step-by-Step Guide: How to Make This Delicious Apple Crumble with Custard
Creating this irresistible apple crumble with homemade vanilla custard is a straightforward process, broken down into simple, manageable steps. Follow these instructions carefully to achieve a truly perfect fall dessert that will impress everyone.
Part 1: Preparing the Crunchy Oat Topping and Apple Filling
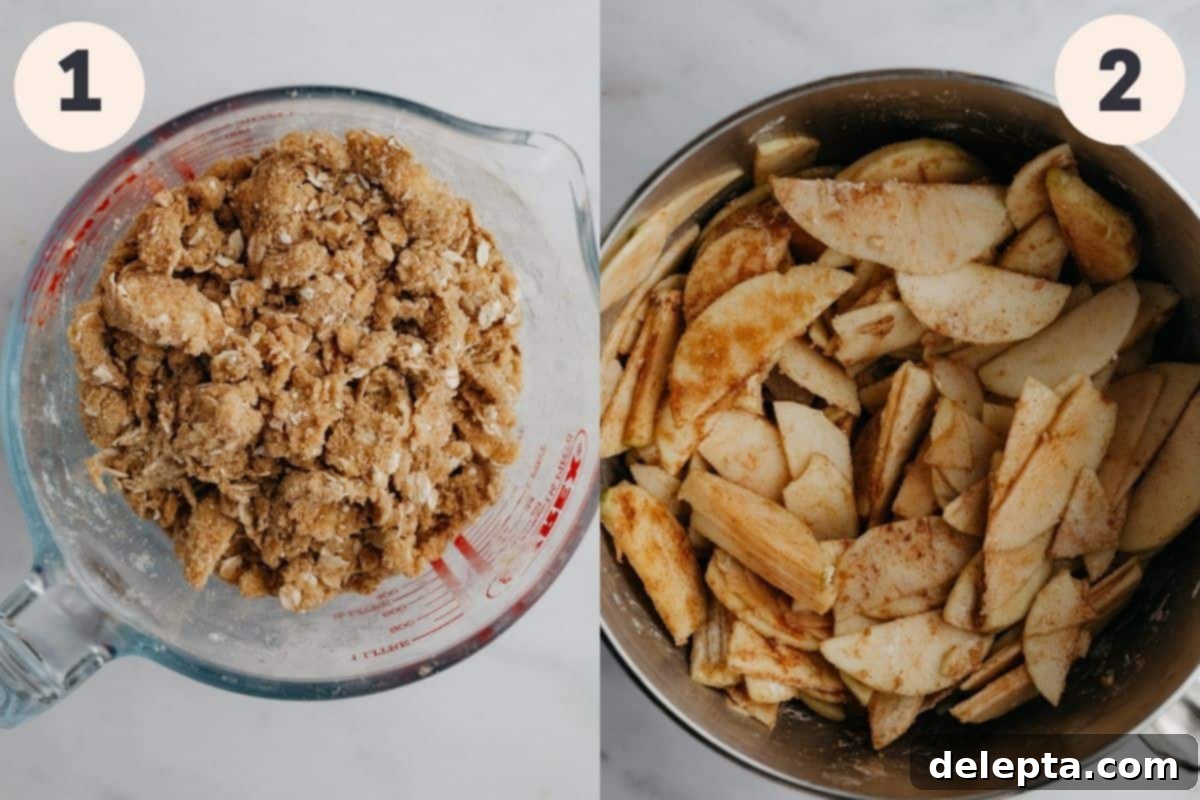
Step One: Prepare the Oat Crumble Topping
Begin by combining all your dry topping ingredients—flour, brown sugar, ground cinnamon, ground ginger, rolled oats, and kosher salt—in a large mixing bowl or a sturdy jug. Whisk them together thoroughly until they are well combined. Next, add the cold, cubed unsalted butter. Using your fingertips or a pastry cutter, work the butter into the dry ingredients. Continue until the mixture resembles coarse crumbs, with some pea-sized pieces of butter remaining. It should feel moist and crumbly. Once adequately mixed, place the bowl in the refrigerator to keep the butter cold while you prepare the apple filling. This step is crucial for achieving that signature crumbly texture.
Step Two: Toss the Apple Filling Ingredients
In a separate large bowl, combine your thinly sliced apples with the rest of the apple filling ingredients: light brown sugar, all-purpose flour, vanilla extract, ground cinnamon, ground nutmeg, and kosher salt, along with the fresh lemon juice. Gently toss the apple slices until they are thoroughly and evenly coated with the spice and sugar mixture. This ensures every piece of apple is infused with flavor and that the juices will thicken properly during baking.
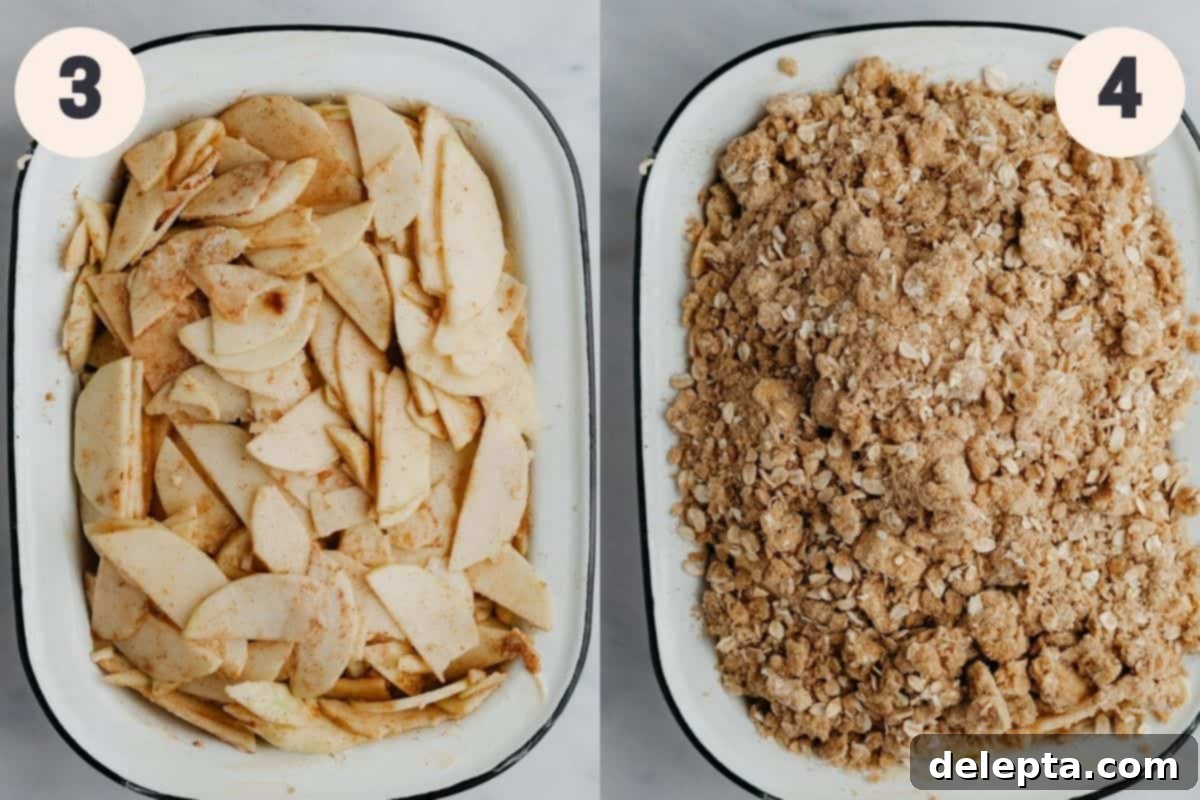
Step Three: Arrange Apples in Baking Dish
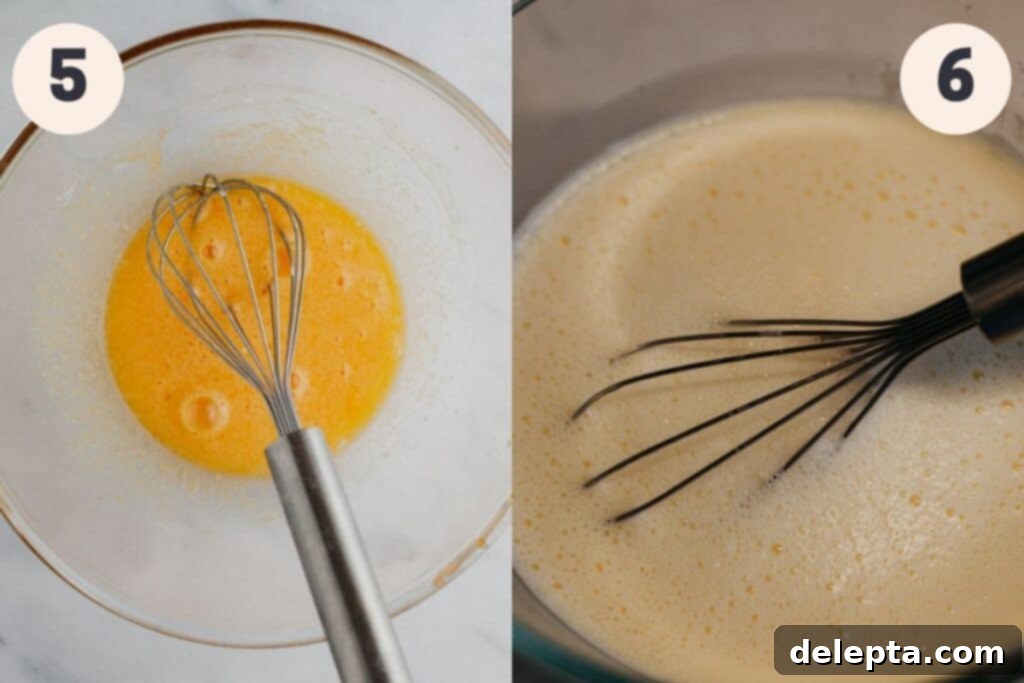
Before adding the apples, butter your chosen baking dish (a 9×7-inch or similar size works well). This prevents sticking and helps with easy serving. Pour the coated apple slices into the buttered dish, spreading them out into an even layer. Try to ensure there are no significant gaps, as this will help the crumble bake uniformly and create a consistent base for the topping.
Step Four: Add Topping and Bake
Retrieve your chilled oat crumble topping from the refrigerator. Evenly sprinkle the topping mixture over the layer of apples in the baking dish. Don’t press it down too firmly; a loose topping will create a crispier finish. Bake the crumble in a preheated oven at 350°F (175°C) for approximately 50-55 minutes. The crumble is ready when the topping is golden brown and the apple filling is bubbling around the edges, indicating that the apples are tender. If the topping starts to brown too quickly, you can loosely cover it with foil.
Part 2: Crafting the Silky Vanilla Custard
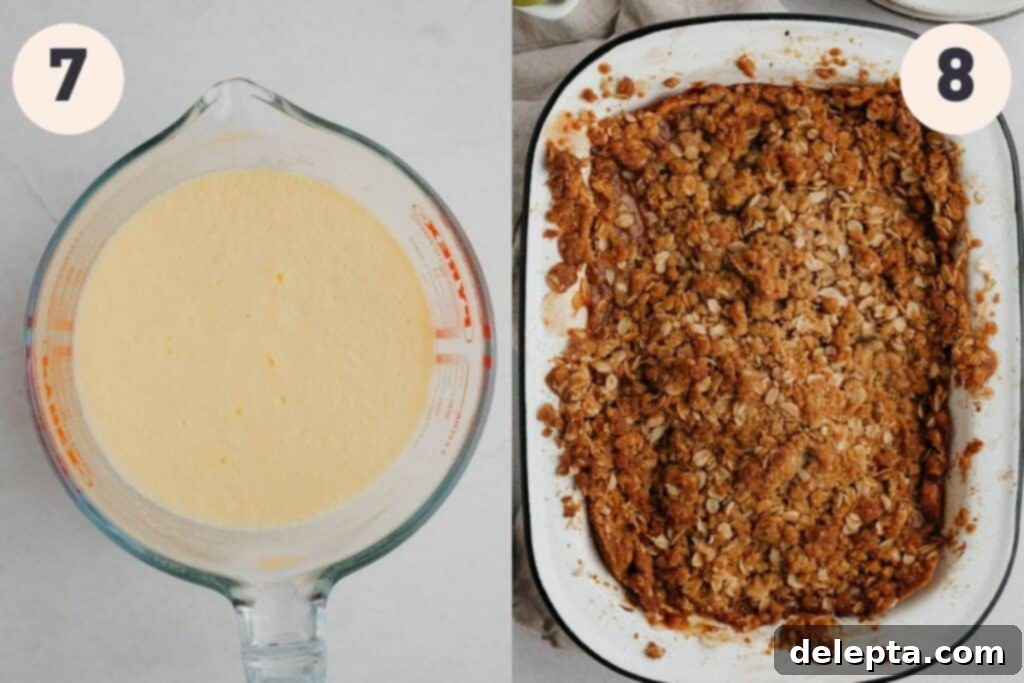
Step Five: Prepare Egg Yolk Mixture and Heat Cream Base
In a medium-sized bowl, vigorously whisk together the room temperature egg yolks, granulated sugar, and cornstarch until the mixture is smooth and light yellow. Meanwhile, in a medium saucepan, combine the vanilla extract, milk, and heavy cream. Heat this dairy mixture over medium-low heat, stirring occasionally, until it just begins to simmer around the edges. Crucially, do not allow it to come to a full boil, as this can scorch the milk. Once simmering, carefully scoop about a cupful of the hot cream mixture and slowly pour it into the egg yolk mixture, whisking constantly and rapidly. This process, known as tempering, gradually raises the temperature of the egg yolks, preventing them from scrambling. Repeat this step with another one to two cupfuls of the hot cream, continuously whisking to ensure a smooth, lump-free mixture.
Step Six: Cook the Custard to Perfection
Quickly clean out your saucepan to remove any lingering residue, then dry it thoroughly. Pour the tempered egg and cream mixture back into the clean saucepan. Place the pan over low to medium-low heat. Continue to stir constantly with a wooden spoon or a heat-resistant spatula, ensuring you scrape the bottom and sides of the pan. This constant stirring is vital to prevent the custard from sticking, burning, or forming lumps. The custard will gradually thicken. This process can take anywhere from 10 to 20 minutes, depending on the heat. It’s ready when it’s thick enough to coat the back of a wooden spoon, and when you can draw a clean line through the custard with your finger on the back of the spoon. Remember, the longer you cook it, the thicker it will become, so aim for your desired consistency.
Step Seven: Prevent a Skin from Forming on the Custard
Once the custard has reached your desired thickness, immediately pour it into a clean jug or bowl. To prevent a “skin” from forming on the surface as it cools, gently press a piece of plastic wrap directly onto the surface of the custard. This creates an airtight seal, maintaining its smooth, creamy texture. Allow the custard to cool slightly at room temperature before refrigerating it until ready to serve, or serve it warm for an ultimate comforting experience.
Step Eight: Serve Your Warm Apple Crumble
After removing your apple crumble from the oven, allow it to cool for at least 5 minutes before serving. This brief resting period allows the filling to set slightly and prevents the apples from being too hot. Serve warm, generously spooning the homemade vanilla custard over each portion. Enjoy the harmonious blend of warm, spiced apples, crispy oat topping, and luscious creamy custard!
Expert Tips for the Perfect Apple Crumble & Custard
Achieving a truly exceptional apple crumble with homemade custard is easier than you think, especially with these insider tips. Following these guidelines will ensure your dessert is consistently delicious and perfectly textured:
- Ensure Thorough Mixing of Topping Ingredients: This is perhaps the most critical step for a great crumble topping. When combining the butter with the dry ingredients, don’t rush it. Take your time to really rub the cold butter into the flour, sugars, oats, and spices until *all* the dry ingredients are moistened. The mixture should resemble coarse, damp sand with some larger pea-sized clumps. If you don’t mix them enough, your topping will be dry, floury, and lack that beautiful golden crunch after baking. The cold butter creates steam pockets as it melts, which contributes to the light and crispy texture.
- Monitor Your Crumble During Baking: Ovens can vary, so it’s essential to keep an eye on your apple crumble as it bakes. Around the 30-40 minute mark, check its color. If the topping is getting too brown too quickly, but the apples don’t feel tender enough, simply cover the top of the dish loosely with aluminum foil. This will prevent further browning of the topping while allowing the apple filling to continue cooking and soften perfectly underneath.
- Embrace Metric Measurements for Precision: For consistently excellent baking results, I cannot emphasize enough the importance of using a digital kitchen scale and measuring your ingredients in grams (the metric way). Baking is a science, and precise measurements make a huge difference in the texture, consistency, and overall outcome of your desserts. While US customary cup measurements are provided as a convenience, they can be less accurate due to variations in how ingredients are packed. Trust me, investing in a scale will elevate your baking game!
- Room Temperature Egg Yolks for Custard: When making the custard, ensure your egg yolks are at room temperature. Cold yolks can cause the custard to become lumpy when combined with the hot milk mixture, or even curdle more easily. If you forget to take them out ahead of time, you can quickly warm them by placing them in a bowl of warm (not hot) water for a few minutes.
- Preventing a Skin on Custard: The plastic wrap trick (pressing it directly onto the surface of the hot custard) is a game-changer. Air exposure causes a skin to form on cooling custard, which can be unpleasant. By creating an airtight barrier, you maintain that wonderfully smooth, velvety texture.
- Don’t Overcook the Custard: While you want the custard to be thick, avoid overcooking it, as this can lead to a grainy texture or even curdling. Keep the heat low and stir continuously. It’s better to undercook it slightly and let it thicken more as it cools than to overcook it. The “coat the back of a spoon” test is your best friend here.
- Let the Crumble Rest: While it’s tempting to dive straight into a warm crumble, allowing it to cool for at least 5-10 minutes after baking is crucial. This resting period allows the apple filling to set up properly, making it less runny and easier to serve. It also prevents you from burning your mouth on overly hot fruit!
Frequently Asked Questions About Apple Crumble and Custard
Got questions about making the perfect apple crumble or serving it with delicious custard? We’ve got answers to some of the most common queries to help you master this comforting dessert.
This is a tricky question with answers that can vary depending on who you ask and regional culinary traditions! Generally, in American baking, the term “crisp” often implies a topping that includes oats, sometimes nuts, along with flour, butter, and sugar, resulting in a slightly less cohesive and more textured topping. “Crumble,” on the other hand, is traditionally considered the British version, often featuring a topping made primarily with flour, butter, and sugar, rubbed together to create a ‘crumby’ texture, which may or may not include oats. Richard Sax’s ‘Classic Home Desserts’ suggests that a crisp is topped with butter, sugar, flour, and sometimes nuts, while a crumble is the English version of a crisp, distinguished by its topping which traditionally includes oats. For this recipe, we’ve blended the best of both worlds, incorporating rolled oats into our crumble topping for extra crunch and a hearty texture, making it a truly satisfying dessert.
Absolutely, you can! While cooking apples like Bramley or Granny Smith are often preferred for their tartness and ability to hold their shape during baking, using eating apples will also yield a delicious result. Eating apples tend to be sweeter and softer, so if you opt for varieties like Gala, Fuji, or Honeycrisp, you might want to adjust the amount of added sugar in the apple filling slightly. Also, adding a bit more lemon juice (perhaps an extra half to a full tablespoon) can help balance the sweetness and add a bright counterpoint to the richer flavor of the eating apples. Ensure they are still thinly sliced for even cooking.
Once your apple crumble has cooled completely to room temperature, cover the baking dish tightly with plastic wrap or aluminum foil. You can then store it in the refrigerator for up to 5 days. The custard should also be stored separately in an airtight container in the refrigerator, with plastic wrap pressed directly onto its surface to prevent a skin from forming. It will last for about 3-4 days. When you’re ready to enjoy the crumble again, you can reheat individual portions in the microwave or warm the entire dish in a preheated oven at a low temperature (around 300°F/150°C) until heated through. Reheat the custard gently in a saucepan over low heat, stirring constantly, or in the microwave in short bursts, stirring between each.
Yes, this apple crumble is an excellent make-ahead dessert! You have a couple of options. You can prepare the apple filling and the crumble topping separately. Store the prepared apple filling in an airtight container in the refrigerator for up to 1-2 days. Keep the crumble topping in an airtight container in the fridge, or even freeze it for up to a month. When ready to bake, assemble the crumble and bake as directed. Alternatively, you can fully assemble the unbaked crumble (apples and topping in the dish), cover it tightly, and refrigerate it for up to 24 hours before baking. You might need to add an extra 5-10 minutes to the baking time if baking straight from the fridge.
Yes, apple crumble freezes beautifully, both baked and unbaked. To freeze unbaked: assemble the crumble in a freezer-safe baking dish, cover it tightly with plastic wrap and then foil, and freeze for up to 3 months. When ready to bake, you can bake it directly from frozen (adding about 20-30 minutes to the baking time, or until golden and bubbling). To freeze baked: allow the baked crumble to cool completely, then cover it tightly and freeze for up to 3 months. Thaw in the refrigerator overnight and reheat in a moderate oven until warmed through. The texture might be slightly softer than freshly baked, but it will still be delicious!
Other Delicious Fall Desserts to Explore
If you’ve fallen in love with the warm, comforting flavors of this apple crumble, you’ll be thrilled to discover a world of other autumnal treats perfect for the season. From spiced breads to cozy rolls and delightful cupcakes, these recipes are sure to become new favorites in your fall baking repertoire. They share the same essence of warmth, spice, and homemade goodness that makes this apple crumble so special.
- Snickerdoodle Apple Bread with Crumb Topping
- Swedish Cinnamon Rolls
- Maple Cupcakes
- Bourbon Apple Pie
Have you made this incredibly comforting apple crumble with homemade vanilla custard? I would absolutely love to hear about your experience! Make sure to tag me on Instagram @alpineella so I can see your beautiful creations. Also, please take a moment to leave a review below if you’ve tried this recipe – your feedback is incredibly valuable! For even more delightful baking ideas and inspiration, you can follow me on Pinterest.
Recipe
Apple Crumble with Custard
Ella Gilbert
Pin Recipe
Save RecipeSaved!
Equipment
-
9×7-inch baking pan
Ingredients
Apple Crumble
- 1110 grams apples peeled, cored and thinly sliced
- 50 grams light brown sugar
- 30 grams all purpose flour
- 1 teaspoon vanilla extract
- 1 teaspoon ground cinnamon
- ¼ teaspoon ground nutmeg
- ½ teaspoon kosher salt
- 1 tablespoon lemon juice
Oat Topping
- 94 grams all purpose flour
- 150 grams light brown sugar
- ½ teaspoon ground cinnamon
- ½ teaspoon ground ginger
- 113 grams unsalted butter cubed and cold
- 80 grams rolled oats
- ½ teaspoon kosher salt
Custard
- 4 egg yolks room temperature
- 1 teaspoon vanilla extract
- 1 teaspoon cornstarch
- 2 tablespoons granulated sugar
- 300 millilitres milk
- 300 millilitres heavy cream
Instructions
Apple Crumble
-
Preheat your oven to 350°F/175°C. Butter a 8×8 or 9×7 dish
-
Whisk together the flour, cinnamon, ginger,, salt, oats and brown sugar together in a large jug or medium bowl. Add in your cubed butter and use your fingers or a pastry cutter to rub the butter until it is very crumbly and everything is moistened. Place in the fridge while you prepare the filling.
-
In a large bowl, mix all of your filling ingredients together and toss. Make sure the apple slices are evenly coated.
-
Spread the apples out into an even layer of your dish. Make sure there are no gaps! Sprinkle over your topping mixture evenly
-
Bake for 50-55 minutes. If it gets too brown, place some foil on top
-
Allow it to cool for at least 5 minutes before serving
Custard
-
In a medium saucepan, add your vanilla extract, milk and heavy cream. Bring to a simmer at a medium-low heat – do not allow it to boil!
-
In a medium bowl, whisk together the egg yolks, cornstarch and sugar. Whisk until it is smooth.
-
Pour the hot milk mixture a cupful at a time into the egg yolks, whisking the yolks constantly – this ensures it doesn’t scramble.
-
Turn the heat off, and quickly clean and dry your saucepan. Place the pan on low heat and pour in the mixture. Stir constantly with a wooden spoon until it is thick – this could take up to 20 minutes. It’s ready when you can draw a line through the custard. Pour into a large jug and place plastic wrap on to the surface, this will stop a skin from forming.
Notes
Butter: I use European style butter, like Kerry Gold, in my recipes. This will make your finished bake much creamier and richer.
Salt: If you don’t have kosher salt, halve the amount of salt called for in the recipe. 1 teaspoon kosher salt = ½ teaspoon fine salt.
Storage: Keep the apple crumble covered and in the fridge for up to 5 days. Remember to store the homemade custard separately in an airtight container with plastic wrap pressed directly to its surface for up to 3-4 days.
Nutrition
